What is a Prospect Record?
Prospect records allow you to quickly record and manage potential new customers and contacts, making it easier for your sales team to collect the information they need. Prospect records include the ability to track basic information, log messages and save documents electronically.
*Note* For new TempWorks clients as of 8/11/2023, Prospect functionality will be disabled. In the event you would like for this functionality to be enabled, please contact TempWorks Support.
Existing TempWorks clients prior to 8/11/2023 will continue to have access to this functionality. In the event you would like for this functionality to be disabled, and for your existing Prospect records to be converted to Customer records in mass, please contact TempWorks Support.
Converting a Prospect to a Customer Record
Once a customer has signed a contract, you will want to be able to take the prospect record you have created and turn it into a full fledged Customer Record to create orders, manage billing, etc.
- Navigate to the prospect record you would like to convert.
- Select the Convert to Customer Charm:

- Select the Branch the customer record should be tied to:
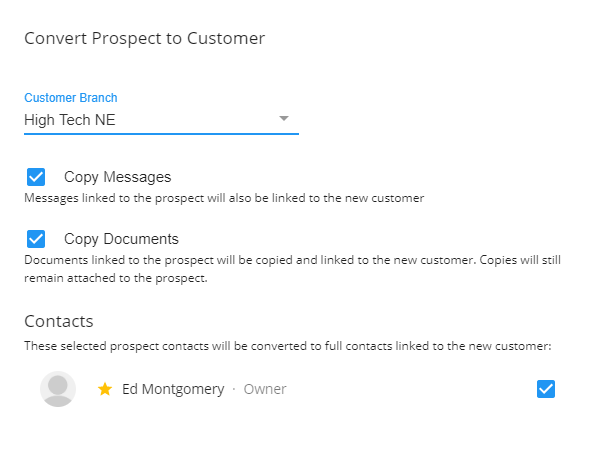
- Select Options:
- Copy Messages: Copy any messages on the prospect record to the new customer record
- Copy Documents: Copy any documents uploaded on the prospect record
- Select Contacts you would like created
- Select Submit


You will be brought to the new customer record: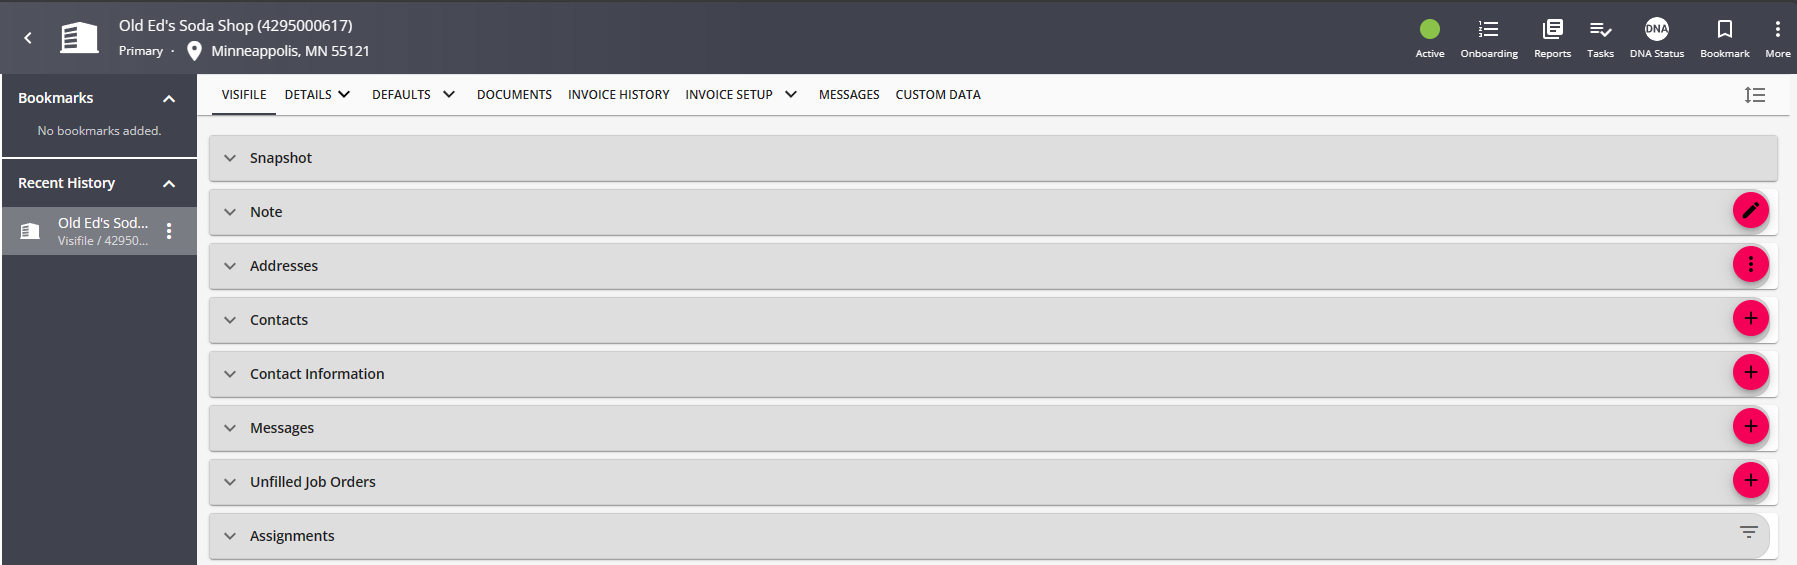
The Prospect record will still exist under prospects. However, the charm will be updated to allow you to quickly jump to the related customer record:

Additional Items to Consider After Converting a Prospect Record
Updating the Prospect Status
Now that the prospect record has been converted, consider changing the prospect records status to avoid confusion
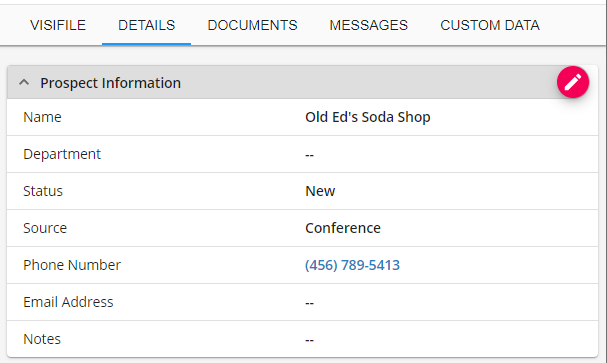
- Navigate to the details page of the prospect record:
- Select the
 button
 - Update the status to Converted:

- Select Submit

 button
Updating the Customer Status
Once the customer has signed a contract, what are your next steps? Does the customer need to go through a credit check process? Can employees be assigned to orders right away? We recommend updating the customer status to reflect the next step in your process.
- Navigate to the Customer Record:

- Select the status under Snapshot on the visifile
- Update the status (ex. Hold for Credit Check or Active):
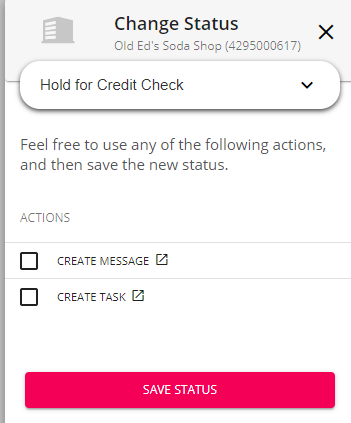
- Complete any additional necessary items (including logging a message or creating a follow up task) See Beyond - Status Change Workflows for more details
- Select Save Status


Logging a Message
If your customer has signed a contract, you may want to have your process include logging a message on the customer record to document the successful sale.
- On the customer visifile, select the
 under messages to log a new message
 - Enter the details of the event:
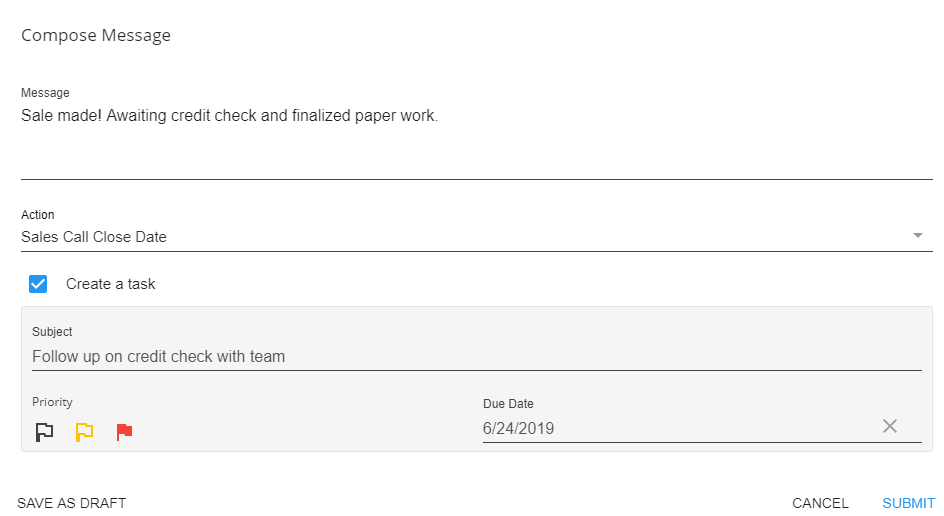
- Select an Action Code
- Select Submit
 under messages to log a new message
Adding More Contacts
Now that a sale is being finalized, you may also want to consider adding new contacts including any supervisors or AP contacts your team will be working with.
See Beyond - Creating a Contact Record for more information.
Customer Defaults
If a sale is being finalized, there will be new information to add to the record. We recommend starting with Customer Defaults to set up items like worker comp codes and multiplier codes for this customer. See Beyond - Customer Defaults.
Also check out Beyond - Customer Record Must-Haves for a full list of items you may want to consider.
Customer Billing Setup
If a sale has been made, there may be some negotiations made on billing cycles, invoice recipients, etc. Utilize the Invoice Setup section of the customer record. Check out Beyond - How to Manage Billing Setup for more information.