What are required documents?
Required documents allow you to store, track, and manage documents that are required for employees. Required documents can be set up on customer and order records to require a specific document type before an employee can be assigned to that order. Required docs can be saved and searched on the employee record to make managing documents a breeze.
Before a required doc can be set for a customer, order, or saved on an employee record, the required document type must first be set up under Administration by your front office or system admin.
This article covers:
- Required documents vs. documents section
- Adding a required document
- Managing required docs
- Required documents and assignment restrictions
Required Documents vs. Documents section
Required documents and Documents sections go hand in hand and are both available on an employee record so it is important to understand the differences.
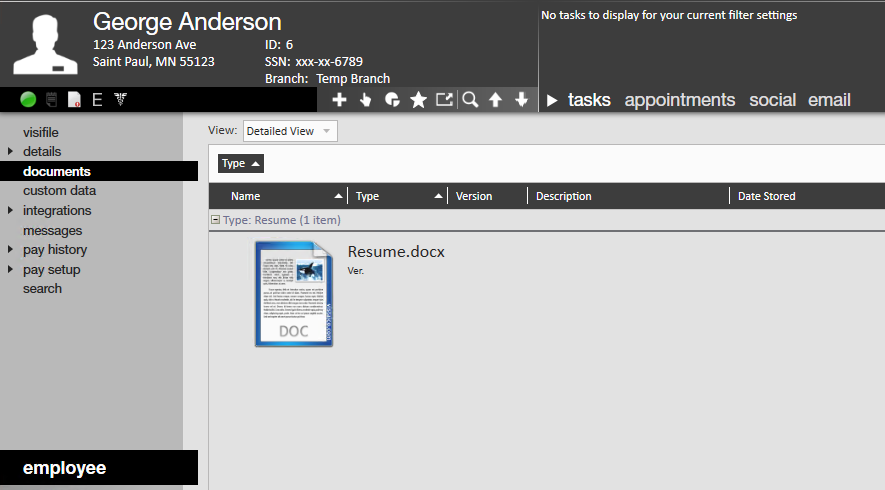
The Documents section of the employee record allows you to upload and save documents to an employee record for electronic filing purposes. These documents can be reviewed or downloaded as needed.
For more information on how to upload documents to an employee record see Core - Employee Documents.
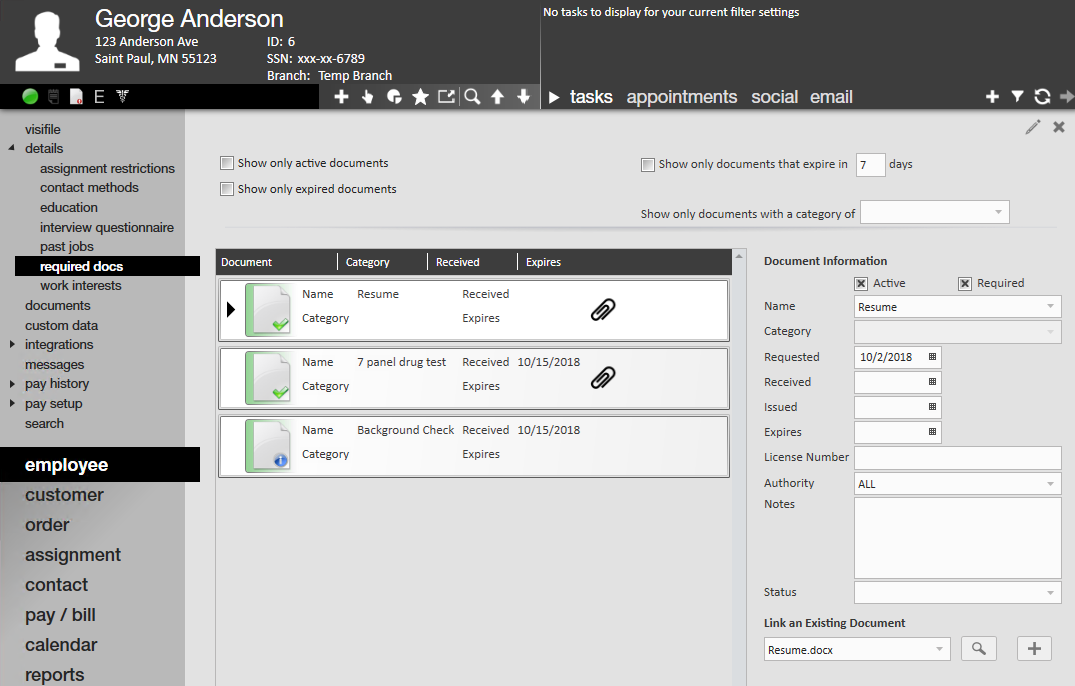
Required documents section of the employee record allows you to track a document status. This section has options to track dates requested, received, etc. as well as additional information such as license number, status, and notes.
A document uploaded from the documents section can be linked to a required document option to show the required document has been uploaded/saved electronically.
Required documents can also be set up on customer and order records to show that a particular document type is required in order to be assigned to that order or work for that customer. When an employee does not meet the required documents set on the order or customer, an assignment restriction will prevent a recruiter from being able to assign an employee.
Adding a Required Document
- Navigate to an employee record and select details > required docs
- Select the pencil icon in the upper right
- A new window will pop up, double click on the selected the required document type you wish to add
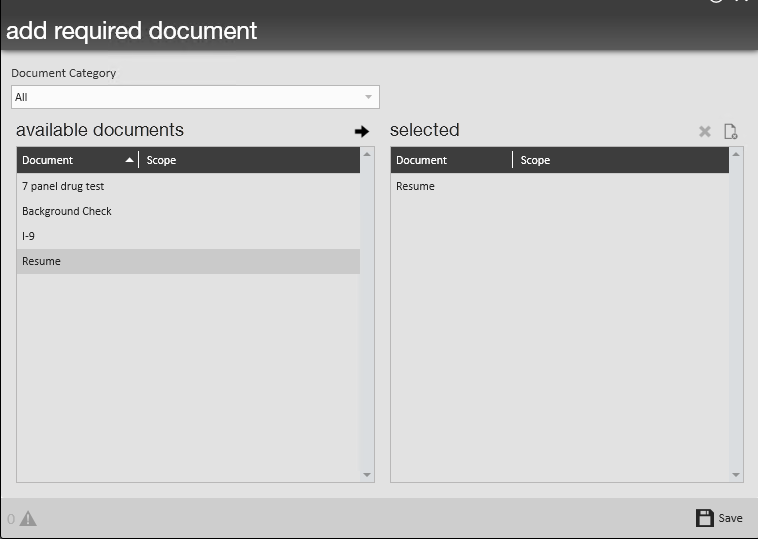
- Select save
- The document has now been added to the list of required documents


Managing required doc information
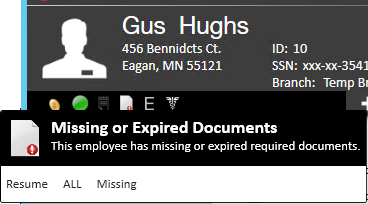
When a required doc is added, it automatically shows as missing on the employee record until a received date is entered or a document has been linked. Missing and expired documents are noted on the employee avatar as shown below.
To edit or add additional information about a required doc:
- Navigate to the employee record > details > required docs
- Select the document from the list that you wish to add or edit information on
- Fill out or change information on located on the right
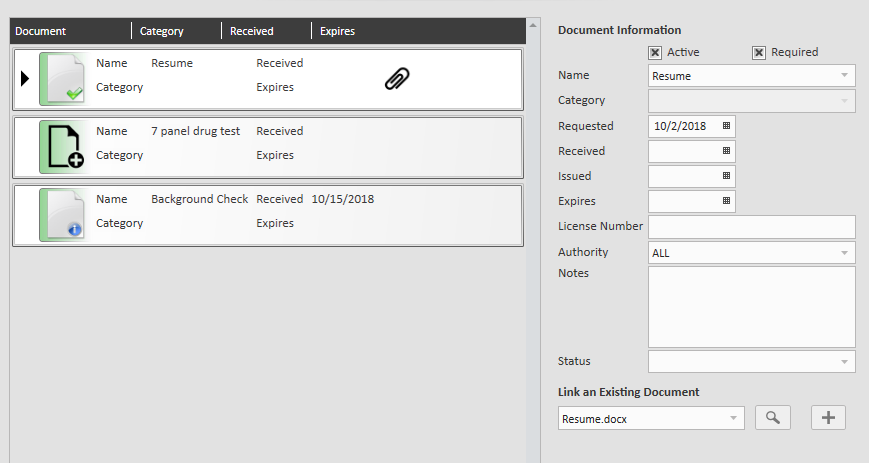
Document Information Options:
- Active: When this check box is checked, this document type is currently available.
- Uncheck this box when you do not have the required document in hand. Perhaps it has been requested or was sent to you but has not be finalized or approved.
- Required: When this check box is checked, this document is required.
- Name: This will be the type of document, the name and expiration information is set up by your front office or system admin.
- Requested: Enter the date you requested the document from the employee
- Received: Enter the date you received the document from the employee
- Issued: Use this field to document the date a certification, drug test, etc. was issued
- Expires: Enter the date this document expires
- License Number: Enter an applicable license number for drivers license or additional certifications, etc.
- Authority: Use this option to document if a license, etc. is set to or only valid in a particular state
- Notes: Use this section to document any additional notes
- Status: Utilize this drop down to notate what step this document request is in.
- Ex. sent, approved, denied, partially completed, etc.
Link or upload a document file
If you have already uploaded the document to the documents section of the employee record:
- Navigate to the employee record > details > required docs
- Select the required doc type you wish to link to
- On the right under 'Link an Existing Document' select the document from the drop down
- If the employee has a lot of documents on their record, utilize the magnifying glass to search for the correct one.
- Select
 in the upper left
 in the upper left
If you need to upload a document:
- Navigate to the employee record > details > required docs
- Select the required doc type you wish to upload to
- Select the + icon next to 'Link an Existing Document' section
- A new window will open, enter the required information and select save
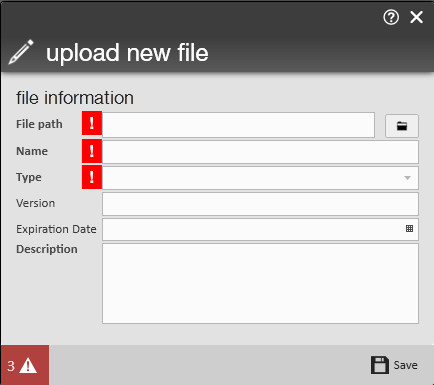
- This document will now be saved under the documents section of the employee record and linked to required doc selected.
- Select in the upper left

Required doc icons & their meanings:
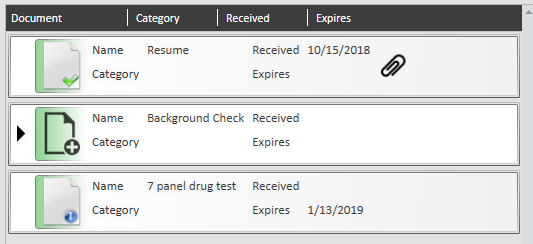
Every required doc is accompanied by an icon to describe it's current state.
 The paper with the check mark will indicate that a document file has been linked and the required doc is active
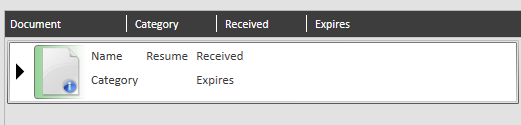
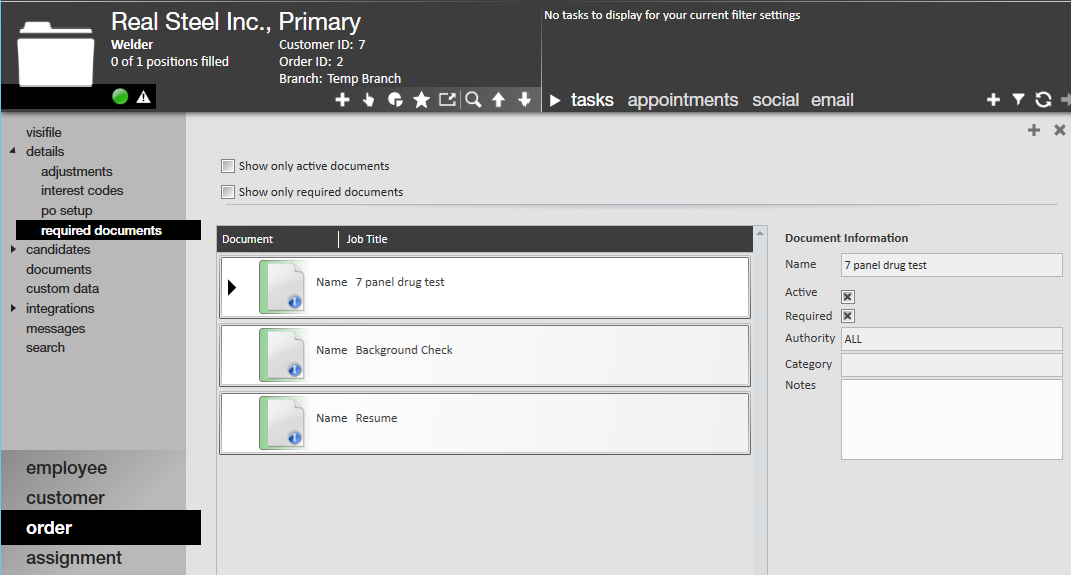
 The paper icon with the blue i indicates an active required doc without a linked document file
 The grey paper with a check mark indicates an inactive or not required document with a linked document file
 The grey paper with the + icon indicates an inactive or not required document without a linked document file
Required Documents and Assignment Restrictions
Required docs can be added to a customer or order record to indicate an employee must have the specific required doc on their record in order to be assigned to a particular order/customer.
Add a required doc to a customer record:
- Navigate to the customer record you wish to add a required doc to
- Navigate to defaults > required documents
- Select the + icon in the upper right to add a required doc
- A new window will open, double click to select the document type
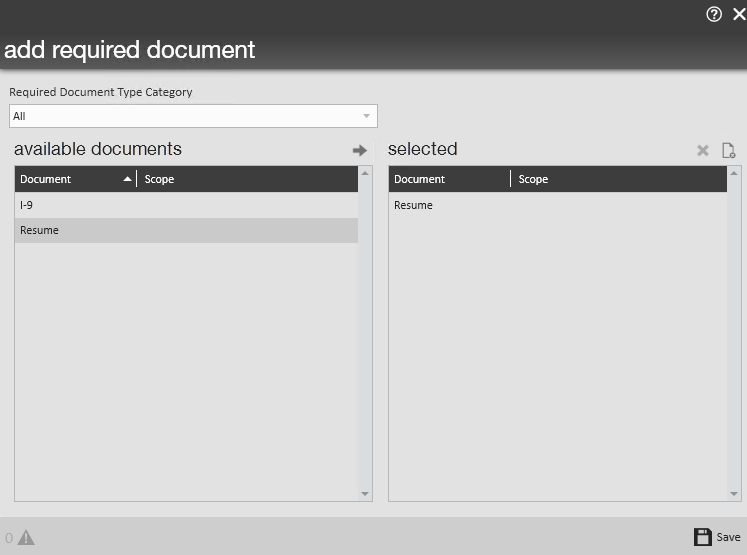
- Select save

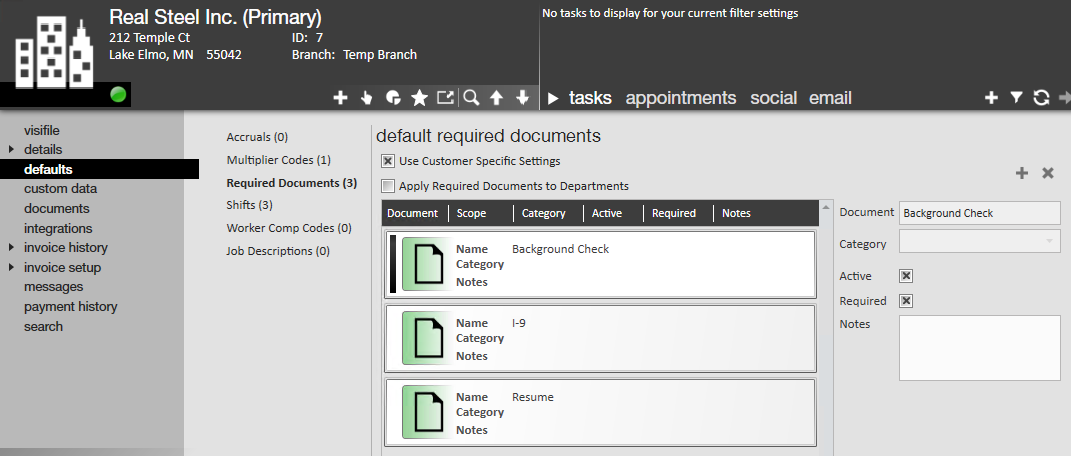 The document selected will now be added to each new order that is placed in the system.
Add a required doc to an order record:
When only a specific order has additional required docs, utilize the following instructions to add the document as a requirement
- Navigate to the order record you wish to add a required doc to
- Navigate to details > required documents
- Select the + icon in the upper left
- A new window will open, double click to select the document type
- Select save
Assignment Restrictions:
When making an assignment, the system will double check if the employee has all the required documents necessary. If an employee is missing one or more documents, an assignment restriction will pop up:
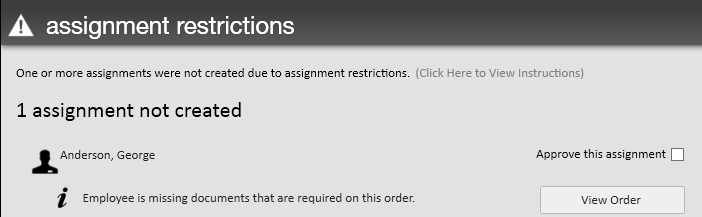
The order and employee record will then need to be compared to determine the document(s) missing. The documents will then need to be gathered from the employee and added to their record under required docs to resolve this restriction.
Required doc assignment restrictions are set up as soft stops in Core.
This means that this restriction can be seen more as a warning or note, rather than a full restriction. If needed, this assignment can be approved by selecting the 'Approve this assignment' checkbox. It is recommended that you discuss with your team what your internal process is to ensure that document is received before the employee goes on site.