Setting up Outgoing Emails in Enterprise
In Enterprise, an email must be set up so that you can utilize email functionality in the system. Below is a guide to assist you in integrating your email as an outgoing email address. Emails delivered while utilizing this setup will come from your desired email address and will be represented within the sent box of your email. Those receiving emails will respond sending those replies to your email inbox.
*Note* Before beginning, it may be helpful to gather your SMTP email settings from your network administrator.
Setup
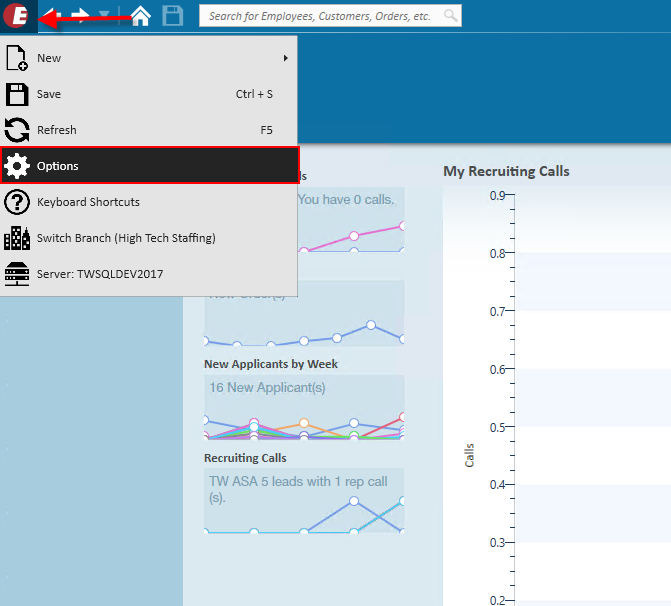
To setup an email address in Enterprise, select the 'E' menu in the upper left hand side of Enterprise and select 'Options':
Within the options, select 'Email' from the list of sections on the left. Here, an email can integrated by selecting '+ Add Account':

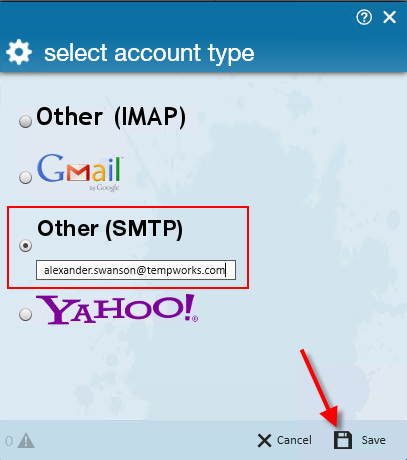
Select the Other (SMTP) option from the list and enter your email address:
Once you fill in your email address and click 'Save,' you will be brought to the page below. Here, you will need to enter your SMTP settings linked to your account. Below is an example of an account setup correctly:

Account and advanced SMTP settings should be provided by your network administrator.
Below are common advanced SMTP settings for different email accounts:
| Mail Service | SMTP Server | Outgoing Port | SMTP SSL/TLS | SMTP Auth Method |
|---|---|---|---|---|
| Gmail | smtp.gmail.com | 587 | True | Auth Login |
| GoDaddy | smtpout.secureserver.net | 3535 | False | Auth Login |
| Yahoo! | smtp.mail.yahoo.com | 465 | True | Auth Plain |
| Mandrill | smtp.mandrillapp.com | 587 | True | Auth Login |
| Outlook (AKA Hotmail / Live) | smtp-mail.outlook.com | 587 | True | Auth Login |
| Rackspace | secure.emailsrvr.com | 465 | True | Auth Login |
*Note* We recommend that you consult with your IT team or email provider for the correct SMTP settings for your particular email.
*Note* Based on Microsoft's communications, Office 365/Exchange Online will not be deprecating SMTP AUTH until further notice. This means that as long as you have SMTP AUTH enabled by your IT administrator, you will be able to continue to use outgoing email options in Enterprise.
Check out Microsoft's Website for more information: Basic Authentication Deprecation in Exchange Online – September 2022 Update | Microsoft Community Hub
Once you’ve filled in your SMTP settings, save your account information and you will be asked to send a test email to verify your account:

If your settings are correctly configured you will be greeted with the below window:

If you receive an error message, you need to double check the SMTP settings that you’ve entered as well as your email address and password to make sure everything is spelled correctly.
Error messages include: "Host could not be reached" or "There was an error while testing the SMTP settings on your account"
Default CC's from Emails
When setting up an email within Enterprise, you have the ability to have all emails default with a carbon copied email address. This can be set when viewing your email in the options menu:
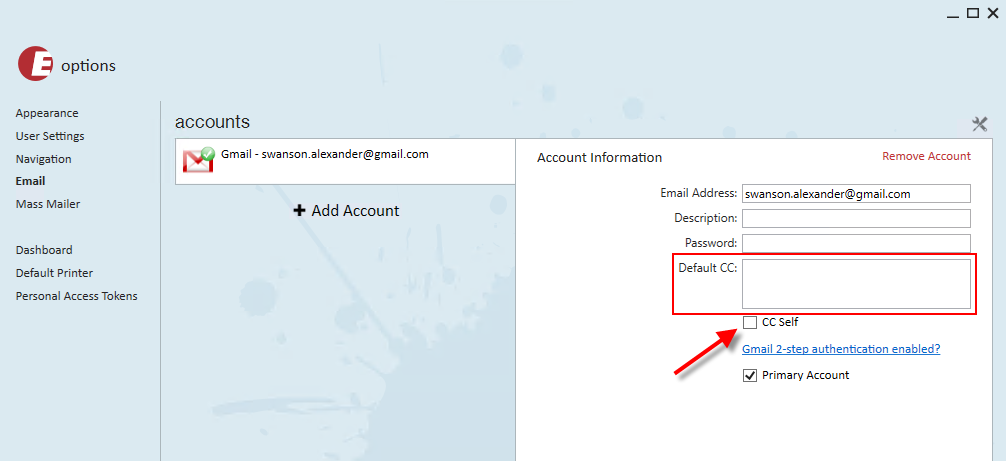
CC recipients can be added to the 'Default CC' field. Each additional recipient can be added with a semi-colon:

*Note* Moreover, you can choose to select "CC Self" as well.