What is a Service Rep Only Workflow?
Service rep only workflows are able to be assigned on the customer record. These workflows allow you to assign and edit preset forms that sales or account management can fill out for a particular customer.
For example, generating a quote, creating a contract, or filling out a safety form. The service rep will fill out any required fields on the preset forms and then the final document(s) will be saved on the customer record.
In order to utilize a service rep only workflow, you must first build your forms and workflow via HRCenter Admin. Check out How to Create a Service Rep Only Workflow for more information.
How to Utilize a Service Rep Only Workflow
Once a Service Rep Only Workflow is created, any sales or account manger can assign a workflow for themselves or another rep to fill out.
This article covers:
Assign the Workflow
- In Beyond, navigate to the customer record you want to fill out a form for:
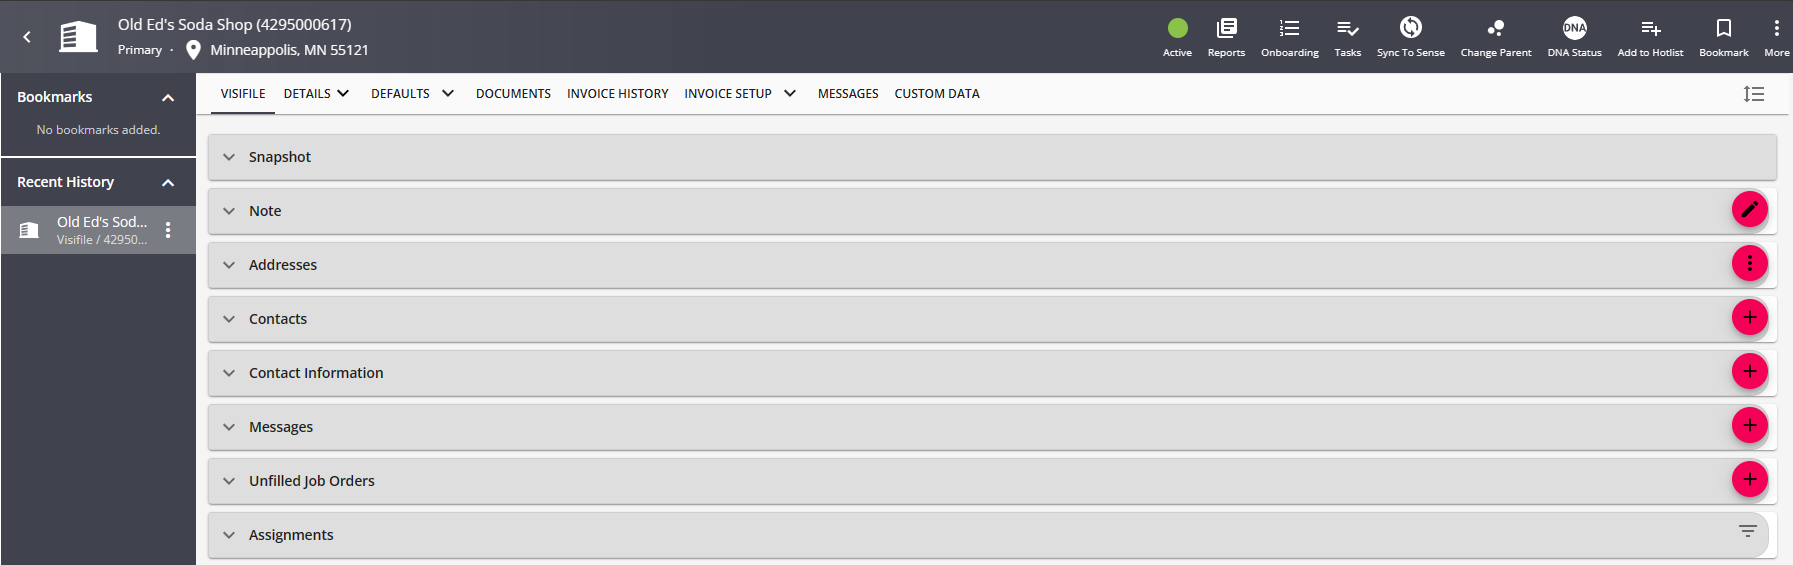
- Select the Onboarding charm and select "Assign a New Workflow":

- Fill out the following Information:
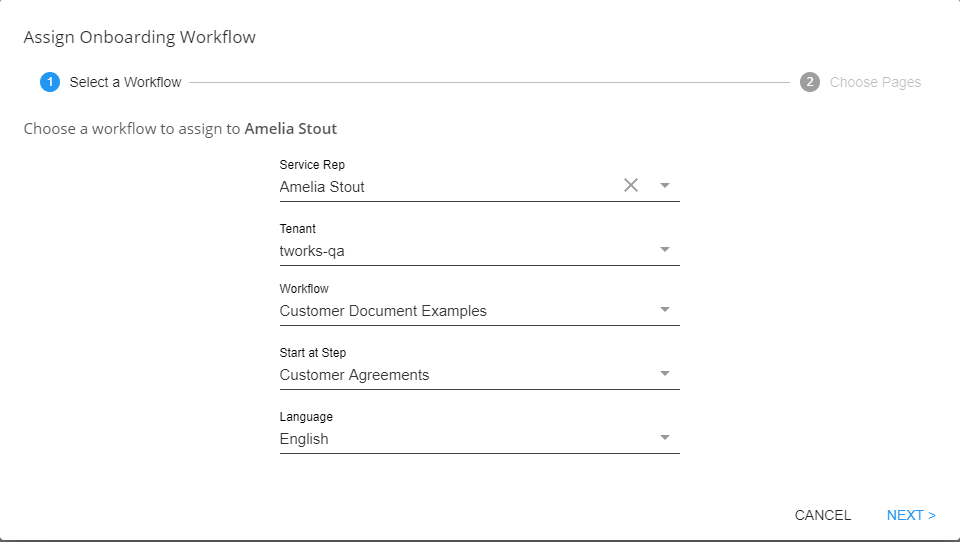
- Select the Service Rep who should fill out the form
- Select the Tenant
- Select the Workflow created by your HRCenter Admin
- Select the Starting Step from the drop down
- Select the Language (if applicable)
- Click on Next to continue
- Select Pages:
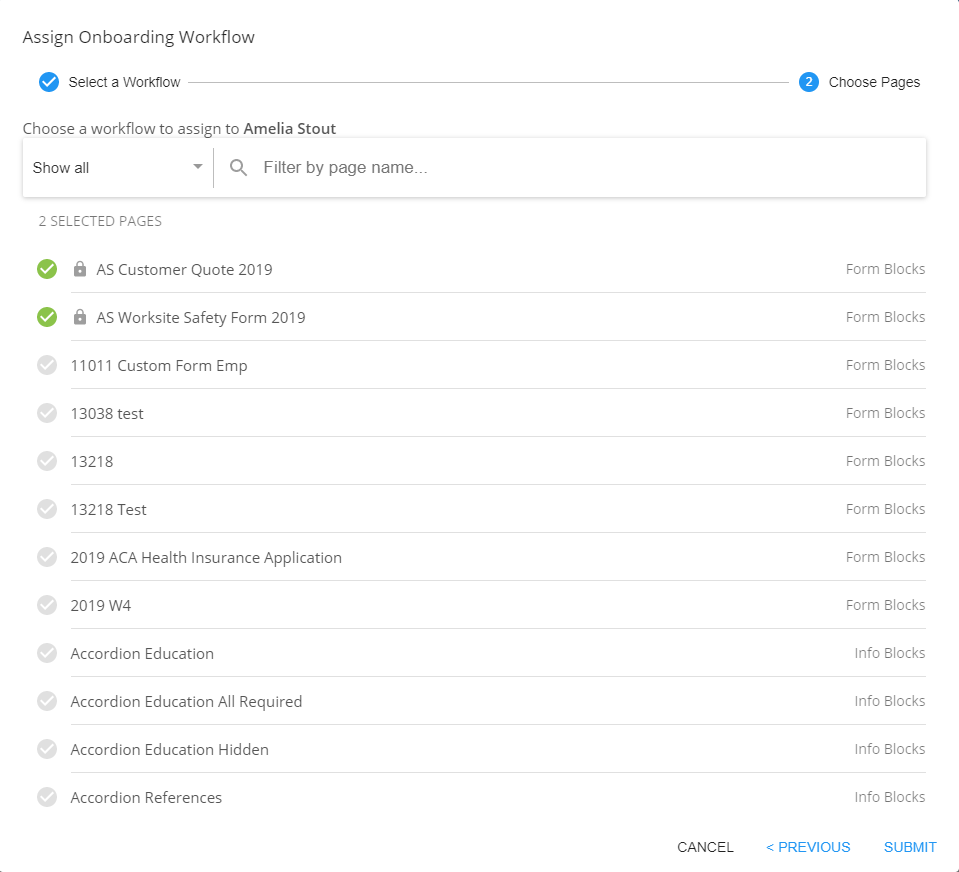
- The pages included in the workflow will already be selected. Click on any additional forms you would like to include
- Select Submit


Fill out the Form(s)
Once you have submitted the form, if you are the assigned rep, you will be redirected to HRCenter to fill out the forms. If you are not ready to fill out the forms yet, you can close the window and log into HRCenter later with your Service Rep Credentials from your Admin. You may also receive a generated email from HRCenter letting you, or the assigned person, know that a new form is ready to be filled out.
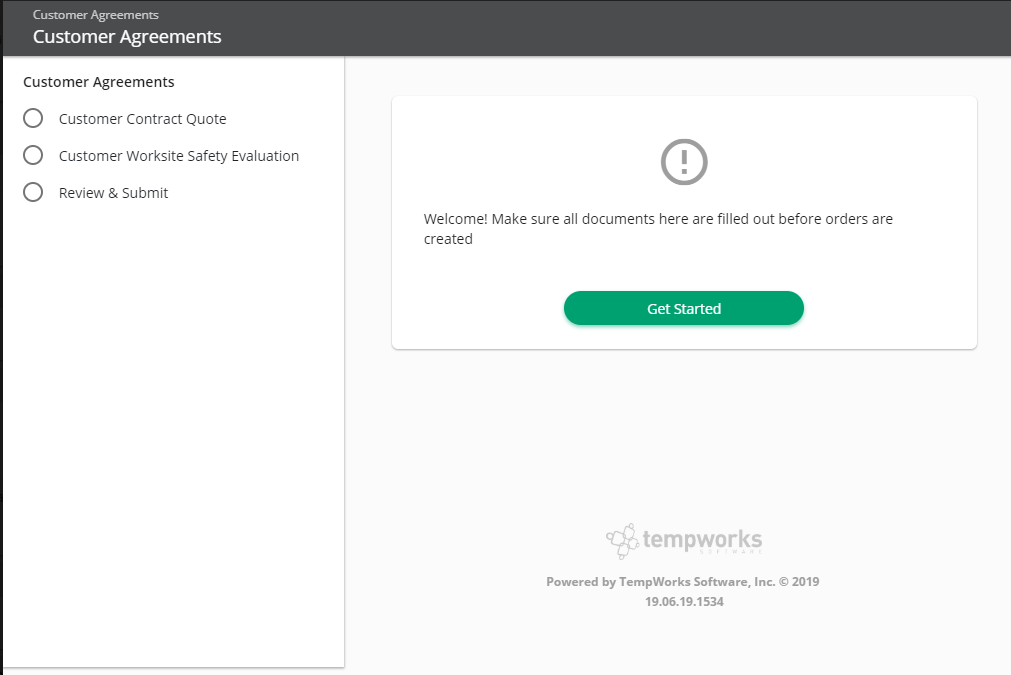
- Select Get Started to begin
- Review the form
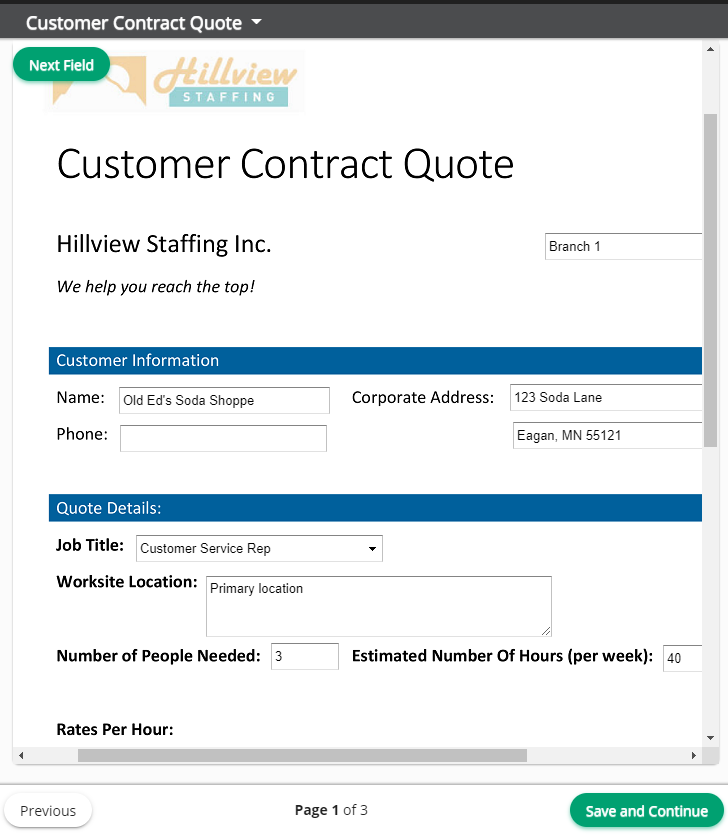
- Select Get Started to be directed through the required fields or click on any specific field to begin filling it out:

- Once all necessary fields have been filled out, select Save and Continue:
- Some forms may have required documents that you need to upload with the form. In this example, perhaps a job description or email from the client that you want attached with the quote:
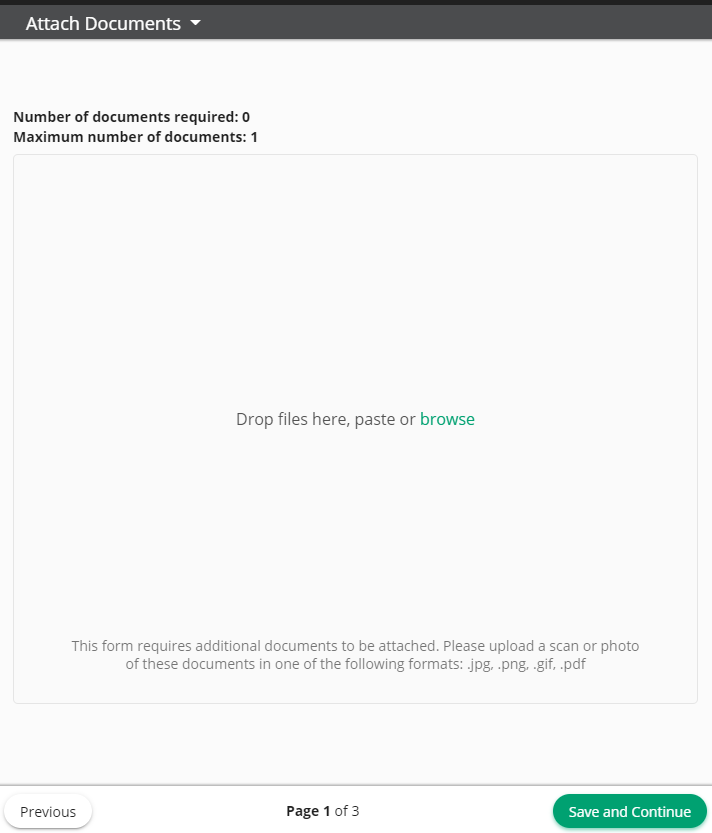
- The number of required documents will be displayed at the top.
- If there are no required documents or you have uploaded the necessary documents, select Save and Continue
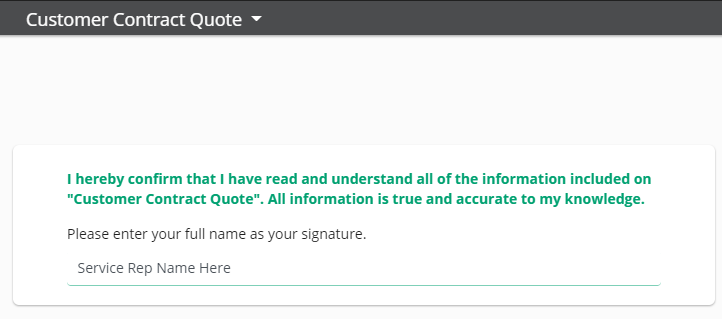
- If the form requires a signature from the service rep, you will be directed to type your name and select Save and Continue to confirm that everything included is is true and accurate to your knowledge:
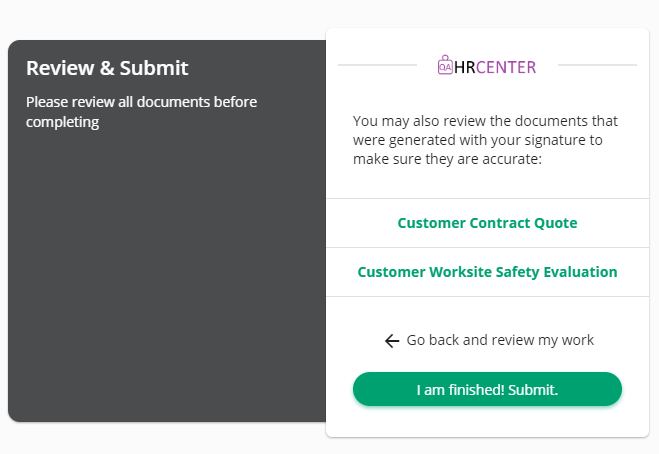
- Once all forms included in the workflow have been completed, you will be asked to review all information entered before submitting. Once you have submitted you will no longer be able to edit the forms:
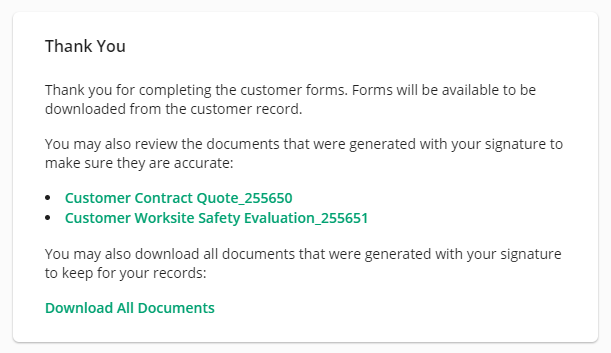
- Once you have submitted the forms, you will be given the option to download the newly created forms:
- Once completed, click anywhere outside the HRCenter window to resume your Beyond session.


Next Steps
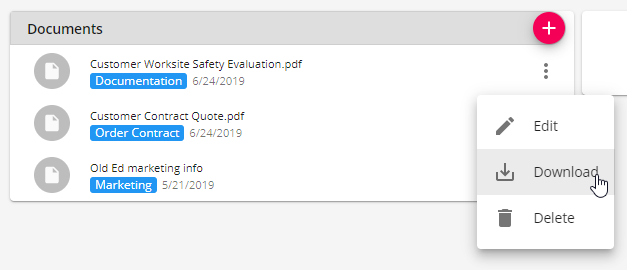
Once the forms have been assigned, filled out, and submitted, they will be available on the customer record under documents: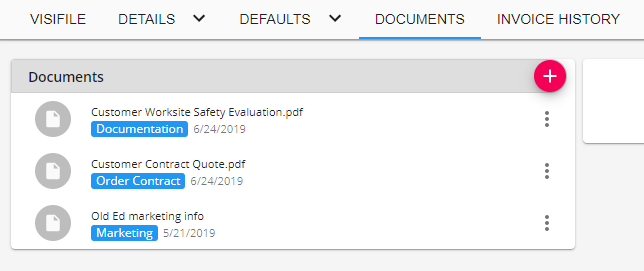
Select the Download option under the Actions menu to download a copy of the document in order to email or print out for the customer: