What is a Workflow?
A workflow is the online process that an applicant will complete when registering via HRCenter. There is no limit to the number of workflows that you can create. For instance, you could utilize unique workflows for your clerical, light industrial, and direct hire applicants.
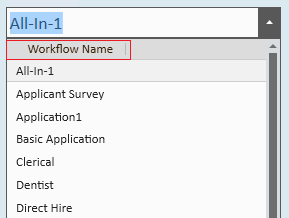
Furthermore, you can decide whether or not a workflow should be "public". If a workflow is "public" an applicant can select the workflow when registering online. If a workflow is "private" they will need to be emailed an invitation before being able to register and complete the workflow.
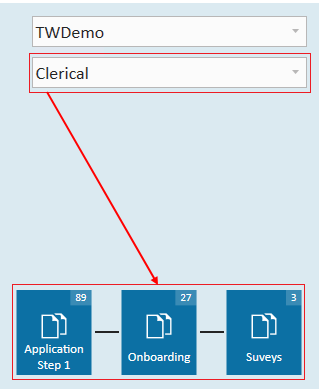
How workflows display in the Enterprise HRCenter dashboard:
This article reviews:
Workflow Overview
A workflow is the entire process an applicant will go through (like a book). Each workflow is made up of at least one step (like a chapter or section of the book). Each step is made up of at least one page of information for an applicant to fill out, sign, or review.

This document will detail the process of building workflows with the assumption that you have already created pages. If you have not yet created pages, please see our related articles.
There are three types of pages:
What are Steps?
A workflow is built from steps. The combination of steps give us a completed workflow.
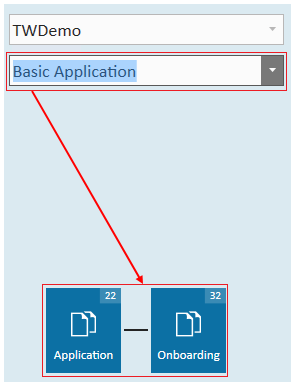
In the example above, the workflow contained 2 separate steps: the application step & the onboarding step. Once an applicant has completed one step and submitted it, your recruiters will be able to move the right applicants on to fill out the next step of information.
You could have a workflow with 1 or 100 steps! For example, you could add testing or surveys to your HRCenter workflow and design something like this: Step Application →Testing →Onboarding →Exit Interview
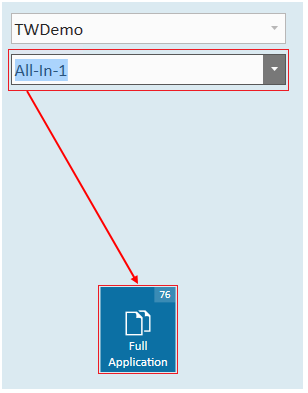
Example of a one step workflow:
Example of a two step workflow:
Example of a three step workflow:
How to Create a New Workflow
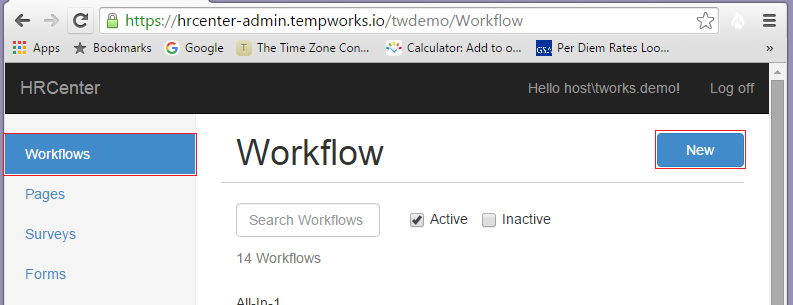
- Navigate to the Workflows area of HRCenter Admin and select new:
- This will open the add workflow wizard:
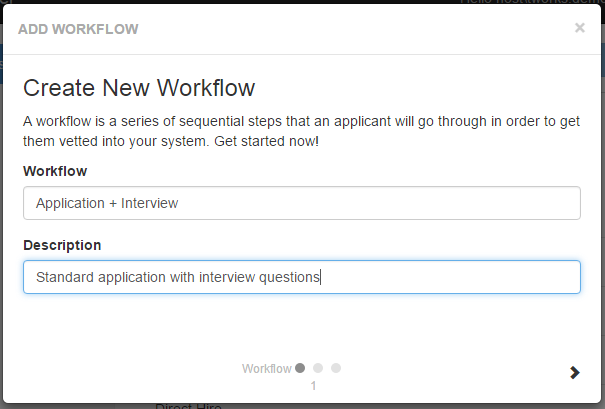
- Name the Workflow and enter a description.
- Select the > icon to continue to step
- This will open the add workflow wizard:
- Create New Step:
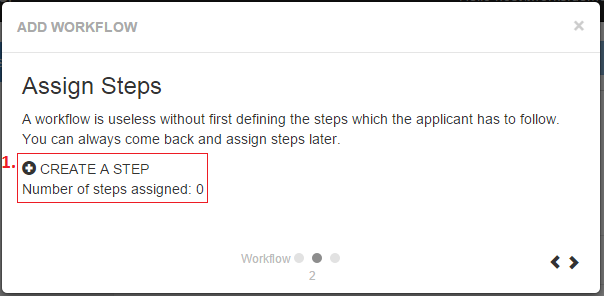
- Select to create a step. This will expand the create new step window:
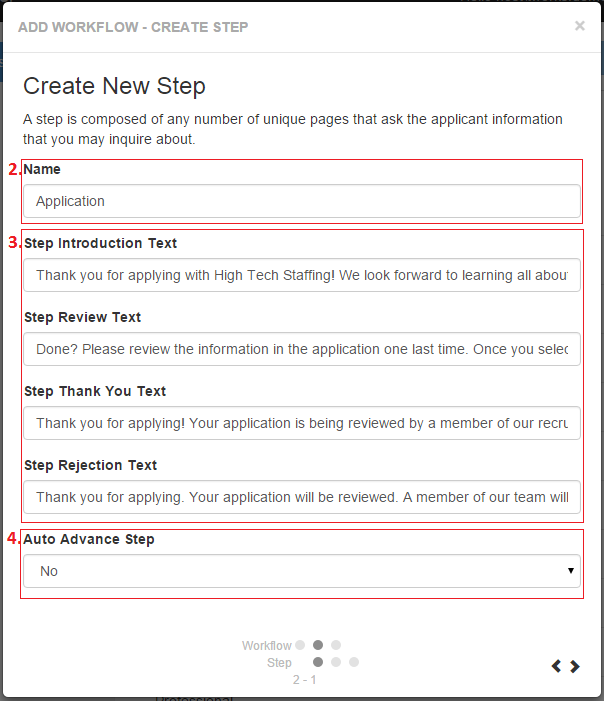
- Name the Step
- Remember, the name of the step appears to both the candidate when they apply and also is listed in Enterprise & Beyond
- Optionally, enter any text
- If you choose to input introduction, review, thank you, or rejection text it will automatically appear at the corresponding points in the step
- Any fields left blank will maintain the default HRCenter text
- Auto Advance Options
- If your workflow has more than one step, you can (4.) auto advance an applicant to the next step
- For example, perhaps you'd like applicants to automatically be graduated to a testing step after submitting the application - simply select yes
- Otherwise, if you want your recruiter to review the first step before moving applicants forward, then keep this set to No
- Select the > icon to continue
- Select to create a step. This will expand the create new step window:
- Assign Pages:
- Begin by selecting the type of page you would like to assign (information, survey, or form)
- In our example, we've opted to begin with info pages
- All active information pages that have been created will be listed. Simply select the page(s) you would like to assign to your step
- Assigned pages will be noted with a check mark
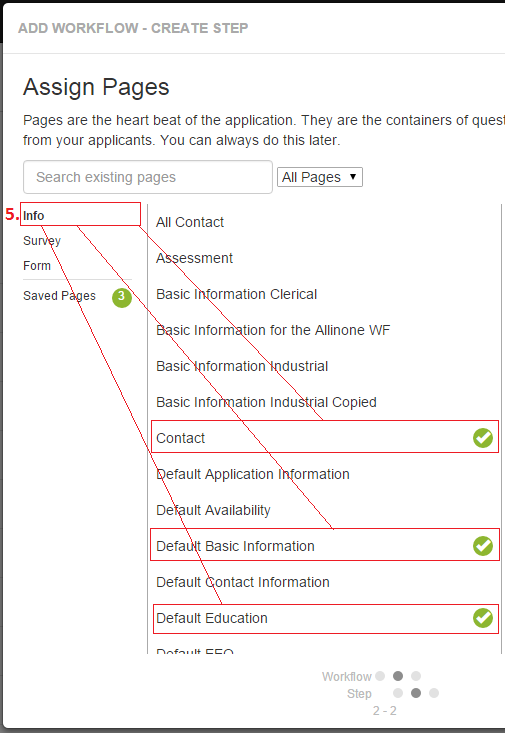
- Once you are done assigning pages to your step, select the > icon to continue
- Step Details:
- The purpose of this step is to confirm that the order of the pages is to your liking. How the order appears on this page is how it will appear to applicants
- For example, if the page Default Basic Information should be the first item that applicants complete, simply select that page and use the Move Up - Move Down options to rearrange the order:
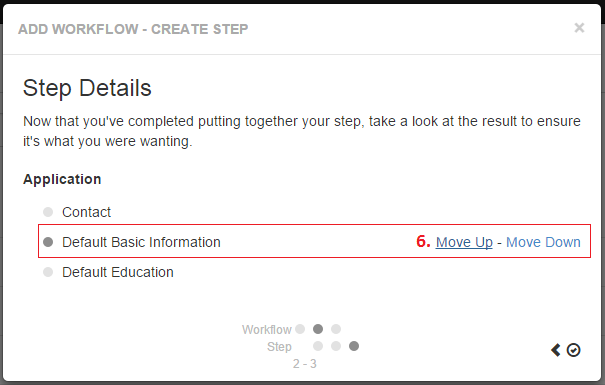
- Finished with your setup? Simply select the check mark to complete the step details
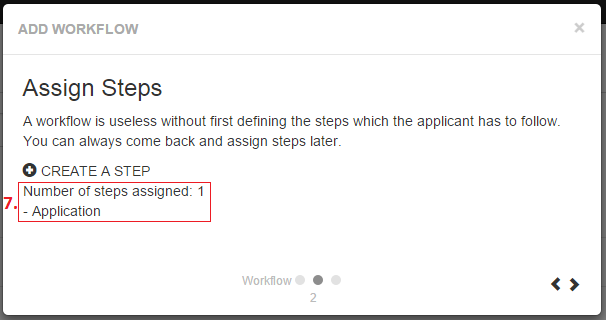
- Finishing your Workflow
- Upon selecting finish, you'll be brought back to Step 2 - Assign Steps. Note that the Application step you've created is now listed
- You now have a choice to make - select to create additional steps (repeat items 2-4 for each step) or select the > icon to complete the workflow
- Workflow Details:
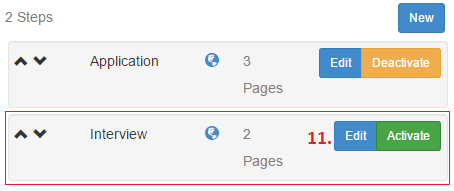
- In this example, the (8.) Application + Interview workflow is listed with (9.) two steps - Application, and Interview
- The first step, Application, has (10.) three pages - Contact, Default Basic Information, and Default Education
- The second step, Interview, has (10.) two pages - Aptitude Assessment and Personality Test
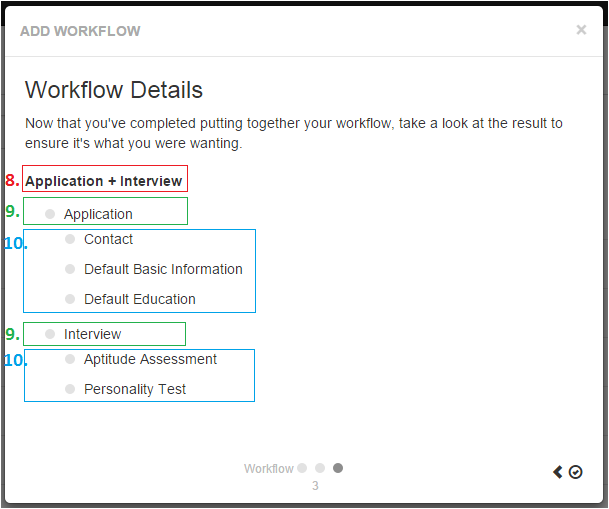
- To finalize and create your workflow select the select the check mark
- Your new workflow will immediately be available for review in the workflows section of HRCenter
- Scroll the page to locate your workflow and click the title to expand the details and settings. From here you can review your workflows current settings and edit the workflow as needed


Preview a Workflow:
If you wish to preview the details of your workflow, simply select the preview icon to get a better idea of what the employee/ applicant experiences when filling out said workflow: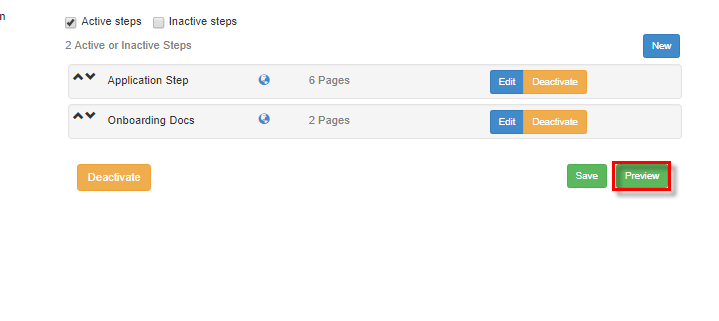 You will automatically be signed in and preview mode will display in the sidebar. To test this section, simply fill in data and navigate through the process as a standard user.
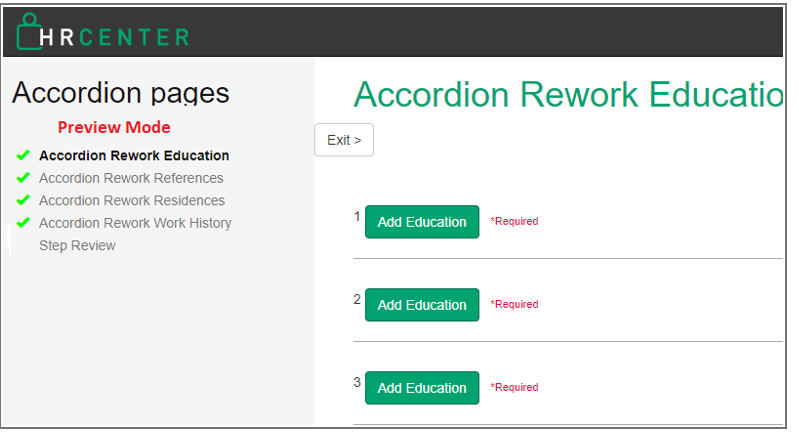 Once you have gone through the process of filling everything out and submitting, it erases the data and will not send you to the next step ( if any) in that workflow. If you wish to see the rest of the workflow, you will need to set the steps to auto advance first.
The following display message will let you know that you will not be able to find any information that has been entered: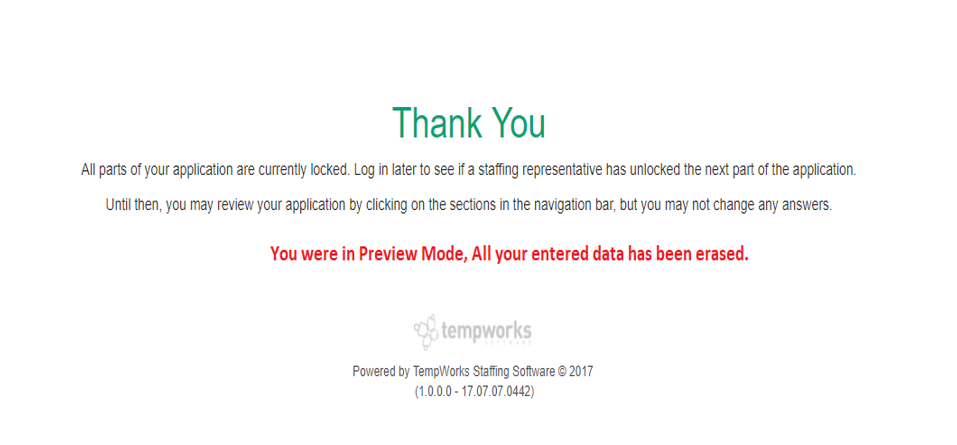
How to Edit a Workflow:
In the expanded settings of your workflow, you can edit the name, description, view (is the workflow public or invite only), branch associated, steps, and status (active or inactive).
*Note* Users will have the ability to add multiple branches to a single workflow. If this is something you wish to setup, please contact TempWorks support.
Workflow View:
If you would like the workflow to be accessible by all/any applicants that make their way to your website, select the public check box. If the box is left unselected, applicants will need to be assigned the workflow by an Enterprise service rep in order to complete it.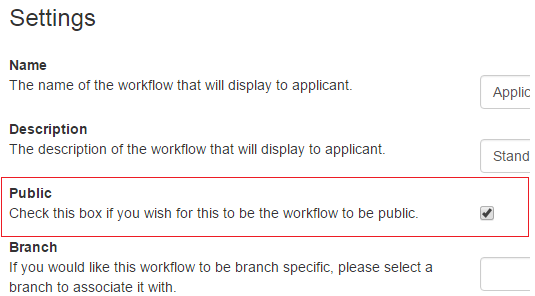
Steps:
Existing steps can be edited and deactivated by selecting the corresponding buttons.
Edit:
When editing a step, users have the ability to remove or add pages as needed. Simply follow the instructions outlined earlier in this document on how to create steps.