What is a Web User Account?
A web user account is the online account that is used by your employees for access to WebCenter, Buzz and HRCenter. In HRCenter It will allow them to apply to new job postings and fill out and update their paperwork. In WebCenter and Buzz they will be able to see their paychecks, check in as 'Available,' submit timecards, and so much more.
Creating web user accounts allows your employees to get the most out of your system and to communicate with you more effectively.
*Note* Employees that apply online through HRCenter will have their account made through that process. This article focuses on creating accounts for employees that are in your database but do not currently have credentials.
Inviting a Web User
*Note* If you utilize custom Security Groups with Advanced Permissions, you will need to add the Access to the "Invite" forms within both Employee and Contact to the Security Groups that require the functionality:
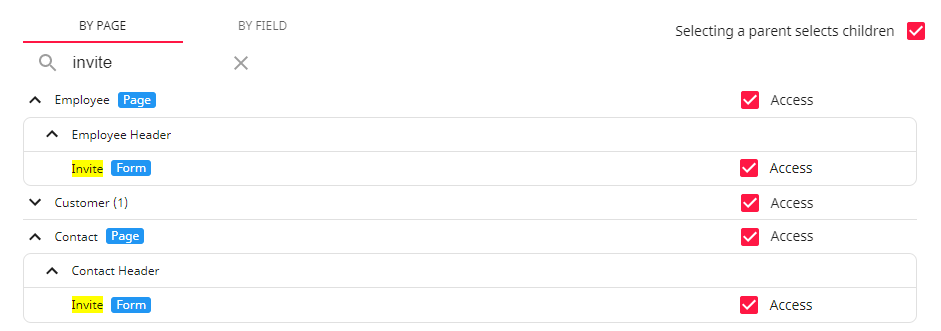
For more information on created custom Security Groups with Advanced Permissions, please see the following article titled "Beyond - Creating Security Groups with Advanced Permissions".
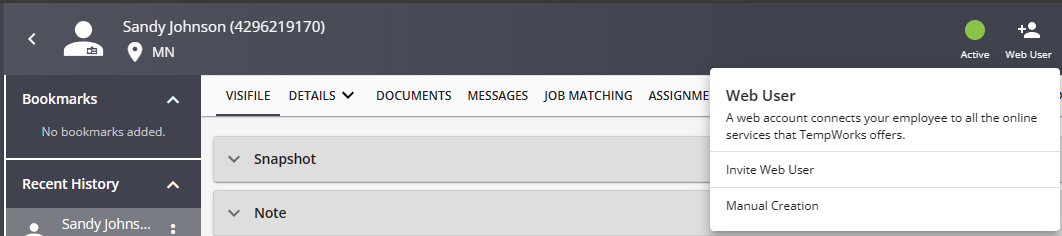
To invite a web user for a new or existing employee, navigate to the employee record, select the "Web User" charm, and select "Invite Web User":

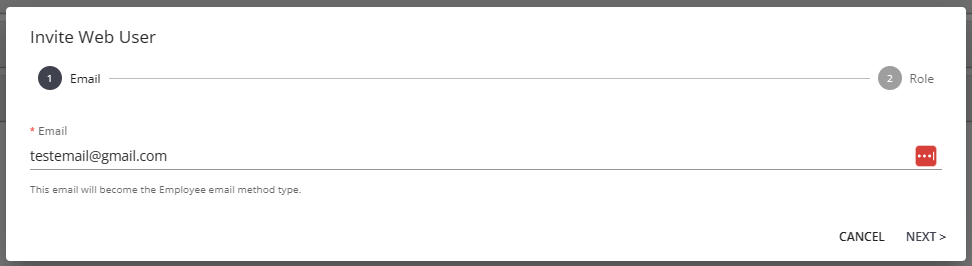
The "Invite Web User" window will open, allowing you to either enter an email address (if the record does not have one on file), or move directly to selecting a role:
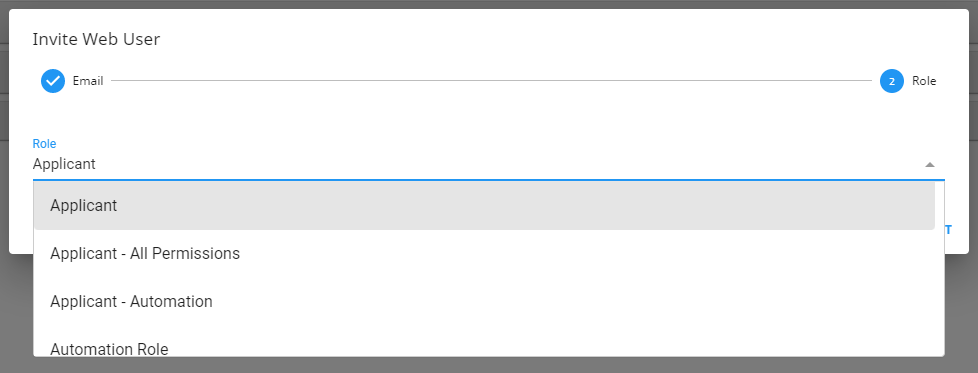
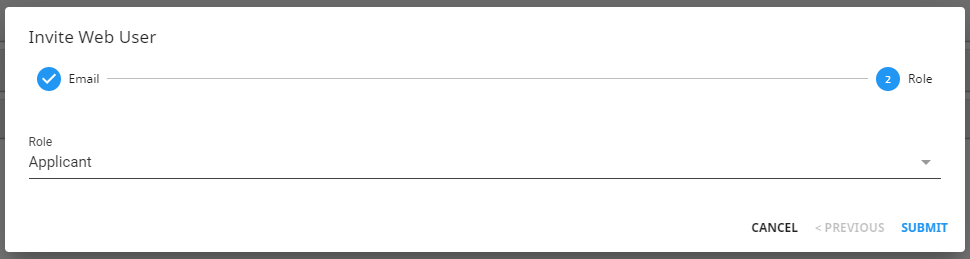
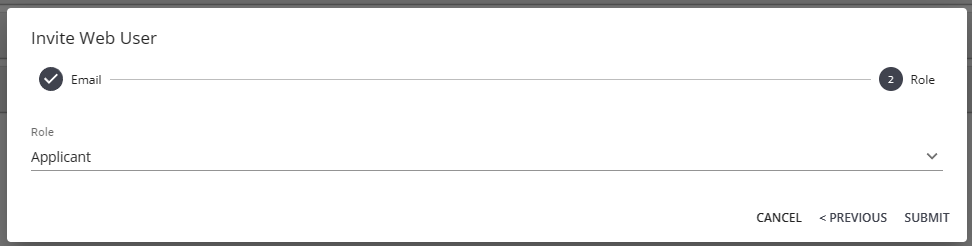
With the appropriate role chosen, select "Submit". The employee will then receive an email with further instructions on how to setup their account information.
How to Create a Web User Account
To create a web user account for a new or existing employee, you will need to first navigate to their employee record. Once you are on the employee's record you can click on the "Web User" charm:

When you select the web user charm, you have two options:
- Invite Web User
- Manual Creation
If "Invite Web User" is selected, enter an email address and select "Next":
Select the applicable role for the web user account and select "Submit" to complete the creation of the web user account:
If "Manual Creation" is selected, the window will open, and the following fields will need to be filled out:
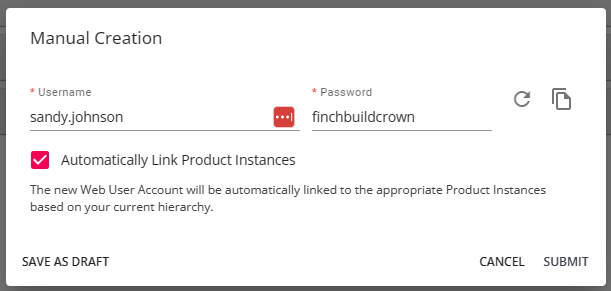
- Username - this will be the username that the employee will use to log in to WebCenter and/or HRCenter
- Password - a random password will be automatically generated, but you can manually type any password you would like to be used for their initial password.
- This icon allows you to re-generate a random password
- This icon will copy the password to your clipboard so that you may save it to a word document or email it to the employee.
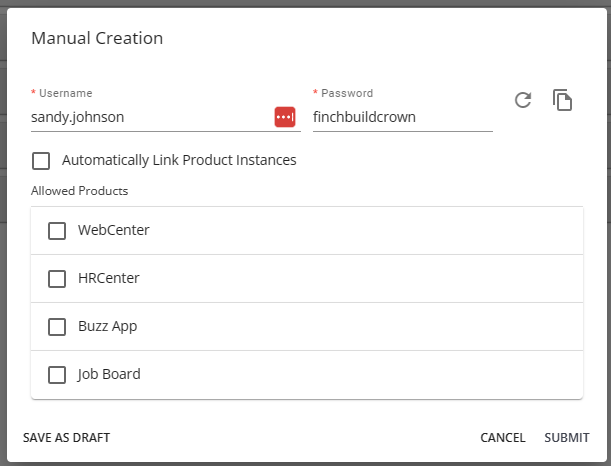
- Allowed Products - you may determine what products the account should have access to with this user account. By default, the Automatically link product instances will be selected. If you want to manage each product instance, deselect this option and customize the options below:

Once the potential web user has been given the above items, select the 'Submit' button. The user now has a web user account and has access to the distributed products.
Managing a Web User Account
Once the account is made, the 'Web User' charm will display different functionality when directly interacted with:
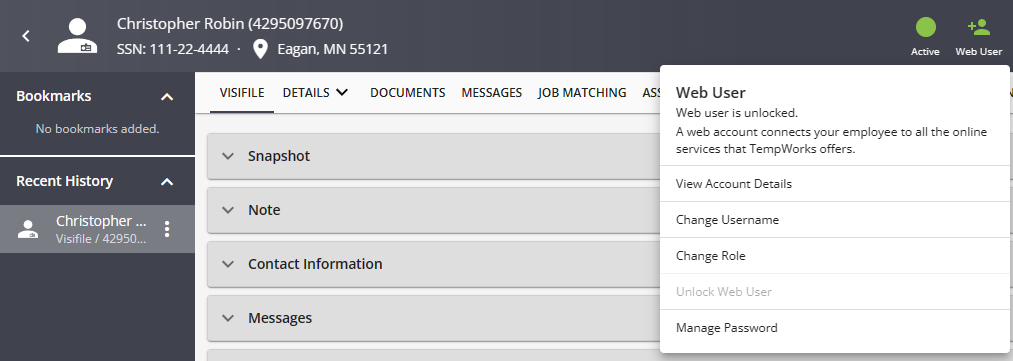
To view the user's web account page, select 'View Account Details.' From here, two cards can be interacted with:
1. Web User Details - Controls their web user account as a whole providing the ability to change username, change role, and manage their password:
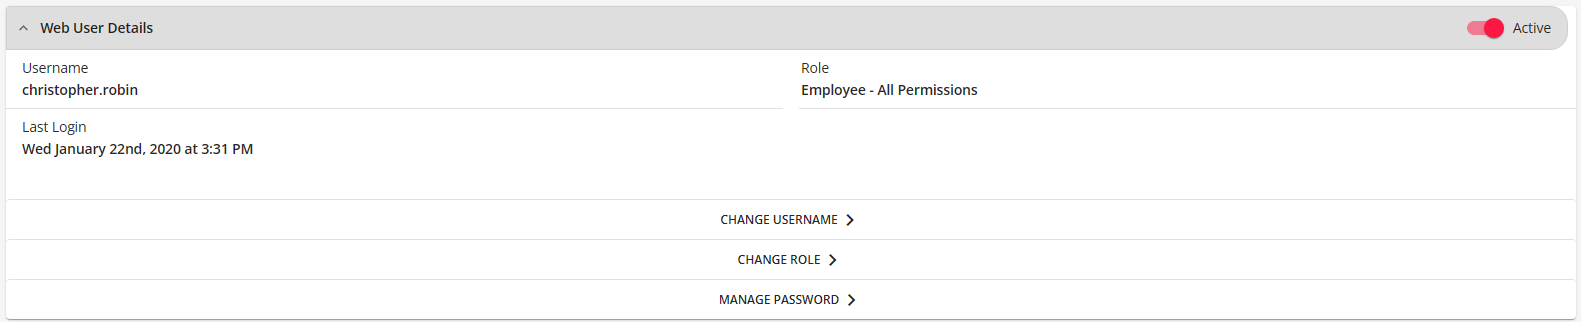
The web user's account can be rendered inactive by adjusting the active switch.
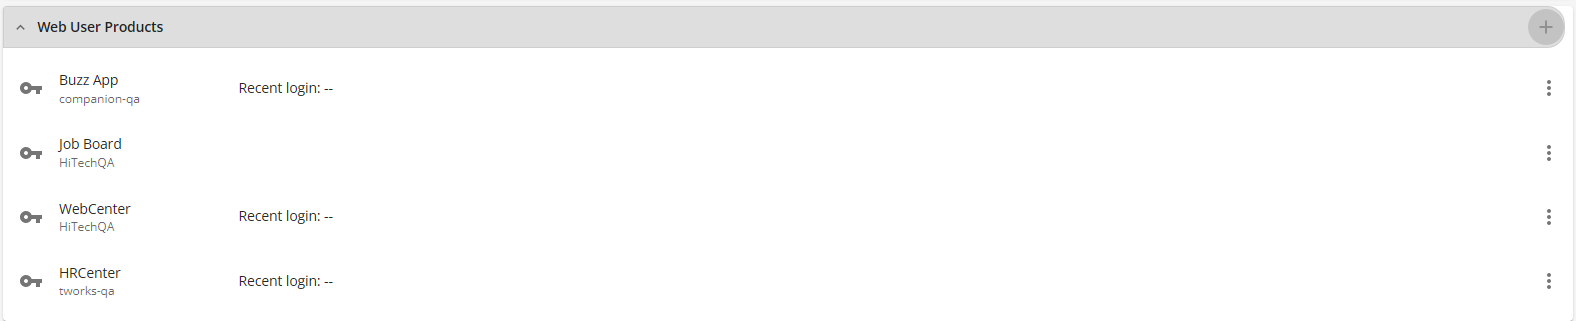
2. Web User Products- Products the employee/contact has access to & the last date they logged in
Changing a Web Username
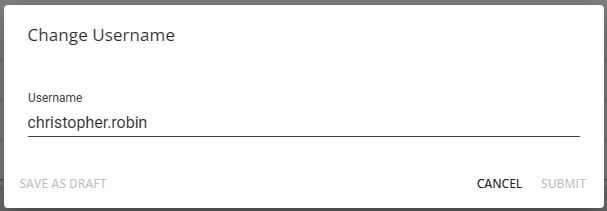
A web user's name can be changed by interacting with the web user charm and selecting "Change Username".
This will open the 'Change Username' wizard. Here, their username can be changed and submitted:
Changing a Web Users Role
A web users role defines what their experience will look like when interacting with WebCenter. These are typically set up by your WebCenter admins. They may limit or expand how much of WebCenter an individual user might have access to.
For example, a basic employee may be able to check their pay stubs or look at their assignment and not much else. A deluxe employee may be given access to WebCenter timecards as well.
To change a web users role select "Change Role".
This will reveal a wizard displaying the employees current roll and a drop down of all available roles in your system:

*Note* To better understand your available roles work with your WebCenter admin.
Changing a Web User's Password
A web user's password can be changed by interacting with the 'Web User' charm and selecting "Manage Password".
Unlocking a Web User Account
The ability to unlock an employee's web user account has been added to Beyond so long as you have the proper permission.
*Note* Users will need to have the "Can unlock web user account" permission in order to access this functionality:

For more information on adding permissions to Security Groups, please see the following article titled Beyond - Managing Security Groups.
With the aforementioned permission granted, selecting the "Web User" charm on an employee or contact record that is green will show that the web user account is currently "Unlocked":

If the "Web User" charm is yellow, the web user account is currently locked.
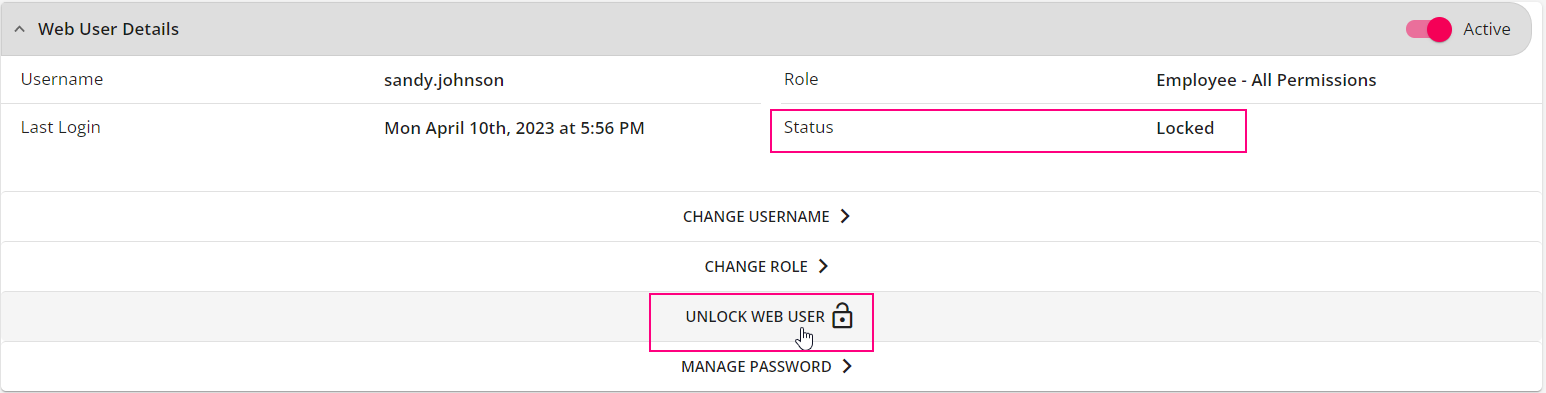
Select "Unlock Web User" and that account will be unlocked on WebCenter:

Additionally, you can view the status of a web user account from the "Web User Details" card of the respective employee or contact details page:
Searching Based on Web User Accounts
If you need to find employee or web user information based on a web user account or email, you can use the Web User Search option.
To Find the Web User Search:
- Navigate to B Menu > Records > Web Users.
- Here you will be able to search by all or part of the user's name or email.

- Tap the employee's name to be taken to their record on the web user account information.
- Tap on the email address to send an email. Check out Beyond - How to Email in Beyond
Additional Helpful Search Fields:
You can also add web user login criteria to any of your employee advanced searching.
- Navigate to Employee Search
- Click Advanced
- Choose the + Rule to add a new rule
- Type "Login" to see a drop down of login options to search by
- Choose whether you want to look for logins before/after/equal to a date
- Choose a date to search by
- Click Search
Example: Showing active employees who have not logged into Buzz since 4/1/2020

Beyond will only save logins from the last two months.