Creating an Employee Story in Beyond™
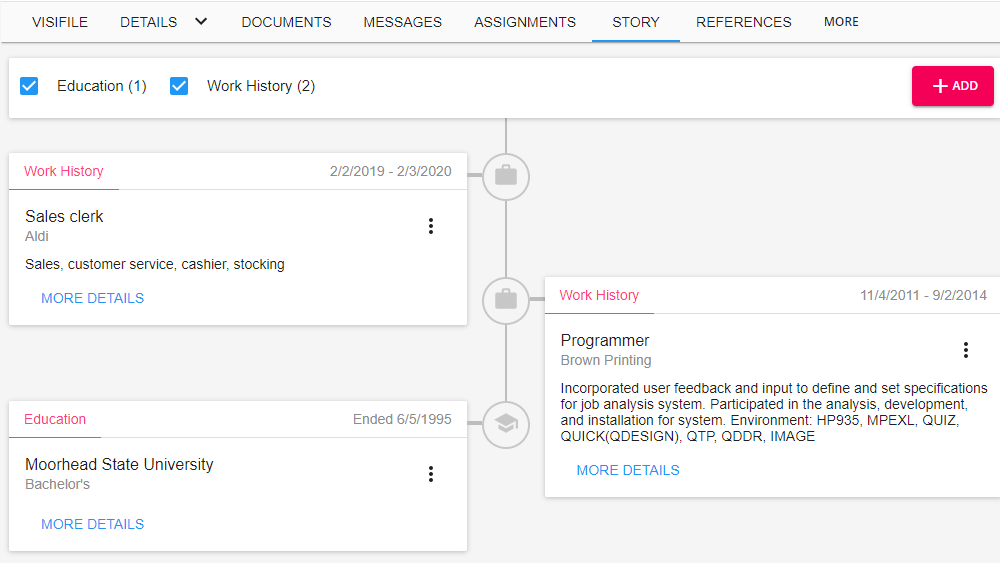
The Employee Story Tab takes Work History and Education events that can be gathered from a Resume or HRCenter Application and puts them in timeline so you can get a better picture of their education and work history outside your staffing agency.
Story takes work history and education information from an employee's resume being parsed in, or manually added, to create a chronological outline of that information. The below steps provide instructions to manually add and update the Story tab.
To Manually Create the Employee's Story:
To add Education or Work History, select the Add button to highlight Work History or Education. The associated form will open for information to be added.


Enter the information as it applies to each field. When the form has been completed, click  to add that card to the Story tab. The new item will appear in the chronological timeline appropriately referencing the applicable date fields of "Date Started" and "Date Ended".
To Update the Employee's Story:
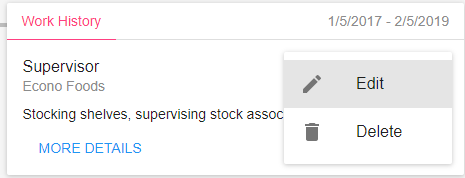
Each Work History or Education card can be edited or deleted from the three dot icon options menu to the right: 
Select Edit to make any changes or Delete to remove the card.
*Note*If the Employee's record has been created from a resume parsed into Beyond, the Story tab will auto-populate with the Work History and Education from that resume. See the article: Creating Employee Records in Beyond for more information.
Supervisor Name and Address Updates
Due to some updates, you might see the option to convert the supervisor name or address when editing a work history item:
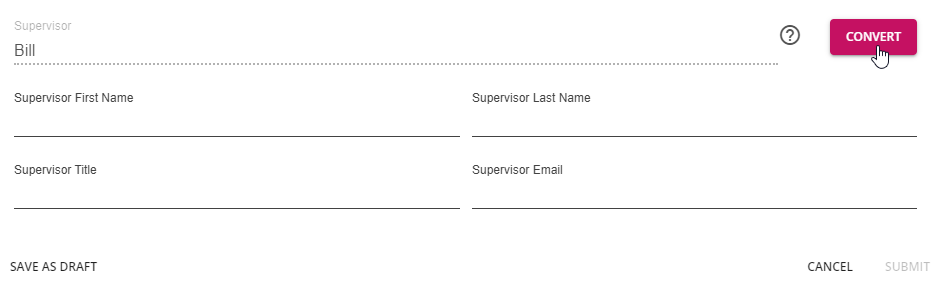
Supervisor Example:
In this case, the supervisor name was parsed in as one line instead of separating out first and last name. The system will attempt to correctly parse the name into the correct fields once you hit "Convert"
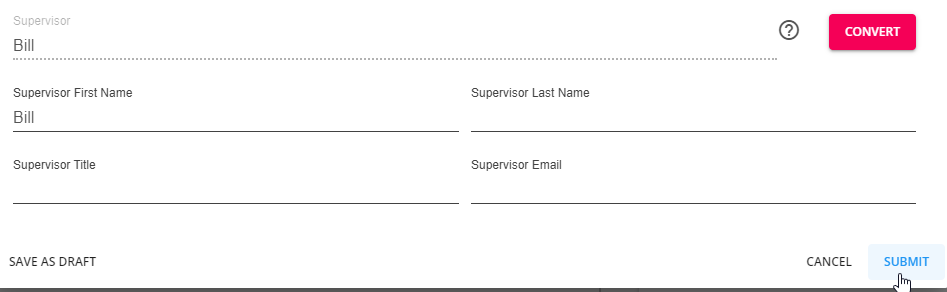
This will then give you the opportunity to review that the information is in the correct spot (and make any necessary changes) before selecting submit. Once you submit, the original one line address will no longer be visible and you will only have the address that is broken out into separate fields.
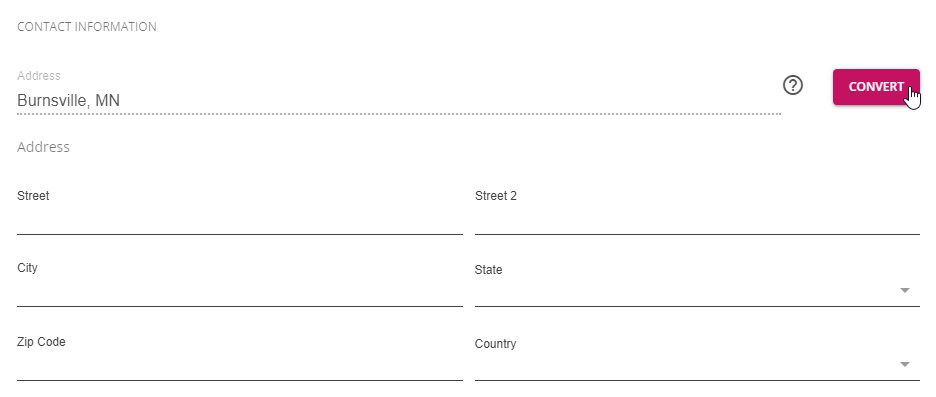
Address Example:
In this case, the address was originally parsed and saved as one line instead of separating out street 1, 2, city, state, etc. The system will attempt to parse this information into the correct fields when you hit "Convert"
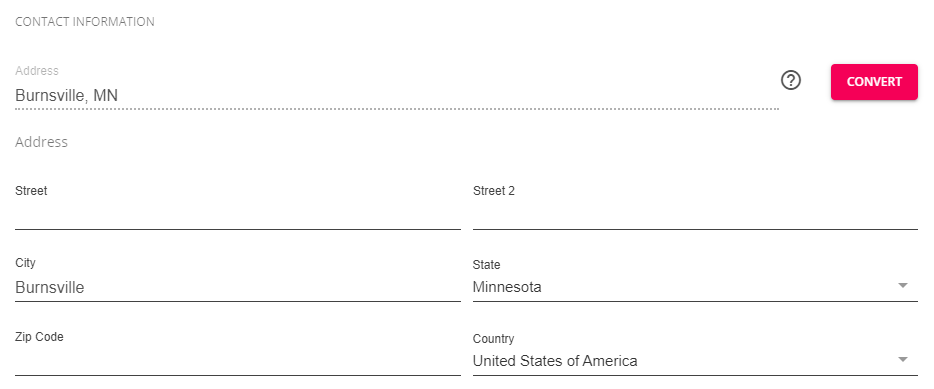
This will then give you the opportunity to review that the information is in the correct spot (and make any necessary changes) before selecting submit. Once you submit, the original one line address will no longer be visible and you will only have the address that is broken out into separate fields.
Searching by Employee Story Information
Searching for Education or Job History can help narrow down your candidate list.
- Navigate to Employee Search
- Select the Advanced tab
- Tap the + next to rule
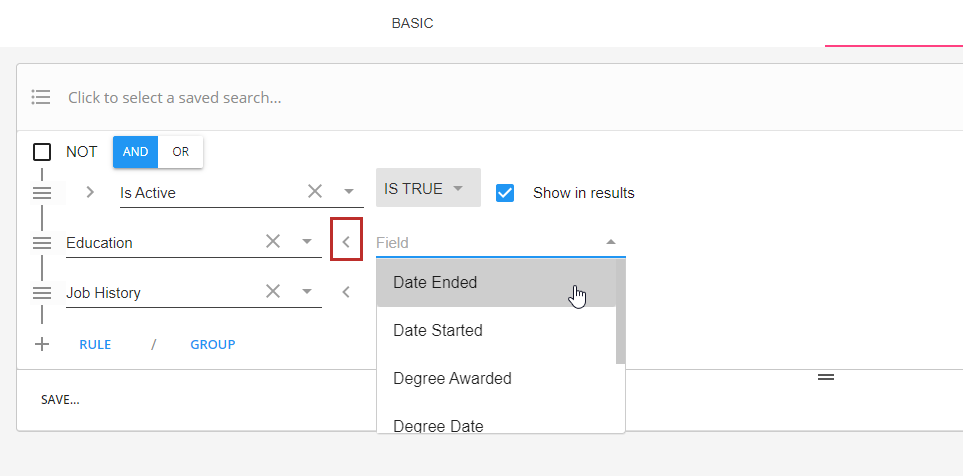
We recommend using the Show Category option to see all related fields for Education and Job History: 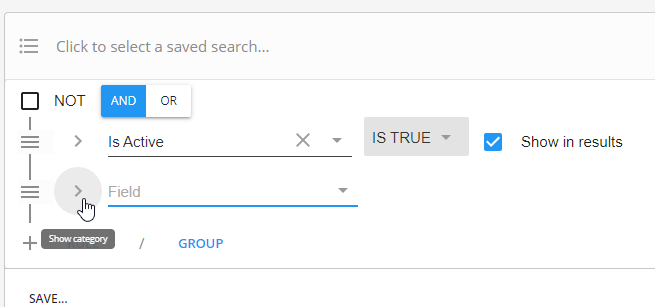
Example of Category in Advanced Search:
For more information on searching in Beyond, check out Beyond - Advanced Searching
Looking to Test Your Knowledge?
Unsure if you know your stuff? Take the following quiz to find out: