What is the navigation tree?
The navigation tree is the list of options that appear in the lower left corner of your Enterprise window:

If you use Enterprise you interact and utilize the navigation tree to locate records and navigate throughout the system, but did you know it can be customized? In fact, any items that appear to you within the all options section of the navigation tree can be added to your main tree.

How to customize your navigation tree:
Let's say you use HRCenter, hot lists, and the resume parser all the time.
To add these items to your main navigation tree begin by selecting Options from the E button in the upper left-hand corner:

Once you've selected Options, select Navigation and click the + icon to create a new custom group.
*Note* Each user has the ability to customize their navigation tree and must do this individually. That is to say, a TempWorks administrator cannot create a custom group and apply the new group to other users.
*Note* A user may select from any navigation group that is created.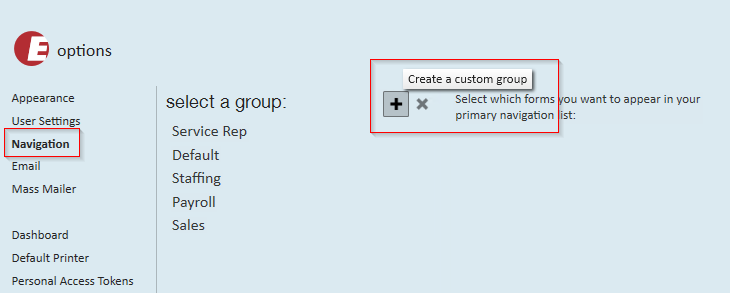
Upon selecting the + icon, the enter group name window will open, since the new group is only available to the user creating it, users can feel free to name the group anything they'd like.
Select save when done:

Highlight the newly created group to select which items you would like to appear in your navigation tree. By default, all items are selected so users should de-select the items you do not wish to see.
*Note* As a general recommendation less is more. Keep only those items that you anticipate using on a daily basis.

Once you are done defining your new group, select to save in the lower right-hand corner:

The new custom navigation tree now displays and will continue to display even after logging out/logging in. Users can always edit, delete, or add new custom groups by returning to the navigation section within E Options.
