What is a Service Rep Only Workflow?
Service rep only workflows are able to be assigned on the customer record. These workflows allow you to assign and edit preset forms that sales or account management can fill out for a particular customer. For example, generating a quote, creating a contract, or filling out a safety form. The service rep will fill out any required fields on the preset forms and then the final document(s) will be saved on the customer record.
*Note* This functionality requires HRCenterTM & BeyondTM access. If you are not currently using either of these products, talk to your account manager today.
Creating a Service Rep Only Workflow
This article covers:
Gather Your Forms
It's important before you start this process to gather all the necessary forms and information. Make sure all customer forms such as contract quotes, safety evaluations, contracts, etc. are ready to be filled out electronically. Do your forms have spaces big enough to be filled out? Could you utilize checkboxes or drop downs instead of text? Do you need a signature line? Do you have an electronic copy of your form?
Forms will be built using HRCenter Admin which requires uploaded forms fit the following criteria:
- Accepted Formats: .jpg, .tif, .gif, .png, or .jpeg
- Max Image Dimensions are 1005 x 1301 px
If you don't have an electronic copy of your form that fits these criteria, you can always scan your form and save it as one of the supported file types and utilize photo editing software or software such as MS Paint to change the pixel size.
Build Your Form in HRCenter Admin
- Navigate to the Forms section of HRCenter Admin
- Select the + in the upper right to add a new form
- Enter the following information:
- Display Name - Name you want displayed for the service rep
- Private Name - Name that will make the form easy to find in HRCenter Admin
- Description - What is this form being used for?
- Signer Type needs to be set to ServiceRep
- Select Save
- Select the Edit Form button to upload and build your form
*Note* Before getting started, please see When and When Not to Use the HRCenter Form Builder to determine whether or not a custom form will need to be developed. If you have determined that a custom form is not necessary, please see the articles for HRCenter Form Builder and HRCenter Admin: Form Builder.
Create a Page
Once your form has been uploaded and built with signature lines, drop downs, and check boxes, you are now ready to create a page. Only pages can be attached to workflows so it's important to create this page in order to add and assign it.
- Select Pages section of HRCenter Admin:
- Select the + in the upper right to add a new page
- Enter the following information:
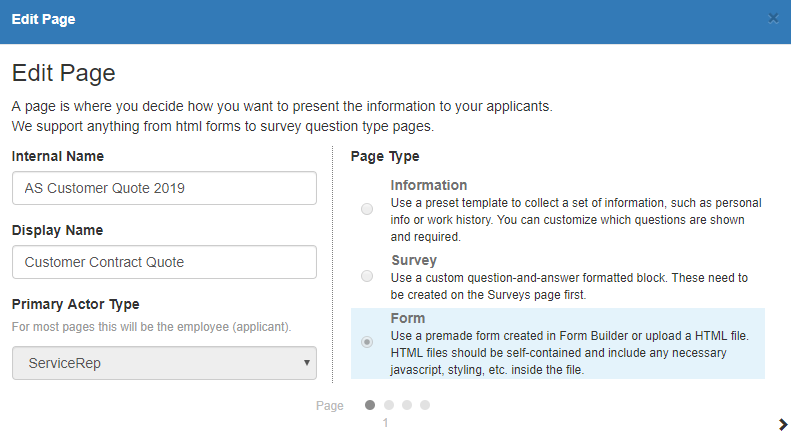
- Internal name - we recommend using the same name as the private name for the form
- Display name - we recommend using the same as the display name on the form
- Primary Actor Type - Set to ServiceRep
- Page Type - Select Form
- Select the arrow in the lower right to continue
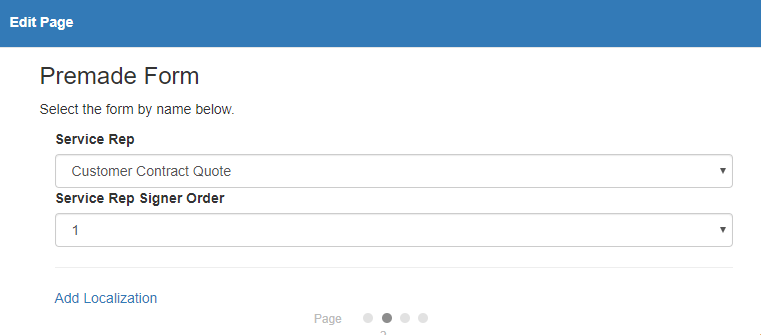
- Fill out the following premade form information:
- Select the form you created from the drop down
- Set the Service Rep Signer Order to 1:
- Fill out the following configuration details:
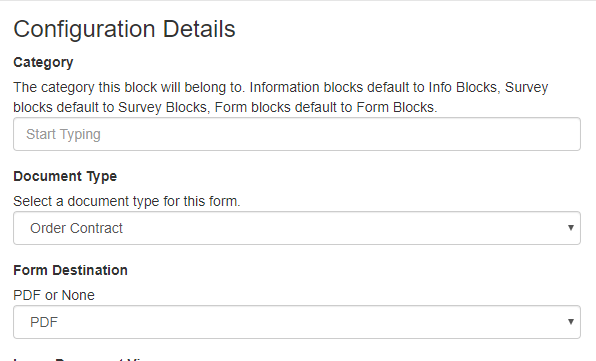
- Document type - which document type do you want this form to save as on the customer record
- Form Destination - set to PDF
- Maximum Documents - the max number of documents that the service rep can attach to the form
- Minimum Required Documents - the number of required documents the service rep must attach to the form (can not be greater than the max)
- Select the arrow in the lower right to continue
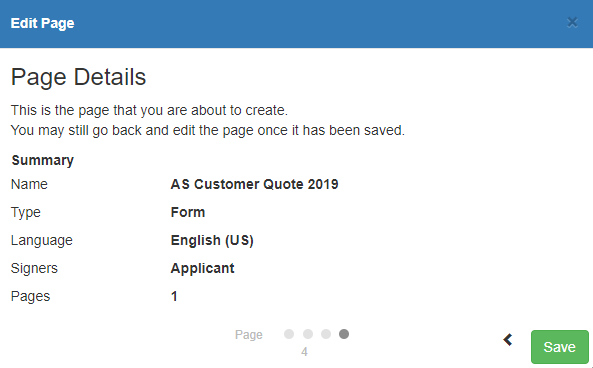
- Review the details before selecting save:


Create a Workflow
A new workflow will need to be created to assign to a customer record. This is a great way to bundle all the forms you have created.
Consider if you would like to group the forms you created into separate workflows. For example, perhaps there are forms for prospect customers and then forms for existing customers, etc.
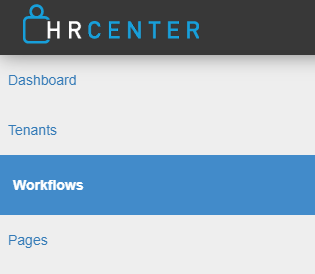
- Navigate to the Workflows section in HRCenter Admin:
- Select the + in the upper right to add a new workflow
- Enter the following information:
- Name - should be easily identifiable by your service reps
- Description - when should you use this workflow?
- Primary Actor Type must be set to ServiceRep
- Select Save
- Create at least one step
- Select the new to add a new step
- Enter step name (can be same as workflow name)
- Enter any customized text options to give your service rep more specific instructions:
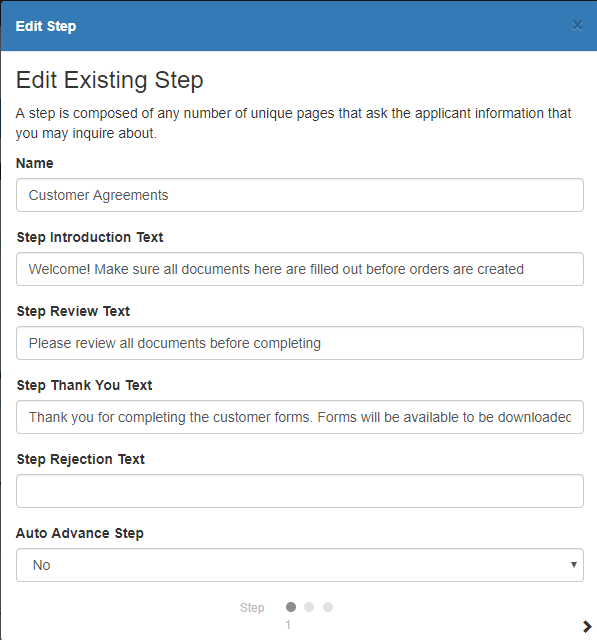
- Select the arrow in the lower right to continue
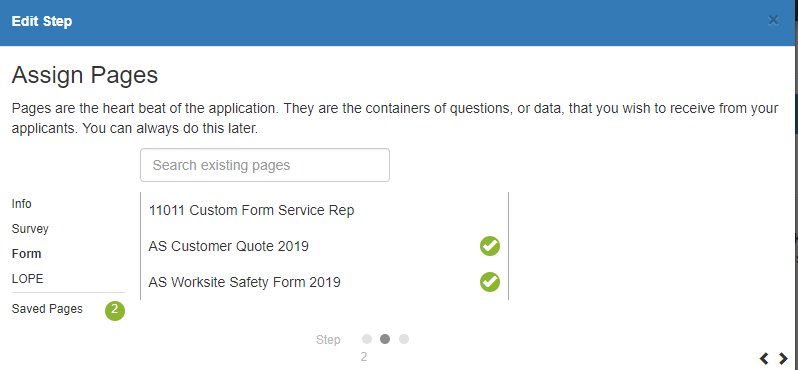
- Select your form pages & select the arrow in the lower right to continue:
- Review the pages selected and make sure they are in the correct order:
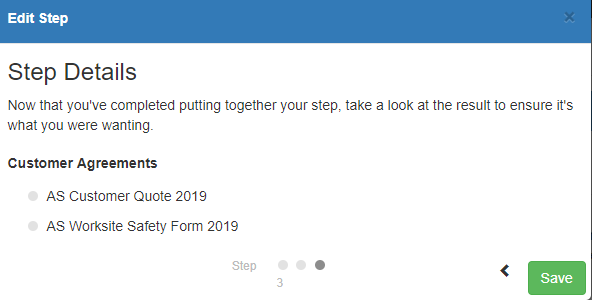
- Select Save to save your step
- Repeat for as many steps as necessary
- Select the Preview Button to review the workflow you just created


