Quick Steps:
For Manual Entry
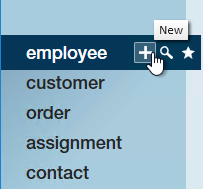
- Hover mouse over 'employee' on the navigation tree and click the plus icon.
- Fill out information (first and last name are required fields).
- Click 'Save.'
What is an Employee Record?
Employee records in Enterprise™ allow you to keep track of the relationship history your team has with an employee as well as keep track of documents and information that will be helpful for placing them on a job. Employee records include applicants, current employees, and past employees.
There are 4 different ways you can add an employee record into Enterprise:
- Resume Parser - creates an employee record based on their resume
- Manual Entry - creates an employee record and allows the recruiter to enter all the information in manually
- HRCenter™ - utilizes our application and on-boarding software to have the applicant fill out required information that will create their employee record
- Outlook Add-In- allows the recruiter to create an employee record and parse in a resume without ever leaving their email
*Note* On the go? Looking for other quick ways to add and look up employees? Check out our web-based platform, Beyond™. Remember than any records added in Beyond will be accessible in Enterprise(and visa-versa).
Utilizing the Resume Parser
This option allows you to upload a resume from a new employee and have the system create an employee record based on the information provided. This works great for recruiters who receive a lot of resumes.
Before Parsing a Resume:
Before you can parse your resume(s), you must save them to your computer to be uploaded into Enterprise. Enterprise allows you to upload 1 or an entire folder of resumes at once.
Remember that all resume parsing information will need to be reviewed before the records are created and the more documents you upload at once, the longer it will most likely take for the upload to complete.
To Parse a Resume in Enterprise:
*Note* Looking for a video walk-through? check out *The Resume Parser.
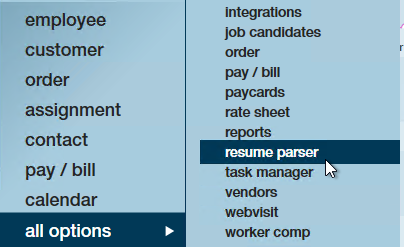
- Navigate to all options > 'resume parser' in Enterprise
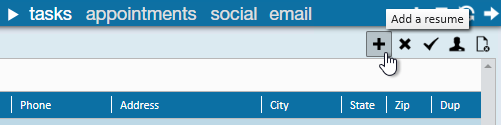
- Click the plus icon in the upper right
- Select file, folder, text, or staged resume options
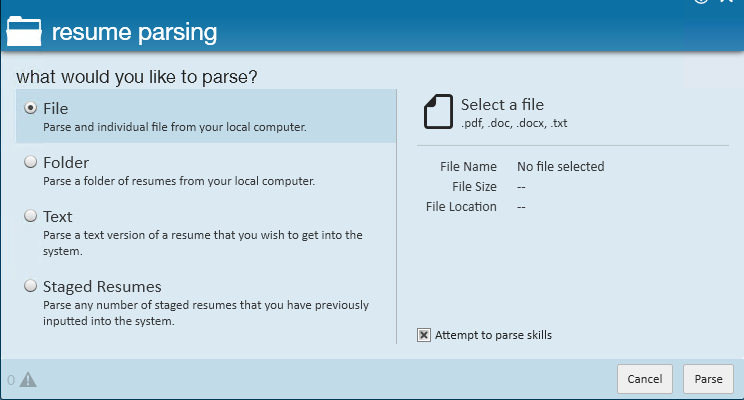
- Note that all resume files need to be a texted-based document (pdf, .doc, .docx, .txt are all accepted formats)
- Click on 'Select a File' & select the folder or file you want to upload
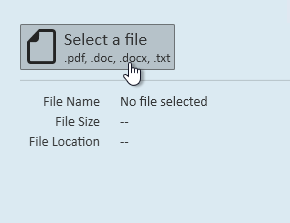
- If you are having trouble finding the file you are looking for, you may need to map your drives. Click here to learn more
- Click 'Parse'

- Review data parsed and make any necessary corrections
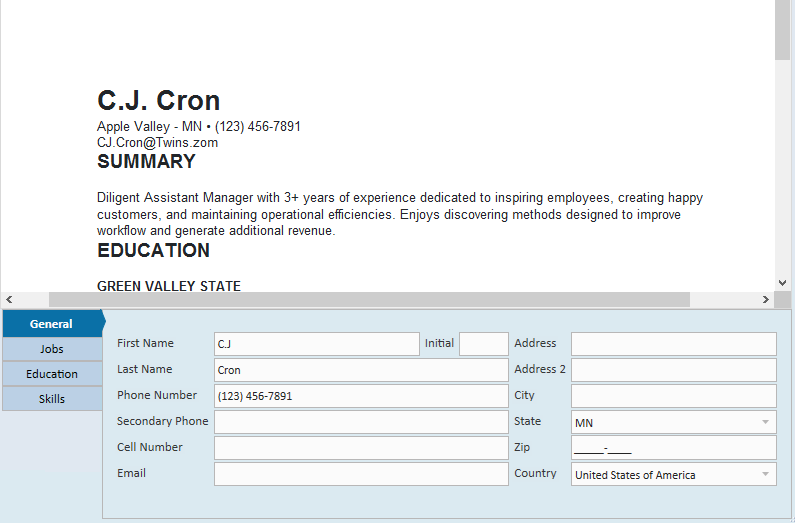
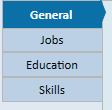
- Use the tabs at the bottom to cycle through general, jobs, education, and skill information
- Tabs such as jobs or education may have more than one entry that you can cycle through at the top
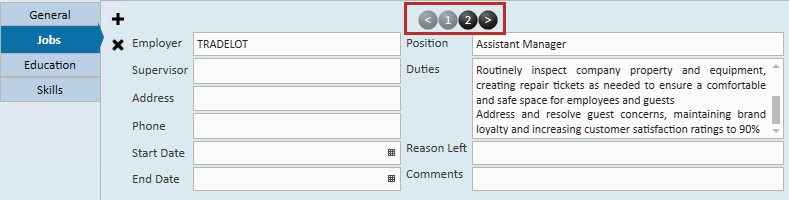
- Highlight to copy or drag information that the computer did not find into the correct fields at the bottom
- Click on any field to add or remove any information parsed
- Use the tabs at the bottom to cycle through general, jobs, education, and skill information
- Click on the 'Create an Employee Record' icon in the upper right when you are done reviewing the information


Duplicate Checking
Since employees or applicants typically don't enter their SSN on their resume, the system instead checks for duplicate employee records based on email, address, and name information provided. 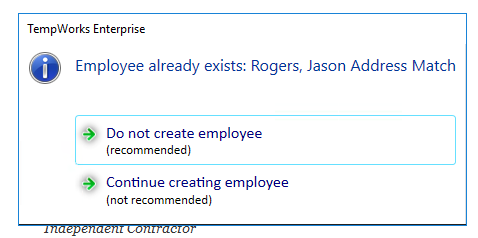
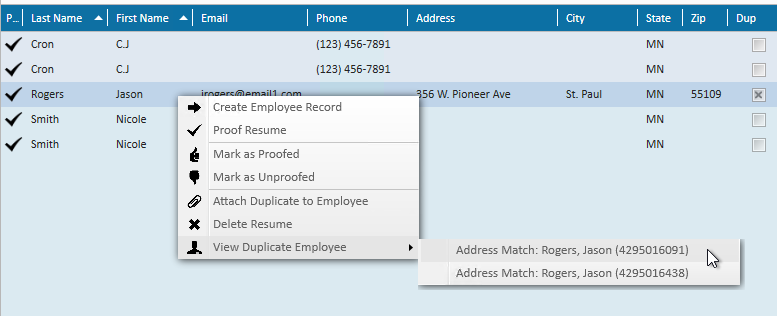
The system will warn you if it thinks the employee record you are about to create is a duplicate. You can also see this information from the main resume parser screen by looking at the 'Dup' column. Right click on any record with a checked box to see which related employee record the system thinks might be the same as the resume being parsed in.
If you've accidentally created a duplicate record that the system didn't find, check out How to Merge Employee Records.
Creating Employee Records En Masse
If you have multiple resumes in the resume parser, employee records can be created en mass:
- From the resume parser/unproofed resumes dashboard, utilize the Ctrl or Shift key to highlight multiple resumes, then select the employee avatar icon in the upper right hand corner:

- This will open a popup where defaults can be set for all employee records being created:
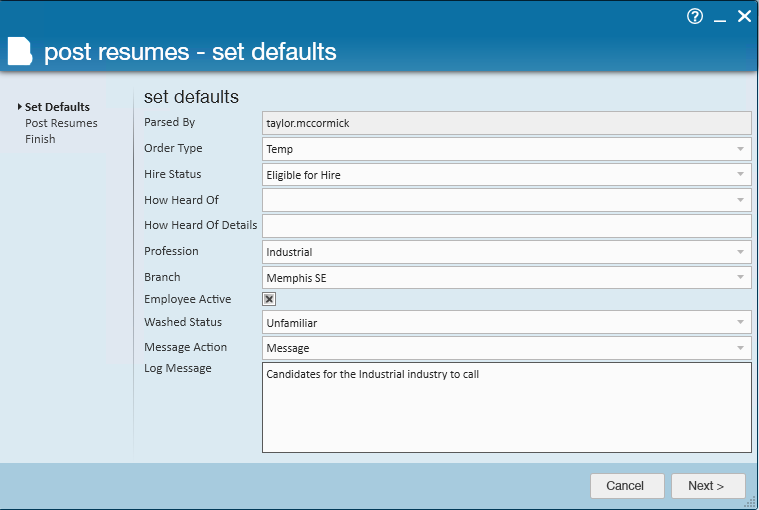
- Click Next and Finish to create an employee record for each record that was highlighted.


Manually Adding an Employee Record
When you don't have a resume handy or have time to have your applicant fill out an online application, you can always manually enter an employee (or potential employee) into the system. This option may take the most time but gives the recruiter the freedom to add any and all important information.
Employee's who are manually added into the system can still fill out an online application or on-boarding documents sent to them via Assigning HRCenter Workflows/pages from Enterprise.
*Note* It is recommended that you run a basic employee search before creating a new record as a way to prevent duplicate employees from being added. If you are looking for a video walk-through, check out Employee Part 1: The Basics.
To Add an Employee Record Manually:
- Hover mouse over 'employee' on the navigation tree and click the plus icon.
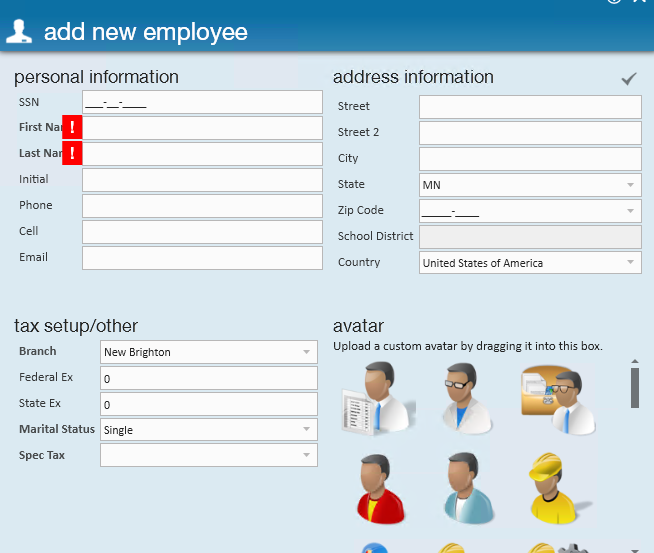
- Fill out information: (the ! icons indicate required fields, meaning you must enter data into those fields)
- SSN
- SSN is not required on an employee record because, if you have contractor or direct hire candidates, you will not be paying the individual.
- If an invalid or duplicate SSN is entered, you will receive a ! in front of the SSN field. If you hover your mouse over the !, a pop up will indicate what is "wrong" with the number you have entered:
- First & Last Name
- It is recommended that the first name and last name be entered using proper capitalization because these will show on the employee's paychecks, w2s, and correspondence where their name has been merged into an email.
- Phone Number
- For the phone field, it is recommended that you enter the primary phone number this employee uses. Many people no longer have home phones therefore this may be their cell phone number. Using the "main" phone number in this field will ensure you will see that phone number in ALL searches where this employee is returned in the results.
- Address:
- Instead on keying in the employee's resident city and state, tab through those fields and go right to the Zip Code. By keying in the employee's zip codes, their city will be on the drop-down list. Select their city from the drop-down list and it will auto-populate the corresponding city and state fields.
- Tax Setup:
- If you do not have the federal & state exemptions or marital status for this employee at the time you are initially entering their information, the exemptions will default to zero and the marital status will default to single (this will put the employee into the highest tax bracket). When you do receive their w-4 information, this data can be updated on the employee's pay setup form.
- SSN
- Click 'Save.'


*Note* TempWorks will not allow:
- Duplicate SSN's
- SSN's with 00 as the 4th and 5th digits
- SSN's which start with 9
Some systems may require different fields or have different fields available. Always check with your staffing company's processes to ensure you enter all the information that your company requires.
Configuration Alert: Address Standardization
- Address standardization is an option that can be set up in Enterprise. This is used to ensure an address that is entered or changed on an employee matches the US Postal Service (USPS) records.
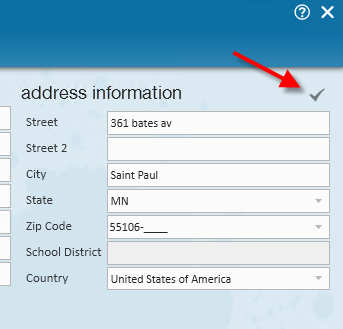
- With this configuration set to 'required,' users will have to select a check mark icon above the address before saving the record:
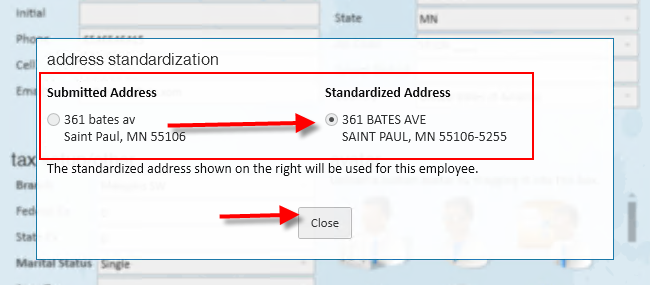
- From here the user will be able to differentiate the submitted address from the standardized address by the USPS. If the configuration is set to 'enabled,' the user may keep the entered the submitted address before continuing:

For more information, check out Enterprise - Address Standardization