How to Utilize Sense
With the credentials entered, the integration is ready to be utilized. The Sense integration is used via the following methods:
*Note* Please see the Sense Knowledge Base for further instruction on the other tools that the Sense integration supports.
Sense Chrome Extension
The Sense Chrome Extension can be used to parse record information in order to send individual and mass messages.
The following information is parsed from the webpage into Sense:
- Name
- Phone Number
For more information, including setup instructions for the extension, please see the Extension Settings article within Sense's Knowledge Base.
*Note* The web browser extension is currently only available within Google Chrome.
The following is an example process of sending a message from the Sense Chrome Extension:
- Run a search for the record type you would like to send a text message to.
- Once the search is complete, click on the Sense Extension icon at the bottom right of the page.
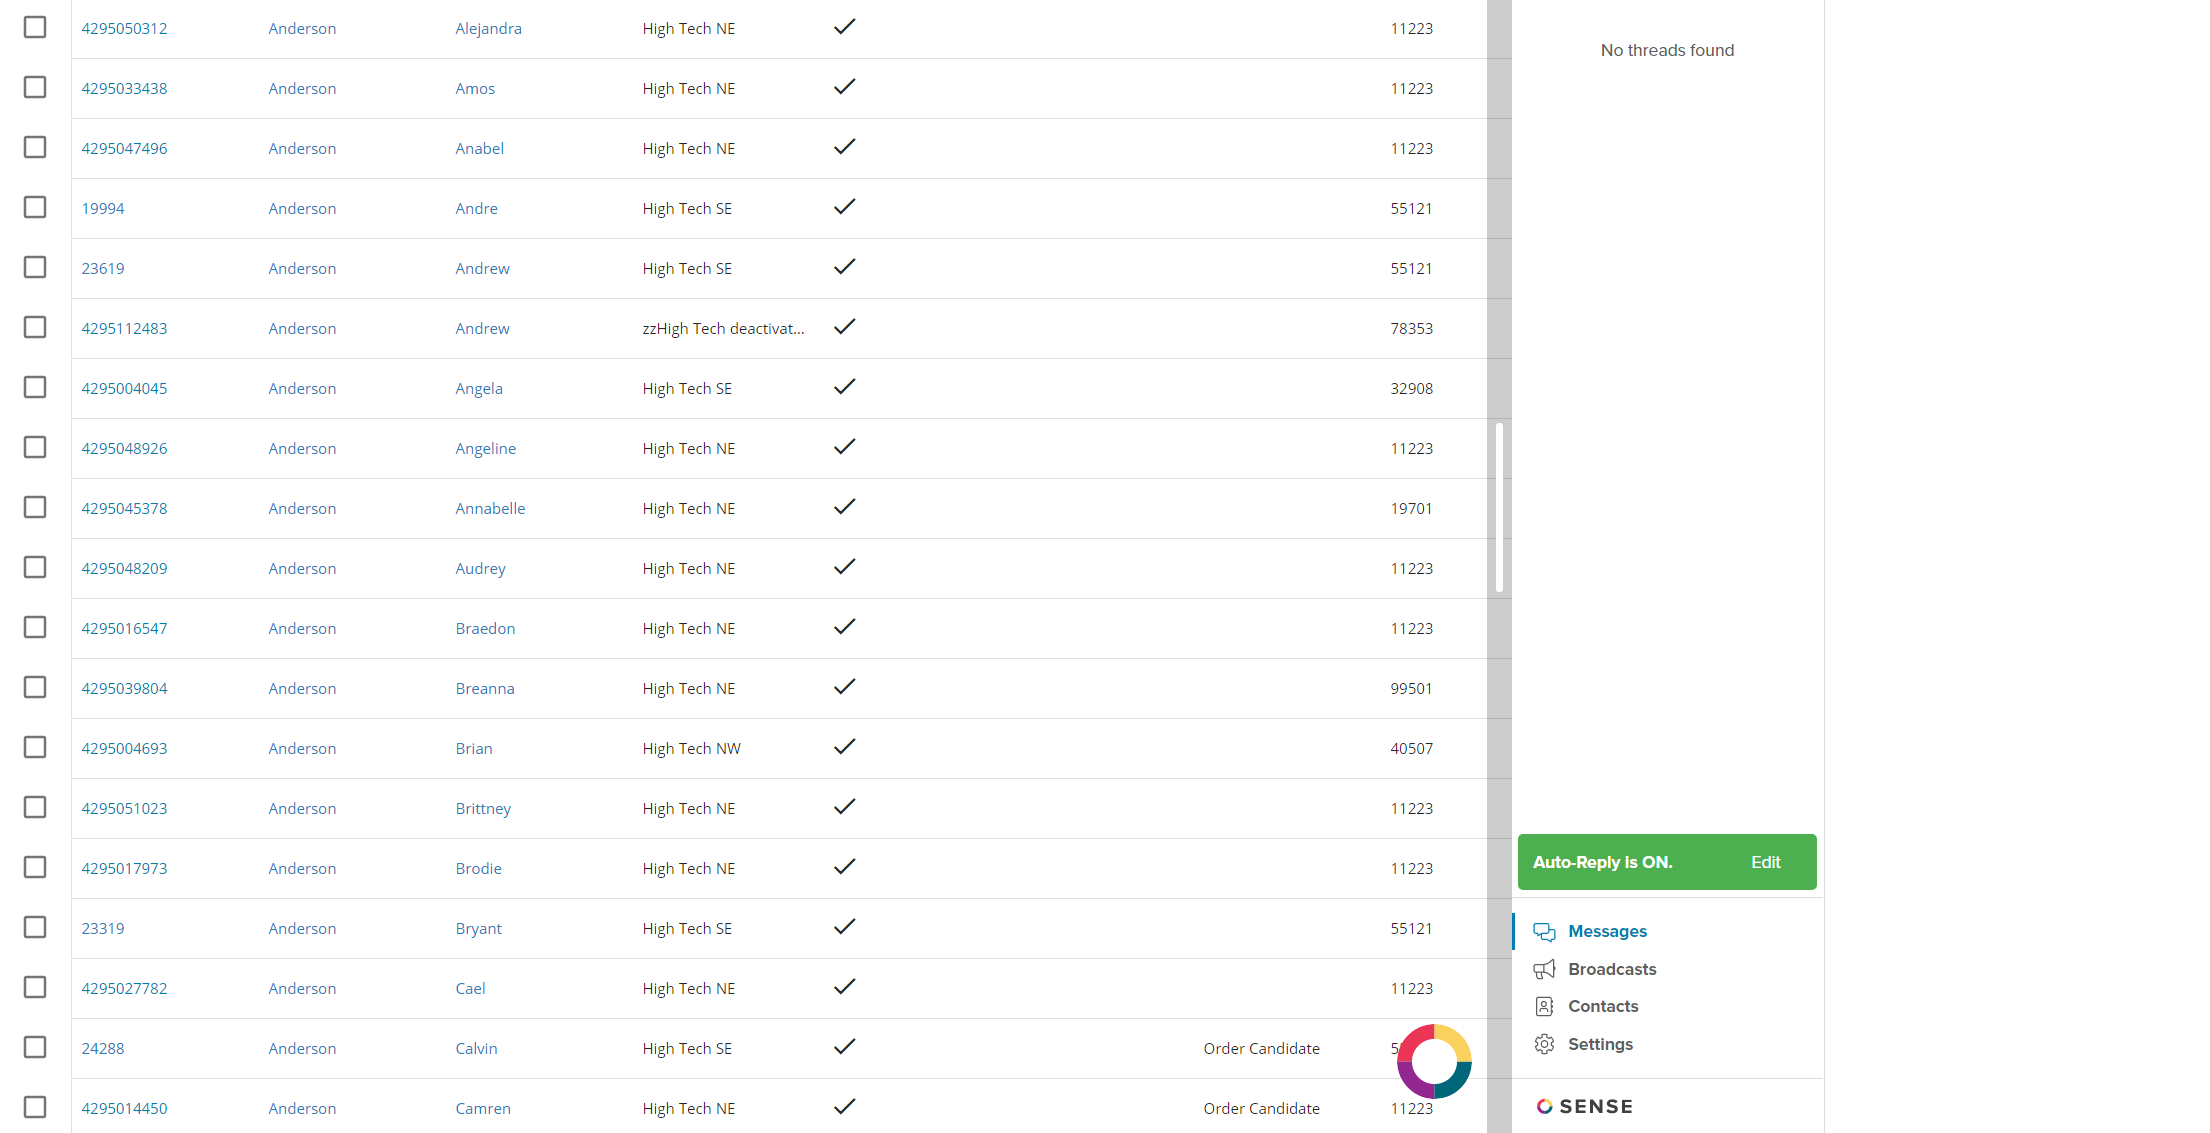
- Upon clicking on the Sense icon, the extension sidebar will open:
- Select 'New Message' and then select 'Grab Numbers From Screen'. The extension will automatically parse the cell phone numbers and find contacts that are stored within Sense for text messages to be sent.
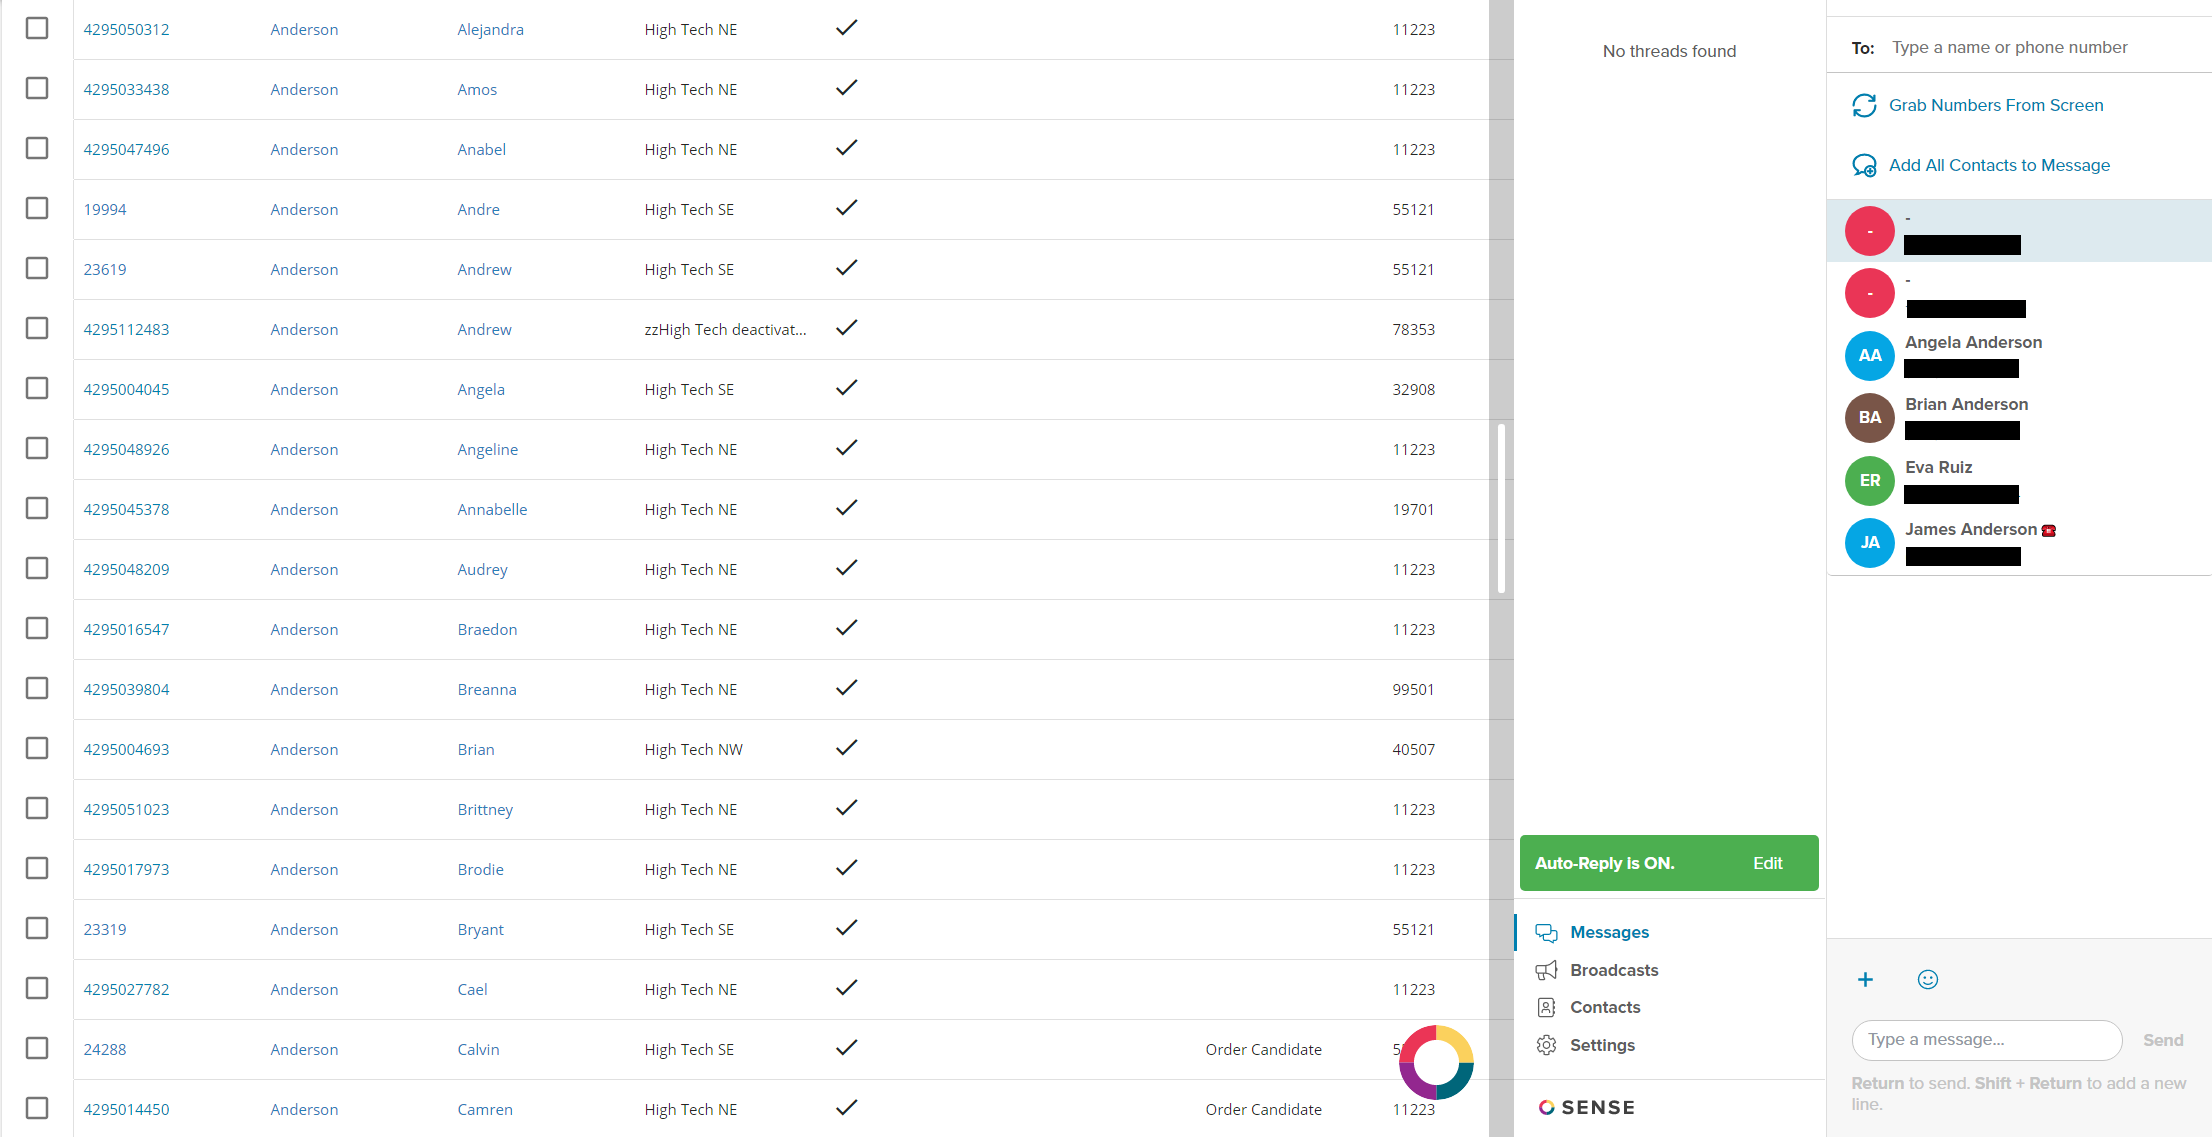
- Once the contacts are found, you will have the option to add all to a mass text message, or select a single contact from the list. For this example, we will select 'Add All Contacts to Message'.
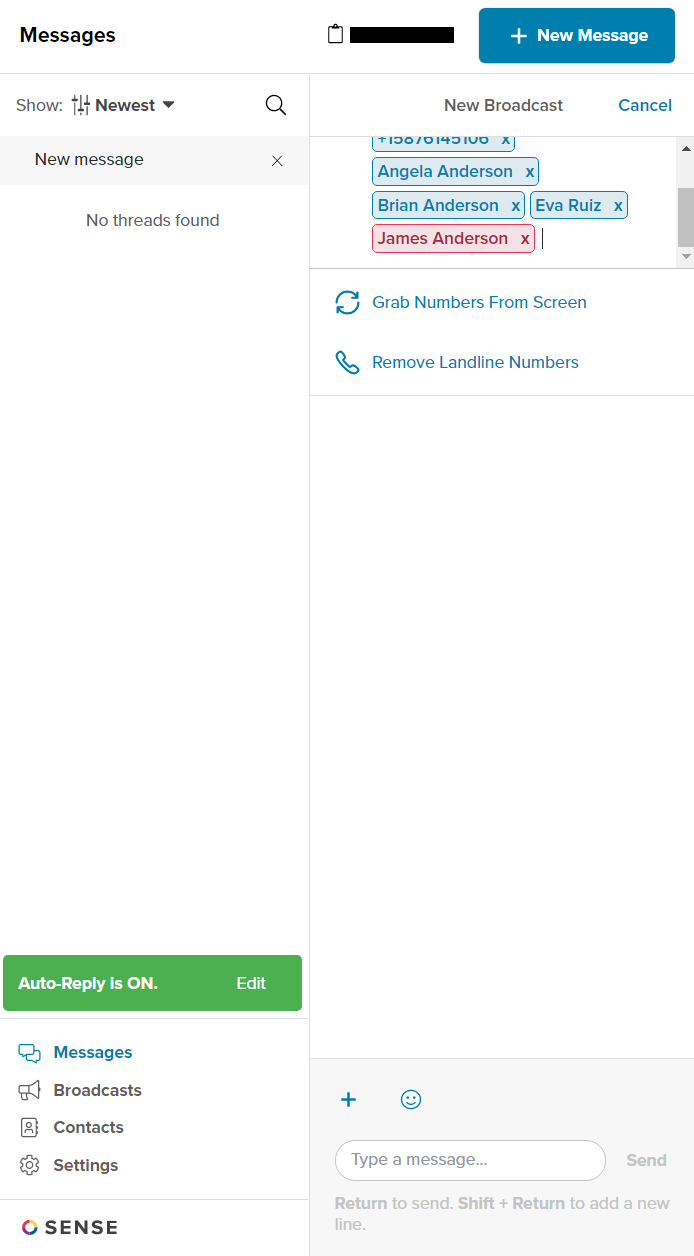
- With the option selected, you will see all of the phone numbers added within the 'To:' field along with the option to remove landline numbers (highlighted in red). Considering messages cannot be sent to landline number, we will remove them from the recipient list:
- With the correct phone numbers selected, the message can be entered within the 'Type a message' field and then the 'Send' option can be selected.
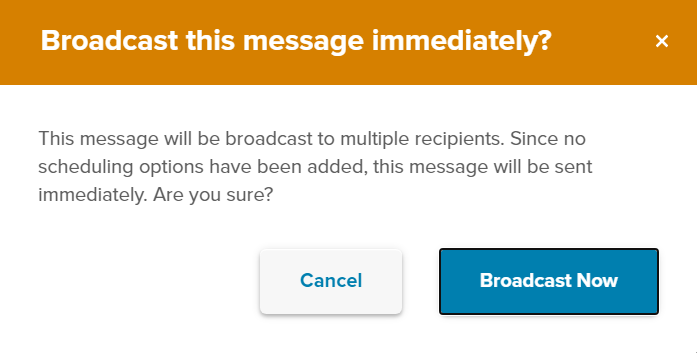
- If the message was not scheduled to be sent, a warning will appear within the extension side bar, verifying that you want the message to be sent to the listed recipients. Select the 'Broadcast Now' option to continue:
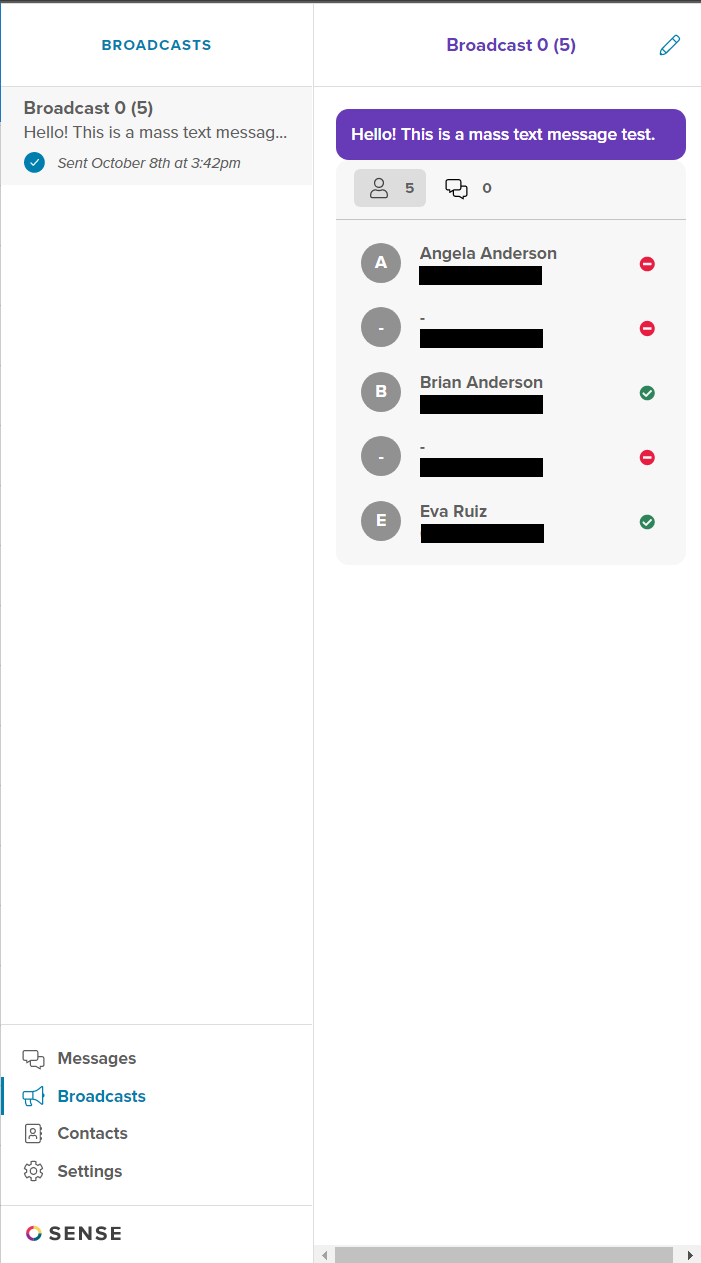
- Once the message has been sent, you will see the mass text, along with the recipients, within the sidebar:
- Once the message has been sent successfully, the conversation will be saved as a message on the respective record within Beyond:


*Note* Once a record has been switched from Active to Inactive in Beyond, the record is synced to Sense one last time.
Along with required fields for syncing, the following must be true for the automatic syncing of Inactive records to Sense:
- For Employees:
- Record has been deactivated within the last 2 years, or
- Record was last synced with an Active status prior to being Deactivated.
- For Assignments, Contacts, Customers, Job Orders, and/or Service Reps:
- Record was last synced with an Active status prior to being Deactivated.
Sense Web App
While the Sense Chrome Extension is a great tool to send mass text messages to many contacts, the Sense Web App provides much more analytical information along with being a hub for message management.
In addition to sending messages through the web app, you can also do the following:
- View analytics on messages that have been sent
- Schedule messages to send
- View and interact with contacts and previous messages
- Configure settings
The following is an example process of sending a message from the Sense Web App:
- Navigate to your Sense Web App (personalized URL provided by Sense)
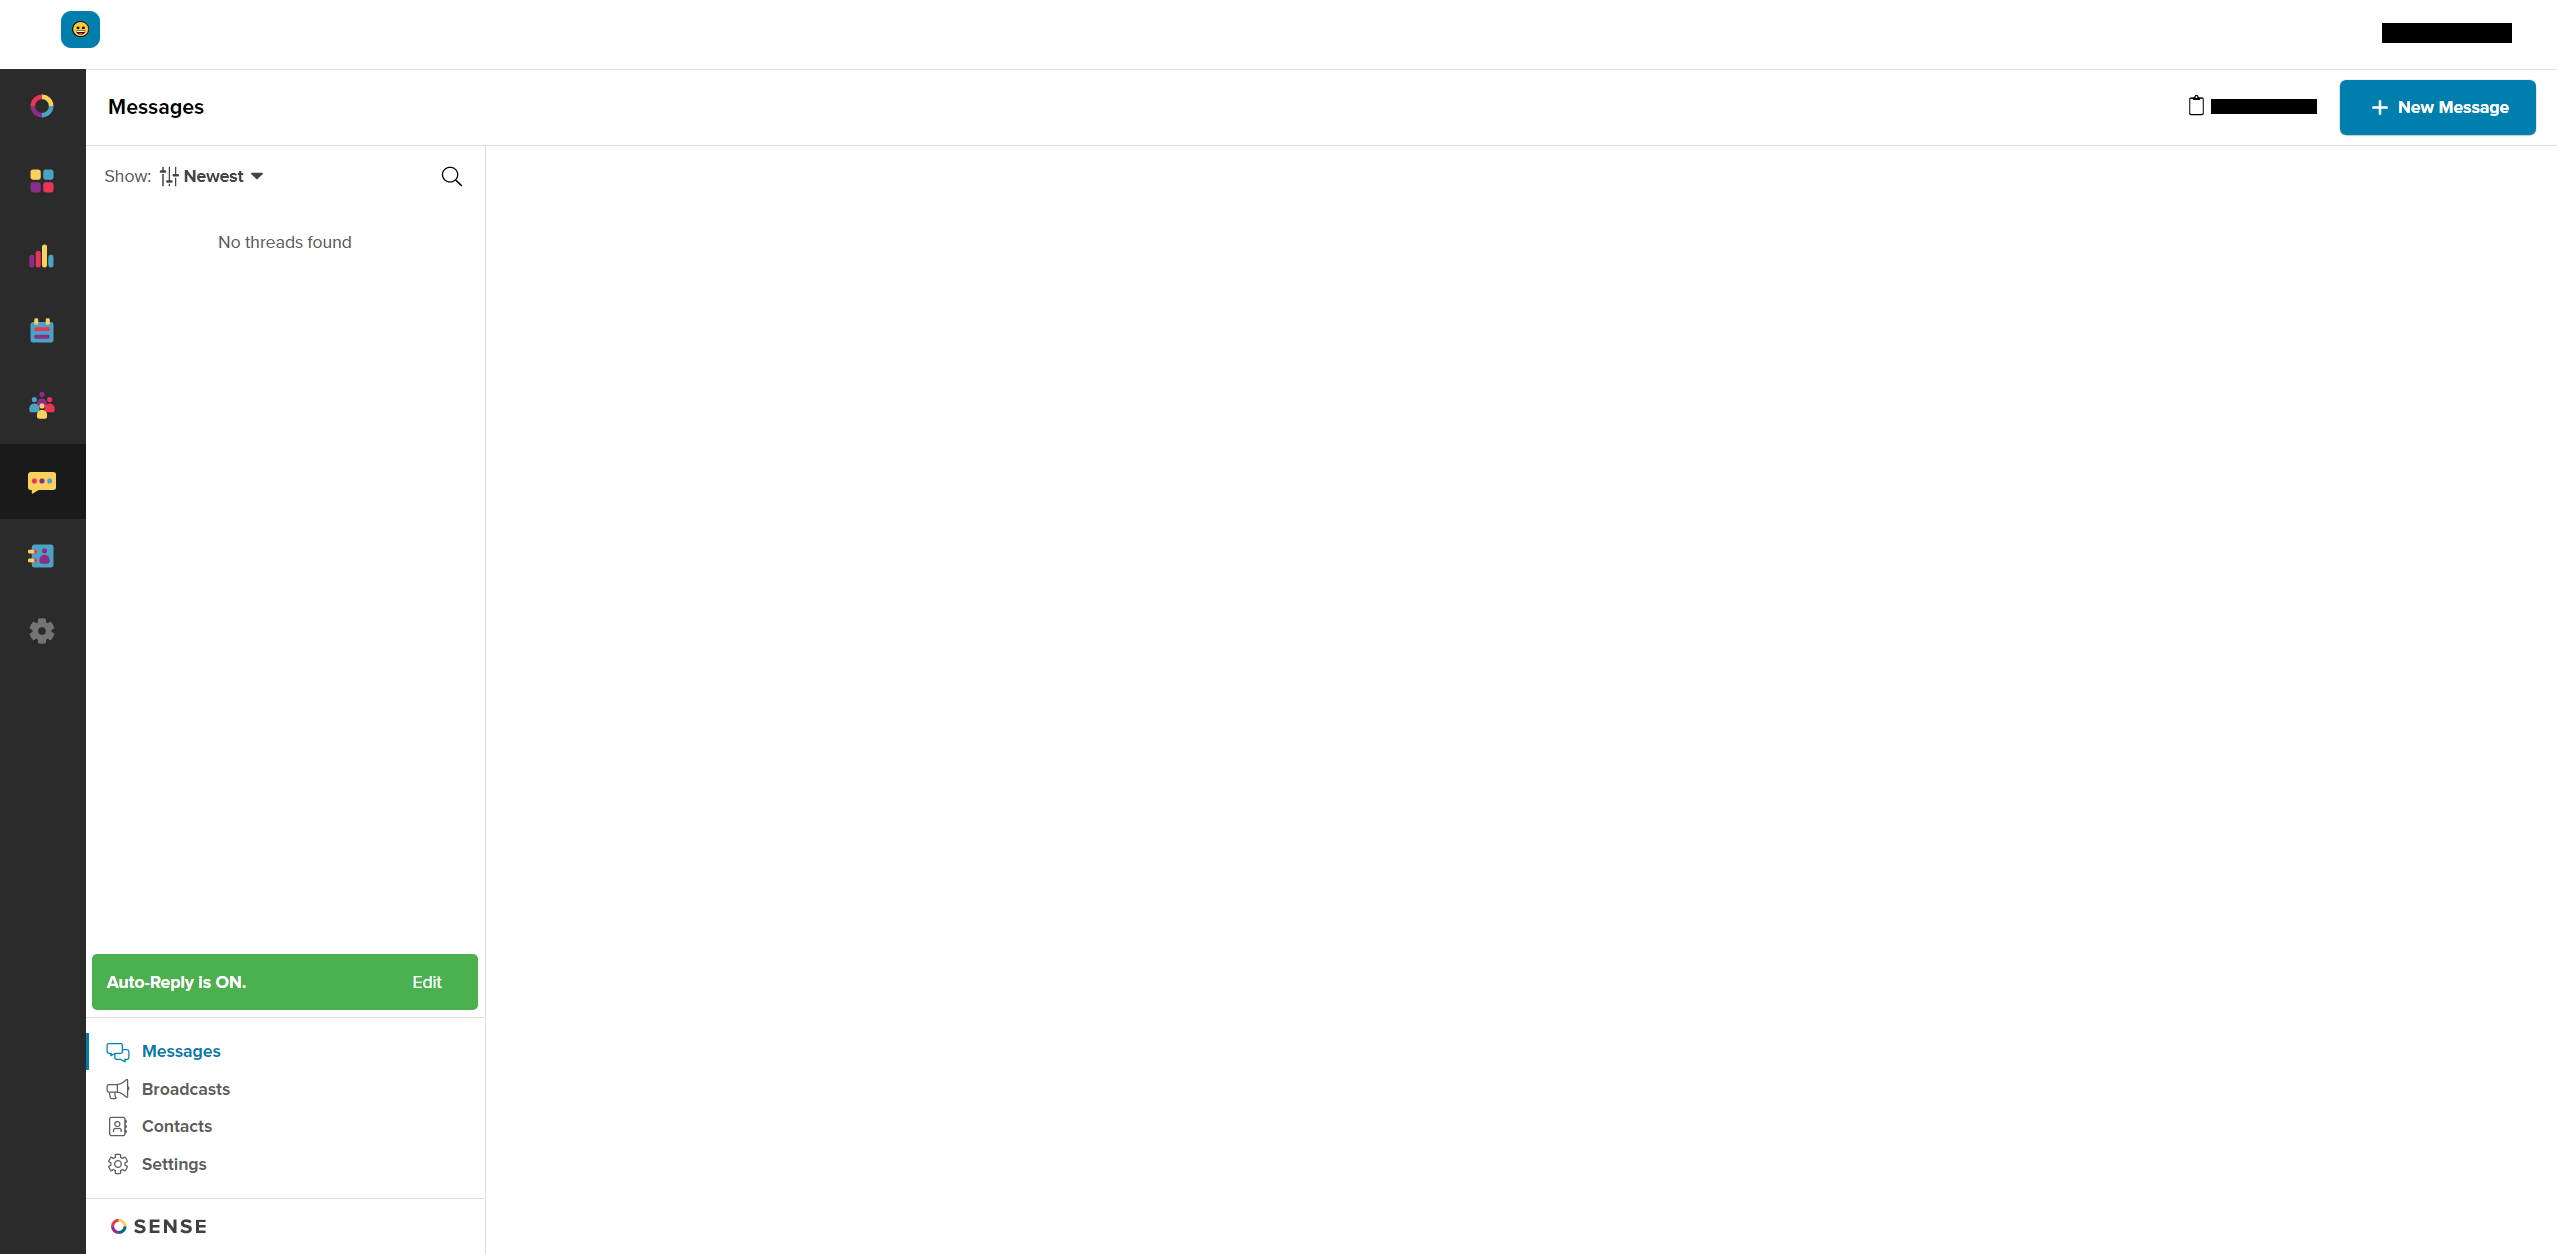
- Select the 'Messages' tab on the left:
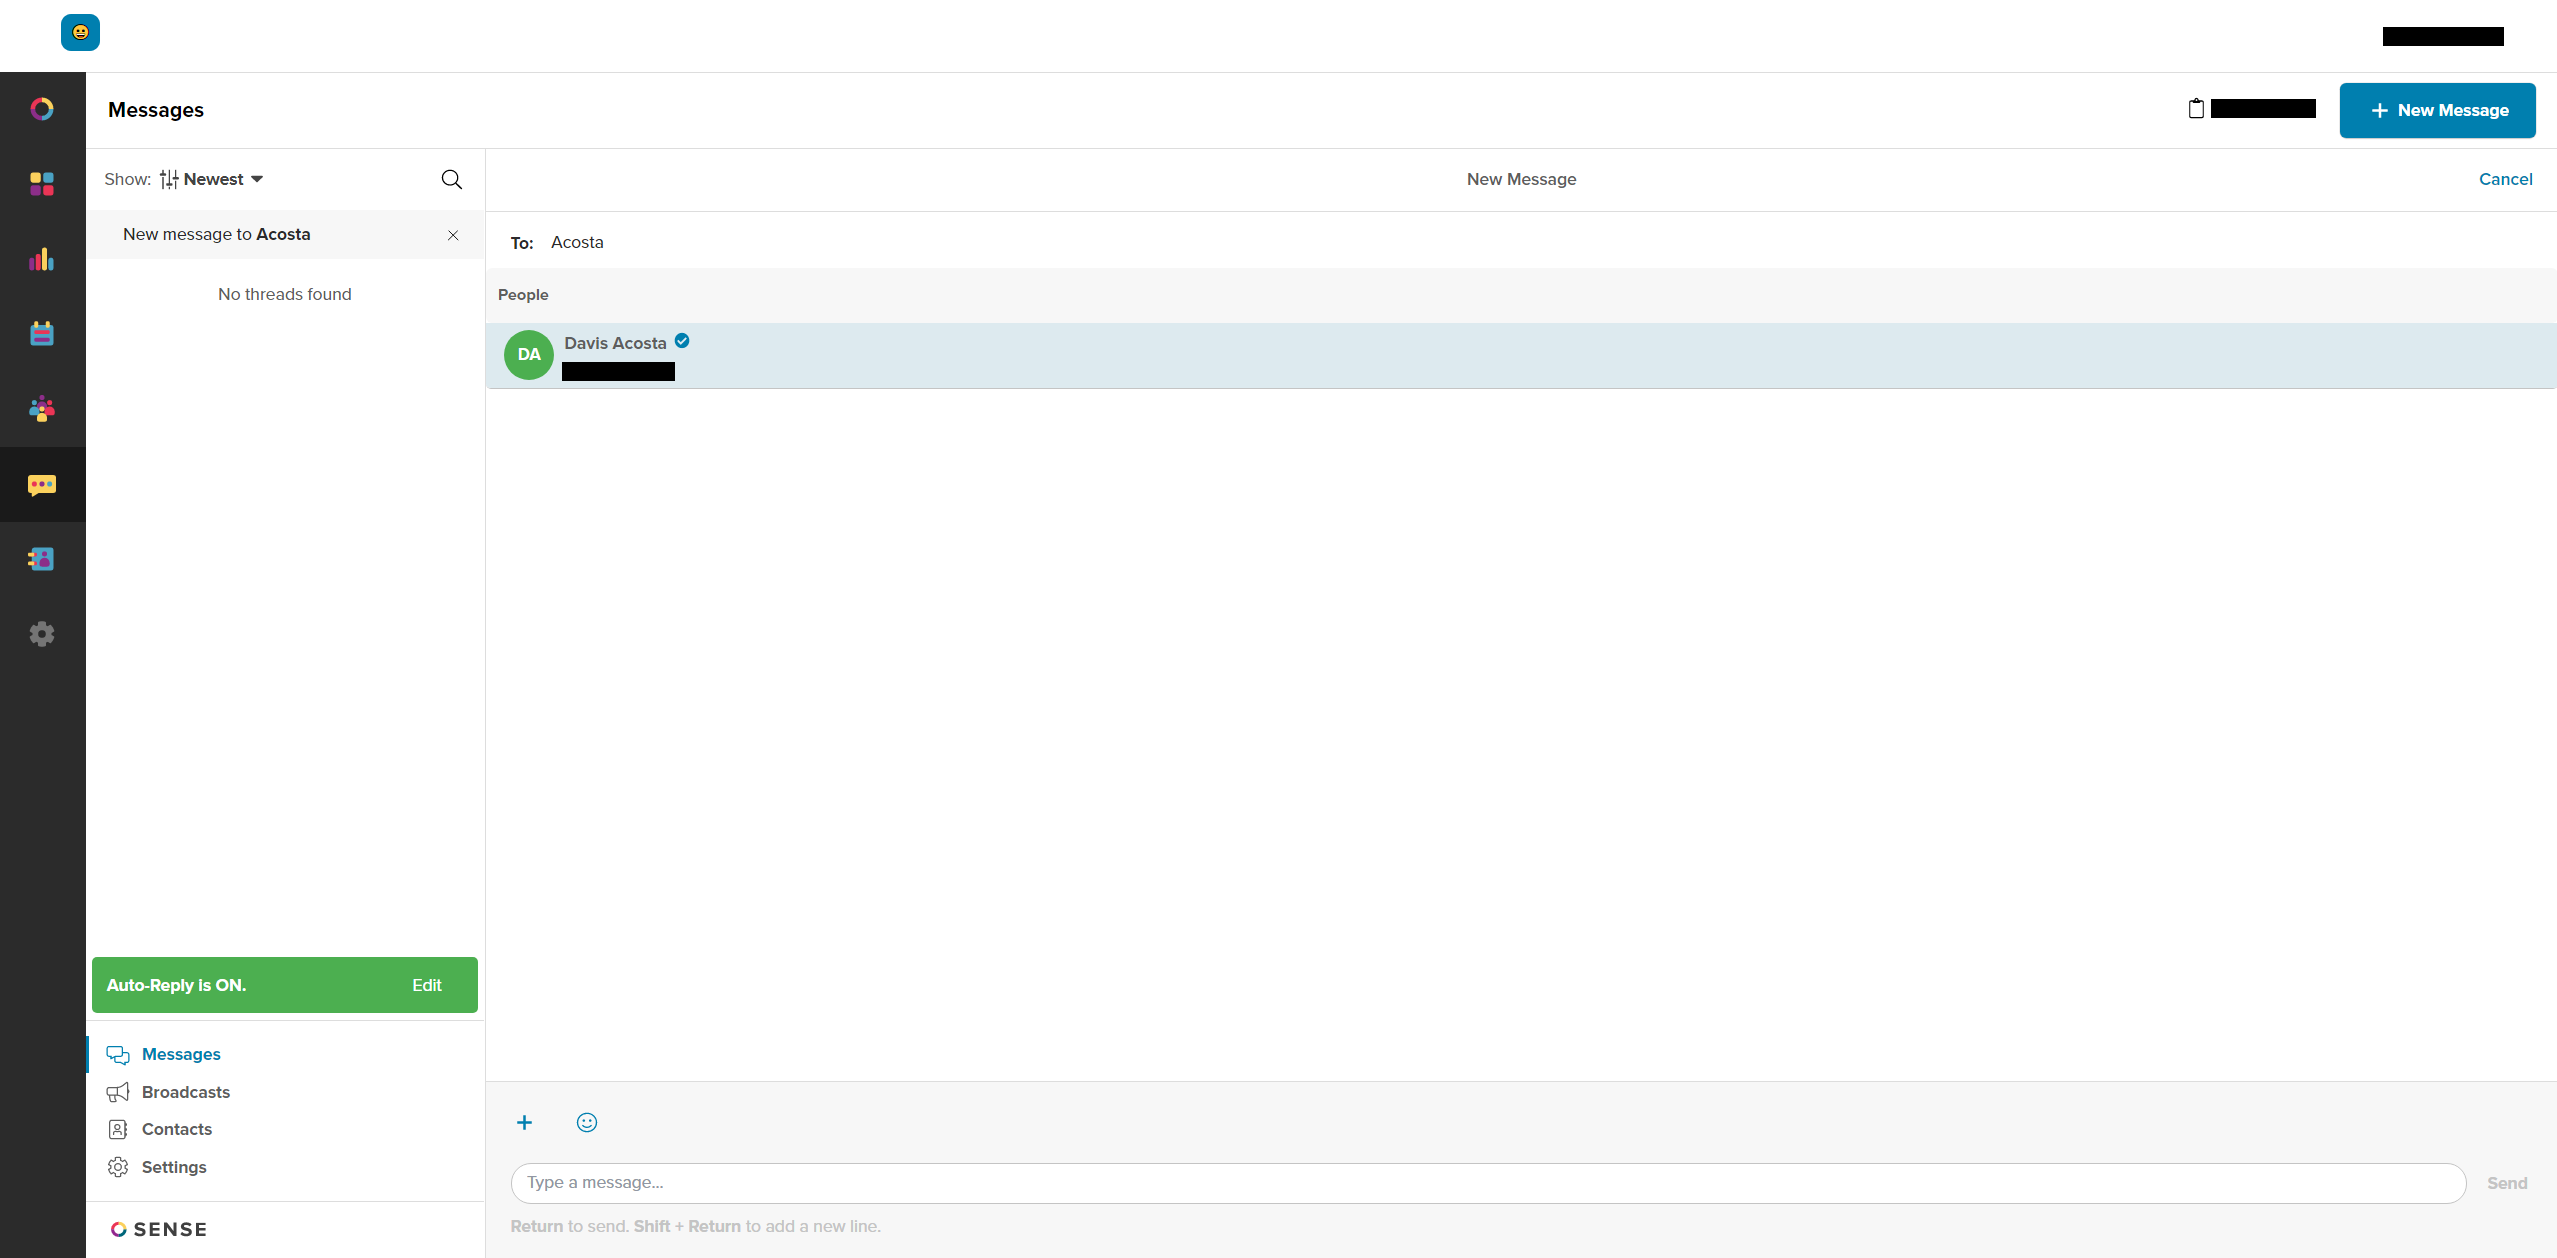
- Select 'New Message' at the top right
- Enter the name or the phone number of the contact that you would like to send a message to:
- If a contact is found that matches the information entered, it will appear as able to be selected.
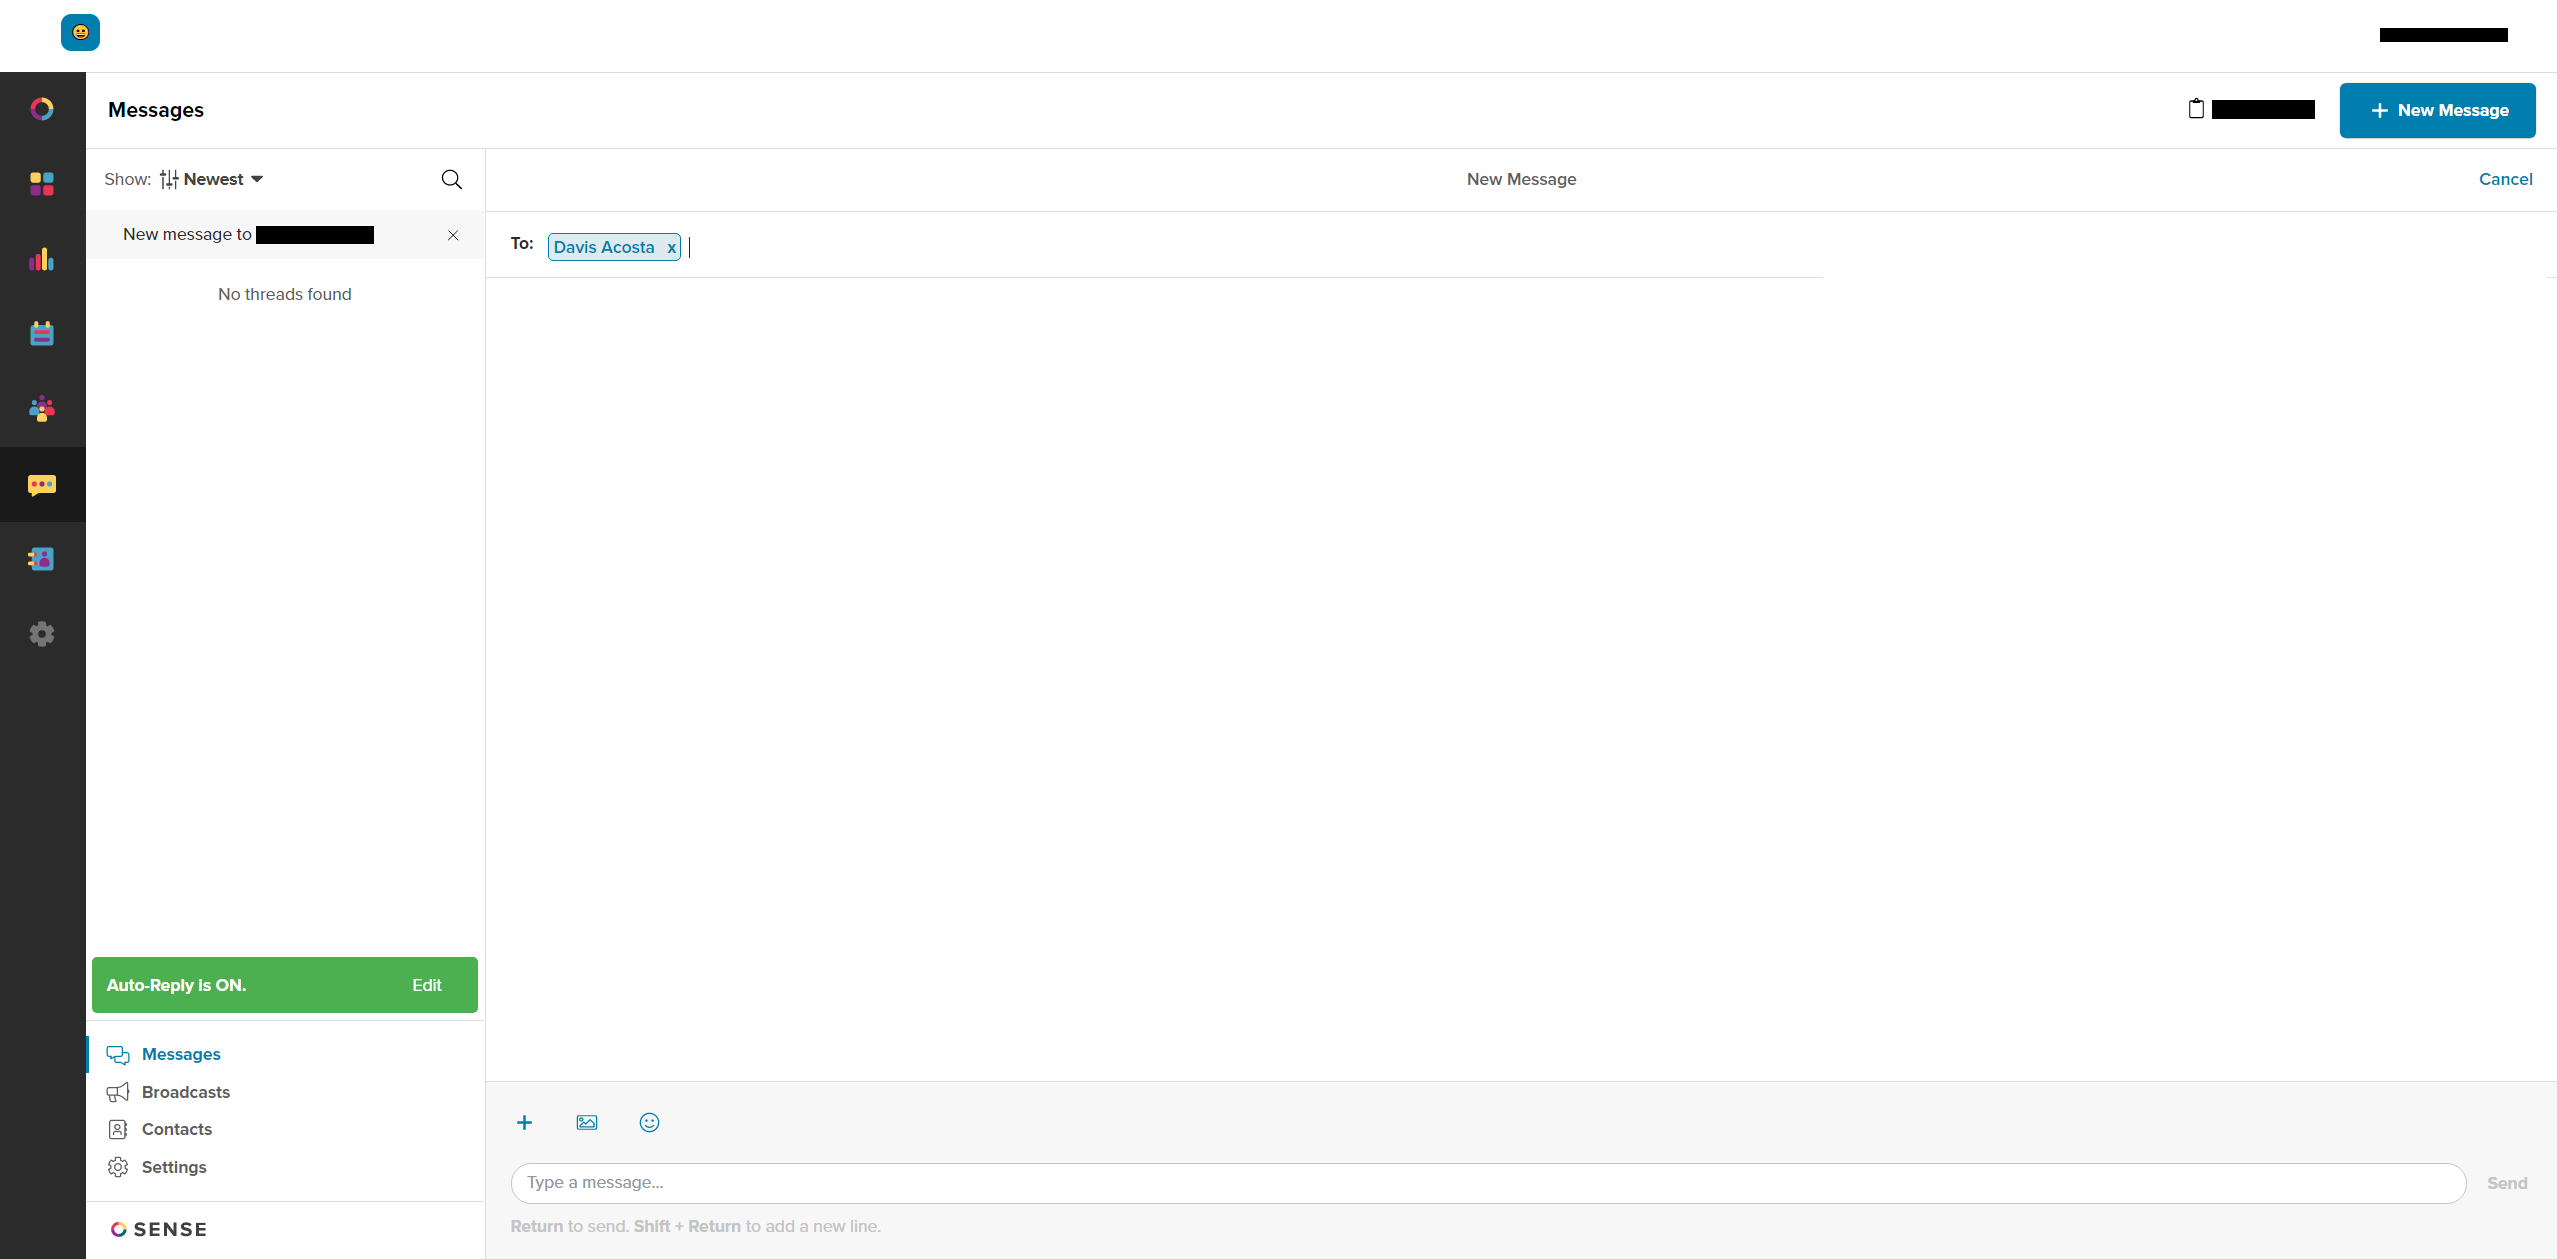
- Select the contact record that you would like to send a message to and you will be able to either send a message to that one contact, or add further contacts within the 'To:' field by searching for another name or phone number:
- With our contact selected, enter the message you would like to send within the 'Send a Message' field, and select 'Send':
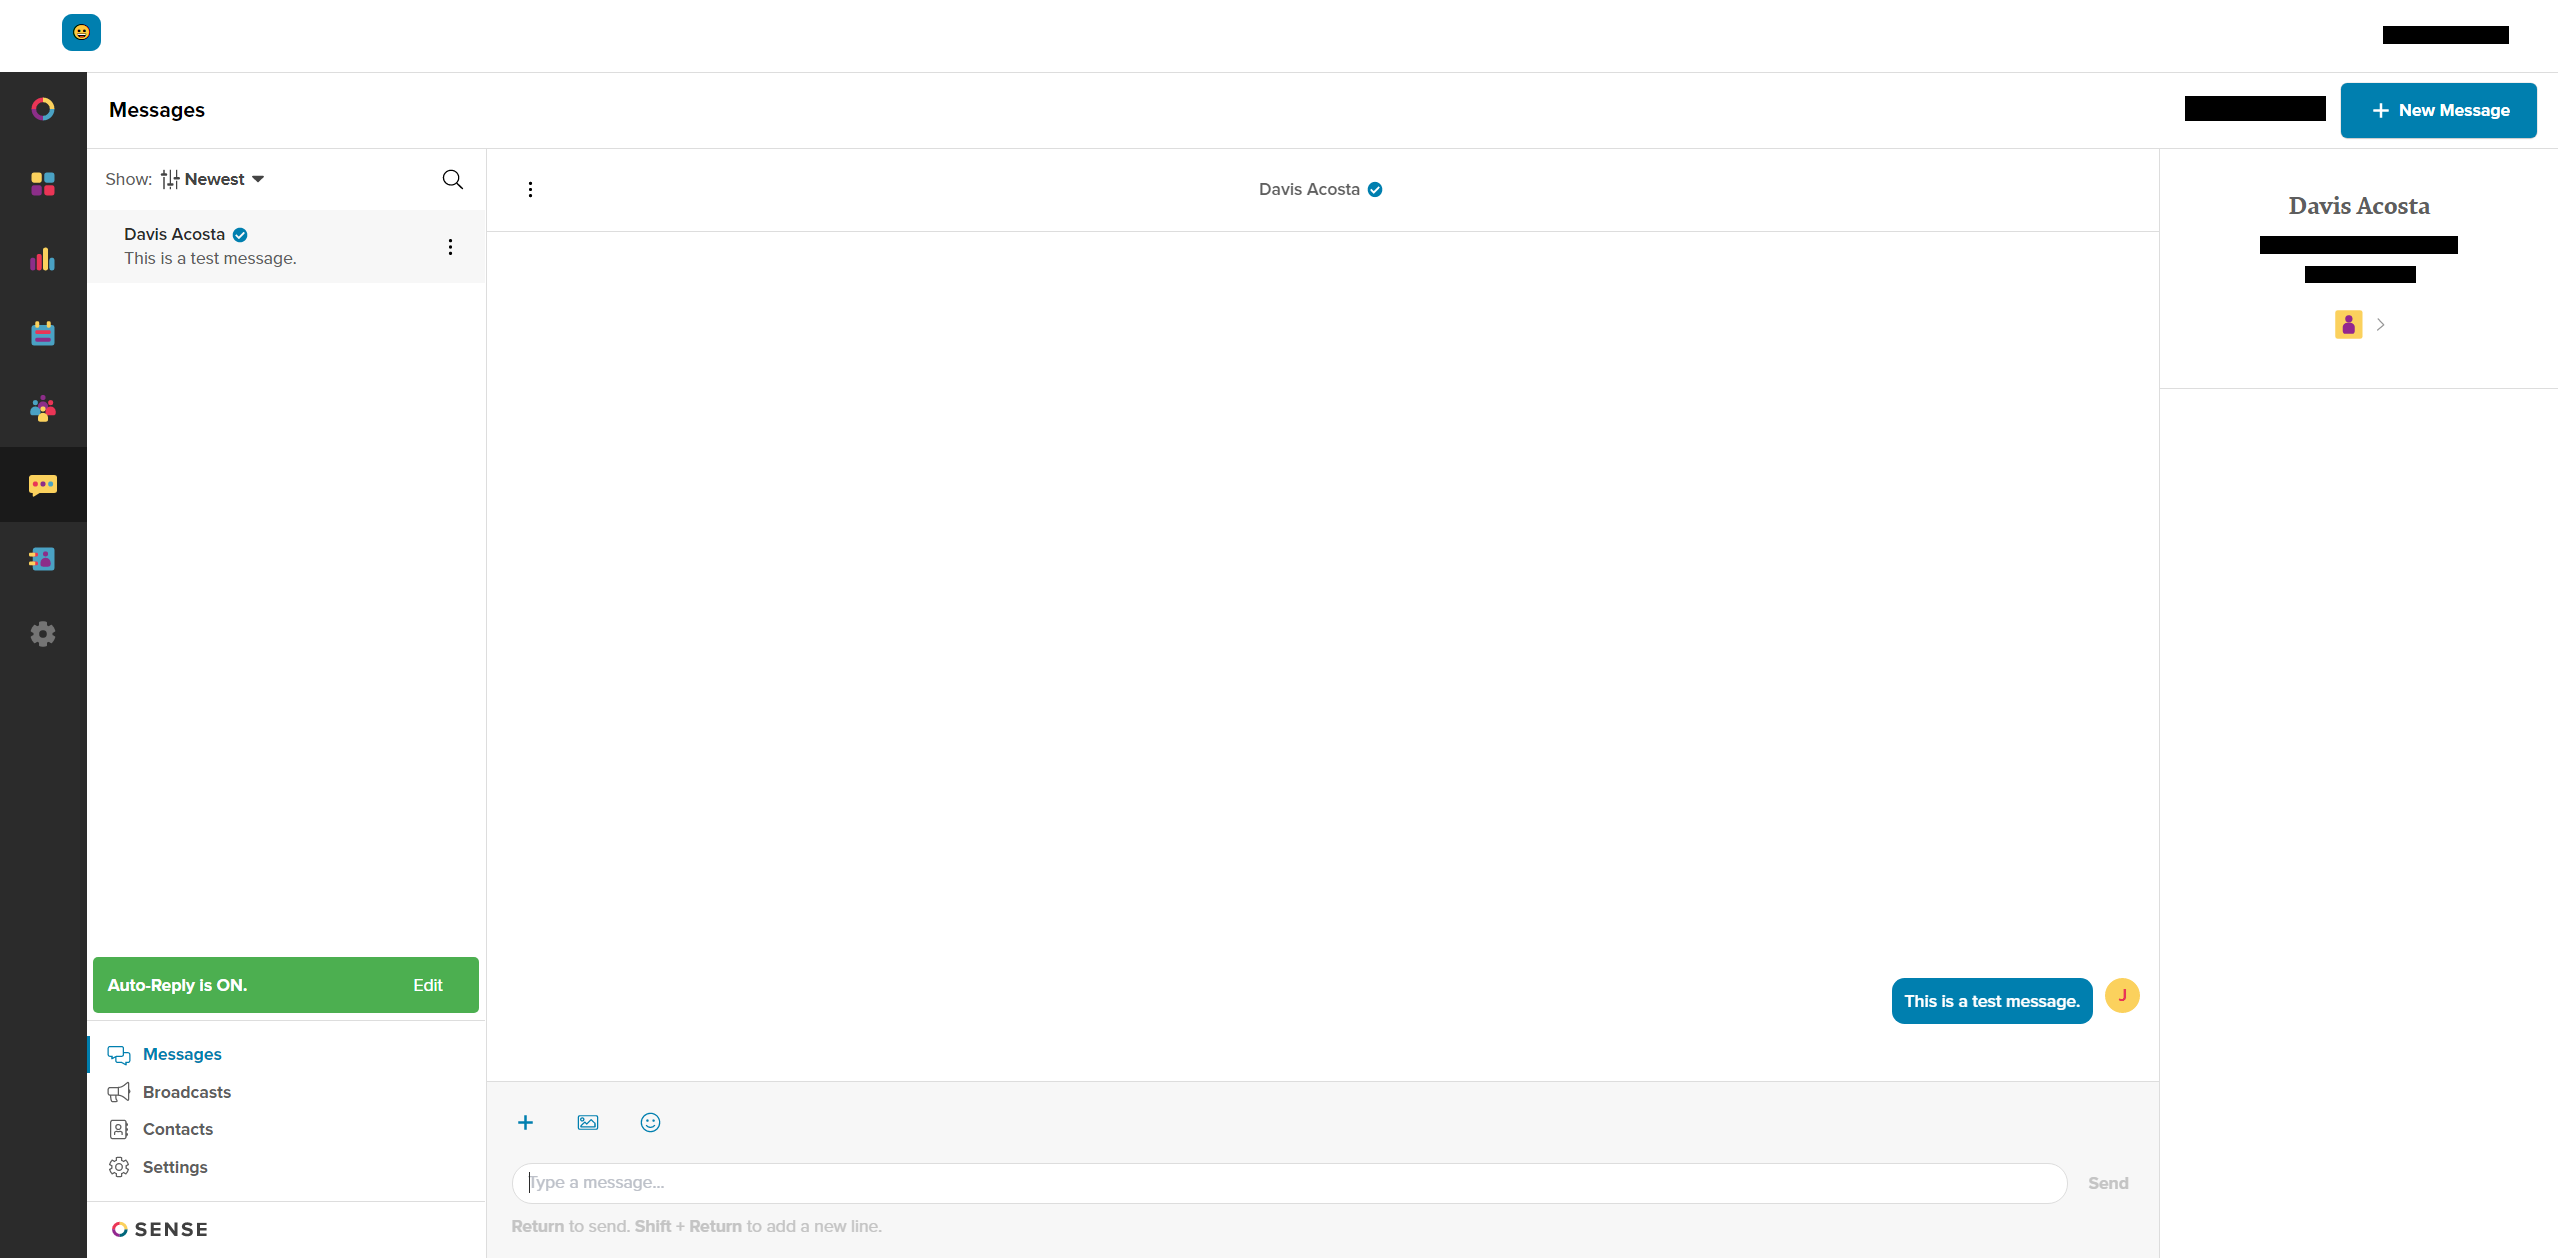
- Once the message has been sent successfully, the conversation will be saved as a message on the respective record within Beyond:


Sense Message Logging in Beyond
Messages and conversations from Sense are logged on their respective record in Beyond depending on the event type within Sense.
*Note* If you would like for the below Sense Message Event Types to log as specific Message Actions, please do the following:
- Create the custom Message Actions within Enterprise via the instructions within the article titled Enterprise - How to Create Message Action Codes.
- Contact TempWorks Support to update the linking between the Sense Message Event Type and the Message Action, making sure to tell the Support Rep which Message Action should correlate to which Sense Message Event Type:
- Sense Chatbot Response
- Sense Engage Sent
- Sense Engage Response
If custom Message Actions are not set up, messages will be logged using the default "Sense" Message Action.
Sense Chatbot Summary
A summary of the outbound conversation between the Sense Chatbot (through a Journey) and a recipient is logged as a message in Beyond with possible recipients being employees, customer contacts, or service reps.

*Note* For Sense Chatbot messages to be logged in Beyond, the following must be verified within Sense:
- The Chatbot within Sense must be setup with the following:
- Type of "Pre-Screening".
- Platform can be either web (link to the chatbot is sent via email) or SMS (exchange of text messages).
- Entity type can be Candidate, Placement, Internal Employee, Contact, Job, Company, Submission or Certification.
- A Touchpoint within a Journey in Sense must be of one of the following types:
- SMS - Recruiting Chatbot
- Email - Recruiting Chatbot
For more information on setting up the Chatbot, please see the following Sense Knowledge Base article titled Quick Start Chatbot Building Tutorial.
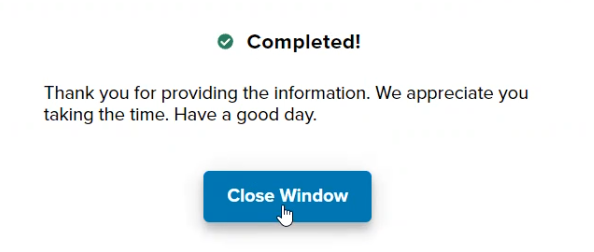
The Chatbot summary will be logged as a message within Beyond only once the conversation has been marked as "Completed":
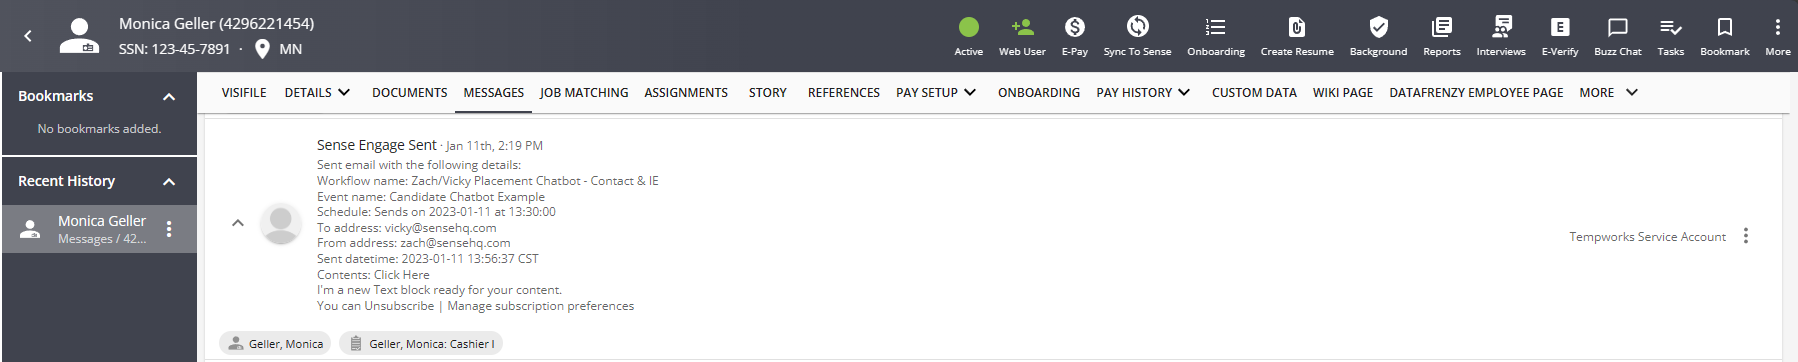
Sense Engage Sent
When a Journey is sent from Sense, the information is logged as a message in Beyond to the record type that corresponds to the Journey.
Journey's that correspond to record types include:
- Sense Candidate Journeys will log messages to the Employee record in Beyond.
- Sense Submission Journeys will log messages to the Employee record in Beyond, only if the employee is listed as a candidate to a job order.
- Sense Placement Journeys will log messages to the Employee & Assignment record in Beyond.
- Sense Job Journeys will log messages to the Employee & Job Order record in Beyond.
*Note* The following Journeys do not directly link to record types in Beyond, and therefore, will not log messages:
- Sense Internal Employee Journeys will not log Sense Engage Sent messages in Beyond.
- Sense Certification Journeys will not log Sense Engage Sent messages in Beyond.
- Sense Appointment Journeys will not log Sense Engage Sent messages in Beyond.
Sense Engage Response
When a response is sent back from an employee or customer contact to a Sense Journey, the information is logged as a message in Beyond to that corresponding record type.

*Note* Sense Engage Responses will be logged as a message in Beyond only for Sense Journeys with the following Touchpoints:
- SMS-Basic
- SMS-Survey
- Email-Drag and Drop Editor - only when Survey is attached to it
- Email-Basic Editor - only when optional Survey is included (rating scale)
Sense Engage Response messages can be logged to an employee or a customer contact, depending on who the recipient of the Journey was.
*Note* Sense Engage Response messages will not be logged for a service rep if the recipient was set to "Internal Employee" in Sense.
Manually Syncing Information with Sense
While information saved in Beyond syncs to Sense within 24-48 hours, you can manually push information to Sense when you are updating a record.
*Note* For a comprehensive list of fields that sync between Beyond and Sense, please see the following article titled: Beyond - Fields that Sync with Sense.
Once you've updated information on a record, if you want to push the update to Sense, you can manually sync the information using the Sense Syncing Charm on any record:

Select the SYNC button to update with Sense. This charm will also let you know the last date this record was synced.
Keep in mind that Sense requires specific information in order to sync data from a record.
Related Articles
- None