Part One: Void and/or Reverse the Original Transaction
Before you do a check correction, you should ask yourself the following questions:
| Was the Check Cashed? | Are the Transactions on the Check Correct? | Action to Take: |
|---|---|---|
| No | Yes | Reissue |
| No | No | Void |
| Yes | No | Reverse |
*Note* Transactions should only be voided and/or reversed when the final amount is incorrect. If the transactions are correct, a reissue will be needed. The reissue process is covered in How to Reissue Checks.
Voiding or reversing a check backs out all of the transaction data including the net pay, adjustments, and taxes. In addition, when a paycheck is reversed the net amount of the check is added as the total to an "AdvanceBnk" in the employee's pay setup/adjustments form. This "AdvanceBank" is deducted in subsequent payroll until the total amount is recovered.
*Note* If an employee has been underpaid, the recommended course of action is to pay the employee the difference they are owed with a second transaction.
How to Void a Transaction
Step 1: Find the check
A paycheck can be found by accessing/searching the check register (either from the employee record of the pay/bill dashboard). Check numbers, dates, names, payroll run ID's, etc can all be used as search criteria to find the transaction in question. Once you have located the check simply double click the transaction to view the check summary screen:

*Note* If you are voiding an e-pay check because it was rejected by the bank, you will want to first right click and choose "convert to live check" This will stop the voided transaction from canceling out a newly created check in the ACH file.
If you are voiding & reversing a check that has not been converted to live yet, the act of voiding will cancel out the original amount in the ACH file so there is no need to convert the check to a live check.
Step 2: Void the check
To void a transaction, simply expand the (1.) actions menu and select to void or reverse check.

This will open the "check management" wizard. In this example we are walking through a check void, so we'll select the first option - Void check:

The next step in the wizard is confirming our check information.
*Note* For information on Reverse Billing, please see the following article. For help with editing invoices please reference the invoice corrections help document.

So, when does the reverse billing option work?
If you correct a check (void or void + reverse) and the check is associated with a "held off" invoice selecting the reverse billing check box will automatically undo the billed portion of that transaction.
When you re-process the transaction, be sure the new transaction includes a bill rate and is brought through a "held off" run in addition to a payroll run. For help with understanding "held off" invoices, please see our bi-weekly invoicing and/or monthly invoicing articles.
Our final screen in the check management wizard verifies that the check has been voided:

Ready to process a new check for this person? Jump to part two.
How to Reverse a Transaction
Step 1: Find the check
A paycheck can be found by accessing/searching the check register (either from the employee record of the pay/bill dashboard). Check numbers, dates, names, payroll run ID's, etc can all be used as search criteria to find the transaction in question.
Once you have located the check simply double click the transaction to view the check summary screen.
*Note* An important item to note is the net pay amount of the check. When a transaction is reversed, an "AdvanceBnk" adjustment is automatically created to recoup the monies the employee was overpaid.
This adjustment begins as the full net pay amount of the check and will be withheld from the employee's future paychecks until the balance amount for the "AdvanceBnk" adjustment is zero.

Step 2: Reverse the check.
To reverse a transaction, simply expand the actions menu and select to void or reverse check. This will open the "check management" wizard.
In this example we are walking through a check reverse, so we'll select the second option - Void check and reverse payment to employee:

The next step in the wizard is confirming our check information:
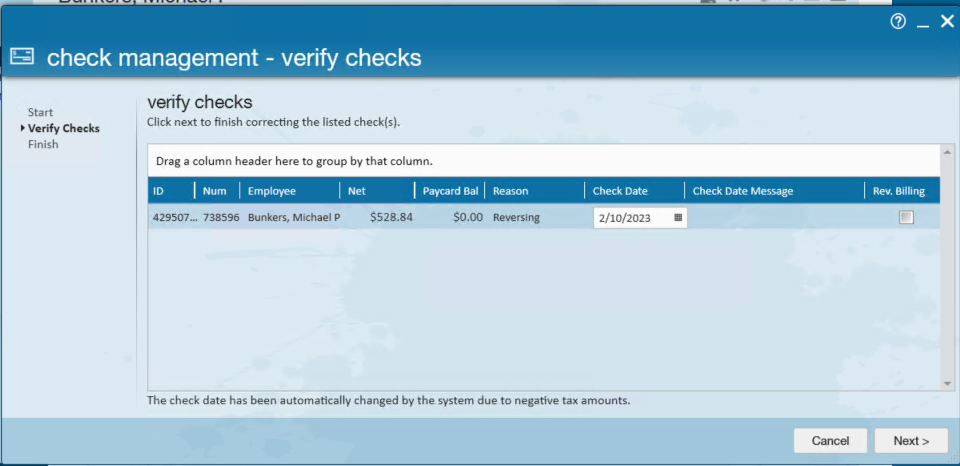
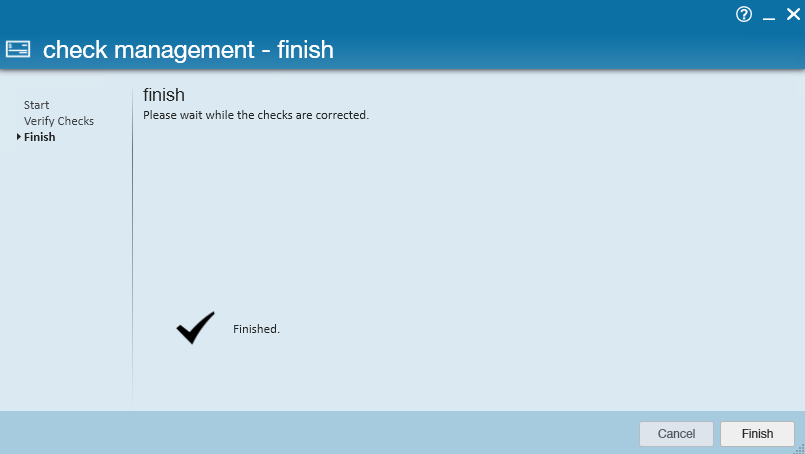
Our final screen in wizard verifies that the check has been voided:
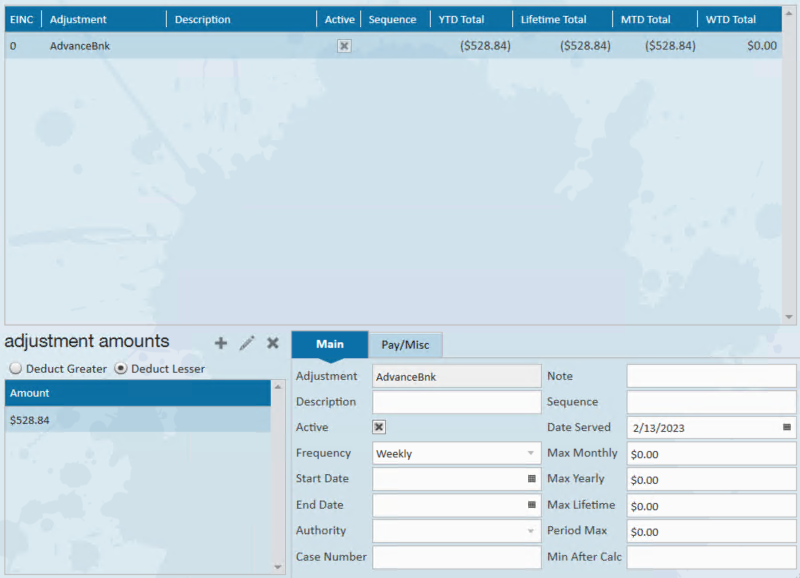
When a transaction is reversed in Enterprise, an "AdvanceBnk" adjustment is automatically created for the original net pay amount of the check and will be withheld from the Employee's future paychecks until the balance amount for the "AdvanceBnk" adjustment is zero.
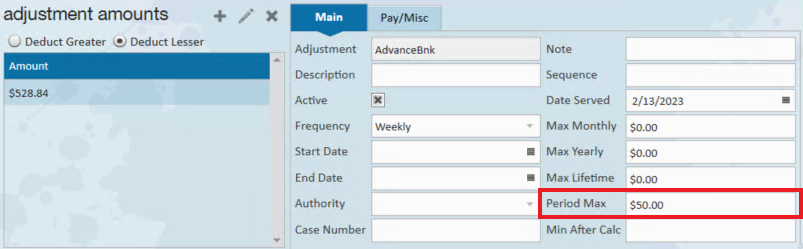
*Note* In the event the employee is paying back the amount via a payment plan, you can utilize the "Period Max" field within the adjustment.
For example, if the employee has a payment plan setup to pay $50 every pay period towards the total, you will enter "$50" into the "Period Max" field. This would result in $50 being deducted from every pay period for the employee, until the "AdvanceBnk" total has been met.
*Note* Under no circumstance should the "Max Lifetime" field be used with "AdvanceBnk" adjustments. Utilizing this field will result in the "AdvanceBnk" adjustment to continue deducting from the employees pay beyond the intended amount.
Check out Part 2 for instructions on making the check corrections.
Part 2: Make Corrections
Step 1: Key hours in Time Entry
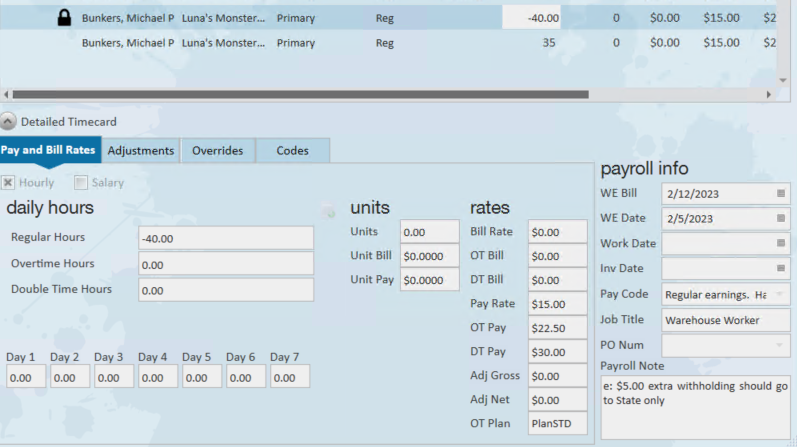
In your time entry dashboard, locate the original transaction that has been voided. You'll notice the hours are negative. This functionality is programmed in Enterprise to automatically happen when transactions are voided/reversed.
*Note* You should never manually input negative hours as the procedures that occur when transactions are voided/reversed do not occur with manual corrections.
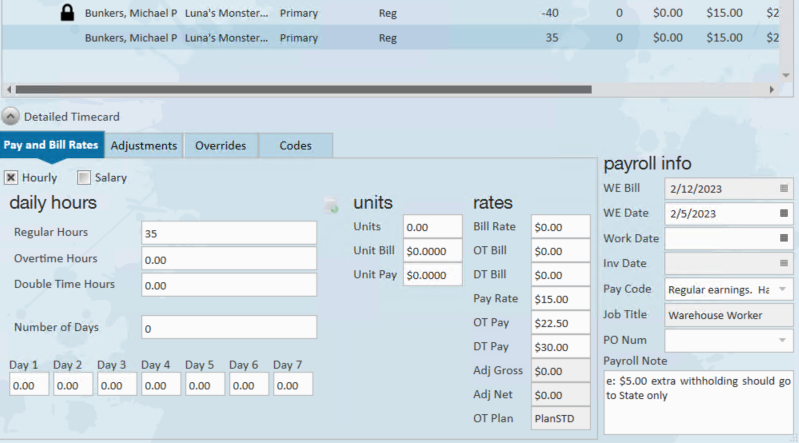
With the transaction located and highlighted, simply duplicate the timecard and key in the correct hours/units.
Also, notice that the voided/reversed transaction has a $0.00 bill rate. Since the client was likely already billed in the original transaction, we will want to leave the duplicated timecard with a $0.00 bill rate so that we do not bill twice.
Voided transaction:
Reversed transaction:
Step 2: Proof Transactions.
With the transactions now re-keyed in correctly, simply expand the actions menu and select "proof my timecards"...
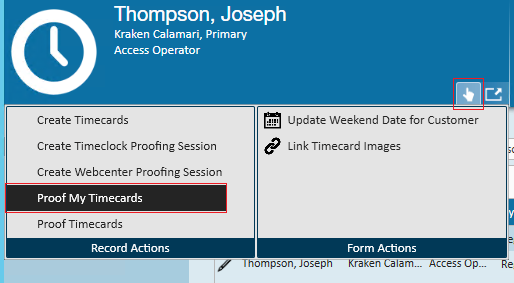 ..
..
This will bring you directly into the proofing session.
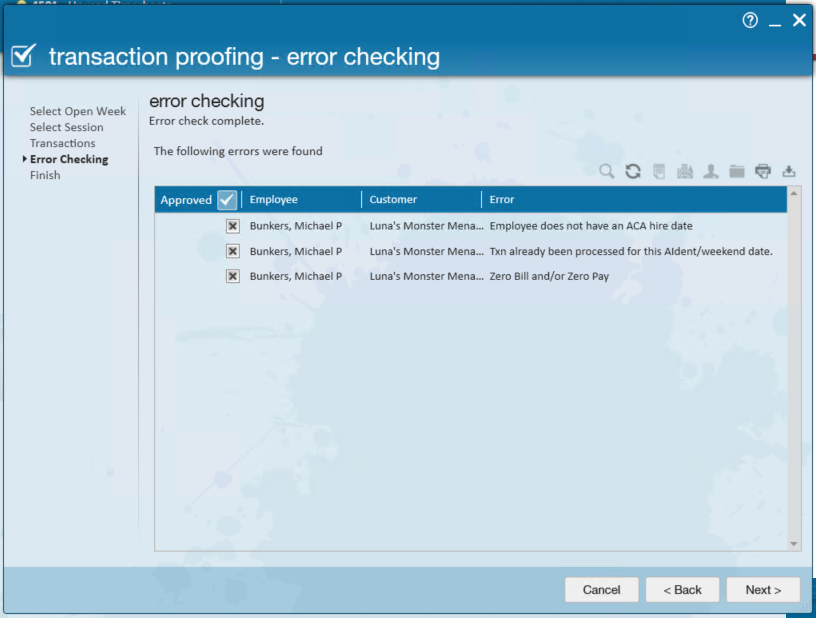
Step 3: Anticipate and Approve Certain Errors
Any time you are reprocessing voided/reversed transactions Enterprise is going to produce "errors" that transactions have already been processed in this weekend date for this employee. Well, yes, transactions were processed but they were incorrect so this is an error you can confidently approve. Enterprise will also produce an "error" that there is a zero dollar bill rate.
Since you have already billed this client once you certainly don't want to bill them a second time for the same transaction so again, you can confidently approve that error as well.
Step 4: Reprocess payroll
Create a new payroll run for the corrected transactions.
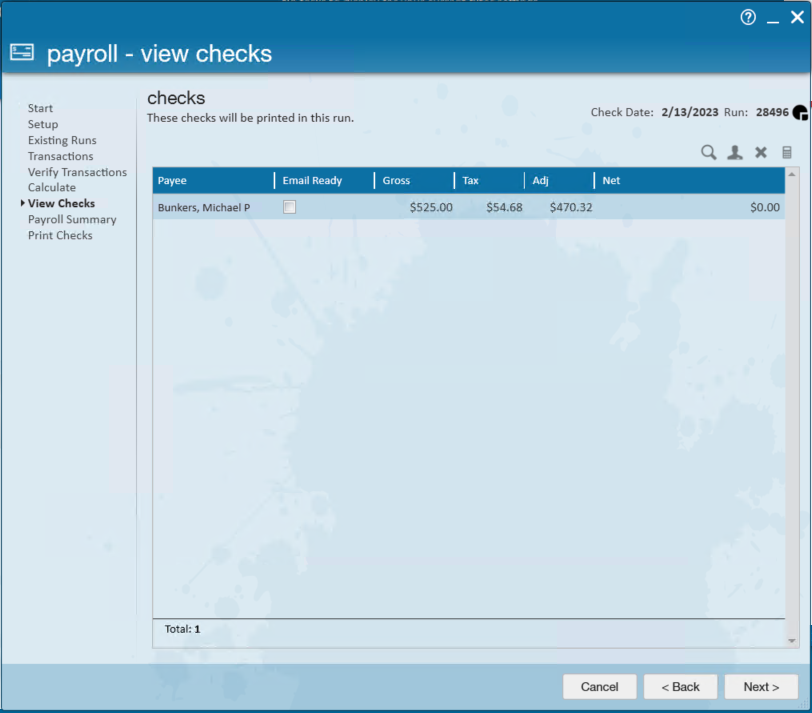
Once you reach the "view checks" step within the payroll wizard you'll notice the reversed transaction has a value listed in the adjustment's column. This value is the amount that will be deducted from the "AdvanceBnk" adjustment, and the remainder is the balance owed by employee.
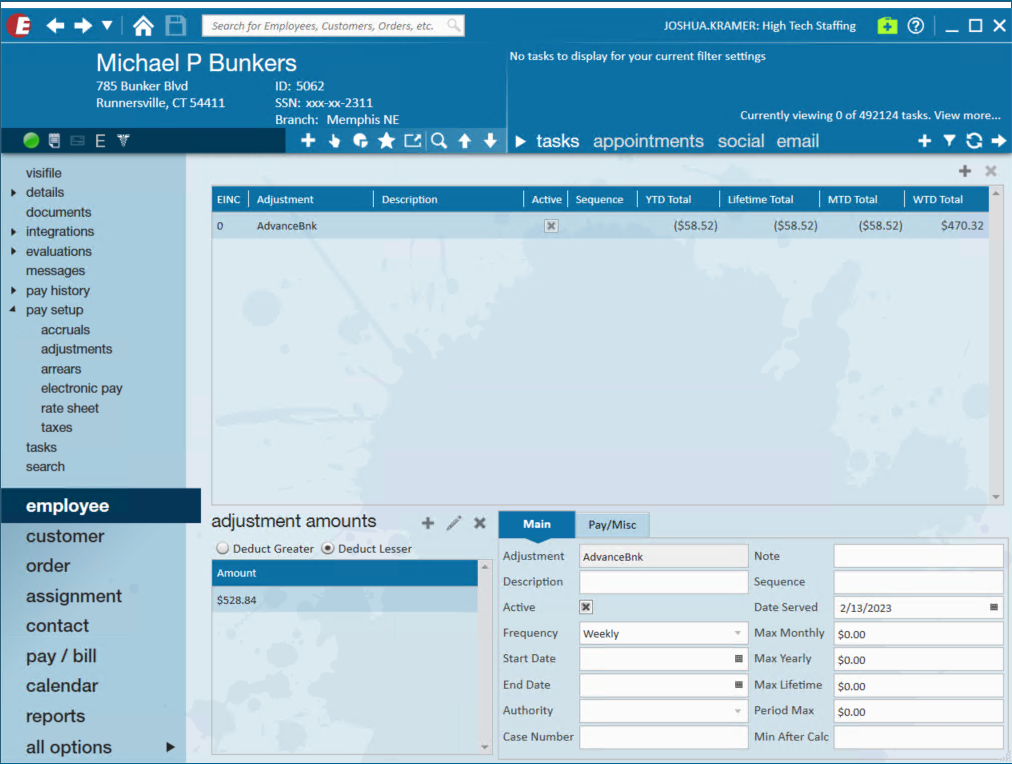
Step 5 (Optional): Review "AdvanceBnk" Adjustment.
By navigating to the adjustments section of the employee record you can verify how much you are owed.
*Note* Voiding or reversing a paycheck from a previous quarter or year may cause a discrepancy between the mag media file and the SUTA reports. Contact TempWorks support for options on how to address these issues.