What is a Purchase Order?
A purchase order (PO) allows for accurate tracking and organization of incoming and pending orders. These can be applied to track services, materials, groups of workers, quantity and time frame for the order. When a purchase order is added to the customer record it can also be displayed on the customer's invoice.
This article includes:
- Adding a New PO
- Searching POs
- Deactivating POs
- POs on Orders & Assignments
- PO Options on Invoice Setup
- PO Numbers in Time Entry
Looking for Report Options? Check out PO Number Summary Report & PO Number Transaction Detail Report
Adding a New PO
PO numbers are added to customer records and can be tracked on order and assignment records.
To add a new PO:
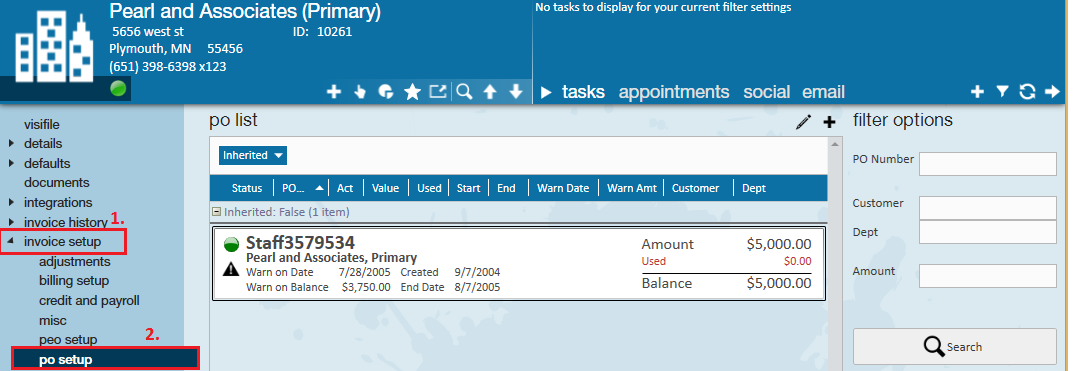
- Navigate to the customer record you want to add a PO to
- Select invoice setup > PO setup
- Choose the + in the upper right
- Enter the following information:
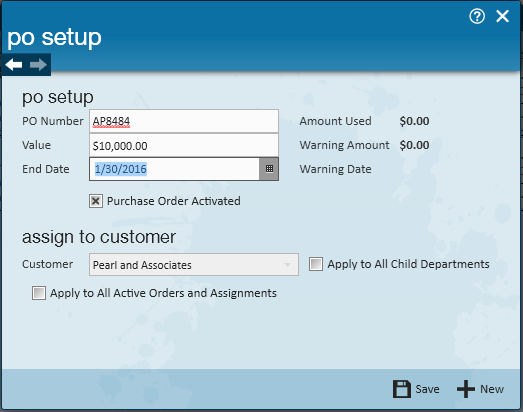
- PO Number: Can contain both letters and numbers
- Value: If this PO number has a limit to the amount that can be associated with it, enter it here
- End Date: If this PO has a date that it expires, enter it here
- Keep the box checked under Purchase Order Activated to ensure this PO is active and ready to be used in your system
- Optionally, check the Apply to All Child Departments to have this PO available to all departments under this record (check out Enterprise - Departments for more information on department records)
- Optionally, select Apply to All Active Orders and Assignments to apply to all orders and assignments
- This will update all active orders and assignments for this customer to add the PO number to them
- This includes updating transactions
- Select Save to save the PO or New to save and add another PO


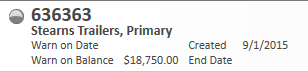
*Note* The default warn on date is ten days prior to the PO end date and the warn on balance is 75% of the total PO amount.
*Note* When a PO number has reached it's end date it will no longer be an option in the PO setup drop down (under details) on a new order record; in other terms the PO has expired. However, if the PO was attached to an assignment (prior to it's end date) the PO will continue to be listed on the invoices and reports (etc.).
A PO number does not require a value or an end date, therefore if not utilized leave these fields blank.
Searching for POs
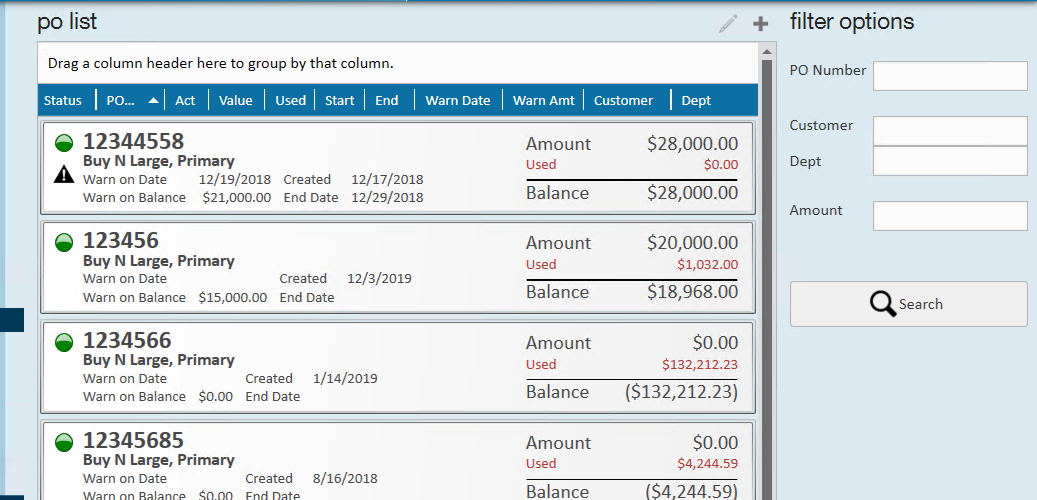
Once your customer has a few PO numbers, you can utilize the filter options on the side to search for a PO number you are looking for:
Deactivating POs
Purchase orders that should no longer utilized should be deactivated to prevent it from being selected on a new order or assignment.
- Navigate to the PO number you want to deactivate on the customer record
- Select the PO and select the pencil icon in the upper right to edit
- Uncheck the Purchase Order Activate checkbox
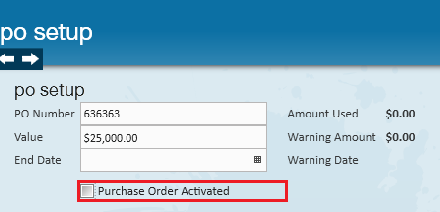
- Select Save

The green light will now appear grayed out and the purchase order has become inactive:
Removing a PO From the System
You also have the option to simple remove the PO from an order within Enterprise. This can be done by doing the following:
- Make sure the PO Number has been deactivated and given an end date previous to today on the customer record.
- With the PO Number deactivated on the customer record, navigate to the order record with the PO Number that needs to be removed.
- Within the order record, navigate to Details < PO Setup < PO Number.
- Within the PO Number dropdown, simply clear out the PO Number and you will be able to save your changes, therefore removing the PO Number from the order record.
POs on Orders and Assignments
PO Numbers can be added to Orders and Assignments in order to track PO amounts, etc. In those cases where PO numbers are not universally applied to all active assignments, you can individually update orders and assignments as necessary.
Make sure you first add the PO number to the customer before navigating to the order
Adding a PO Number to an Order
- Navigate to the Order record you want to apply a PO to
- Select Details > PO Setup
- Select the PO Number using the drop down
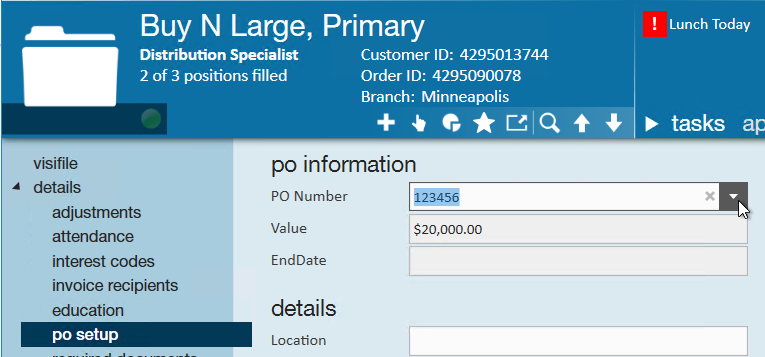
- Select Save in the upper left (or CTRL+S)

Updating Active Assignments from the Order
When you update a PO number on an order with active assignments, you will be asked if you want to apply the new PO to the assignment records:
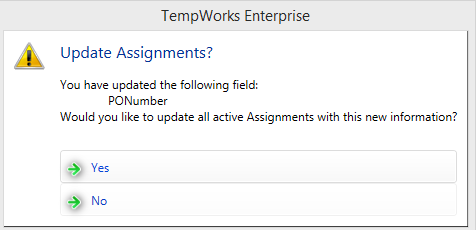
- If you select No, then the PO will not automatically be apply to assignments and will need to be individually updated on assignments but new assignments going forward will default to the new PO number
- If you select Yes, then all active assignments will update the PO number to the new number selected
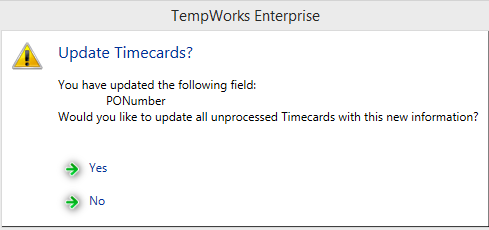
When making a change to the PO on an order after assignments have been created, there is an option to push those changes to the current assignments and pay/bill transactions.
If there are any transactions within the pay/bill section which have not been processed, a prompt will ask if timecards should be updated with the changed information.
*Note* When selecting to update assignments and pay/bill transactions this change will affect ALL active assignments and pay/bill transactions (which have not yet been processed) affiliated with that order.
Adding POs to Assignments
When you need to individually assign POs to specific assignments, you can locate and update the PO number on the assignment record
- Navigate to the assignment you want update a PO for
- Navigate to Details
- Use the drop down under financial details to change the PO number on this assignment
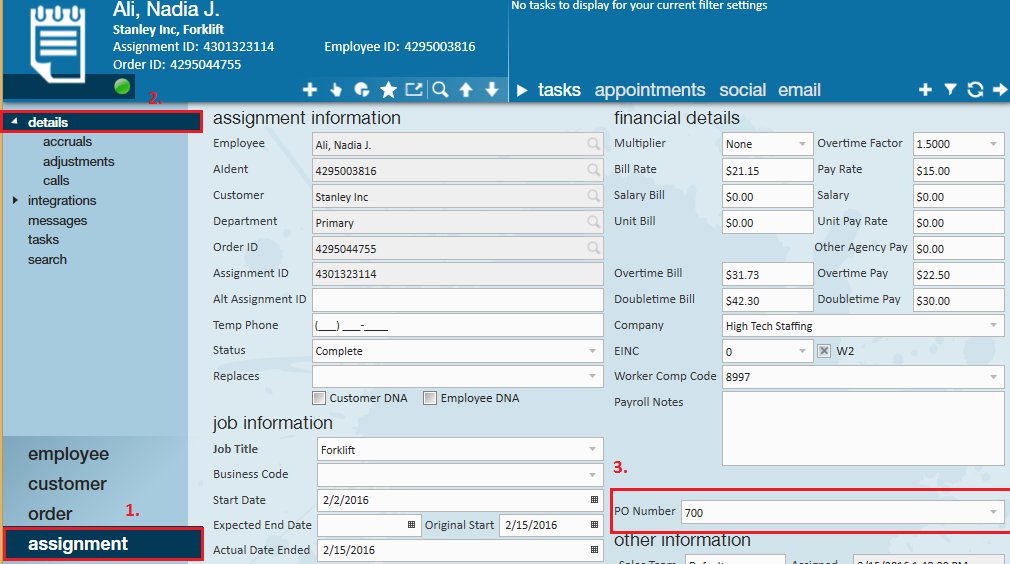
- Select Save

*Note* If the purchase order number is added on the assignment after the timecard has been created, users may refresh the transaction within time entry.
PO Options on Invoice Setup
If your customer wants to see PO Numbers on invoices, you can utilize the following options to customize their invoice options:
Separate Invoices by PO
Customers may request to separate invoices by PO number to keep track of PO totals, etc. This will automatically generate separate invoices for each PO number that will be printed/emailed to customer contacts.
- On the customer record navigate to Invoice Setup > Billing Setup
- Check the PO box under create separate invoices for each:


To learn more, check out Enterprise - How to Manage Billing Setup on a Customer.
Adding PO Numbers as a Line Item
Additionally, within the billing setup section users will have the option to add the PO number as an invoice line item. Selecting this option will allow customers to view multiple PO numbers on one invoice.
- On the customer record, navigate to Invoice Setup > Billing Setup
- Under Invoice Line Items, select the +
- Choose ponumber from the drop down
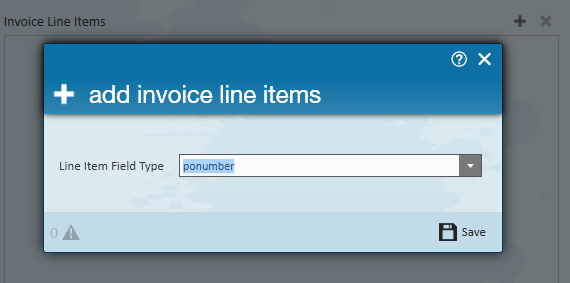
- Select Save

*Note* The ability to add additional line items will be dependent upon what invoice styles have been selected or created for your company. If you have a custom invoice style, PO number might already be a default column. Use the magnifying glass next to the invoice style to preview the invoice style to be sure.
PO Numbers in Time Entry
PO Numbers from Assignments will automatically be on any new timecards in time entry but sometimes your client may request a one off PO number change or a different PO each week.
If the change is going to be for this week and next go ahead and add it to the order/assignments to save yourself trouble later and refresh the timecards to reflect any changes made.
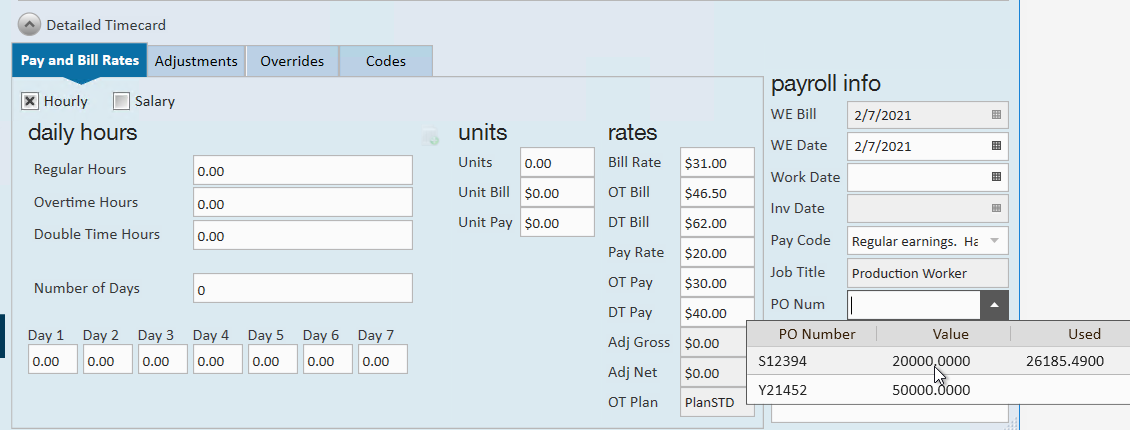
Adding a PO Number to a Timecard in Time Entry
- In Time Entry, Navigate to the timecard you want to add a PO number to
- Double click to open the detailed timecard
- Under payroll info, select the PO number using the drop down

Viewing PO Numbers on Timecards
Purchase order numbers can easily be viewed within time entry spreadsheet by adding purchase order as a column. This is a great option to quickly audit your PO numbers on timecards before completing time entry.
- In Time Entry, hover over the blue column & right-click the column
- Select the PO Number option
- Notice, the PO number column is now displayed within your time entry screen


Check out Enterprise - Time Entry Tricks for more tips and tricks on the Time Entry area.