Creating Assignments
Creating assignments for TempWorks orders provides many benefits. To list a few, the assignment creation enables timecards to be created, allows for tracking of staffing agencies' order fill rates and other related Key Performance Indicators, and provides helpful information to the employee regarding worksite location, pay rate and potential Supervisor contact information.
There are multiple ways to create the assignment in Enterprise™. The most efficient method will depend on where you are currently working in your system. The following will walk through a few of the different options available.
This article covers:
- Using the Assignment + Option
- Using the Actions Menu
- Assigning from the Candidate Worksheet
- Email Assignment Confirmation
- Email New Hire Packet
Assignment + Option
This is the most common option for people based on their workflow. For most recruiters, it's typical to look for an order you need to fill and then find the best candidate for that order and assign them. That is exactly what you will be doing here. Check out Assignments Part 1: The Basics for a video overview.
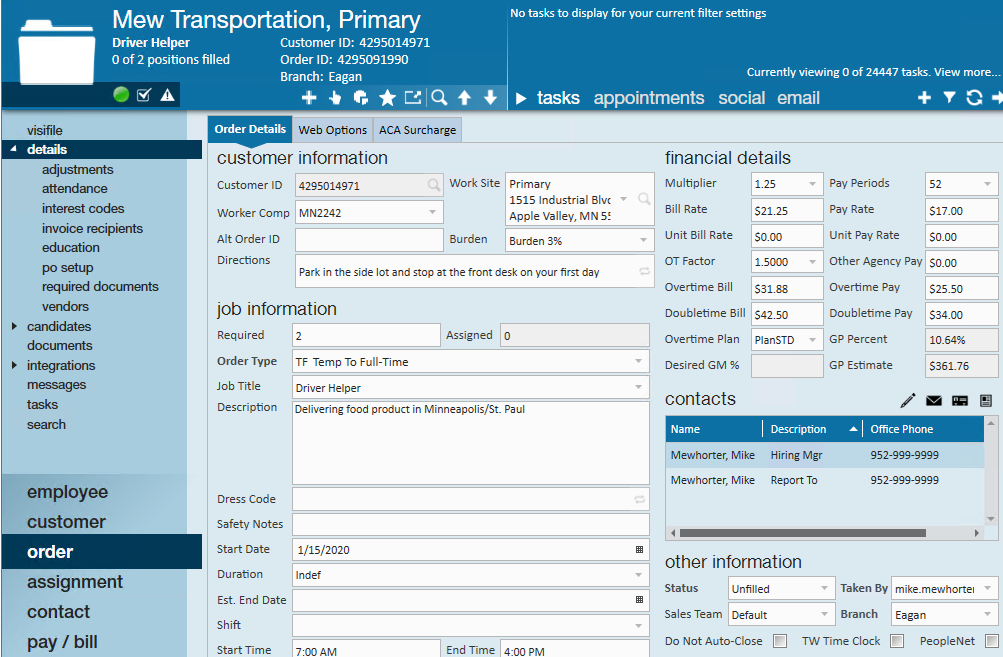
- Find the order you want to fill
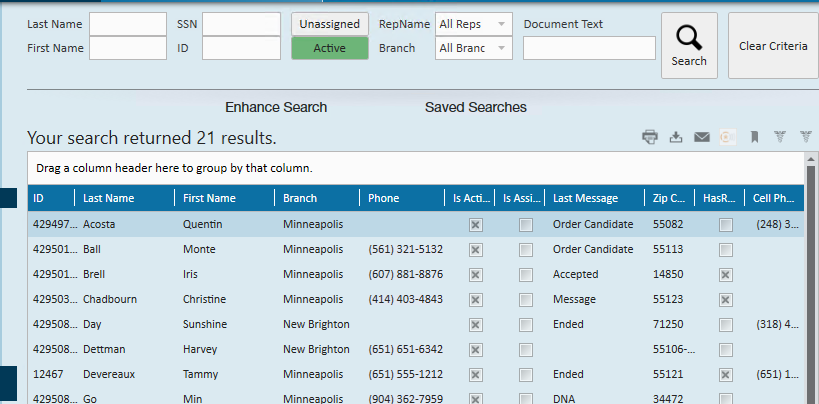
- Run an employee search to find the best qualified candidate
- View the employee's record
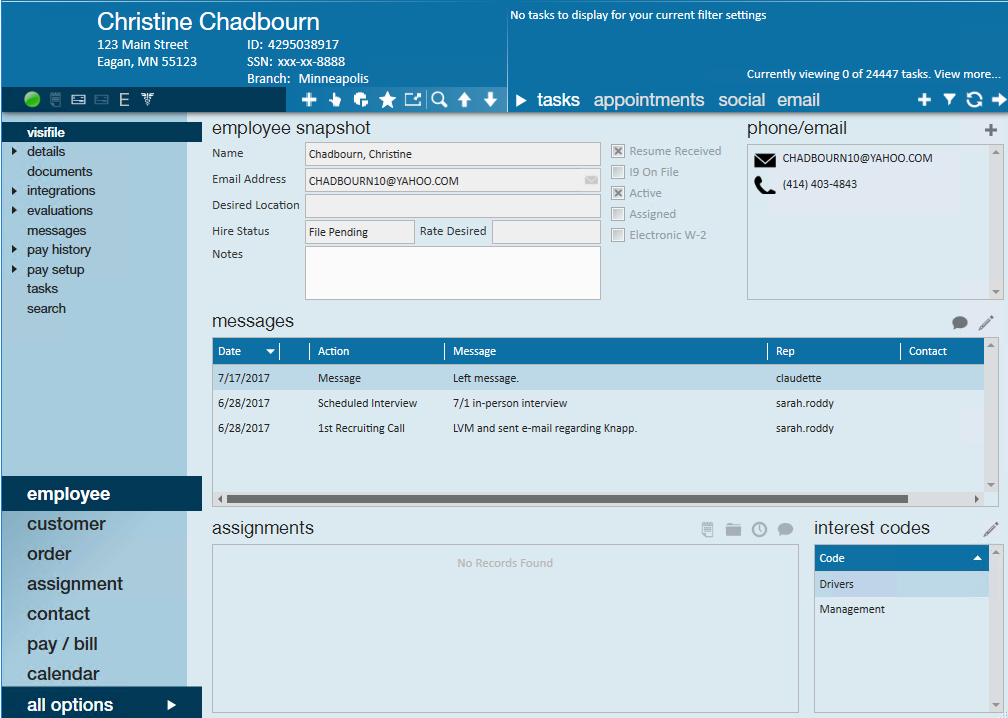
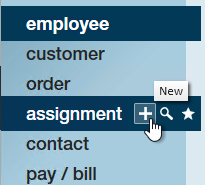
- Hover over assignment in the navigation tree and select the + button
- Review that it is the correct order/employee
- Select Save
- Review any potential Assignment Restrictions
- If no hard stops appear you will be able to complete the assignment


From the Actions Menu
From the Order Record
This is a great option when you are on the order and know exactly who you are going to assign.
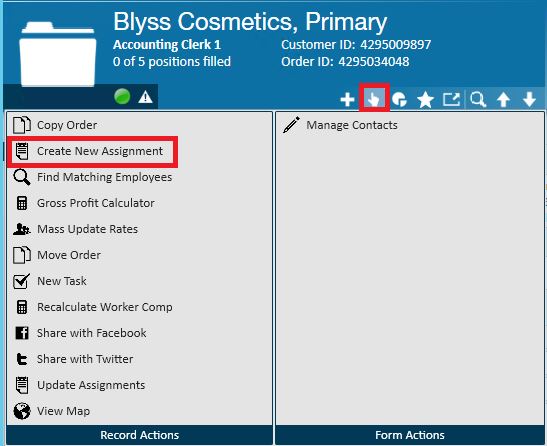
- From anywhere on the order record, Select the Actions Menu
- Choose Create New Assignment
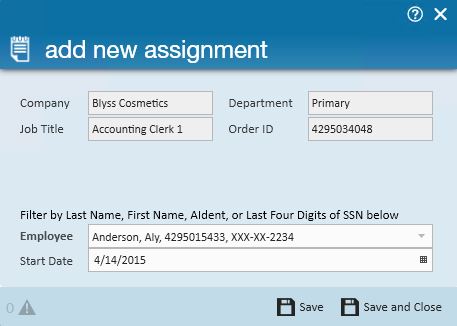
- Look up the employee to be assigned
- You can search by last name, first name, AIdent(ID number) or last 4 of their SSN
- Click the Advanced option (or Alt + 4 on your keyboard) when you open up the drop down for additional search options
- You can search by last name, first name, AIdent(ID number) or last 4 of their SSN


From the Employee or Order Record
Use this option if you know who you want to assign and you just looked at their employee record in TempWorks Enterprise. An example would be: during your efforts to find someone to place on the order, your perfect candidate calls in. You navigate to that employee's record. Now, TempWorks knows the last person you viewed and the last order you viewed.
For this scenario, you have 2 options:
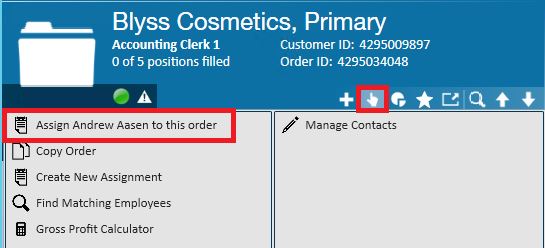
1. Assign from the order: From the order, select the actions button and select assign *employee* to this order. This will display the name of the last employee viewed in TempWorks:
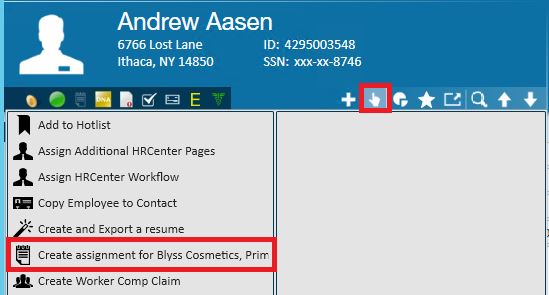
2. Assign from the employee: From the employee, select the actions button and select create assignment for *customer name, department* of the last order viewed in TempWorks:
Assign from the Candidate Worksheet
The candidate worksheet allows you to put together a call list for the order you are working on. If you are using the candidate worksheet to manage your recruiting efforts, you can assign your employee from that worksheet. To learn more about the candidate worksheet, check out Enterprise - How to Create and Manage the Candidate Worksheet.
Navigate to the order/candidate worksheet. There are 3 options from the candidate worksheet.
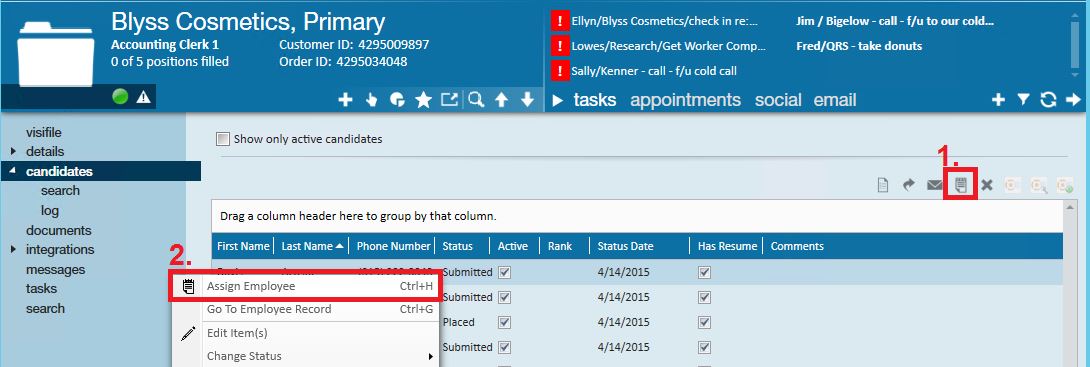
1. Click to highlight the candidate and assign by clicking the assign button (1.) in the upper right.
2. Right click on the candidate and select assign employee (2.).
3. Use the keyboard shortcut of ctrl+H
*Note* Using any of the methods from the candidate worksheet you can assign multiple Employees at the same time by using your shift or control key and clicking to highlight each employee you'd like to assign.
*Note* When assigning you may see assignment restrictions pop up if there is anything you should be aware of about the employee(s) you are assigning.
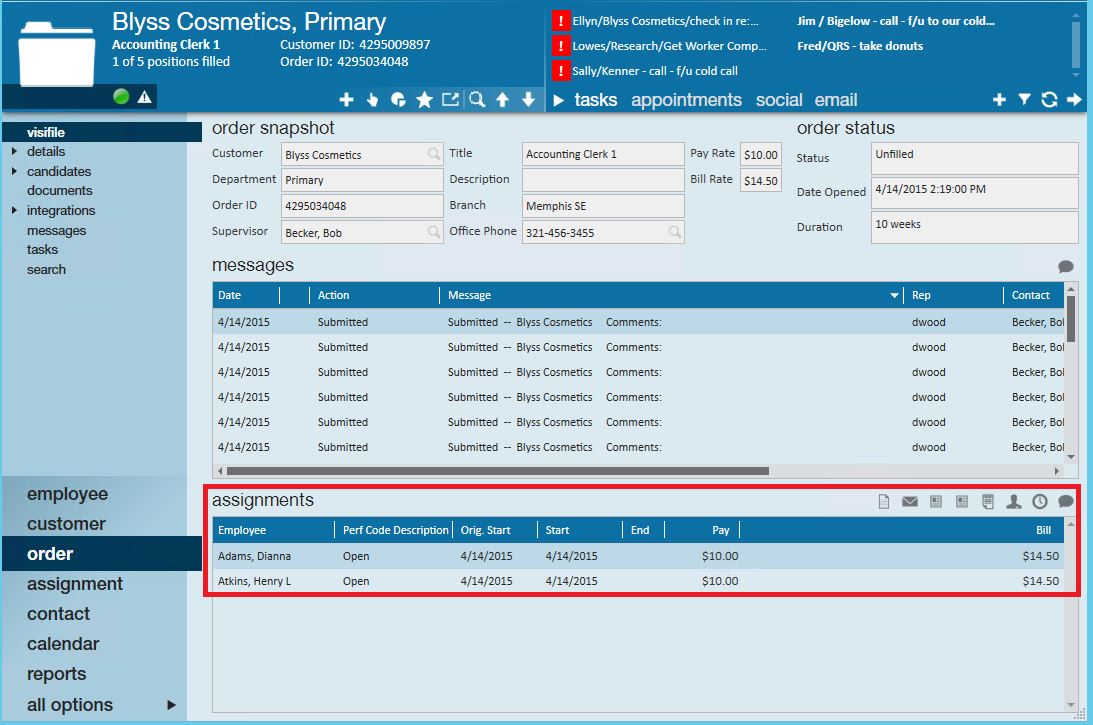
All assignments made for this order will be displayed on the visifile:
See *Assignments Part 2: The Candidate Worksheet for a video overview of this option and a quiz!
Email Assignment Confirmation:
Using the Email Assignment Confirmation gives you the ability to quickly send important assignment details to the Supervisor listed on the order.
1) Navigate to the Order > Visifile
2) Select the assignment that you are sending the details of
3) Choose the highlighted icon below "Email Assignment Confirmation"
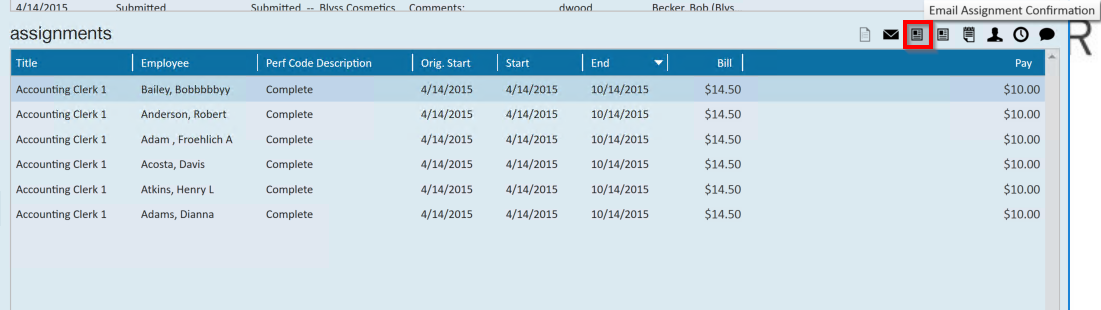
4) Now you have the option to choose which template you want to send. Common examples are: Job Details, Assignment Information or Confirmation, and Start Day Details.
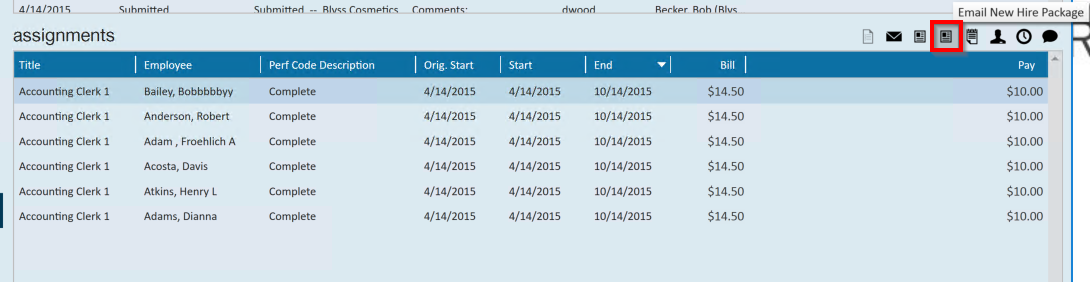
Email New Hire Package
If you want to send a template New Hire Package to an employee on assignment you can quickly do that as well.
1) Navigate to Order > Visifile
2) Select the assignments
3) Choose the highlighted icon below "Email New Hire Package"