When to move a contact:
The contact was created at the wrong department.
- For example, let's say you added a new contact and listed them as the Hiring Manager for the Customer Service Department, when they should have been added as the Hiring Manger for the Manufacturing Department. Instead of creating a new contact, simply move them.
The contact was created for the wrong customer.
- To err is human! If you add a contact to A1 Beef when they should have been added to A1 Beets, the move function allows this error to be corrected.
The contact changes companies.
- As a salesperson or account manager, perhaps you have built a relationship with this person over the course of many months (or years!), and they begin working for another company. Moving the contact to a new customer will not move previous activity, like messages, to the new customer. Messages logged at the original customer record will remain on the original customer (and on the contact record) for historic purposes.
When not to move a contact:
A duplicate contact record has been found.
- If the same contact exists twice in your database, merge the two together to effectively combine two sets of data.
When a contact retires.
- If a contact retires change the status of the contact to no longer valid or inactive.
When a contact transfers to a position where they will have no interaction with you.
- For instance, the accounts payable person moves to accounts receivable. You can change their status
How to move a contact:
First, check to see what customer the contact is associated with. You can always verify what customer a contact belongs to by referencing the contact's avatar area. The (1.) customer name and (2.) department will be listed directly under the contact's name. 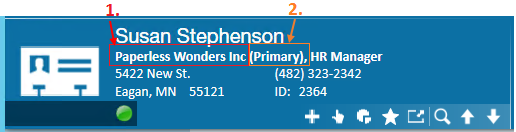
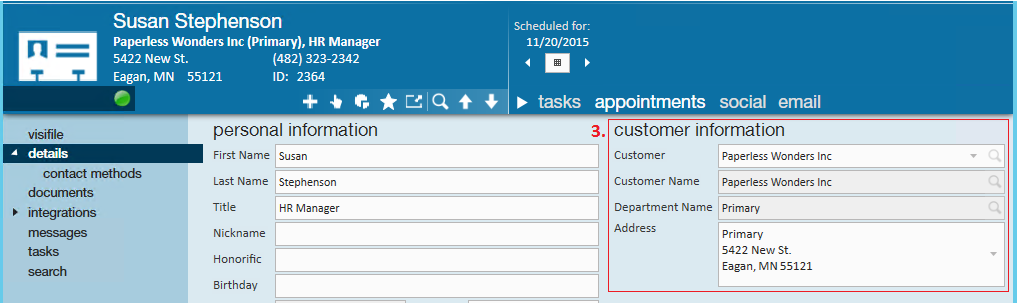
To move the contact, navigate to the details page of the record and within the (3.) customer information section, use the customer dropdown to find and select the new customer, or department, you would like to associated this contact with.
Once you have found and selected the new customer, or department in this example, use the (4.) address dropdown to specify what worksite the contact belongs to.
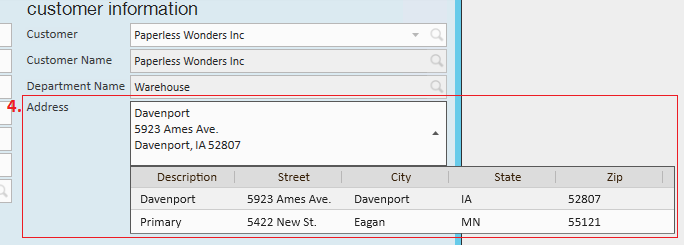
In this example, the contact was originally associated with the Paperless Wonders "Primary" department and "Primary" worksite and has been moved to the (5.) "Warehouse" department and (6.) "Davenport" worksite. 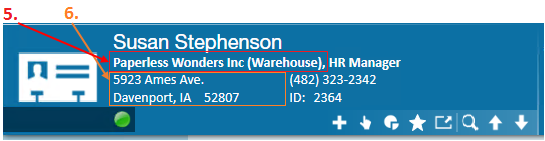
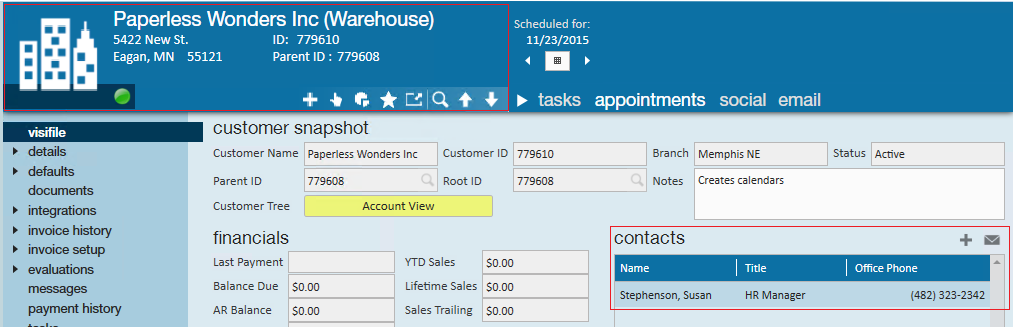
The contact will now be listed on the new customer's visifile: