What is Bridge?
TempWorks created Bridge as a way to connect our customers to our many services. With this new user-friendly portal, you can manage your users for your company. This guide will walk through all the things you can do within Bridge.
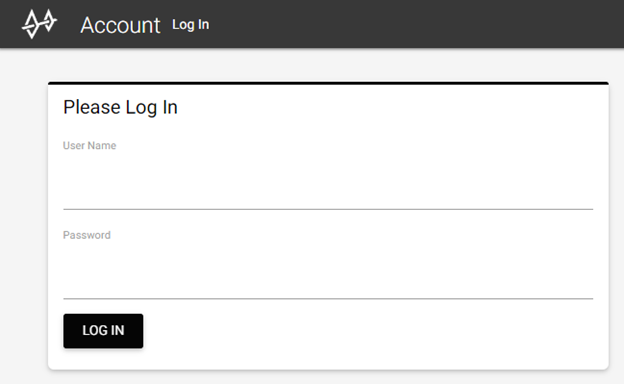
Accessing Bridge
- To access bridge, navigate to bridge.ontempworks.com.
- You will be greeted by the log in screen where you can enter your credentials and select log in to continue.
- Use your 'host\' log ins
- If you do not know your log in information, ask your administrator to provide you a username & password.
- Use your 'host\' log ins
When you are done using bridge, select your initials in the upper right to 'log off' 
Bridge Menu
Open the bridge menu by clicking the  icon in the upper right.
A new panel will open on the right displaying the navigation tree for Bridge. This is where you can get links to the knowledge base and the Users section of Bridge.
User Section in Bridge
This section of Bridge will allow you to add or edit your list of users for Core. The System Administrator or Owner will have access to this section of Bridge.
Search & Filter
All users will be displayed in a list in the center of the page. Use the search bar at the top and the filter options on the left to limit the users that are displayed:
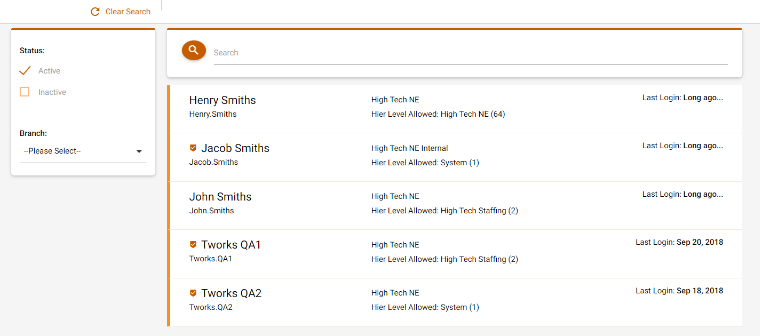
The  icon shows users that are set as administrators. Only administrators can access the users page.
User Management
Click on any user to display options for managing that user:

Reset a User Password
- Select the user you wish to reset a password for.
- Select 'New Password' option:
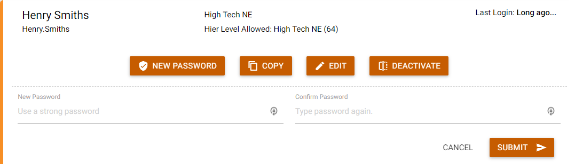
- Enter in the new strong password.
- Re-enter the same password under the confirm password field.
- Select 'Submit.'

Copy a User
Utilize this feature when you want to create a new user. This will allow you to create a new user by copying the same user permissions from an existing user.
- Select a user that has the same credentials as the new user you want to create.
- Select 'Copy':
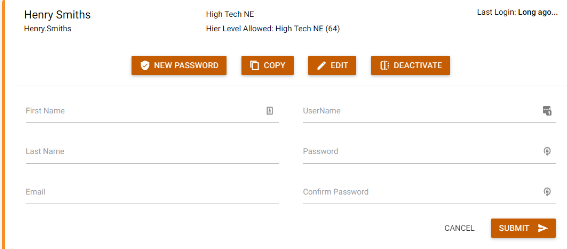
- Enter the following information:
- First & Last Name
- Create a username
- Create a password and confirm password
- Enter an email address for the user
- Select 'Submit.'

Edit a User
Utilize this option to edit user information including administrator status.
- Select the user you wish to edit.
- Select 'Edit.'
- You can change the following information:
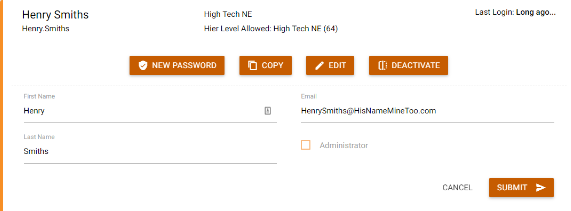
- Name
- Administrator (if checked then they are an administrator and can manage users)
- Select 'Submit' to save your changes.

Deactivate a User
When a user no longer works for you, you can utilize the deactivate feature to change the user to an inactive status.
- Select the user you wish to deactivate.
- Select the 'Deactivate' option.