Buzz Job Offers allows your service reps to push a job offer from Beyond for the employee to accept or decline within the Buzz app.
*Note* This functionality requires both Beyond and Buzz. If you already have Buzz or are interested in Buzz, talk to your account manager today to enable this feature.
This article covers:
Setup
If you have both Beyond and Buzz Job Offers, then you're almost there! The first time you are ready to use this feature, you will need to make sure your staffing specialists and employees are setup for this feature.
Beyond Permissions
Any service rep that will be sending out job offers will need the security group permission 'Enable Job Order Distribution'.
- Navigate to System Settings > Security Groups > Permission
- Select the security group you want to add this permission to
- Check the box next to 'Enable Job Order Distribution'

To learn more about security groups, check out Beyond - Managing Service Reps & Security Groups.
Buzz Access
The employees who will be accepting or declining the job offers will need to have access to Buzz. Check out Buzz - Inviting Employees to Buzz for more information on how to invite your employees to use the Buzz App.
Additional Configurations
There are additional configs, or settings, that are found in WebCenter related to Job Offers.
To locate these WebCenter Configurations:
- Log into WebCenter as an administrator
- Navigate to the Config Tab
- Select the Customer Category
Buzz: Hide Job Offer Location
This configuration allows you to show or hide job offer location in general.
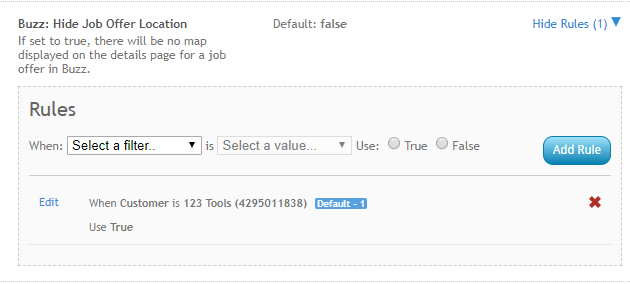
- When this is set to True, no map will be displayed in the details of a job offer.
- When this is set to False, the map will show in the details.

Buzz: Job Offer Location Approximate Distance
This configuration can help mask the exact location of the worksite for a job offer. The employee will only see an estimated area of where the job is located until they accept the job offer. 
If you set this config to 0, it will use the exact location of the job site.
Any other number will be the number of meters for the radius of the job site. By default this is typically 1,000 meters giving the employee a good idea of the general area but not the specific site when they are looking at the offer. You may want to update this for specific customers when their worksite is a larger facility.
*Note* If you selected True under Hide Job Offer Location - no map will be displayed so the setting here does not matter.
Buzz: Hide Job Offer City & State
This configuration determines whether a job offer includes the city and state information in the job offer details. 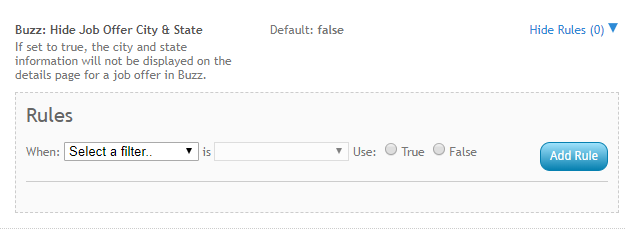
- When this is set to True, city and state information will not be displayed
- When this is set to False, city and state information will be included in the job offer details.
How to Make a Job Offer
Now that your users are ready to make and accept job offers, the following steps walk through how this functionality works.
- Create/Review the Order
- Make the Job Offer
Step 1: Create/Review the Order
Before you can offer or assign an employee to a job, you must first create the order in Beyond or Enterprise. For more information on how to create an order, check out Beyond - How to Create an Order.
The following fields will be show to the employee when being offered a job in Buzz:
- (Public) Job Title: If you do not enter a public job title under the Job Board Options card, the regular job title will be shown to the employee.
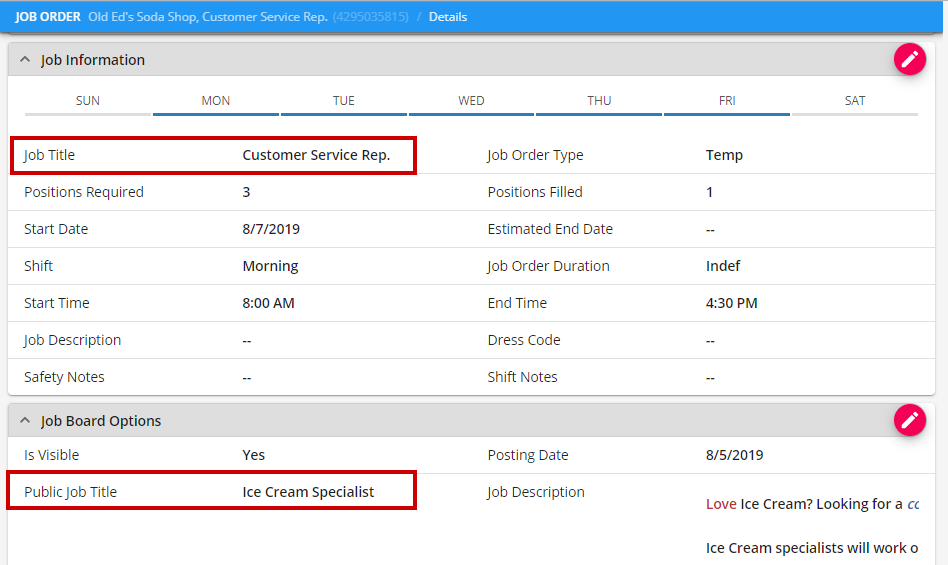
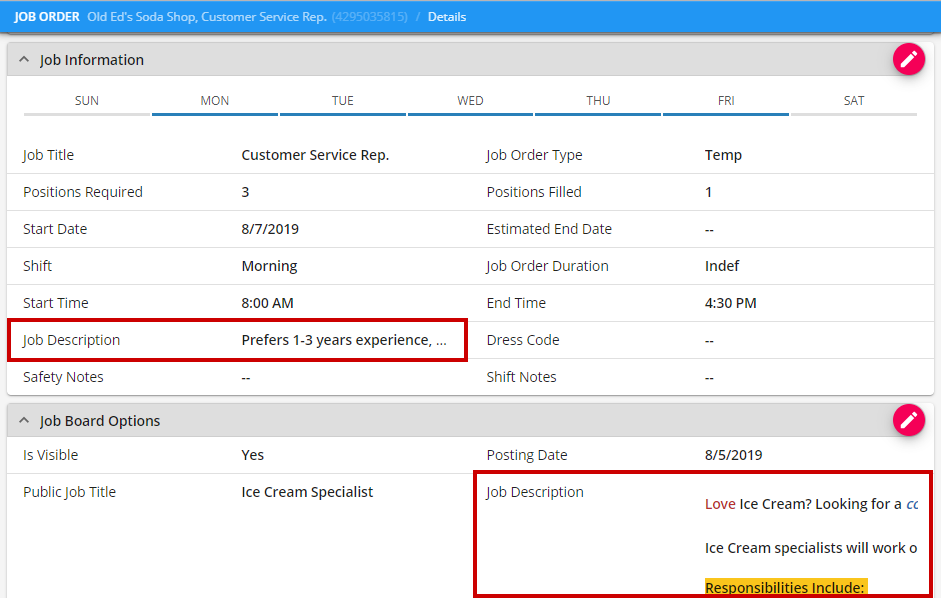
- (Public) Job Description: If nothing is entered on the Job description under job board, the information will be pulled from the regular job description box.
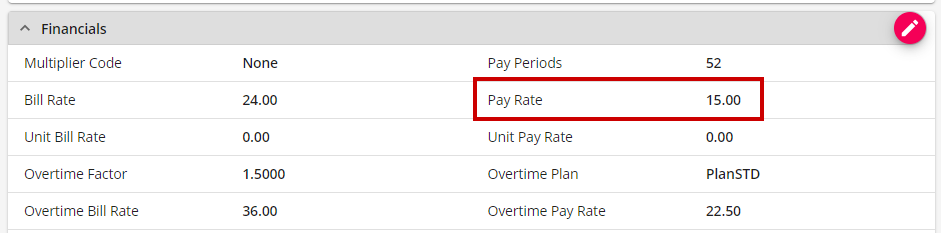
- Pay Rate: The regular pay rate under the financial details will be shown on the offer.
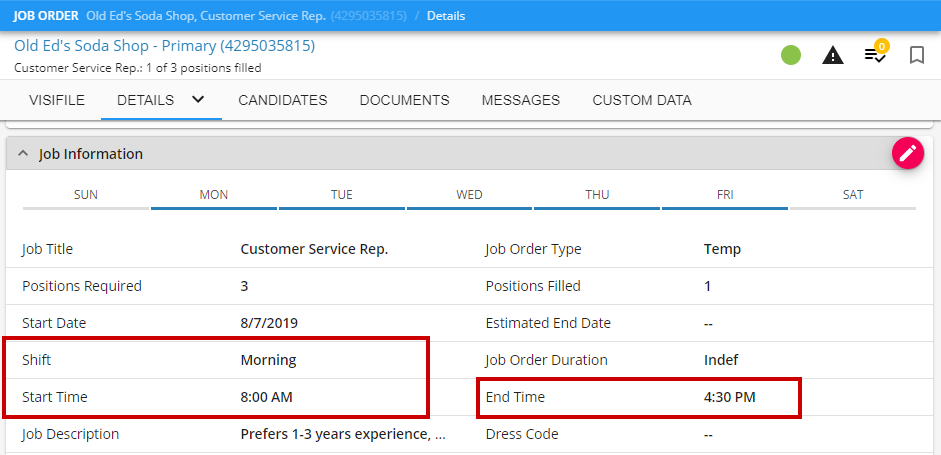
- Shift/Start & End Time: The job offer will display expected start and end time and shift (if applicable):
- Days of the Week: The job offer will include expected days to report. This can be selected or set by the shift selected.
- Dress Code: Located on the Job Information card and will be shown to the employee so they know what dress code is required
- Safety Notes: Located on the Job information card and will be shown to the employee so they know about any safety information


Step 2: Offer the Job
Once you have reviewed the order, you can offer a job to an employee 2 different ways:
Offering Job From Search Results
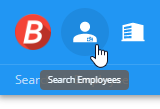
- Navigate to employee search
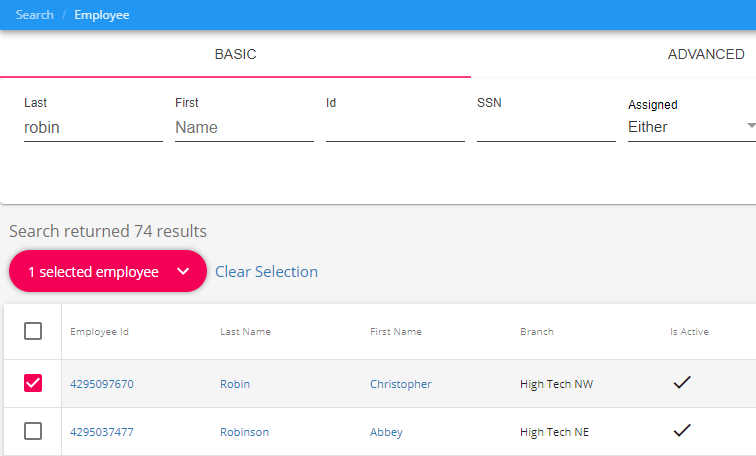
- Search for the employee you want to offer the job (for more searching tips, check out Beyond - Advanced Searching)
- Tap the box next to the correct employee(s)
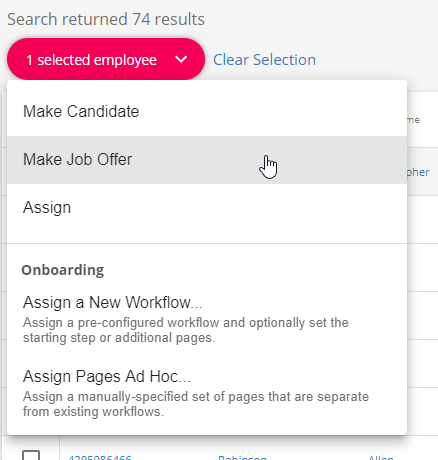
- Select the actions menu at the top of the search results
- Choose 'Make Job Offer'
- Review the information and select the start date and expiration date and time
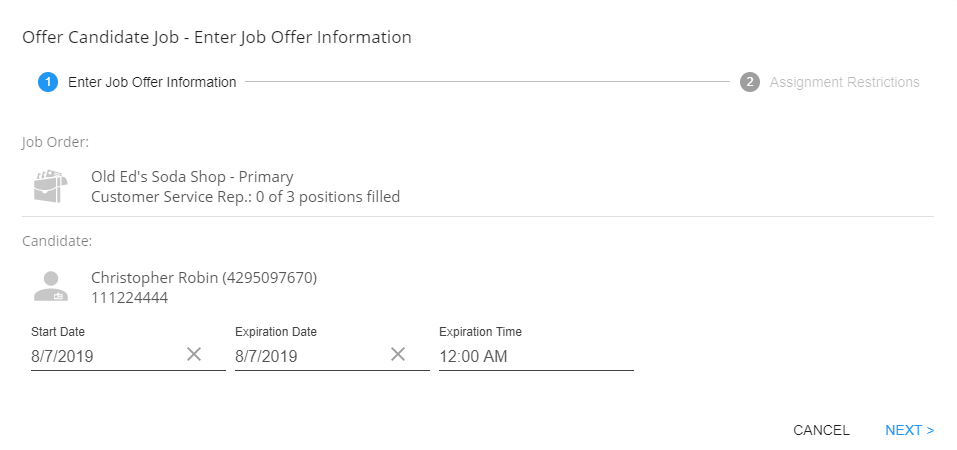
- Select Next
- Review any assignment restrictions
- Note that hard stops will prevent you from submitting an offer:
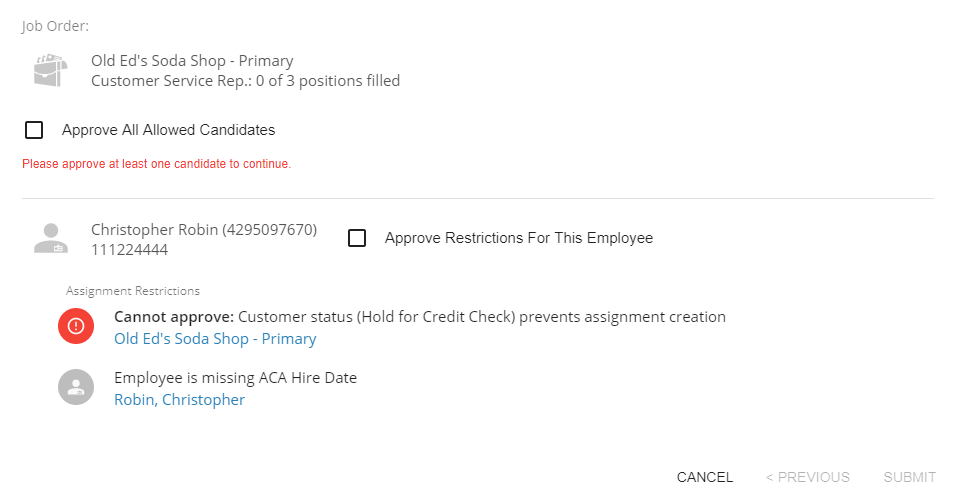
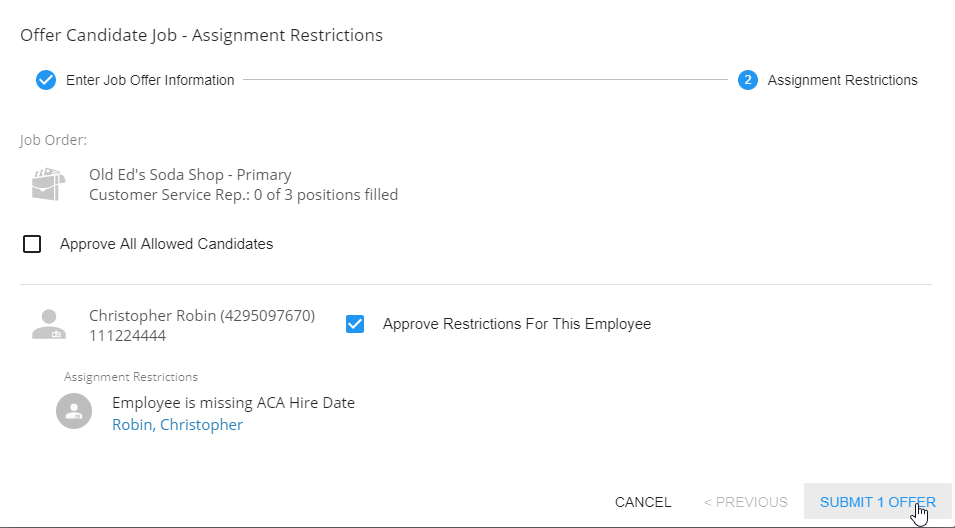
- Soft stops can be approved in order to submit
- Note that hard stops will prevent you from submitting an offer:


Offering Job From Candidate Worksheet
If a candidate on your order is ready to be offered the position, you can offer them the job from the candidates worksheet. To learn more about adding candidates to an order, check out Beyond - The Candidates Tab.
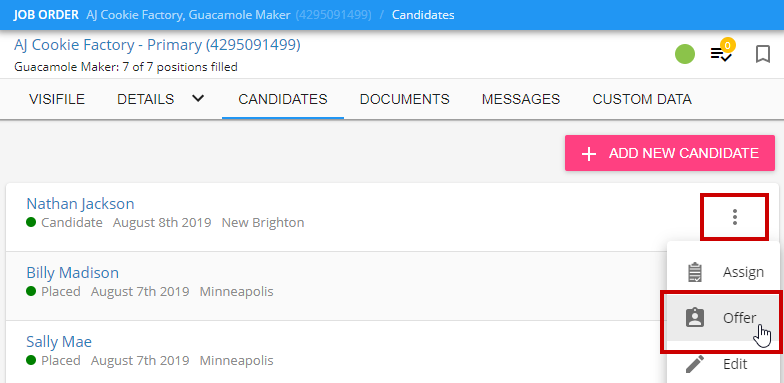
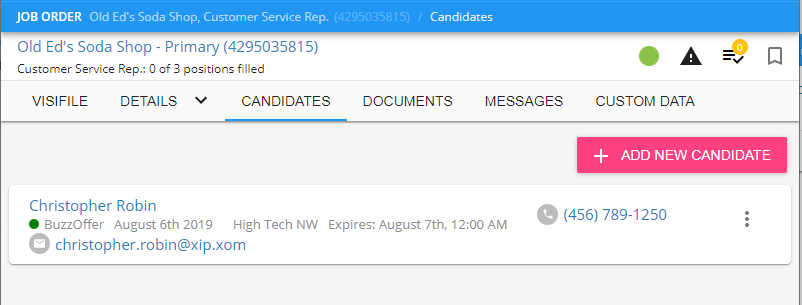
- Navigate to the Candidates tab of the order
- Select the 3 dots icon next to the candidate you want to offer the job to
- Choose Offer
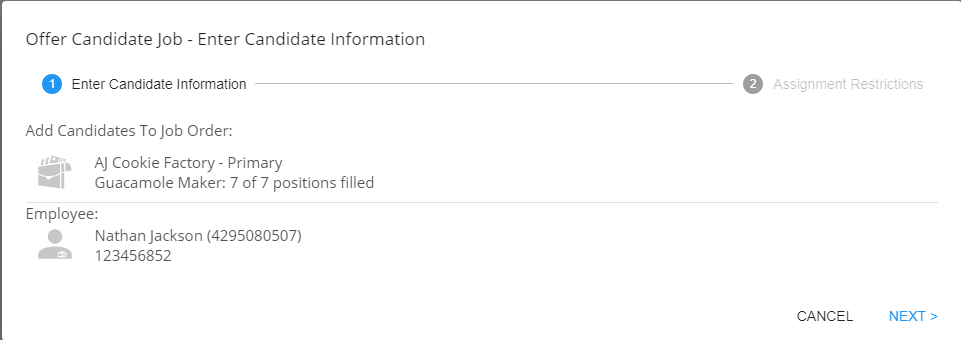
- Review the information before selecting next
- Review any applicable assignment restrictions (Remember that hard stops will not allow you to make an offer, for more information check out Beyond - Assignment Restrictions)
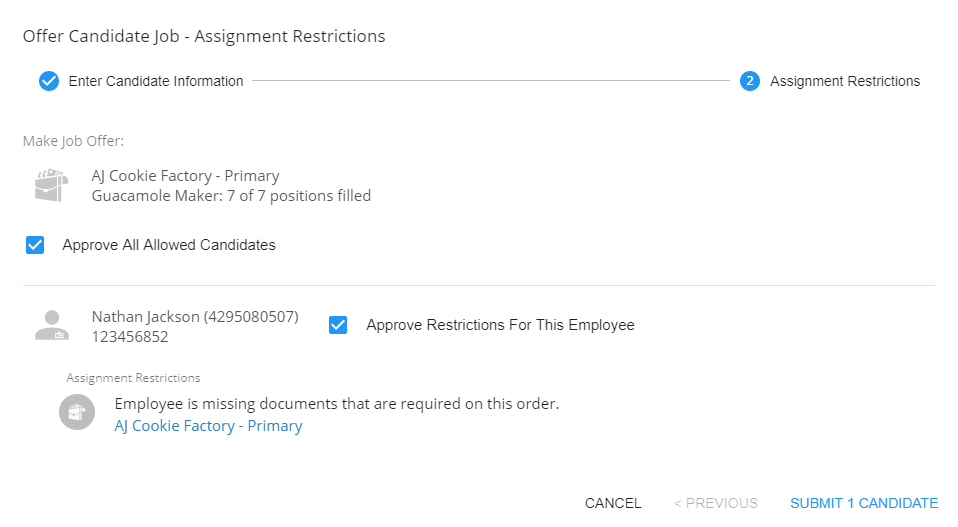
- Select Submit


Next Steps
Once you have offered the employee the job, they will receive a push notification (as long as they have notifications enabled).
*NOTE* Here is an example of what the push notification might look like depending on the brand of the device/tablet the employee is using. 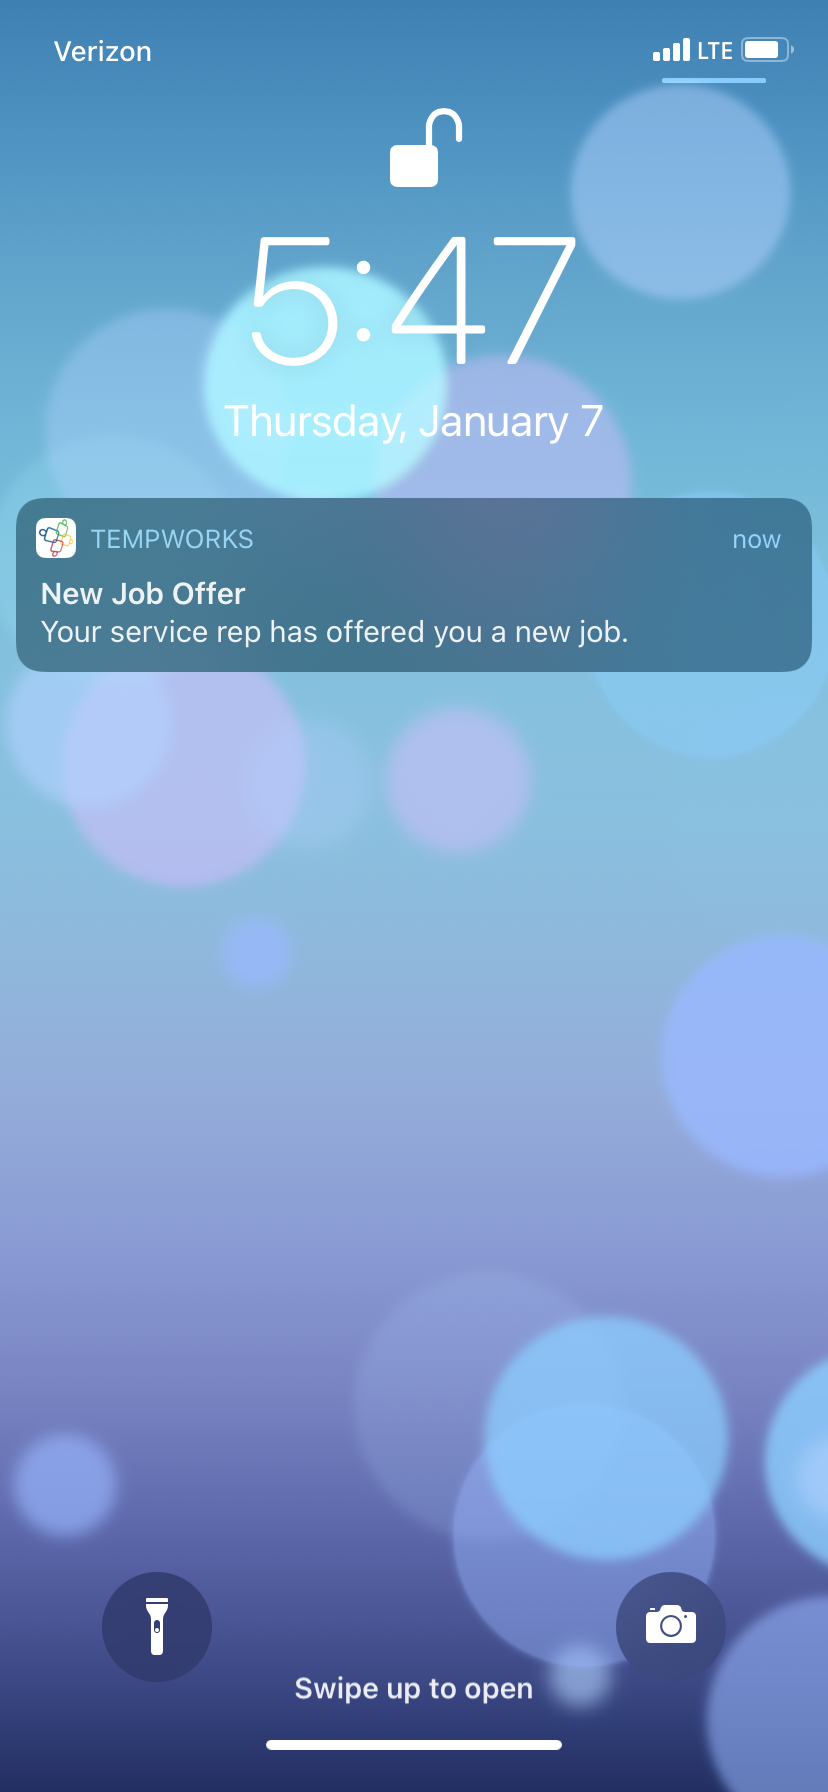


^the last above is the app on signaling there is a notification*
*NOTE* Employees have the ability to turn off notifications from the Buzz app just like they could for any other app on their mobile device or tablet.
After receiving the offer, the employee will be able to review certain details regarding the job offer. They will then have the ability to accept or decline the job from the Buzz app by navigating to "More" and selecting "Job Offers":


You can track their response via the candidate worksheet on the order:
- Buzz Offer - Job has been offered to employee
- Buzz Accept - Job has been accepted by the employee
- Buzz Decln - Job has been declined by the employee
- Buzz Cancel - Candidate has canceled the job through the Buzz app

Situations to Consider
When an Employee Accepts a Job:
- Candidate status updates to BuzzAccept
- Message is logged on the order and employee records with the BuzzAccept action code
- Assignment record is created for the employee with the Open status
When an Employee Rejects a Job:
- Candidate status updates to BuzzDecln
- Message is logged on the order and employee records with the BuzzDecln action code
When a Job Offer Expires:
- If the employee does not accept or decline the job offer before the expiration date, the offer will expire
- The Buzz app will show that the offer is expired and they will not be able to accept it.
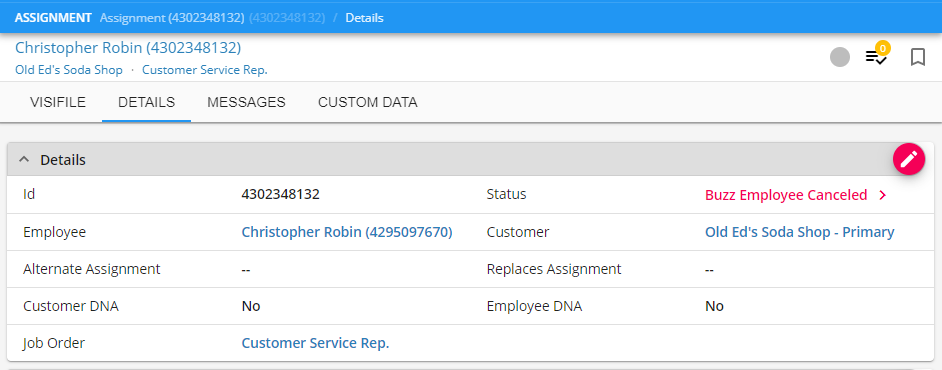
When an Employee Cancels the Job:
- If an employee accepted a job and then changed their mind, they will be able to cancel the job confirmation from the Buzz Job Offer section
- The candidate status will be updated to BuzzCancel
- Message is logged on the order and employee records with the BuzzCancel action code
- The Assignment status is updated to Buzz Employee Canceled and end date is set to the date canceled or the start date
When an Order is Filled Before an Employee Accepts:
- If an employee does not accept the order before the order is filled the job offer will not allow them to be placed.
- If the order status changes back to unfilled, either by requiring more people or by having a different employee cancel/no show, then the employee will be able to accept the offer as long as it has not yet expired.
When an Employee Accidentally Declines or Cancels a Job Offer:
- Employee's will be able to reset their job offer status and accept or decline the job offer unless it has expired or the order has been filled
- Candidate status will return to BuzzOffer and message will be logged
- Employee can now accept or decline. For more information check out Employee: Accepting & Declining Job Offers.
Notifications with Job Offers
By default, your employees will receive push notifications on their devices for the following events related to Job Offer:
- Job Offer Reopened: Sent to an employee when a job offer opens up again
- New Job Offer: Sent to an employee when a new job offer is sent
Notifications are managed by employees in the Buzz app by navigating to the  > settings > notifications