What is the Vendor Portal?
The Vendor portal of WebCenter will allow you, a subcontractor vendor, to access important information and communicate with the staffing company you are partnered with. This includes having access to accept or decline order requests and submit candidates all in one place.
When we talk about subcontractor vendors we mean:
- 3rd party staffing agencies or other providers that are sending their employees to fill orders with a partnered staffing agency
Never logged in before? Check out Vendor Portal Quickstart first.
In this article we will talk about how to review order requests and accept or decline them.
*Note* This article is written for your Vendor Contacts that are using the Vendor WebCenter Portal. For more information on reviewing candidates, check out Vendors - Assigning Vendor Employees to an Order.
Keep in mind you may not have all the features available that are shown here depending on the system configurations.
This article covers:
Adding Employees
In order to submit candidates to fill orders, you will need to add the employees into the system and provide some basic information.
You can view, add, and manage employees from the employee's tab in WebCenter
There are two ways to add an employee:
Upload a Resume
If you have a recent resume for your employee, you can upload it to create their employee record in the system. You will be able to edit and add information to the employee's record once it's created.
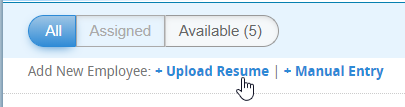
- Navigate to the Employees tab in the Vendor Portal
- Select + Upload Resume button in the upper left
- Choose the resume file from your computer
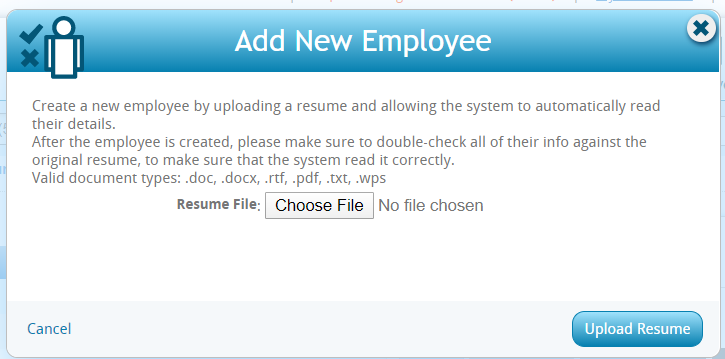
- Select Upload Resume button
- Review the information & add any additional details
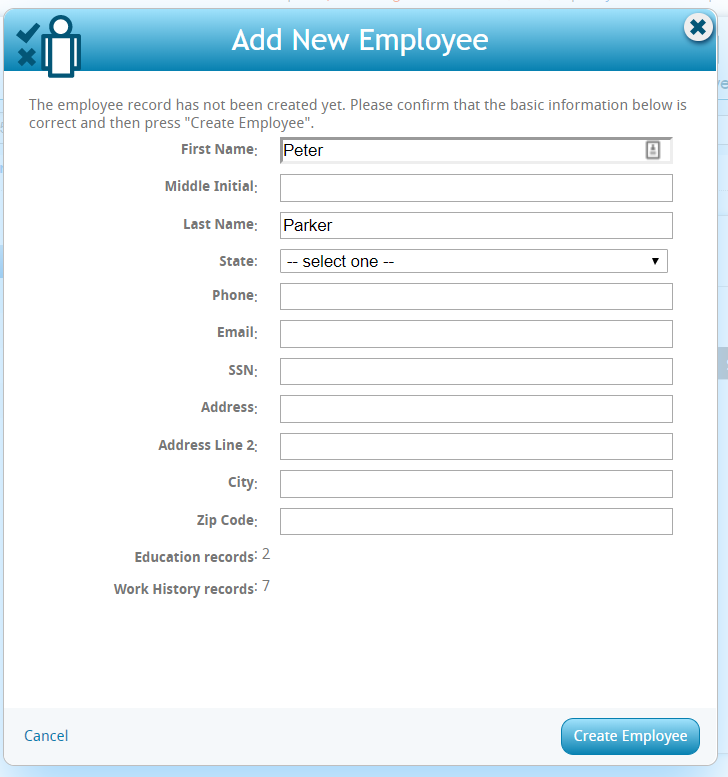
- Keep in mind that phone and email can be your preferred method of contact to set up an interview for this employee instead of the employee's phone/email
- Education and work history records will be able to be reviewed once you create the employee record.
- When you are ready, click create employee to add the employee into the system


Manual Entry
If you don't have a resume you want to use, you can manually create an employee record.
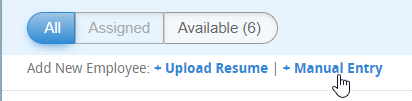
- Navigate to the Employees tab in the Vendor Portal
- Select + Manual Entry button in the upper left
- Enter the employee details including first and last name and state information
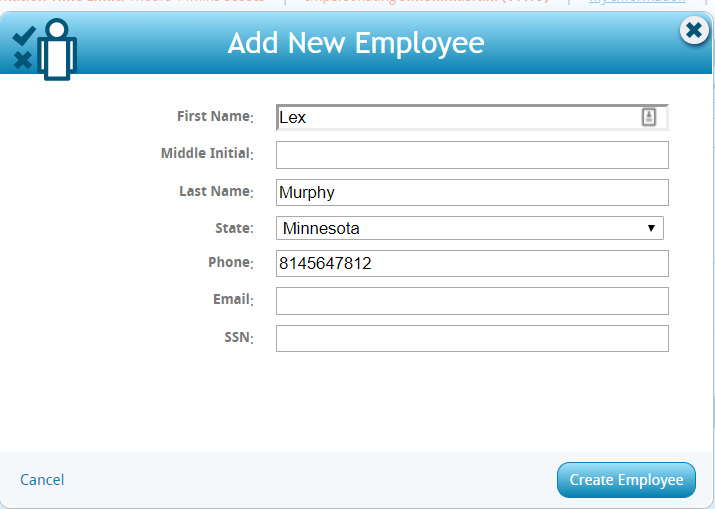
- Keep in mind that phone and email can be your preferred method of contact to set up an interview for this employee instead of the employee's phone/email
- When you are ready, click on the "Create Employee" button


Reviewing Available Employees
You can review and add additional details to any employee you have in your system. Keep in mind that when you submit candidates for review, the staffing company's team will review your submission to consider for the open position.
On the employees tab, you will see filter options in the upper left to see:
- All - all employees you have added into the system regardless of whether they are currently assigned
- Assigned - only those currently being sent to work (attached to an order)
- Available - only those that are not assigned to a current order
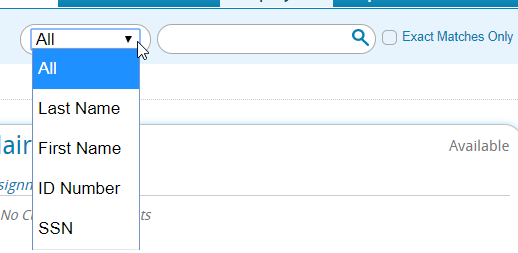
There are additional filter options on the right if you are looking for a particular employee:
When you select an employee record, you will be able to see their details on the right in 5 different tabs: 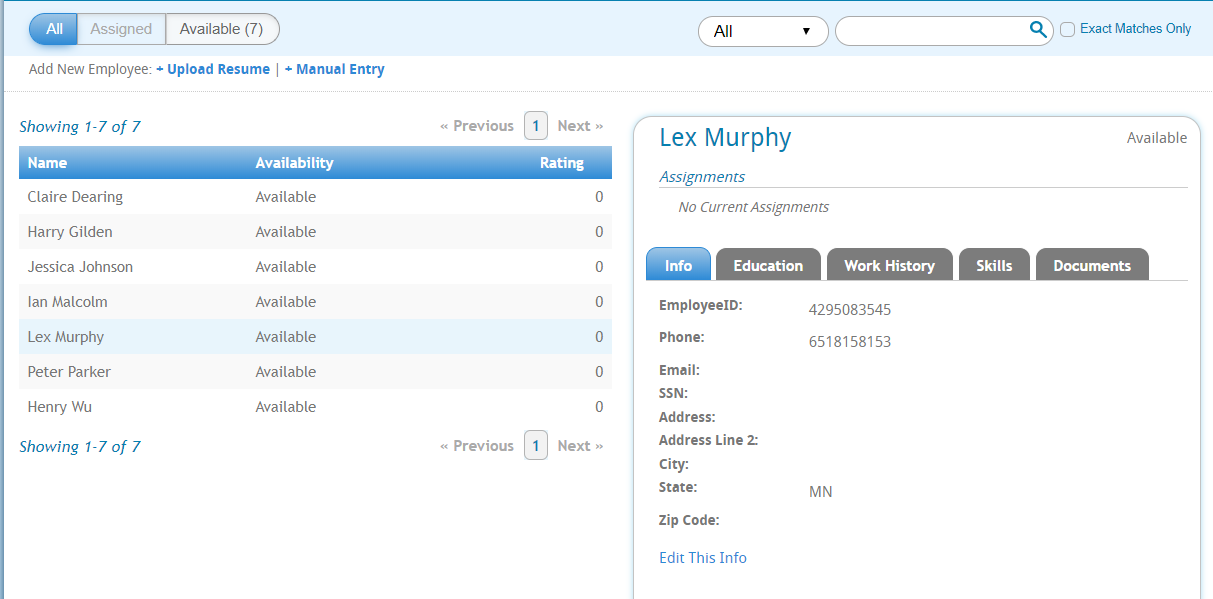
- Info - Shows basic information including contact information, address, and employee id number you can use when talking with the staffing agency you are working with
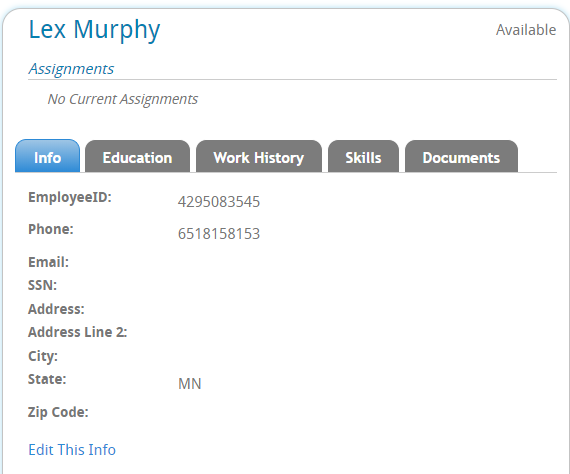
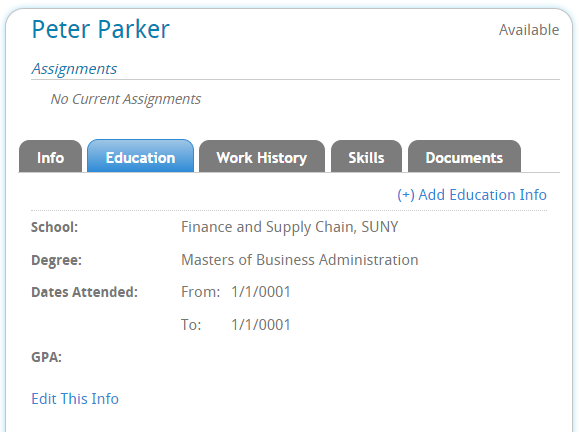
- Education - This will show any education items from the employee's resume or manually entered. Select the Add Education option to add another education item
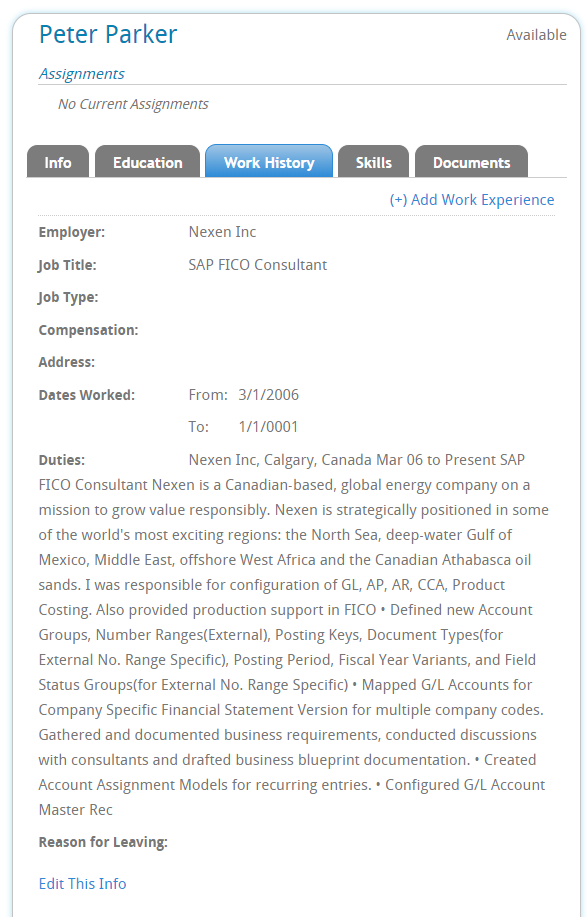
- Work History - shows any work history items from the employee's resume or manually entered. Click Add Work History to add a new work history experience or edit this info to edit an existing item:
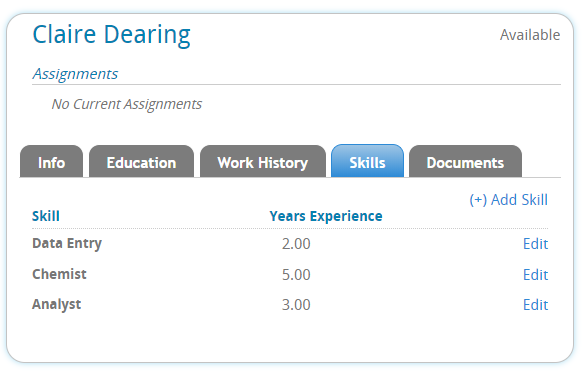
- Skills - add any important skill sets this employee has. Select the Add Skill button on the right to add more skills
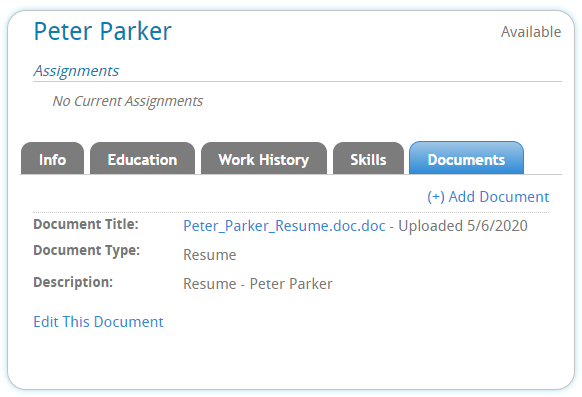
- Documents - This section allows you to attach additional documents such as a new resume, etc. to be displayed for the staffing company's team to review. Employees created by uploading a resume will automatically have the resume added here


Submitting Candidates
Once you have added employees into the system and accepted your first order, you will want to begin submitting your best employees to fulfill orders.
- Navigate to an order you have accepted

- Click on details to see more order information at the bottom of the page
- Select the Add/Edit Employees option in the upper right

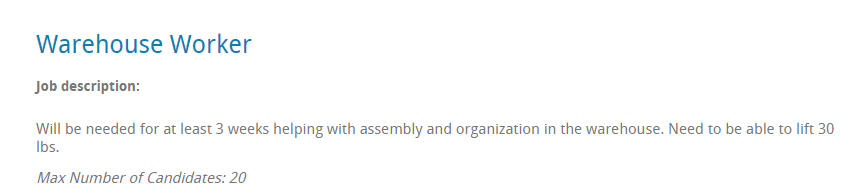
- Review the job description at the top and be mindful of the number of candidates you can select:
- Select your candidates
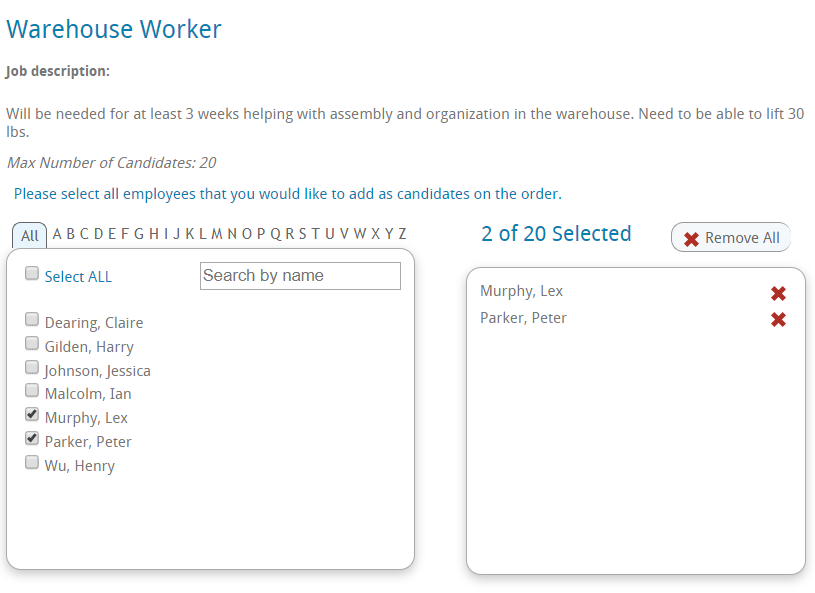
- When you have finished, select Save and Close


Submitted candidates will be reviewed by the staffing agency before they are approved to send to work. Work with the staffing company to determine what the exact review process will look like and when employee's will need to show up for work.
Viewing Submitted Candidates
You can review which candidates and where they are in the selection process by navigating to the candidates tab on the order:
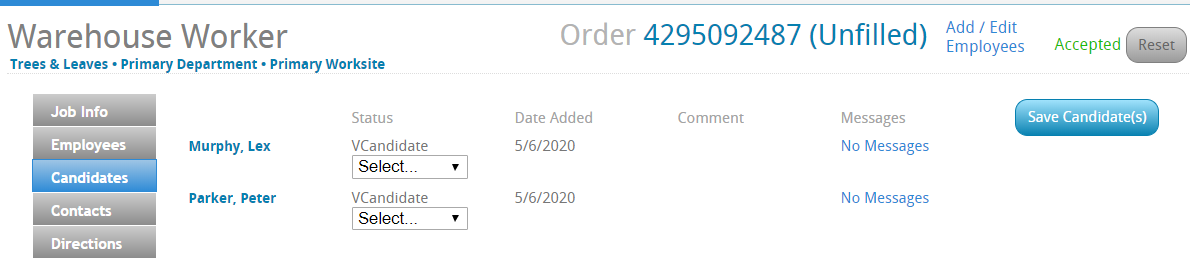
- Change a Status - You may have the ability to update a candidate's status if one refuses the position, etc.

- You can choose the new candidate status from the drop down and select Save Candidates to update the status for the staffing company
- The staffing company will also be updating candidate statuses as they go through their review process.
- Add a Message -
- By adding a message your vendor contact will have the ability to communicate directly with your customer contact.
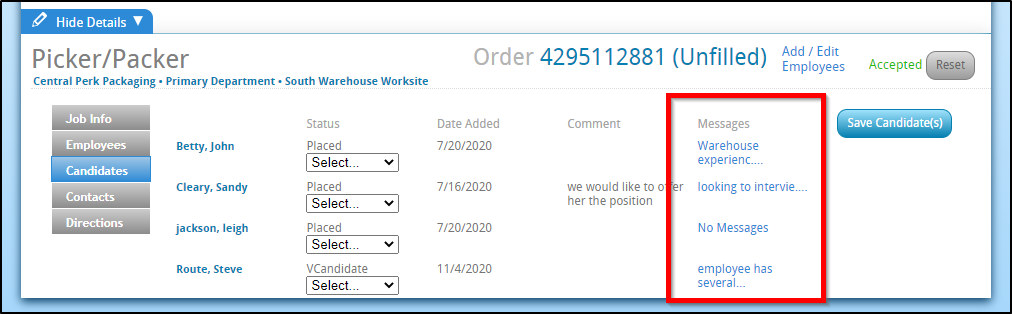
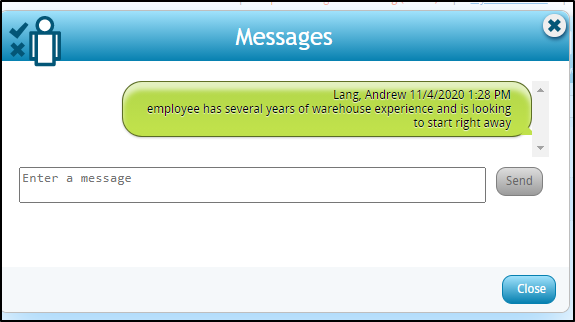
- Click on blue hyperlink under their messages category to open message. Once you select it you should see the following pop up (seen below). Type in your message!
- When the vendor contact leaves a message the contact from your customer will be able to view it under the candidates hyperlink under the order tab (screenshot below is the viewed from the perspective of the contact of the customer record).
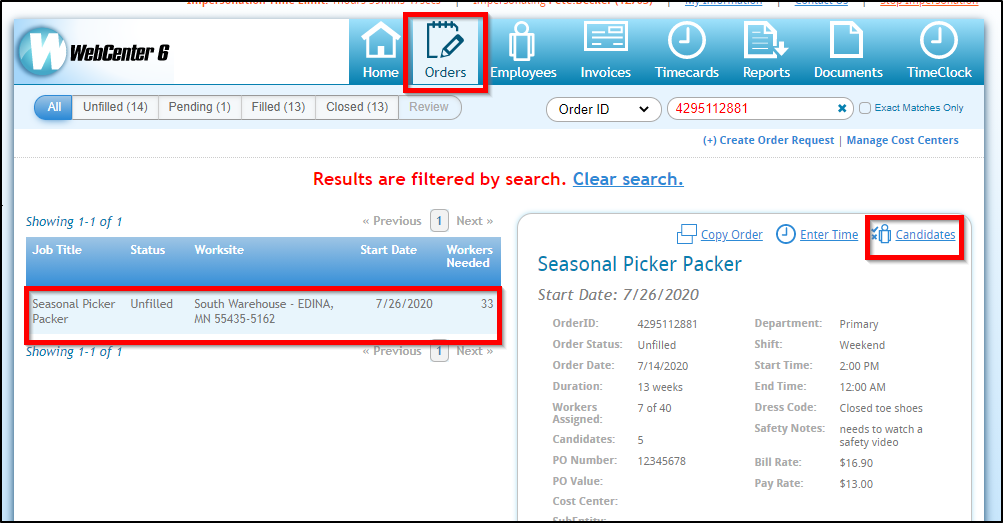
- After selecting the candidates hyperlink your customer contact should see the following appear (seen below):
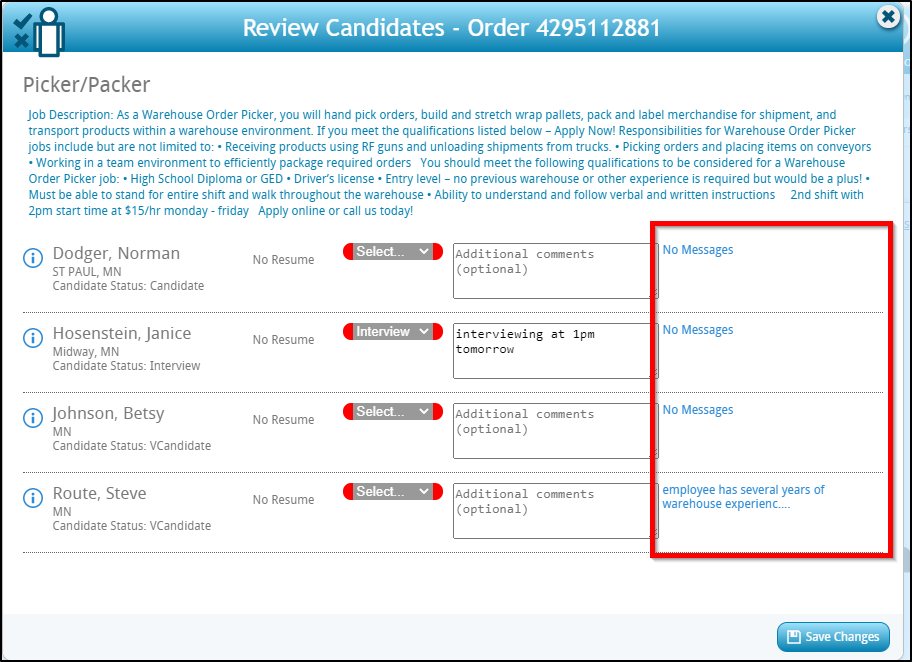
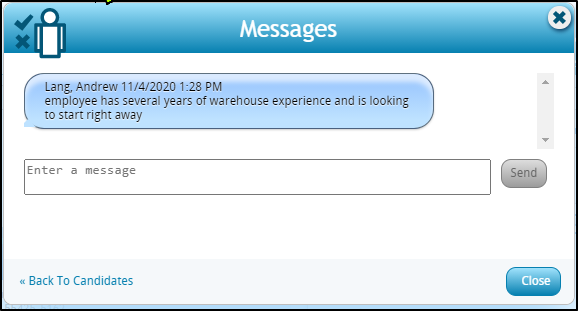
- They can then click on the message (will be a red hyperlink if it is a new unseen message) to view the entire message (as seen below). Your customer contact would also have the ability to send a message back to your vendor contact by entering in their response in the "enter a message" box and then selecting send.
- Please note that this config works directly with messaging. It is located under the Miscellaneous tab in WebCenter Configs.

- By adding a message your vendor contact will have the ability to communicate directly with your customer contact.


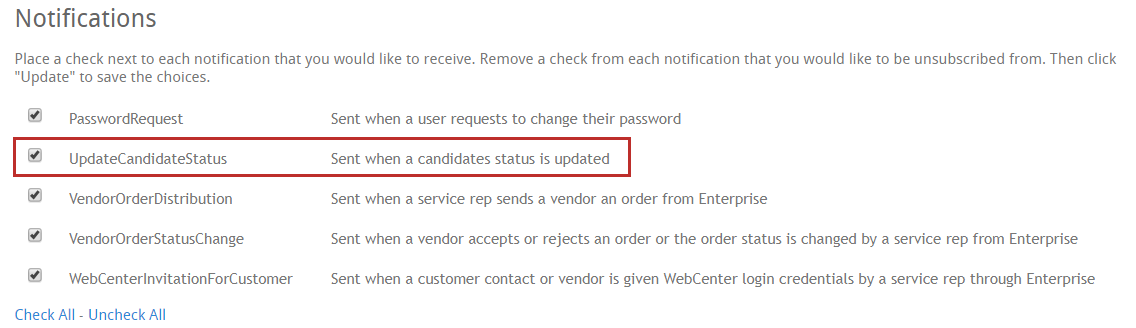
Candidate Related Notifications
You can choose to receive email notifications when candidate status is changed including when they are assigned to an order by navigating to the "My Information" section from the home page. To learn more, check out Vendor Portal Quickstart.
Below is an example of what that email notification will look like:
