What is Custom Data?
The custom data page is used for adding information on the employee, customer, order, assignment, or contact records, which does not currently have an existing field in TempWorks Enterprise; this includes anything from equipment rental documentation to marketing statements. Custom data fields will be available for searching and reporting purposes.
*Note* Only users with administration access can create custom data fields, making them available on Enterprise records.
Custom data fields can be found under Integrations > Custom Data on the employee, customer, order, assignment, or contact record.

Setting up Custom Data Fields
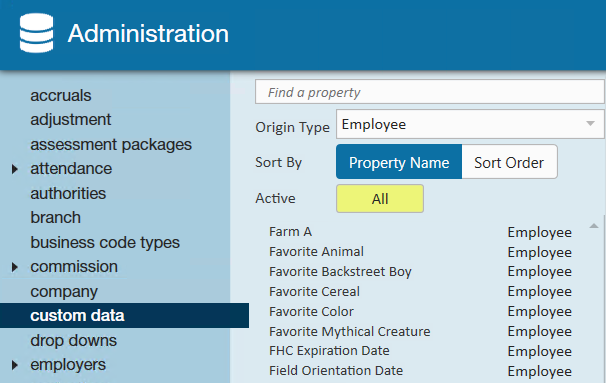
- Navigate to all options > Administration > Custom Data
- Select the + icon in the upper right
- Fill out the following information:
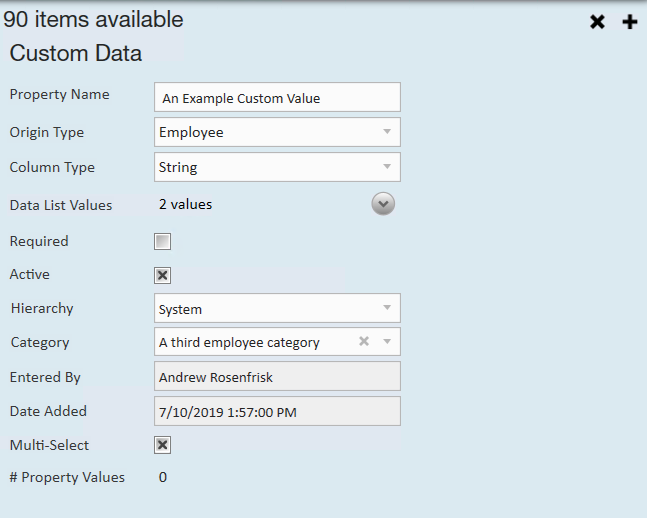
- Property Name: Name of field you are adding
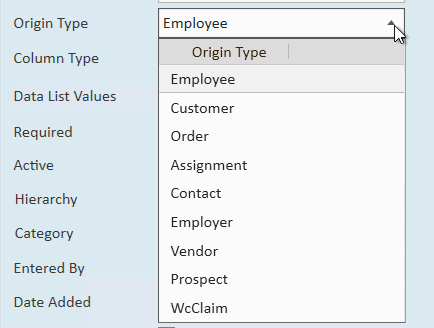
- Origin Type: Record type this field will appear on (ex. employee record)
- Column Type: How information is selected/entered for this field.
- True/False: Check box only

- Date: Calendar formatted field

- Decimal: Allows numbers and decimal point only.
- Guid: Must be unique for each record.

- Integer: Allows numbers only.
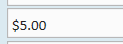
- Money: Currency formatted field
- String: Allows all alphanumeric characters
- Time: Time formatted field
- True/False: Check box only
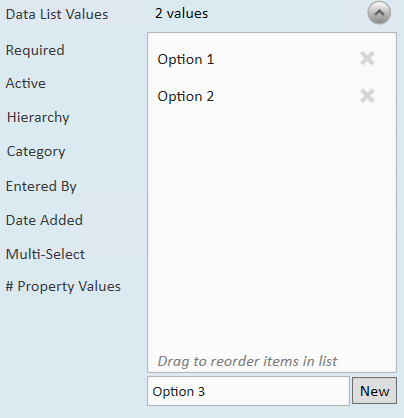
- Optionally, add data list values
- Data list values allow you to change your custom data field into a drop-down option
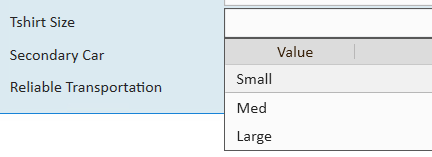
- Select the arrow to the right of the data list value section to open the options
- Enter a value you would like users to be able to select and then click 'New' to add it to the list of options:
- Data list values allow you to change your custom data field into a drop-down option
- Required: Check this box to require this field be filled out
- Active: Uncheck this box to have this custom data field deactivated (no longer seen or able to use)
- Hierarchy: Select the hierarchy level this field applies to (Ex. Is it only for temp employees or for one specific branch?, or should this be set to System level)
- Select the
 icon in the upper left to save your changes.


 icon in the upper left to save your changes.
Entering Custom Data on Records
Navigate to the custom data form of any record (it will be located within the integrations section in the record's navigational tree):
Notice that the required fields are noted with a (6.) red exclamation mark. Also, following our example, the custom data field that was created earlier (7.) displays in the customer record as intended.

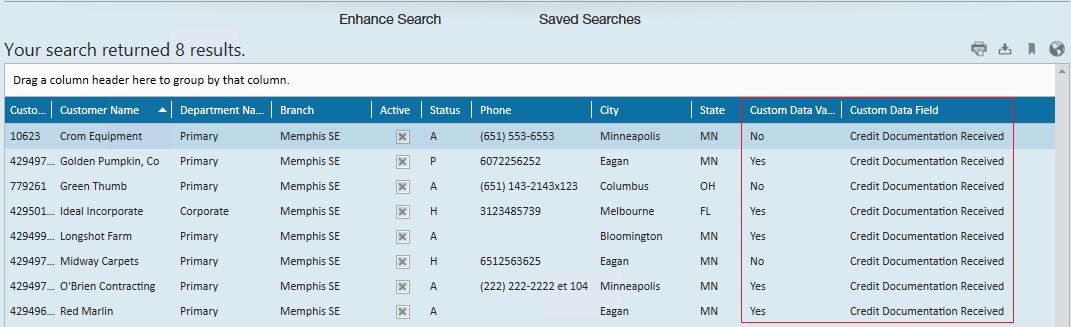
Searching custom data fields:
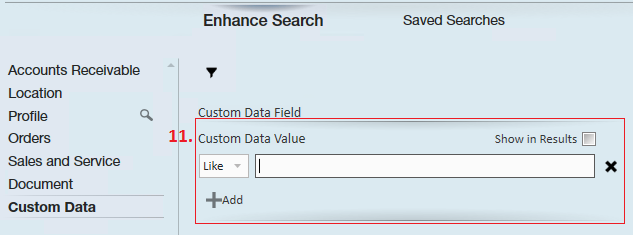
From the enhanced search area (8.) select custom data (9.) from the search categories. Select the custom data field you would like to search (10.) :

Either enter the data you are looking for in the custom data value field (11.) or select show in results to view the data that is in the field select for each record that returns in the results:
Both the custom data field name will be displayed along with the data which resides in that field: