What are Defaults?
On the customer record, there are a lot of options that will help make filling out orders faster and easier. Defaults include worksites, multiplier codes, Required Docs, shifts, worker comp codes and job descriptions that will populate into any orders you create. This can save you time in the long run and also reduce the amount of mistakes that can be made on an order record.
Worksites
Worksites are locations you send employees. Documenting worksites on the customer record makes sure that employees are sent to the right locations and are taxed correctly based on where they are working. 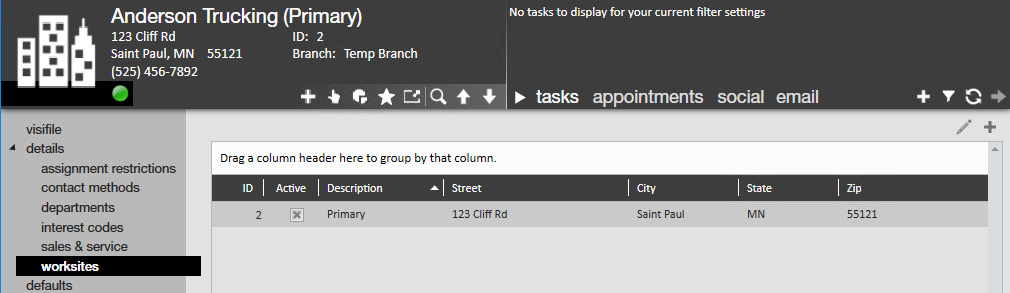
To add a worksite:
- Navigate to the customer record you want to add a worksite to
- Select Details > Worksites
- Select the + icon in the upper right to add a new worksite
- Enter a name for the worksite and the address
- Enter any additional details you have including directions and dress code. (tax information should auto populate based on worksite zip code)
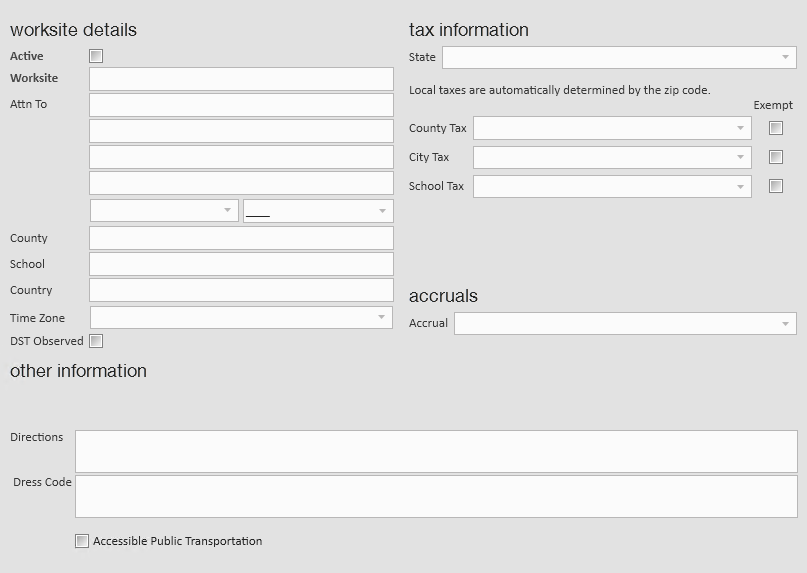
- Select Save and Continue
- Review the tax information pulled from the zip code and select save

Defaults
The defaults section of the customer record allows you to set up default information that will populate to order records. This includes things such as markups (multiplier codes), worker comp codes, and shifts. 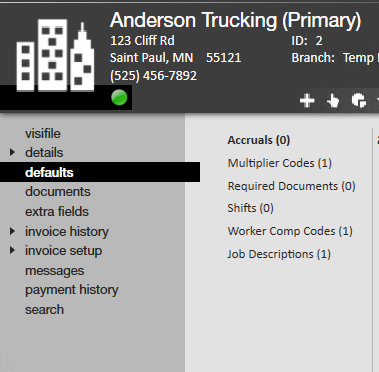
Default options:
Multiplier codes
Multiplier codes are sometimes referred to as markups in the staffing industry. When you create a contract and agree upon rates with a customer, you can use this section to add those rates so they appear on any new orders.
Do you have multiple markups for one customer? No problem. Just add all the multiplier codes under the defaults section and order them from most to least common. This will allow you to choose between the different multiplier codes when creating the order.
*Note* Multiplier codes must first be added by an admin via administration before you can apply it to a customer record.
To add a new multiplier code to a customer record: 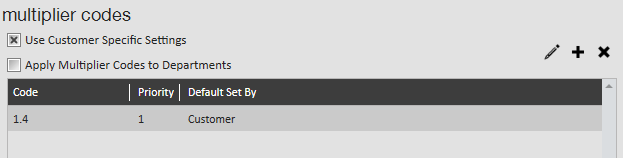
- Navigate to the defaults section of the customer record you want to add a multiplier code to.
- Select Multiplier Code
- Select the + icon to add a new code
- Select the Multiplier Code from the drop down
- Set the priority (1 = top of the list)
- Select Save
To remove a multiplier code that no longer applies to a customer, you can select it and click the X icon in the upper right to remove it from the list.
Required Docs
Does every employee who works with this customer have to complete additional required paperwork or testing? Using the required docs section of the customer record you can require employees to have additional drug tests, specific paperwork, or certifications before they can be assigned to work for this customer. 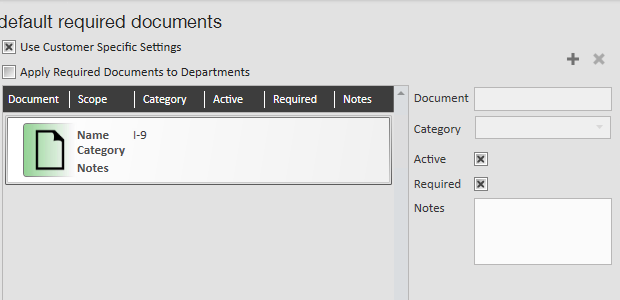
To add a required doc to the customer record:
- Navigate to the defaults section of the customer record you would like to add a required doc to.
- Select Required Docs
- Select the + icon in the upper right
- Select the document(s) you want required and click the arrow to move them to the selected section
- Select save
Both the Active and Required check boxes need to be checked for the document to be seen as required.
Now, when attempting an employee to an order with required documents users will receive a soft stop (a.k.a. informational stop) alerting them that a required document is missing.
For information on adding required docs to employee records see Core - Required Documents.
Shifts
Shifts allow you to create defaulted customer shifts that include start time, end time, break, days of the week, and additional notes needed for specific shifts.
To add a shift:
- Navigate to the defaults section of the customer record you would like to add a shift to
- Select Shifts
- Select the + icon in the upper right
- Enter a name for the shift (ex. AM Weekday shift, Morning shift, etc.)
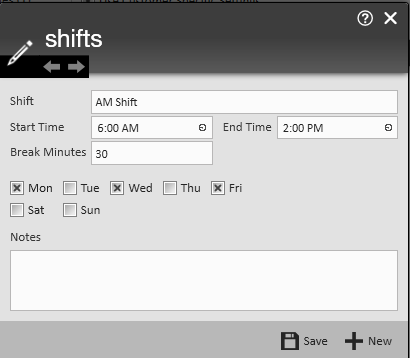
- Enter start, end and any applicable break time
- Select the days of the week employees will work on this shift.
- Enter any additional notes related to this shift.
- Select save

To edit a shift sect the shift and then click on the pencil icon in the upper right.
To remove a shift that is no longer applicable, select the shift and click the X icon in the upper right.
Worker Comp Codes
The worker compensation code(s) associated with orders/jobs you will be filling for this customer can be defaulted to help make the selection easier when creating orders. 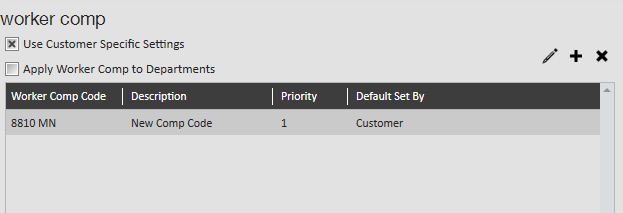
*Note* Worker comp codes must first be set up in the system by an admin under administration before they can be added here.
To add a default worker comp code:
- Navigate to the defaults section of the customer record you would like to add a worker comp code to
- Select Worker Comp Codes
- Select the + icon to add a new worker comp code
- Select the desired code from the drop down
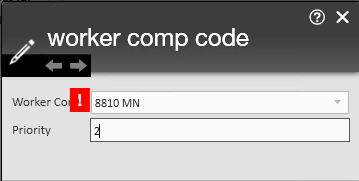
- Set the priority (1 = top of the list)
- Select Save

If/when worker comp code defaults are established, only those codes will be able to be selected on any/all future orders created for this customer’s orders and assignments.
Job Descriptions
Job descriptions can be a great tool to save staffing specialists time when a job description is consistent for the client within an order. Users may select a job title and enter detailed information in relation to that specific position, in return when the job title is selected within the order the information will pre-populate yet can still be modified on the order if necessary. 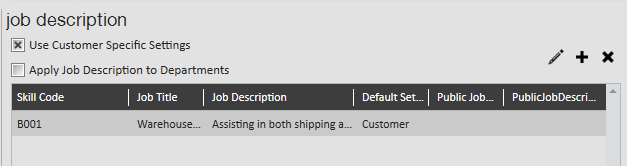
To add a default job description:
- Navigate to the defaults section of the customer record you would like to add a job description to
- Select Job Descriptions
- Select the + icon in the upper right
- Select the Skill Code (aka Job title)
- Enter the Job Description Details
- Optionally, if you are posting this job to the job board, enter a public job title and public job description.
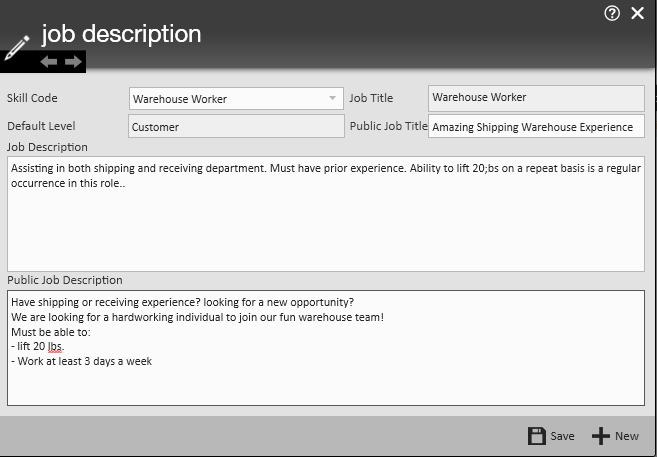
- Select save

Once a job description has been added, anytime you create an order for that customer with that job title, it will ask to default the job description.