Time Entry & Beyond
You can now enter time for employees in the Time Entry section of Beyond. Any time entered in either Enterprise or Beyond will transfer to the other to keep everyone on the same page.
In order to utilize time entry in Beyond, you must be given access by your administrator. In administration, you must be added to a permission security group with timeentry-enabled selected. To learn more about security groups see Security Group Administration Form.
To Locate Time Entry in Beyond:
- Log into Beyond and navigate to B Menu > Timecards > Time Entry

This article covers:
Finding the Right Timecards
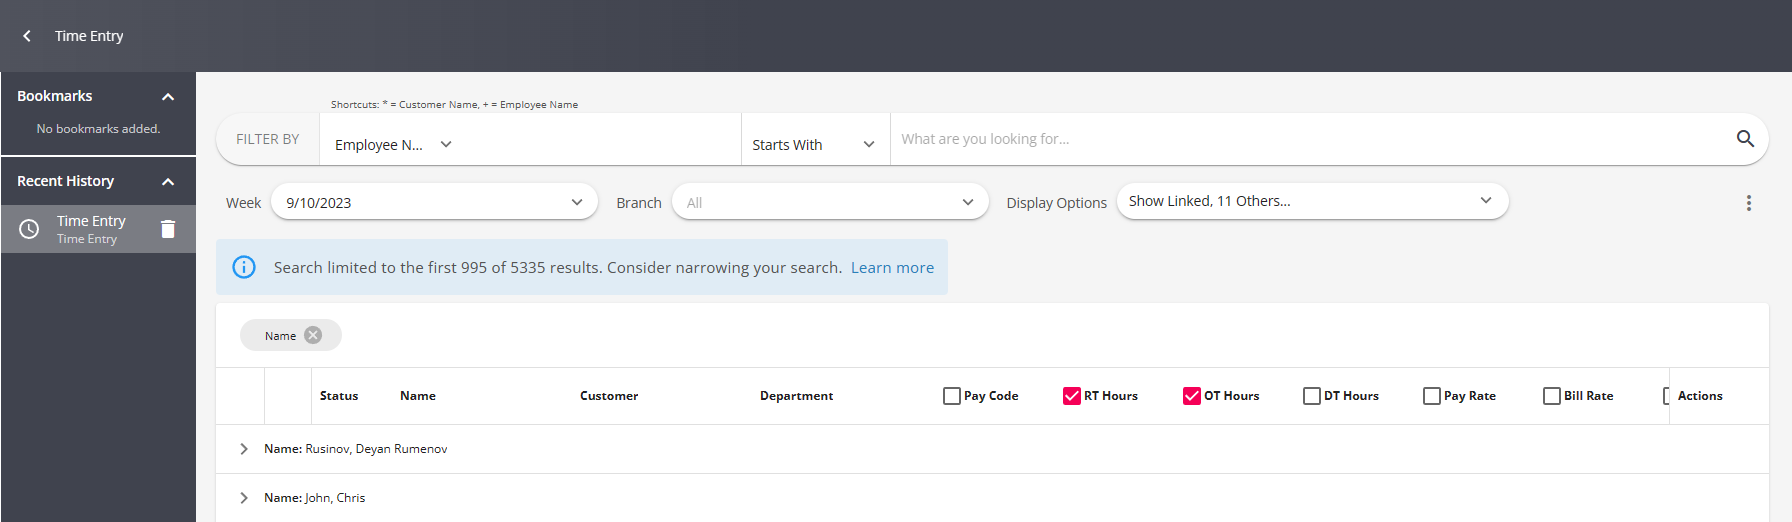
When you navigate to Time Entry, you will be able to see the entire list of timecards generated by open assignments. For some companies, that may be hundreds of timecards so it is important to know how to quickly find the timecards you need.
If you do not see timecards displayed when you first enter the Time Entry section, select the  . If nothing is populated in the filter by section and you select the magnifying glass, it will display all timecards.
The following is a list of options to help search and organize timecards to work for you.
Filter By
The 'Filter By' option is located at the top of Time Entry in Beyond. This allows you to search for specific employees, customer, etc. to limit which timecards you are viewing.

- Select a field to filter on (ex. Customer Name or Employee Name).
- Choose a rule (starts with, contains, or equals).
- Enter the text you wish to filter by (ex. Buy N Large or Lynn Honey).
- Select the
 in the upper right to filter.
 in the upper right to filter.
Filter field options:
- Assignment Id
- Customer Id
- Customer Name
- Department Name
- Employee Id
- Employee Name
- Job Order Id
- SSN
- Transaction Id
- Worksite
Branch, & Display Options
Branch allows you to limit your view to only see timecards tied to a specific branch. This is especially helpful when you are at Entity or Class vs. Temp level of Hierarchy:

Display Options allows you to see only certain types of timecards: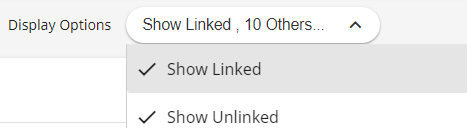
The display options are as follows:
- Show Linked - Show timecards that have a linked timecard (see Timecard Linker).
- Show Unlinked - Show timecards that do not have a linked timecard (see Timecard Linker).
- Hide Zero Hours - Hide any timecards with no hours entered.
- Show Only Unused Timecards - Show only timecards with no hours, adjustments, or units entered.
- Show Invoiced - Show timecards that have already been invoiced.
- Show Billable Only - Show only timecards that have a bill rate.
- Show Unsubmitted Web Timecards - Show timecards that have been created in WebCenter but not submitted.
- Show Unapproved Web Timecards - Show timecards that have been submitted by an employee in WebCenter but not approved by the supervisor.
- Show Approved Web Timecards - Show timecards that have been approved by the supervisor in WebCenter.
- Show Overridden Web Timecards - Show timecards from WebCenter that have been overridden after approval.
- Show Rejected Web Timecards - Show timecards that have been submitted in WebCenter and rejected by the supervisor.
- Show Non-Web Timecards - Show timecards not created via WebCenter.
- Show Only Web Approved With No Proofing Session - Show approved timecards from WebCenter that have not been proofed yet.
- Show TimeClock Timecards - Show timecards from TempWorks' Timeclock.
- Show Only TimeClock with No Proofing Session - Show only timecards from TempWorks' Timeclock that have not been proofed yet.
Organizing & Grouping Column Headers
Each column header can be rearranged for your individual workflow. Click and drag to move columns.
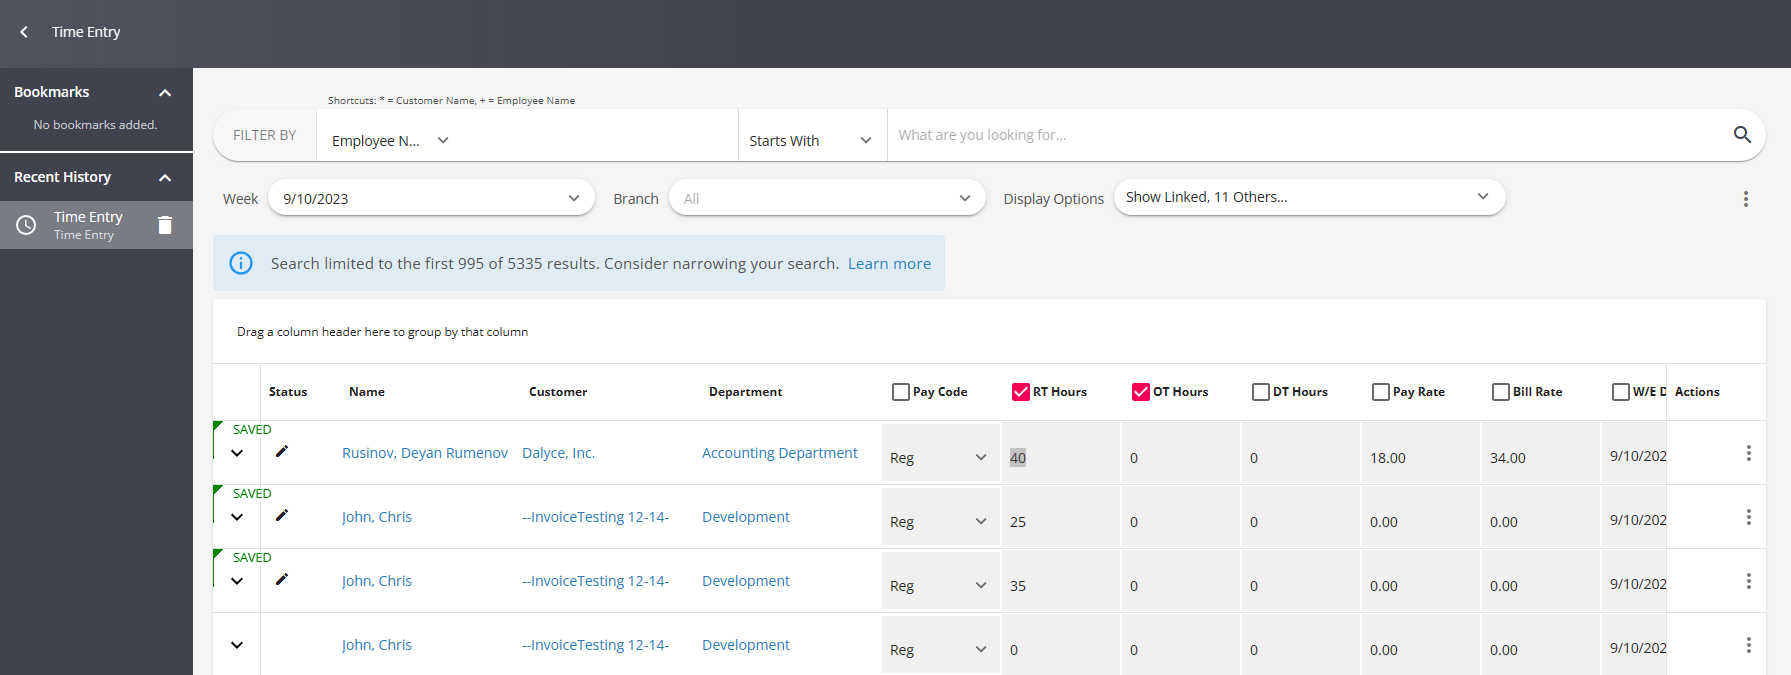
Drag a column to the "Drag a column header here to group by that column" area to group the timecards you see:
To change what columns you see, right click on any column. A list of available options will pop-up for you to select from:

Entering Time
Once you have located the timecards you wish to add time to, select the RT field to start entering time:
Tab Stops
Next to each editable column, a tab stop checkbox is available to allow you to pick and choose which columns your cursor will stop to when hitting the tab key on your keyboard. This can help make things faster when entering a lot of hours at once.
*Note* WebCenter timecards that have not been overridden in Enterprise cannot be edited in Beyond.
Saving Time Entered
Time cards will save automatically as you begin to enter time. Each timecard will have a green saved flag next to it to indicate it has been saved: 
To manually save a time card, select the  on the far right. Only timecards that have been edited and not saved will have a save option.
Time Entry Scenarios
Click on the following links to see specific time entry scenarios:
Next Steps:
Once time has been entered in Beyond, timecards will need to be run through proofing, payroll, and invoicing through Enterprise.