Overview
Users can create custom cards and pages to be displayed on the Employee, Customer, Contact, Assignment, and/or Job Order records in Beyond.
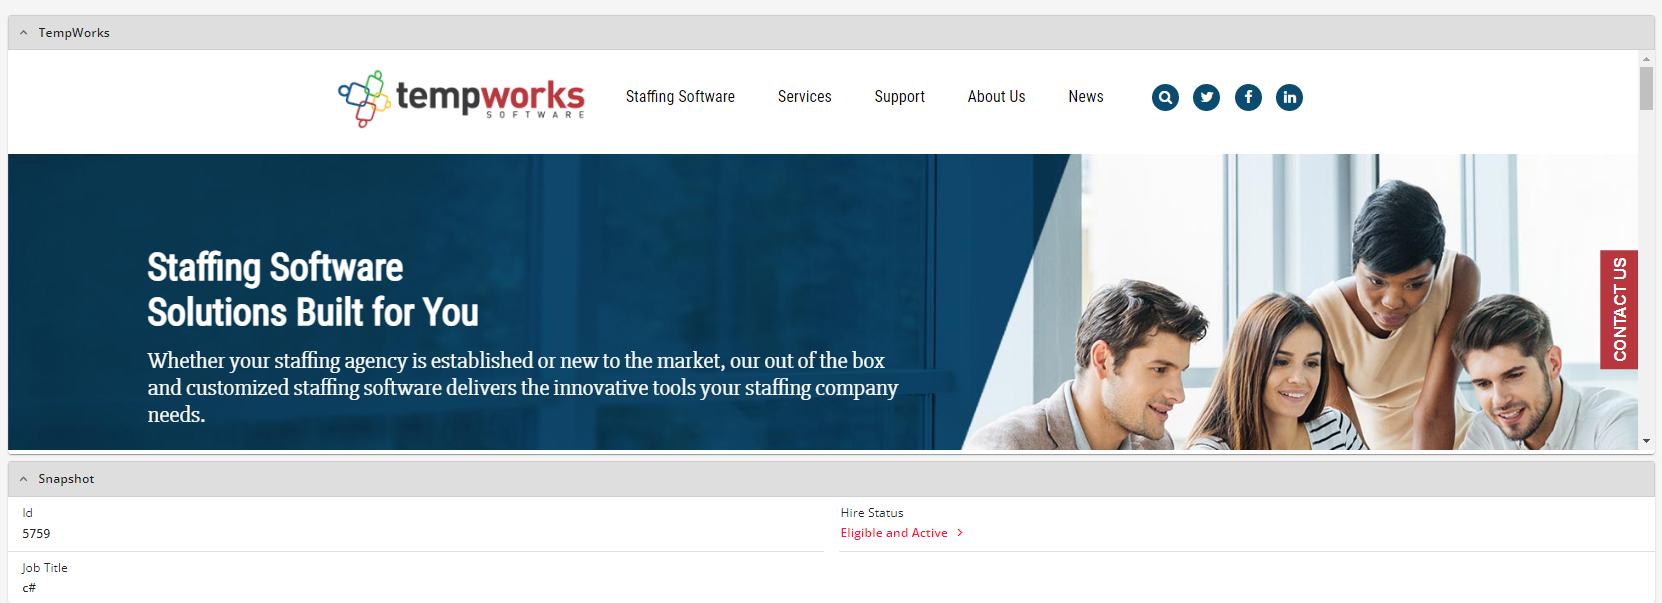
An example of this functionality is showing an outside webpage as a card on the employee profile within Beyond:
*Note* To setup and utilize custom cards and pages, users will need access to System Settings in Beyond.
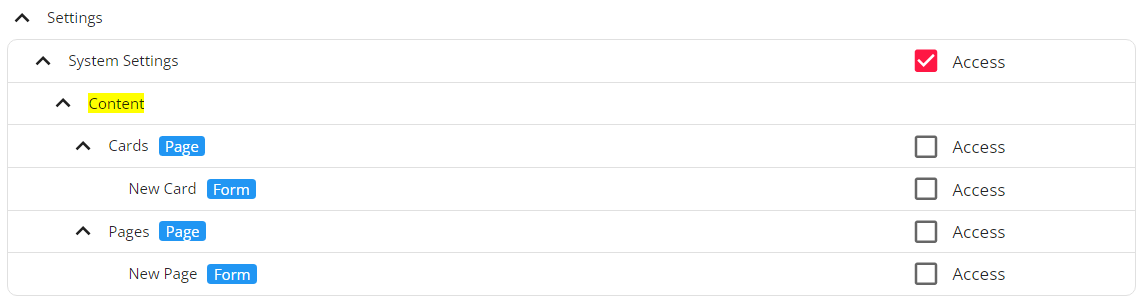
As an additional setup point, for users utilizing Security Groups with Advanced Permissions, access will need to be granted for cards and pages within Settings > System Settings > Content within the Advanced Permissions section of that Security Group.
This article covers the following:
Cards
Pages
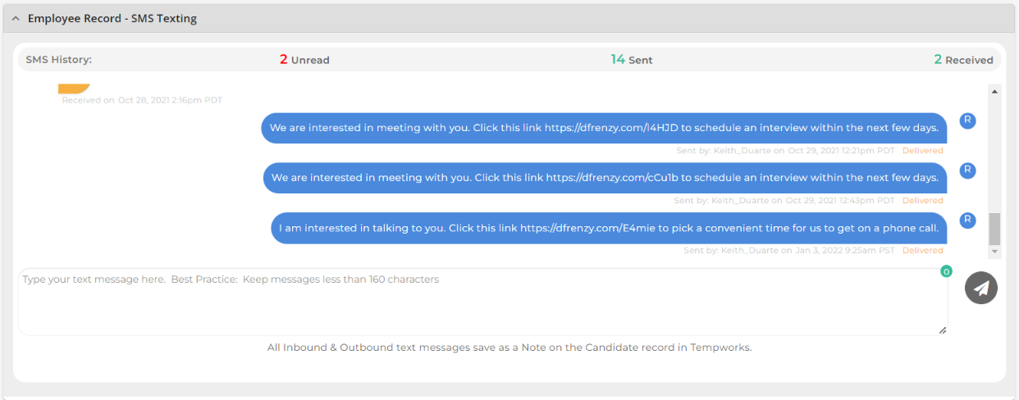
*Note* TempWorks Integration Partners can use the custom cards and pages functionality in Beyond to allow users to utilize the respective integration without having to navigate away from the instance of Beyond.
Data Frenzy is a TempWorks Integration Partner that utilized this functionality to allow for job order distribution to third-party job feeds, employee messaging, and more.
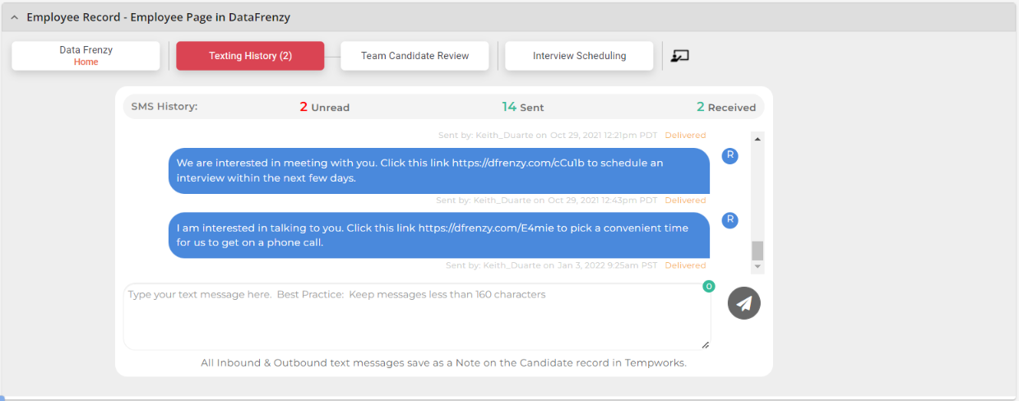
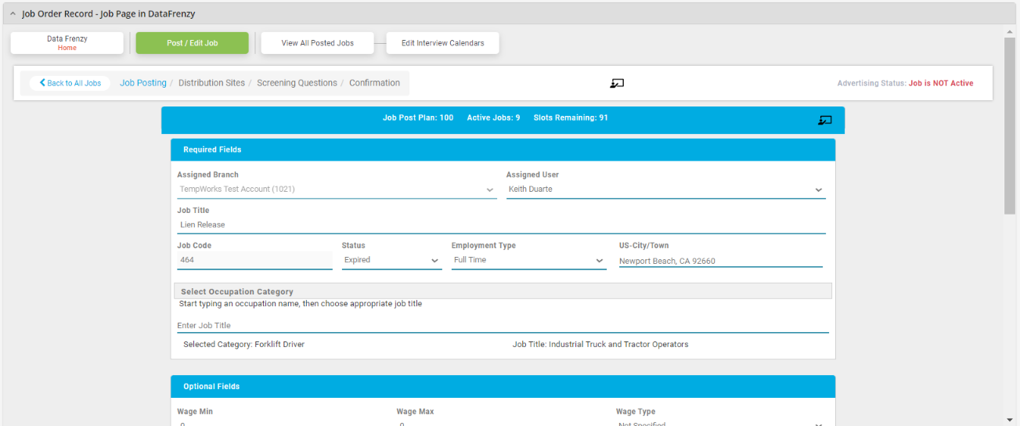
For more information on this functionality, please see the article titled Data Frenzy Integration.
Cards
Custom cards allow for the viewing of external websites on Employee, Customer, Contact, Assignment, and/or Job Order records in Beyond.
Creating Cards
Begin by navigating to Beyond > B Menu > System Settings > Content > Cards.
The "Content" page will open, showing all the custom cards that have been created:

To create a custom card, select the "+ New Card" option at the top right to open the "New Card" window:
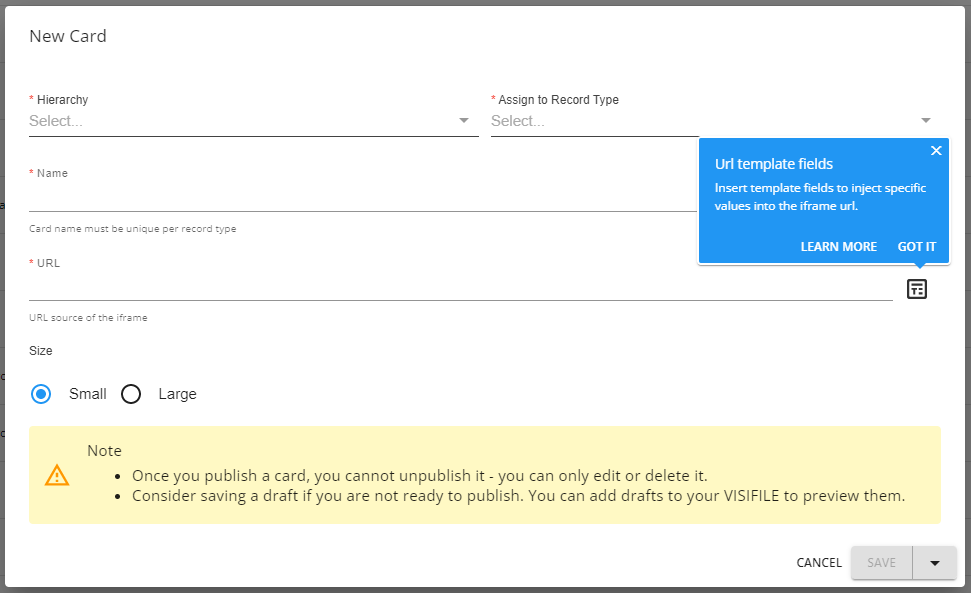
Within the "New Card" window, you will be able to add the following:
- Hierarchy: The Hierarchy level the new card is set to.
- Assign to Record Type: The Record Type (Employee, Customer, Contact, Assignment, or Job Order) this card can be added to.
- Name: The name of the card that is being created.
- URL: The external URL whose webpage will display within the card.
- URL Template Fields: Indicated by
 , this can be used to insert template fields provided by TempWorks into the URL.
 - Size: Choose whether the card will be either small or large.
 , this can be used to insert template fields provided by TempWorks into the URL.
*Note* The "URL Template Fields" are able to be used by TempWorks Integration Partners, including Data Frenzy.
Therefore, unless the fields are being added to utilize services provided by TempWorks Integration Partners, it is recommended that these fields are not used.
Adding the URL Template Fields into a standard URL will cause the card to not display information.
Enter the information within the required fields. For this example, we will be adding the TempWorks homepage as a card on an Employee record:
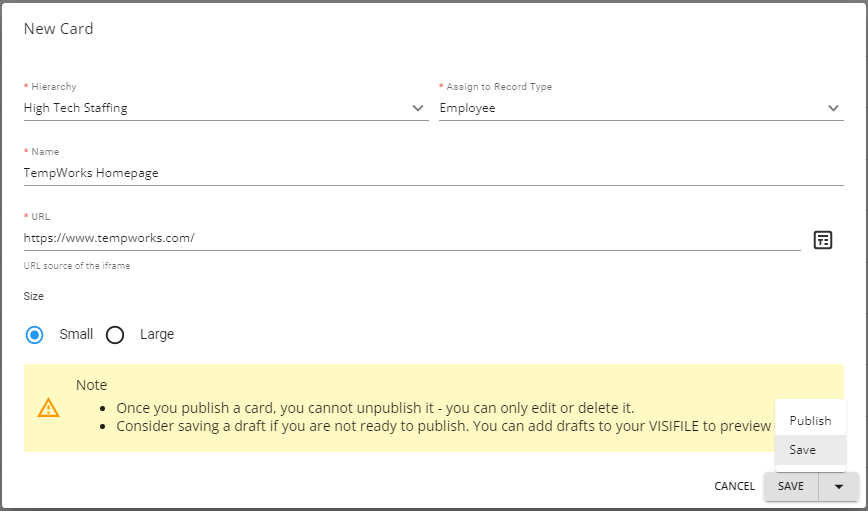
Once the required fields have been populated, select one of the following options from the "Save" dropdown:
- Save: This will save the card as a draft.
- Publish: This will publish the card to be used on the Record Type selected.

*Note* As shown within the "New Card" window:
- Once a card has been published, it can only be edited or deleted.
- If saving as a draft, this can be previewed on your Visifile before publishing.
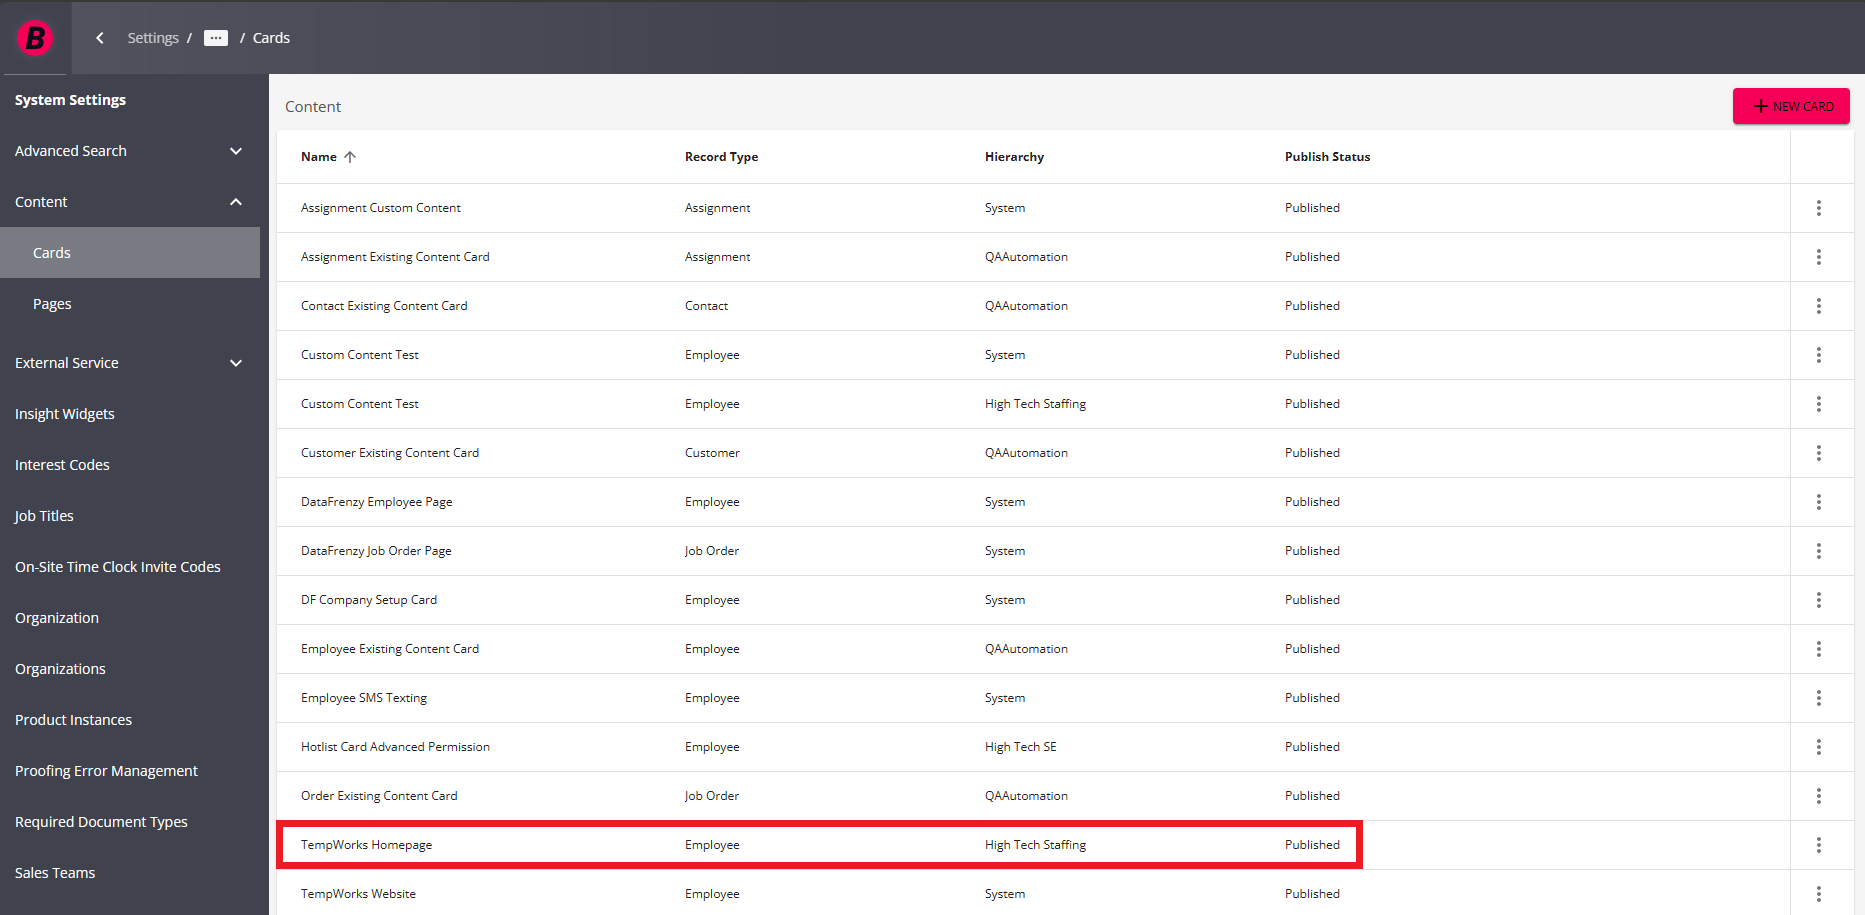
Once saved or published, the card will be shown within the "Content" page:
Utilizing Cards
Once the card has been published, navigate to the Record Type (Employee, Customer, Contact, Assignment, or Job Order) the card was setup for. For our example, this is the Employee record:
*Note* For users utilizing Security Groups with Advanced Permissions, access will need to be granted for the individual cards and pages within Settings > System Settings > "Record Type" within the Advanced Permissions section of that Security Group.


Once on the Employee Visifile, select the  ("Edit Layout") button at the top right. This is where the card will be added:

*Note* Cards will need to be added on a per-record basis.
If you would like the card to show for all records related to that Record Type, the card(s) will need to be added to a new page for that respective Record Type.
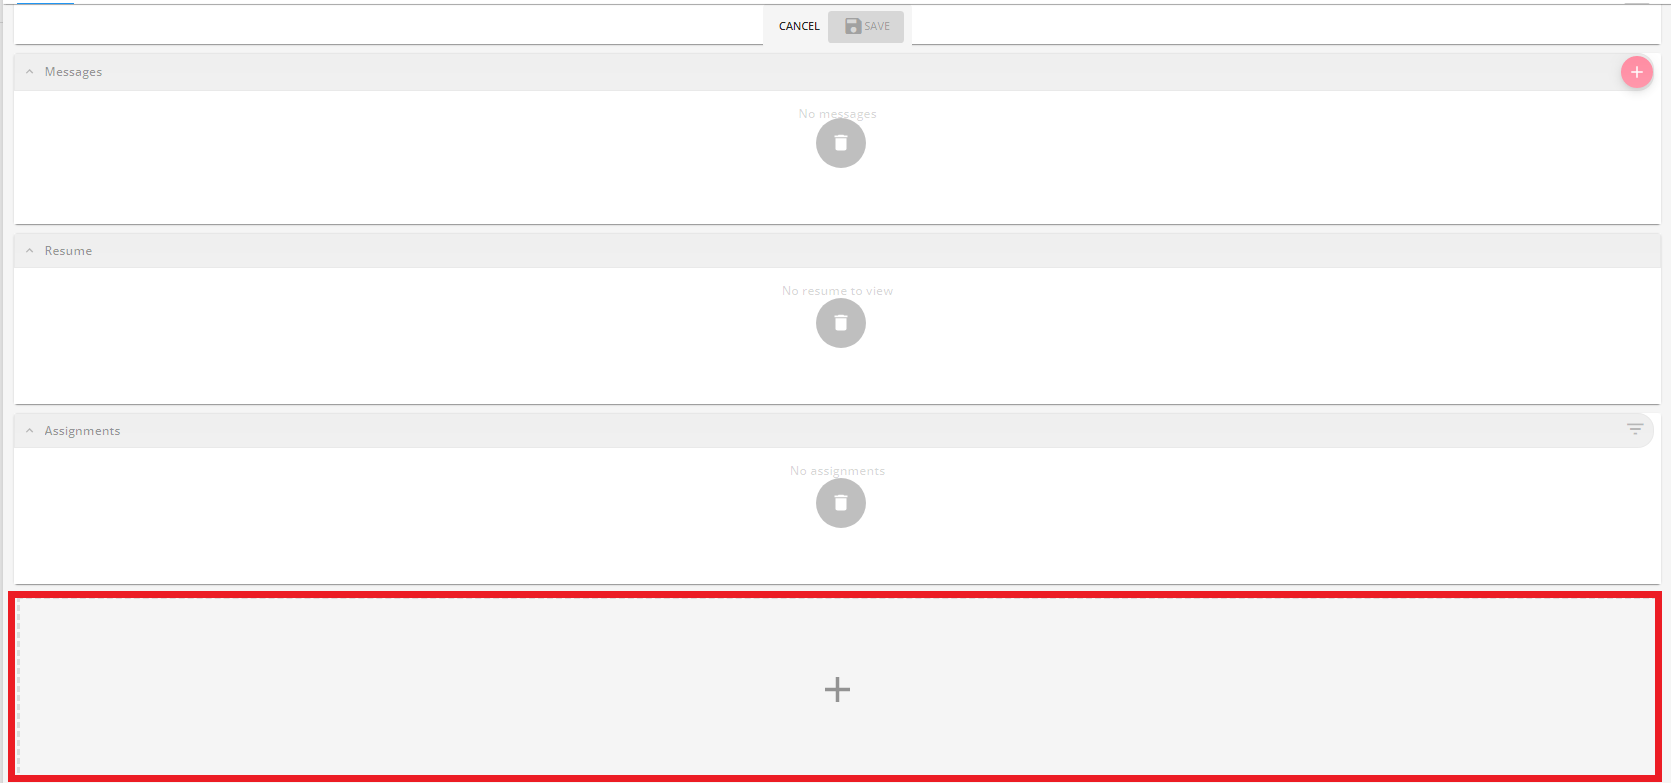
Navigate to the bottom of the editing window and select the "+" to add a new card:
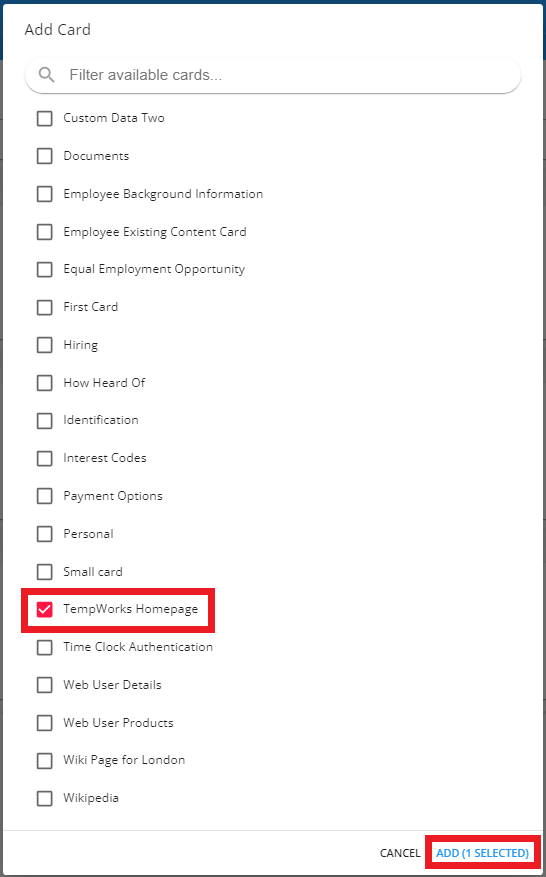
Find the new card within the "Add Card" window, select it, and select "Add (1 Selected)":
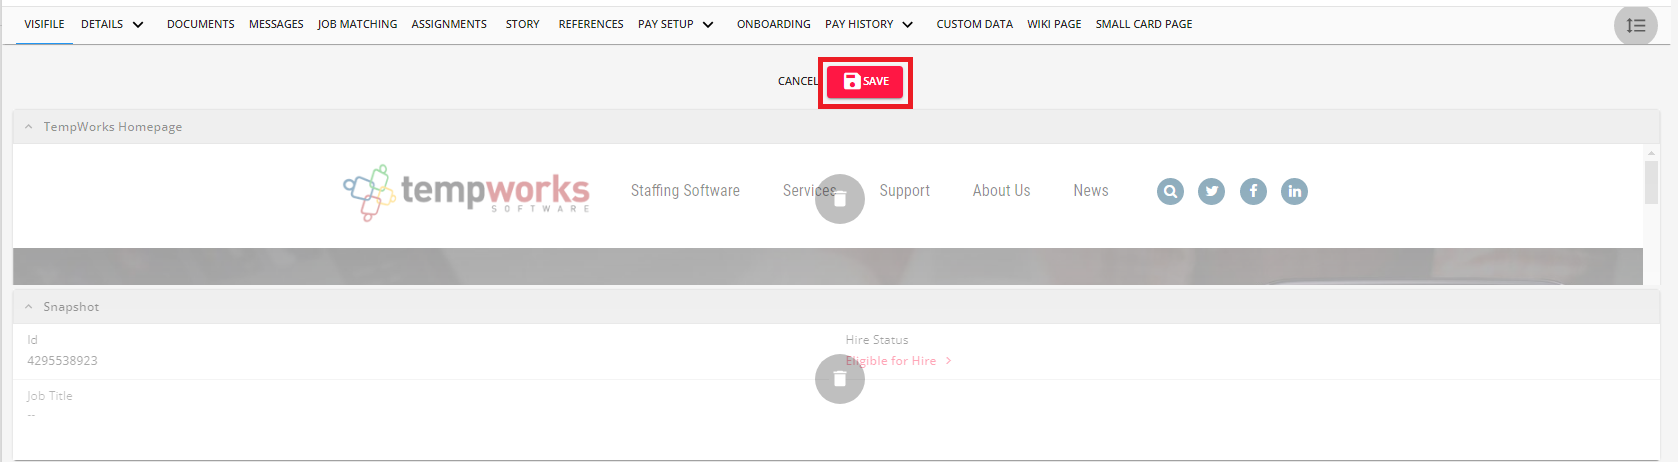
Once the card has been added to the Employees Visifile, you can click and drag the card to the position you want it to appear. Once it is in the intended location, select "Save":
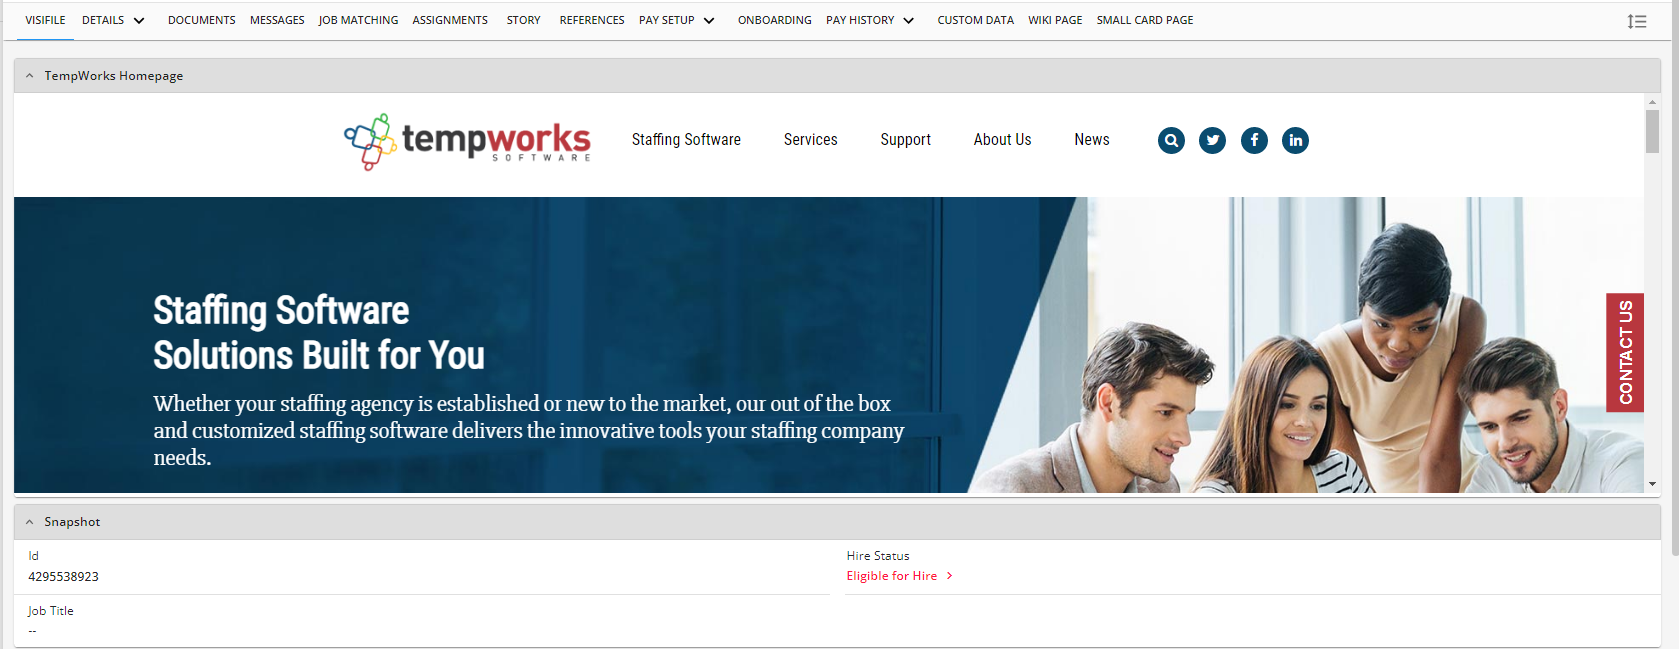
Upon saving, the new card will appear within the Employees Visifile:
*Note* The adding and viewing of cards on a Record Type in Beyond can be further controlled by Advanced Security Permissions.
For more information on this, please see the article titled Beyond - Creating Security Groups with Advanced Permissions.
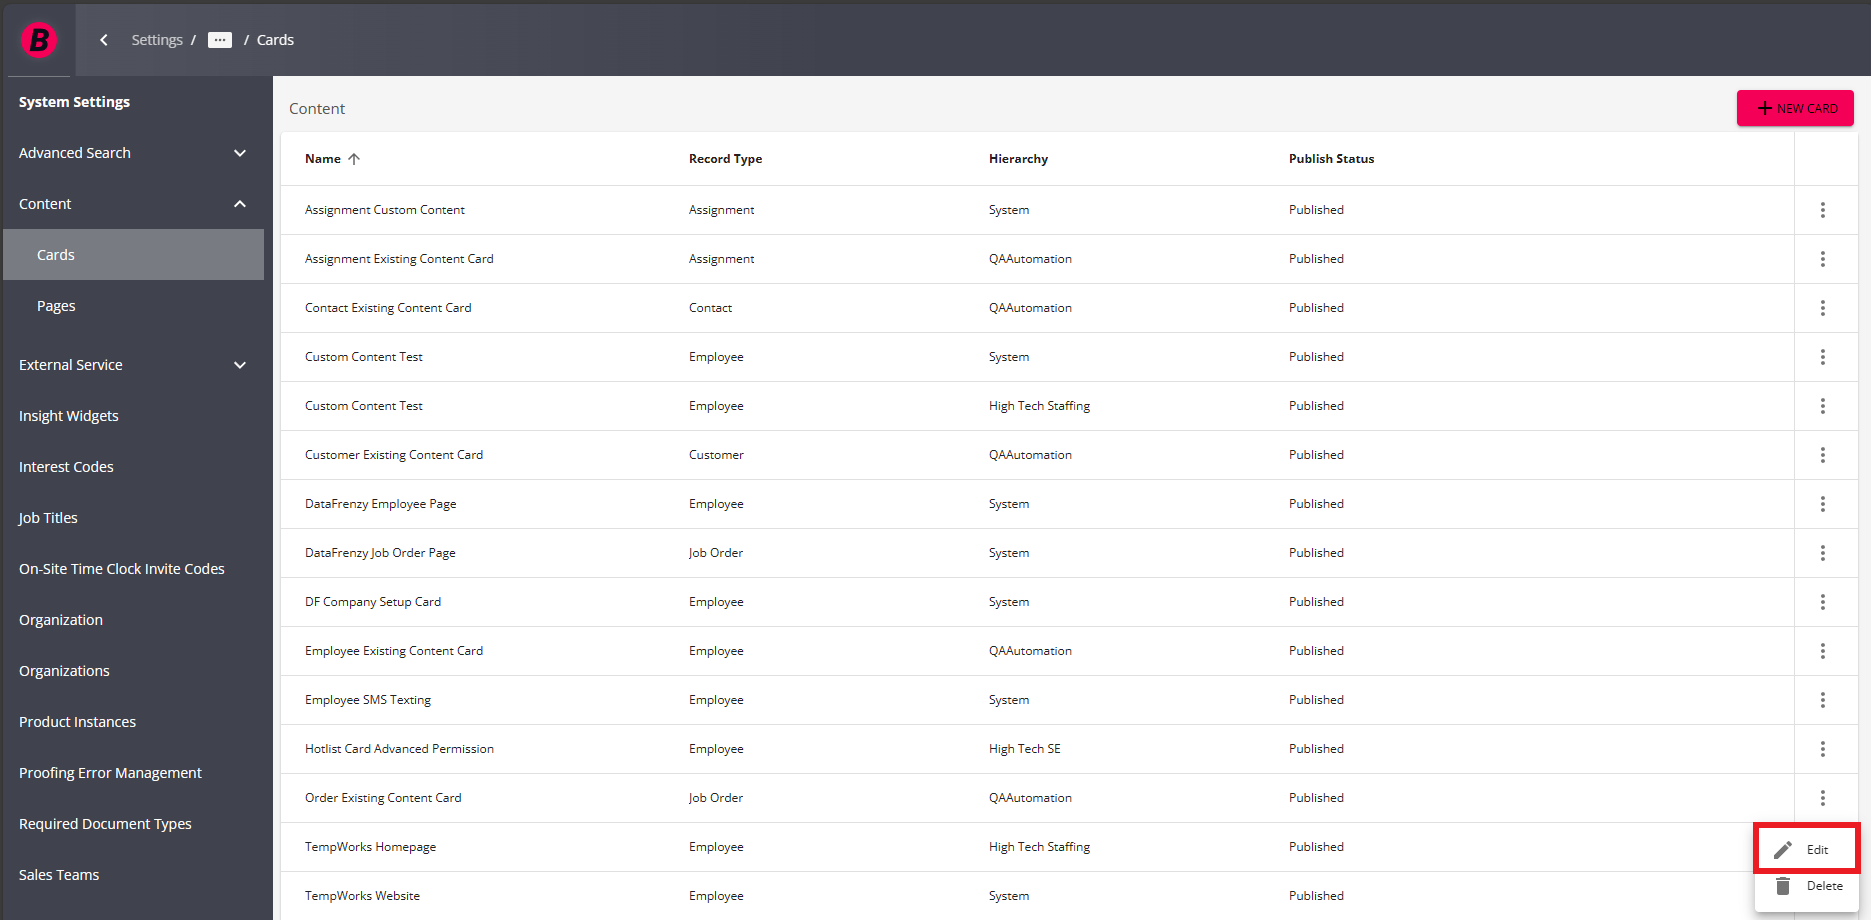
Editing Cards
Once a card has been saved as a draft or published, it can be edited by navigating to Beyond > B Menu > System Settings > Content > Cards, selecting  to the right of the card, and selecting "Edit":
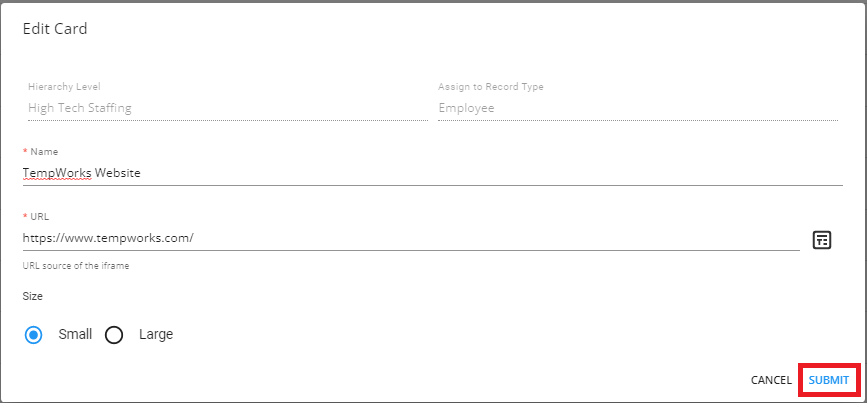
Within the "Edit Card" window, you will be able to edit the following:
- Name: The name of the card that is being created.
- URL: The external URL whose webpage will display within the card.
- Size: Choose whether the card will be either small or large.
Once the changes have been made to the card, select "Submit":
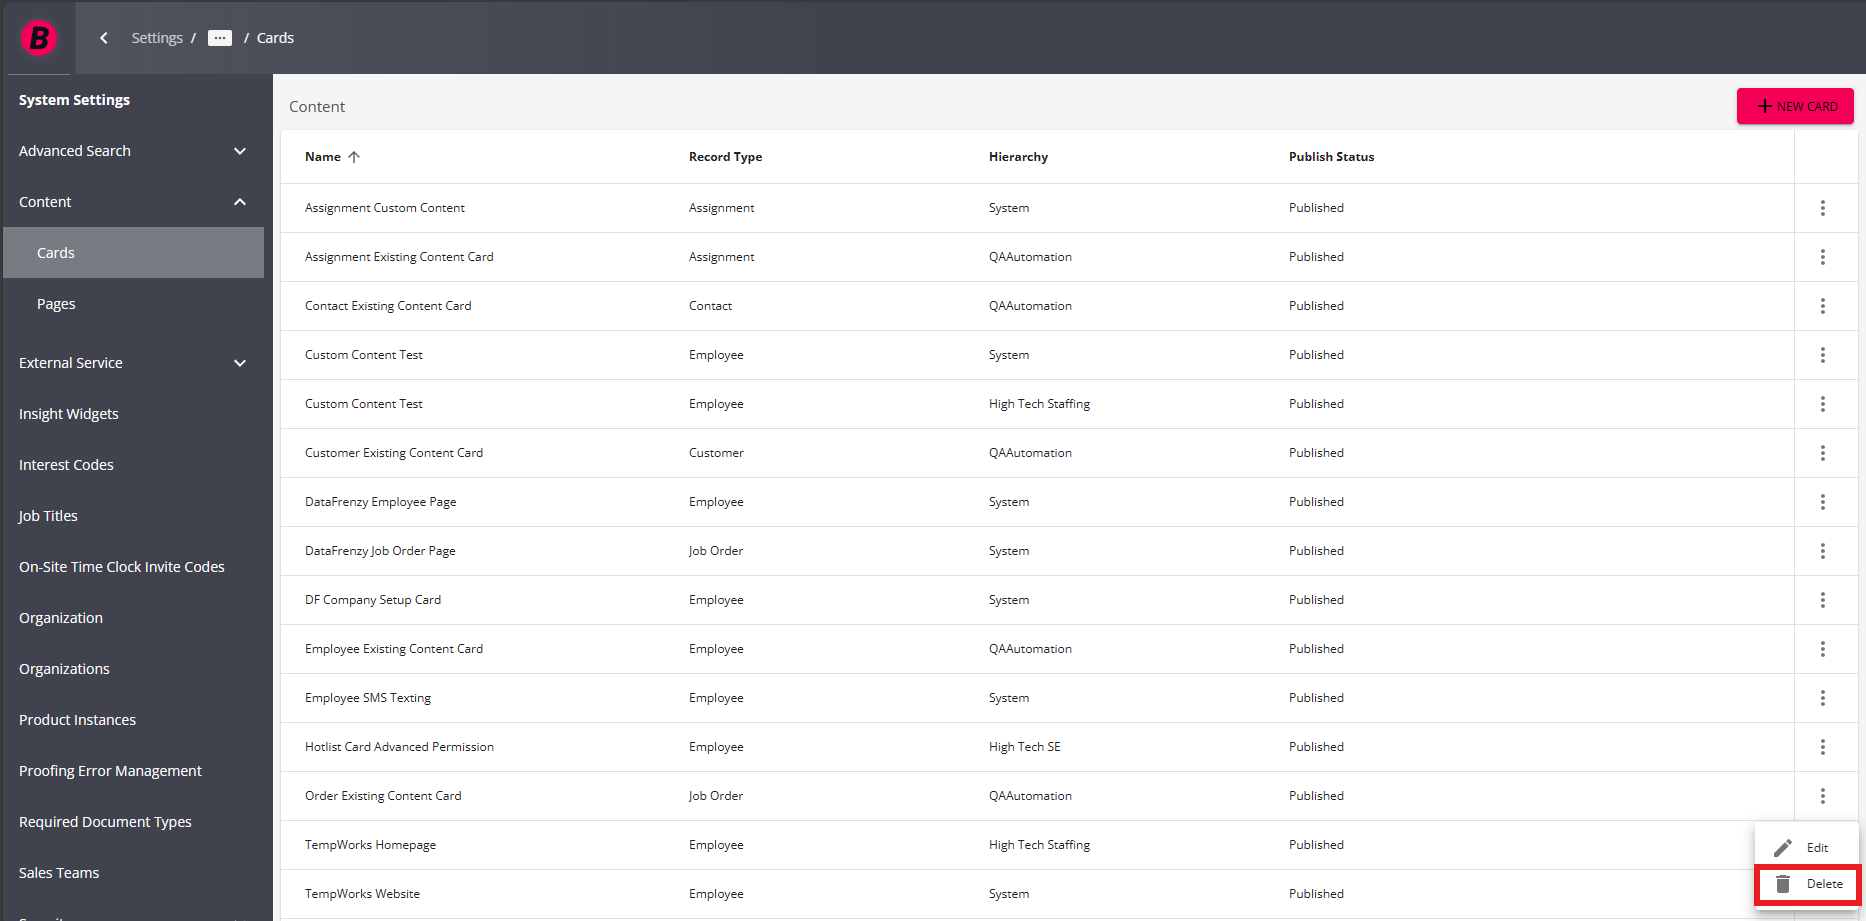
Deleting Cards
Once a card has been saved as a draft or published, it can be deleted by navigating to Beyond > B Menu > System Settings > Content > Cards, selecting to the right of the card, and selecting "Delete":
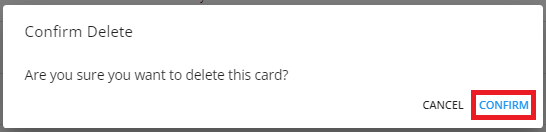
Select "Confirm" within the confirmation prompt to delete the selected card:
*Note* Once a card has been deleted, it will be automatically removed from all Record Types that the card was originally set up for.
For our example, this means that Cameron Abbott will no longer have the TempWorks Homepage card on their Visifile:

Pages
Custom pages allow for the viewing of multiple cards on Employee, Customer, Contact, Assignment, and/or Job Order records in Beyond.
Creating Pages
Begin by navigating to Beyond > B Menu > System Settings > Content > Pages
The "Content" page will open, showing all the custom pages that have been created:

To create a custom page, select the "+ New Page" option at the top right to open the "New Page - Page Settings" window:

Within the "New Page - Page Settings" window, you will be able to add the following:
- Hierarchy: The Hierarchy level the new card is set to.
- Assign to Record Type: The Record Type (Employee, Customer, Contact, Assignment, or Job Order) this card can be added to.
- Name: The name of the card that is being created.
Enter the information within the required fields.
Once the required fields have been populated, select "Next":

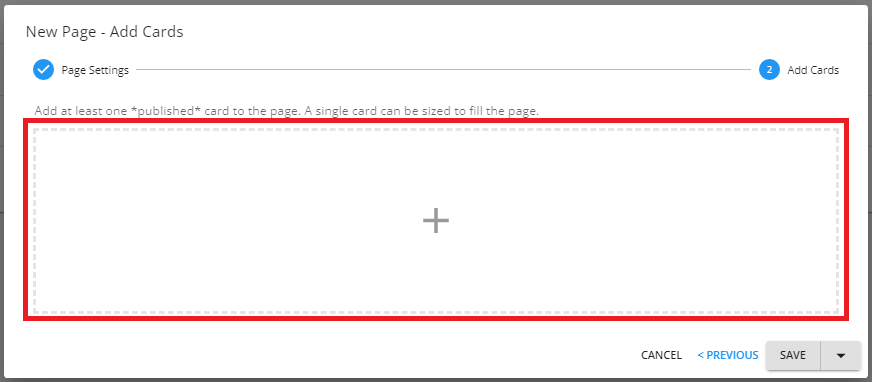
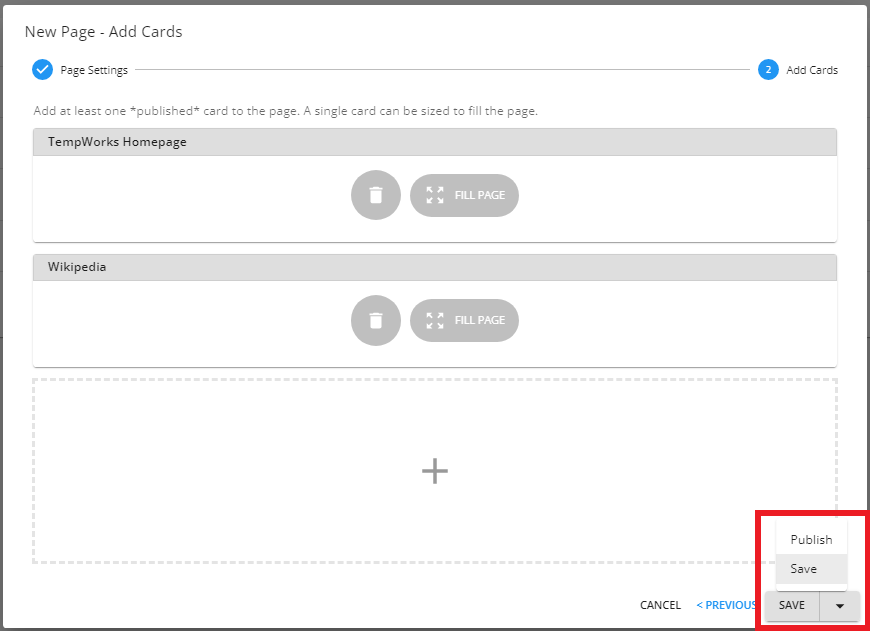
Within the "New Page - Add Cards" window, add the published custom cards you would like to appear within this page by selecting "+":
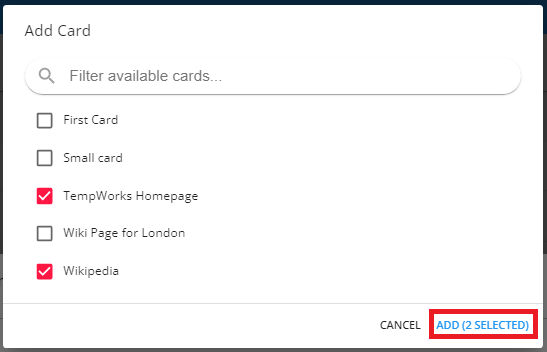
Select the cards related to the Record Type (Employee, Customer, Contact, Assignment, or Job Order) the page was created for and select "Add" once finished:
*Note* For cards to appear within the list, they must be published. Cards in a draft status, along with TempWorks created default cards will not appear within the list.
Before saving the page, you will be able to verify the cards that have been added and have the following two options:
- The card can be deleted from the page by selecting the trash can icon.
- The card can be chosen to fill the entire page.
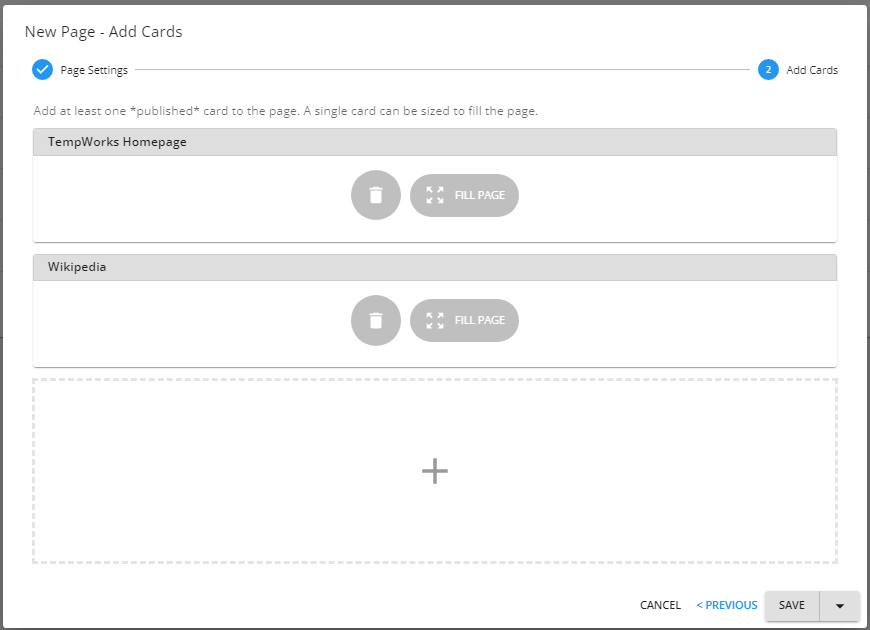
*Note* If you would like a card to fill an entire page, only one card can be added to the page.
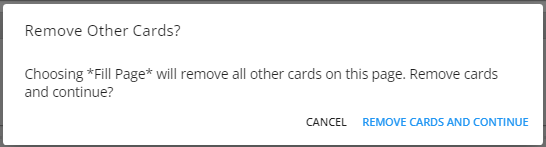
When selecting a card to fill a page when more than one card are selected, you will receive the following prompt:
Once the information within the page has been verified, select one of the following options from the "Save" dropdown:
- Save: This will save the page as a draft.
- Publish: This will publish the page to be used on the Record Type selected.
*Note* Please keep in mind the following:
- Once a card has been published, it can only be edited or deleted.
- If saving as a draft, this can be previewed on your Visifile before publishing.
Once saved or published, the page will be shown within the "Content" page.
Utilizing Pages
Once the page has been created, it will appear automatically on all related Record Types (Employee, Customer, Contact, Assignment, or Job Order) that the page was created for:
*Note* For users utilizing Security Groups with Advanced Permissions, access will need to be granted for the individual cards and pages within Settings > System Settings > "Record Type" within the Advanced Permissions section of that Security Group.


*Note* Unlike individual cards, pages do not need to be added manually to Record Types (Employee, Customer, Contact, Assignment, or Job Order) that the page was created for.
Select the page within the top menu to see the cards within.
Editing Pages
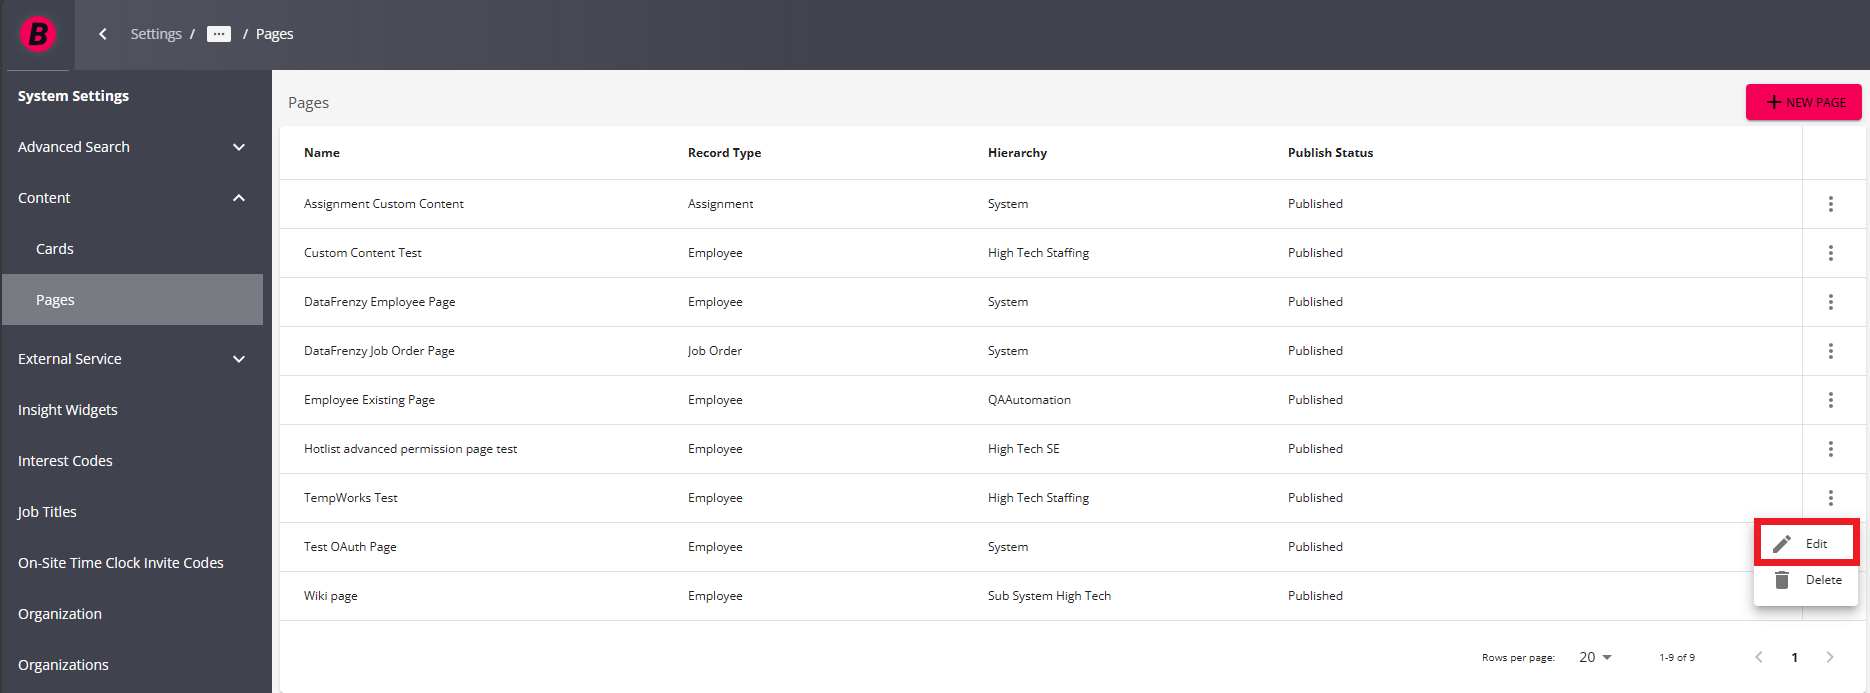
Once a page has been saved as a draft or published, it can be edited by navigating to Beyond > B Menu > System Settings > Content > Pages, selecting to the right of the page, and selecting "Edit":
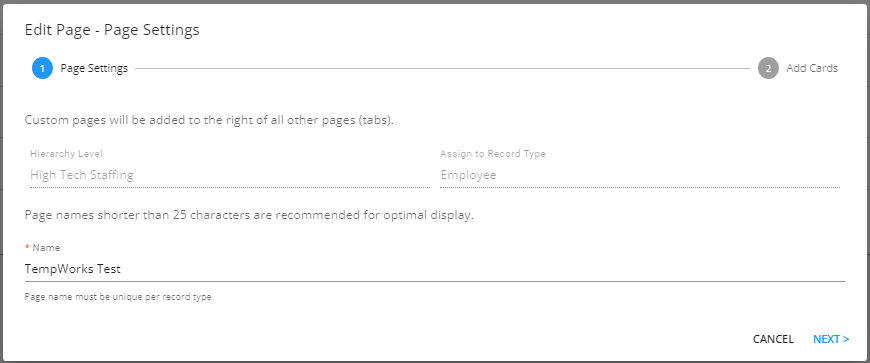
Within the "Edit Page - Page Settings" window, you will be able to edit the following:
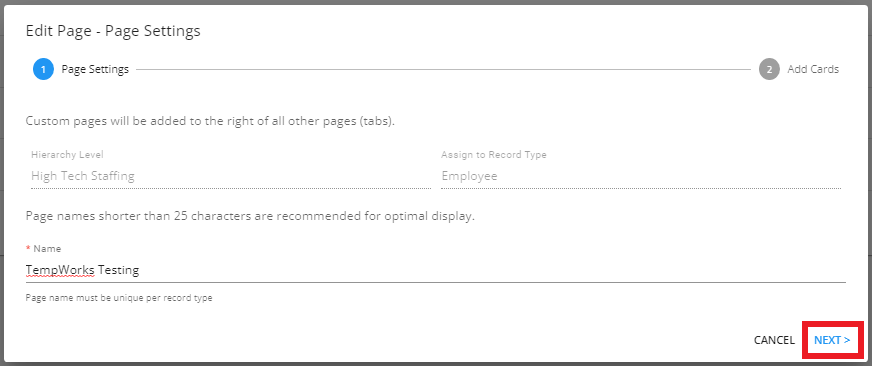
- Name: The name of the card that is being created.
Once the changes have been made to the page, select "Next":
Within the "Edit Page - Add Cards" window, you will be able to edit the following:
- Cards can be deleted from the page by selecting the trash can icon.
- A card can be chosen to fill the entire page.
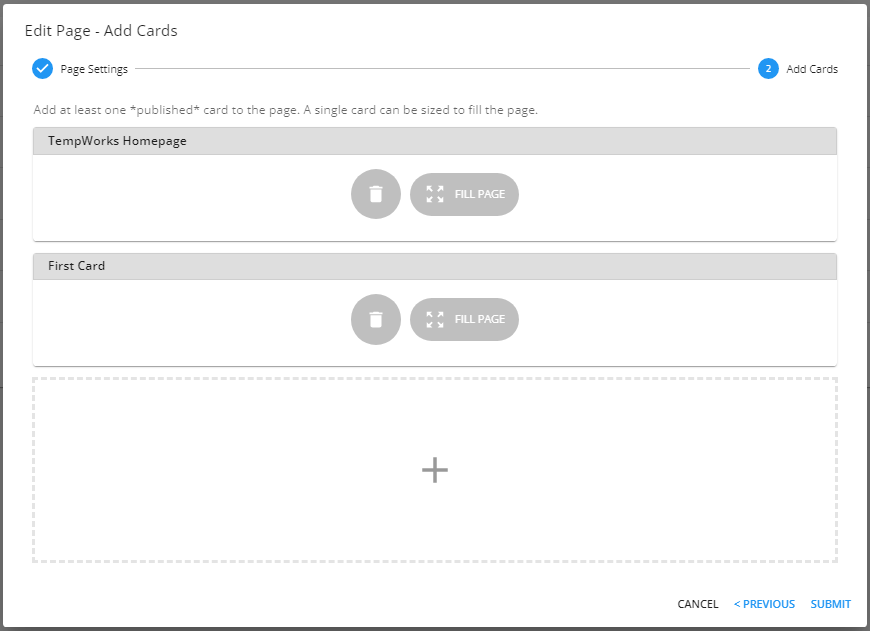
*Note* If you would like a card to fill an entire page, only one card can be added to the page.
When selecting a card to fill a page when more than one card are selected, you will receive the following prompt:

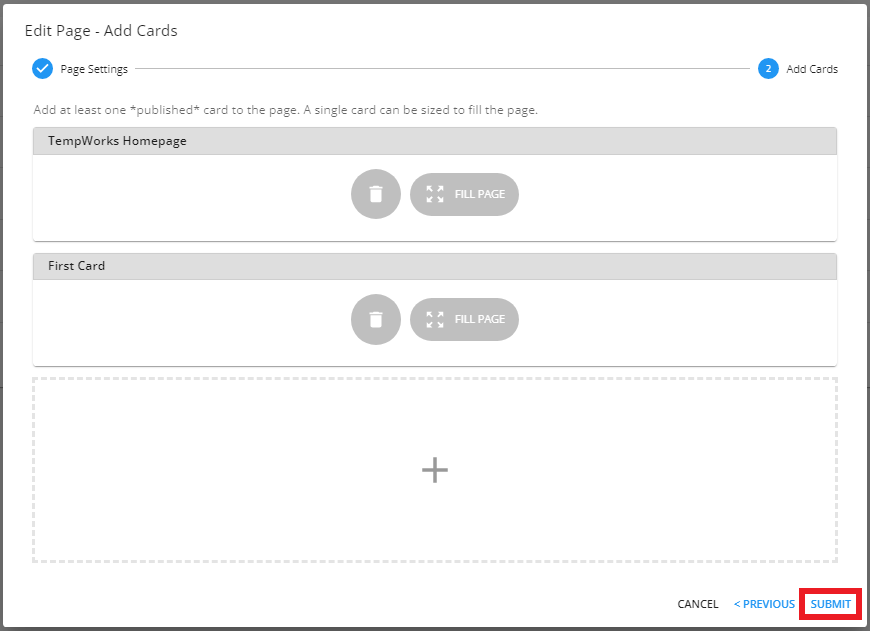
Once the changes have been made to the card, select "Submit":
Deleting Pages
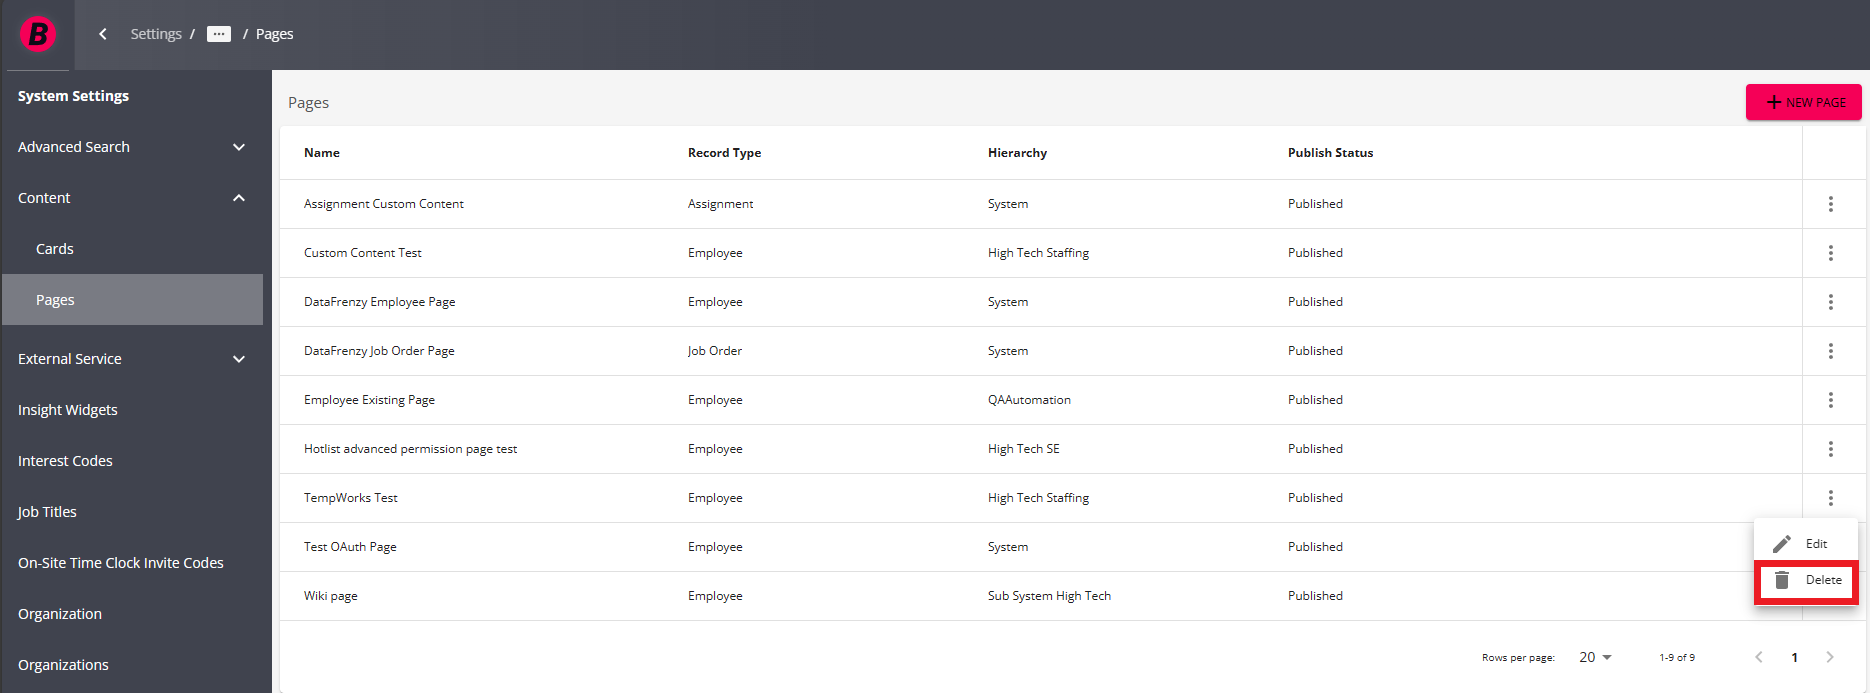
Once a page has been saved as a draft or published, it can be deleted by navigating to Beyond > B Menu > System Settings > Content > Pages, selecting to the right of the page, and selecting "Delete":
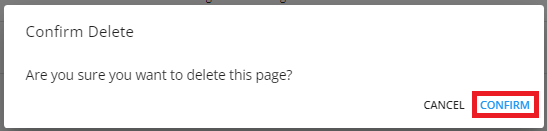
Select "Confirm" within the confirmation prompt to delete the selected page:
*Note* Once a page has been deleted, it will be automatically removed from all Record Types that the page was originally set up for.
For our example, this means that Employees will no longer have the TempWorks Test page on their profile:
