What is E-Verify?
Beyond allows users to integrate E-Verify seamlessly into the system for quick and easy processing for employment eligibility. During the integration, process users will setup an E-Verify account and password within the administration section. Along with initial integration of E-Verify, users must maintain password information in order to continuously utilize the E-Verify functionality.
*Note* This integration does require additional setup and an existing relationship with E-Verify. For more information about getting this setup, and pricing inquiries, please contact your TempWorks Account Manager.
Setting Up E-Verify
Before setting up E-Verify in Beyond, make sure you have your E-Verify username and password information on hand. If you are already using E-Verify in Enterprise, you can use the same account log-in information. However, you do need to set up E-Verify in both systems in order to utilize it in both.
*Note* In order to setup E-Verify or reset a password, the user must have System level hierarchy access & the E-Verify Case Admin and General Administrate permission security enabled. For Hierarchy information, see Beyond - Hierarchy. For more information about security permissions see Security Group Administration Form.
Adding E-Verify Credentials
- In Beyond, navigate to B Menu > System Settings > External Service > E-Verify:
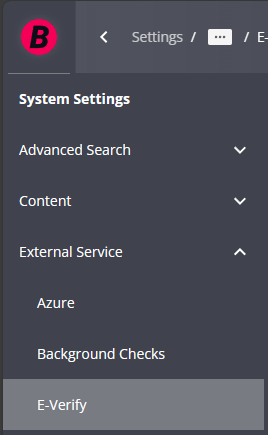
- If you do not see External Service, make sure you have the correct security group permissions
- Select the "+" to add a new E-Verify account:

- Select the level this account applies to (Choose from System, Company, Branch, or Service Rep) - We recommend Company level
- If you set your account to system level and you have multiple EINCs or Entities, the paperwork that needs to be printed for tentative non-confirmation may not have the correct company information.
- If you set your account level to service rep, then the integration will work but no one other than the service rep who created the case will be able to see the E-Verify avatar icon results or case details on the employee record.
- Enter the Username & Password provided from E-Verify
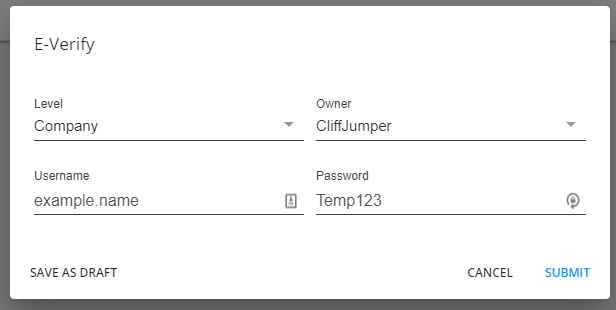
- Select Submit


Setting Up E-Verify Security
You may not want every service rep in your system to have the ability to create or edit e-verify cases. For those service reps that you do want to be able to do this, you will need to give them the proper security group access. For more information on security group access, check out Beyond - Managing Security Groups.
Under the Permissions category for security groups you will find the permission "Can create and edit E-Verify Cases"

This option allows your service reps to create and edit e-verify cases for employees.
Another related permission, is "Can view E-Verify Case Details" which only gives users access to the details of the case.

For your branch managers or super users, you may want to also consider the "Can manage all E-Verify cases regardless of owner" permission:

This option allows those select users to edit cases that were created by other users.
*Note* As an additional setup point, for users utilizing Security Groups with Advanced Permissions, access will need to be granted for the intended E-Verify pages and forms by searching for "E-Verify" within the Advanced Permissions section of that Security Group.
