Adding URL Links to Your Application
Sometimes you need to direct your applicants to different web pages for onboarding, surveys, etc. We have a few different ways to add links into your application process.
This Article Covers:
Looking to add videos? Check out How to Embed a Video in a HRCenter Application.
What is a Custom URL Page?
If you need to direct your applicants to a web page during the application or onboarding process you can use the Custom URL Information Page to redirect an applicant to a different site.
 The applicant will click the continue button and be directed in a separate tab to the linked web page. In order to complete the application or onboarding information, they will need to return to the original tab and click submit.
How to Create a Custom URL Page
- In HRCenter Admin, navigate to pages on the left and select the
 to add a new page.
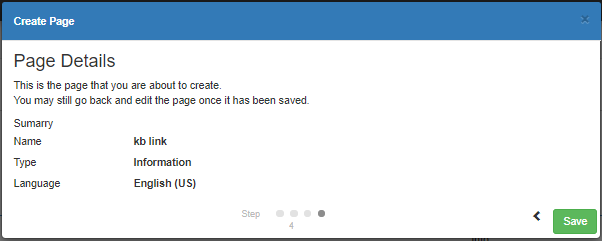
 - Enter an Internal/Display Name and choose the Information Page Type:
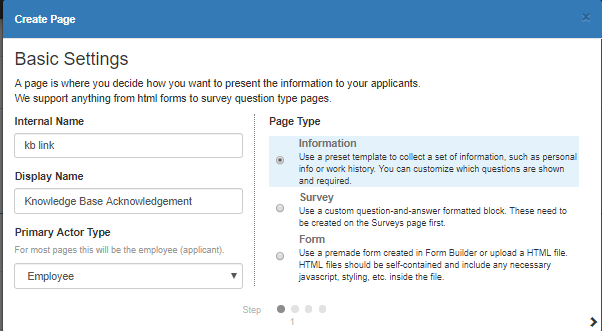
- Select the arrow in the lower right to continue.
- Select Custom URL Page
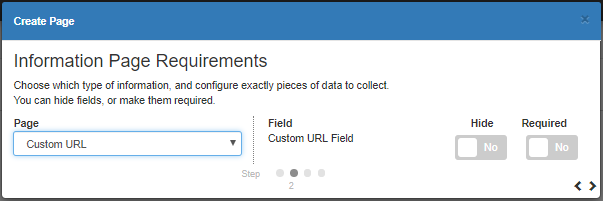
- If you turn on the required switch, the user will be required to click the link before continuing.
- Select the arrow in the lower right to continue
- Enter the Custom URL link
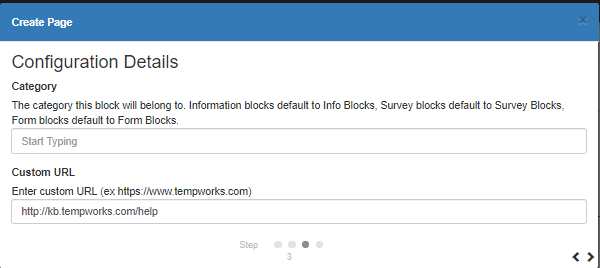
- Select the arrow in the lower right to continue
- Select Save
 to add a new page.


Add your new page to a Workflow
Creating links in Surveys
Within administration start by creating a new survey. For additional help on creating surveys navigate to How to Create Surveys.
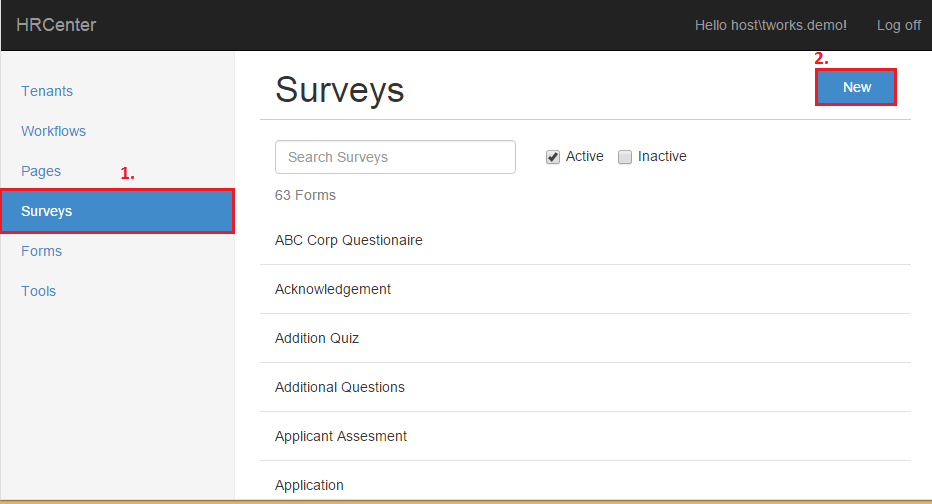
Once the display name, description, and private name are entered, add a group.
Enter the title of the website, video, or informational page as your group name (1.).
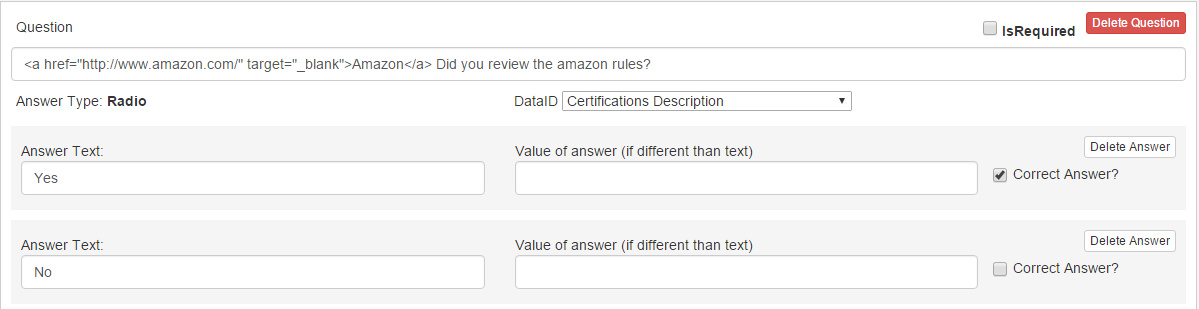
In the following example this will be a safety video. From the add group area select the add question (2.) option. Within the questions panel users will add the html code and insert the hyperlink information . There are two types of html codes users can choose from:
- <a href=""></a> - This html code will leave HRCenter and navigate to the webpage
- <a href="" target="_blank"></a>- This html code allows users to remain in HRCenter and open the link in a new window
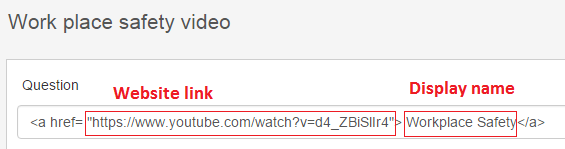
As an example, the safety video will be added using option 1 html code. Place the html code in and add the link information within the quotes"" , the display name is added between the >< icons and describes what the link actually is (workplace safety) vs. seeing it in code format.
Option 1:
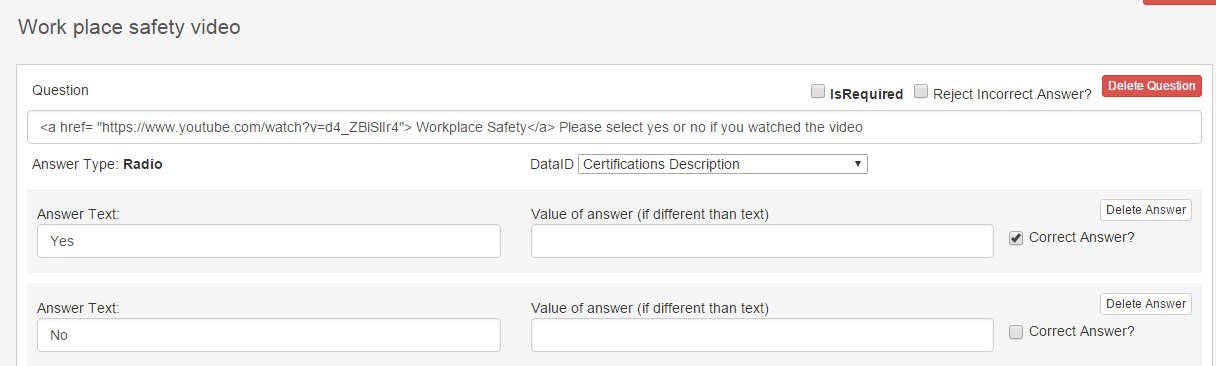
*Note* If you are creating html hyperlinks as a survey you must enter in answers options. In the example below, the html code has been added along with additional questions and answers.
Option 2:
 After the survey is created, a page must be created to incorporate it within your workflow.
Navigate to How to Create Pages to learn more about page creation within HRCenter.
Once the page is created and added to the workflow, applicants will now be able to select the hyperlinks and navigate accordingly.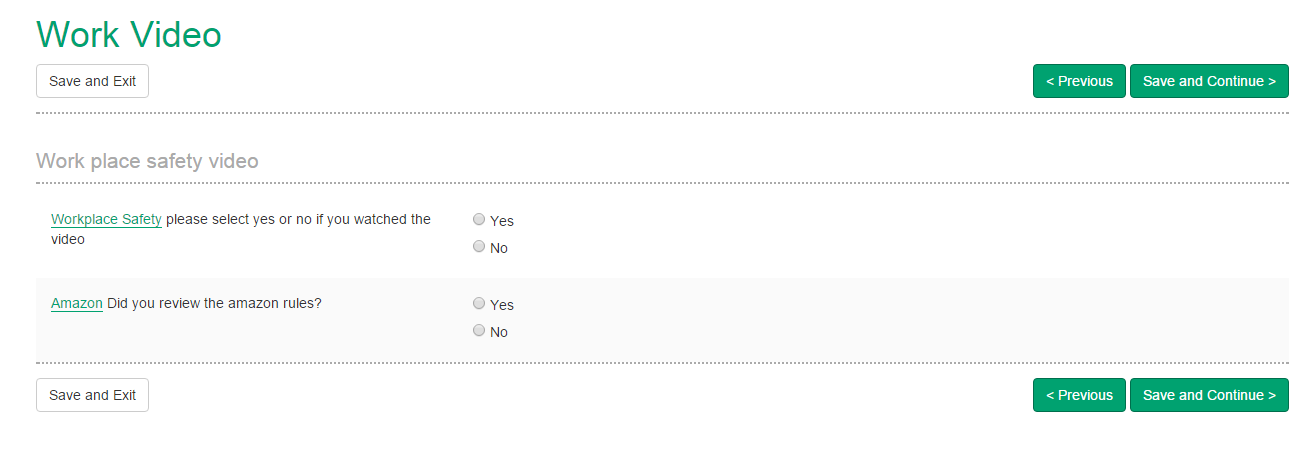
Creating Links on the Registration Page
You may utilize this option to add hyperlinks on the landing (home) page within HRCenter. This can be beneficial if you want applicants to navigate to your job board, company website, etc.
- Navigate to HRCenter Admin > Tenants
- Find the Tenant section and select update next to Custom Landing Page Message

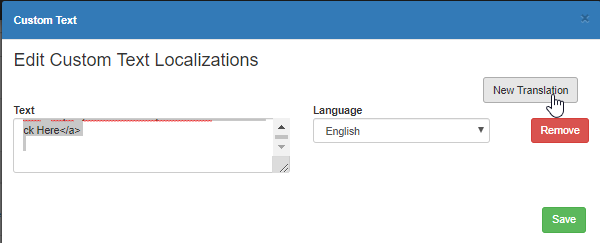
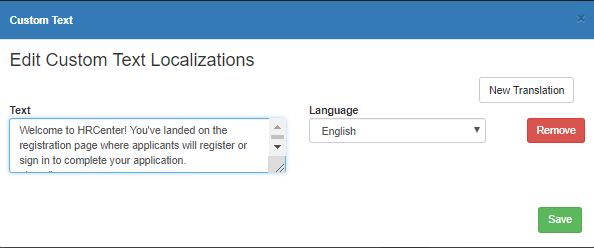
- Type what you would like to have appear on the registration page:
- For links, enter the HTML information around the word you would like the applicants to click on to be redirected:


Example Links:
Link to different WebPage: Looking for the Job Board? <a href="https://jobboard.ontempworks.com/demo">Click Here</a>
Link to email: please contact us <a href="mailto:info@tempworks.com">info@tempworks.com</a>.
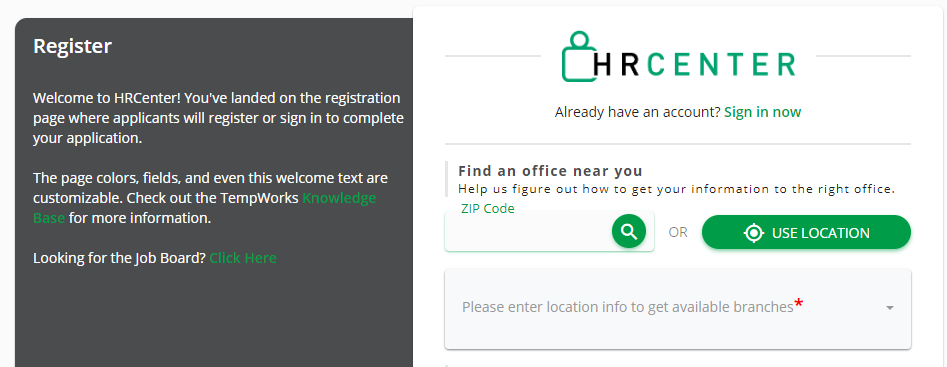
Remember that linked text will appear in your Branding Primary Action Color. For more information, check out Branding HRCenter.
*Note* If you are also offering your application in Spanish, make sure you add a Spanish version of your registration text by selecting New Translation at the top