Daily Webinar - How to Create and Utilize Contact Groups from TempWorks Training on Vimeo.
For best viewing quality, expand the HD option, and select 1080p:
Quick Steps
To Manage Contact Groups
- Navigate to all options > contact groups
- To add a new group press the + icon
- To remove a group, select it and press the X icon
- To view group details, select the group on the left and it will display information on the right
How to add a contact to a contact group
- Navigate to the visifile of the contact you wish to add to a group
- Select the + icon next to Contact Groups
- Choose from a list of groups
- Select save to add contact to contact group
Complete and Detailed Steps
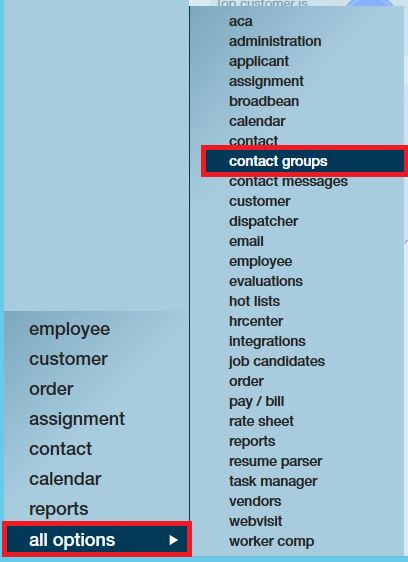
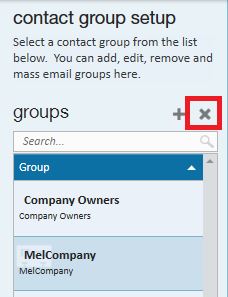
Contact groups in Enterprise will allow a user to have a static list of contacts and are typically utilized for mass communications, such as resume mailers and marketing promotions. To create a new group, or to view the groups that currently exist, navigate to all options and select contact groups:
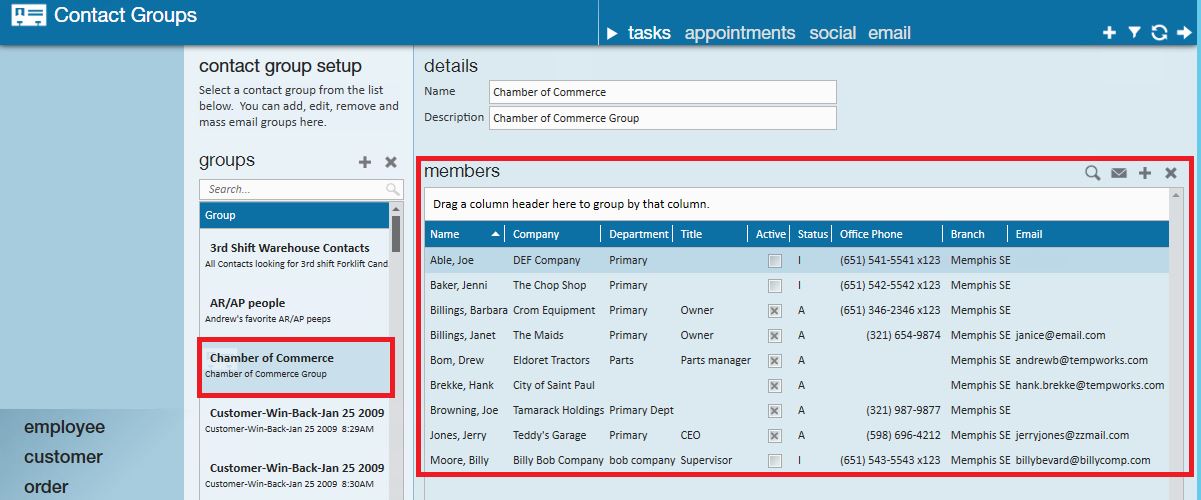
Select a contact group to view the members of that group:
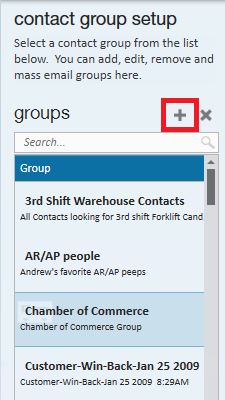
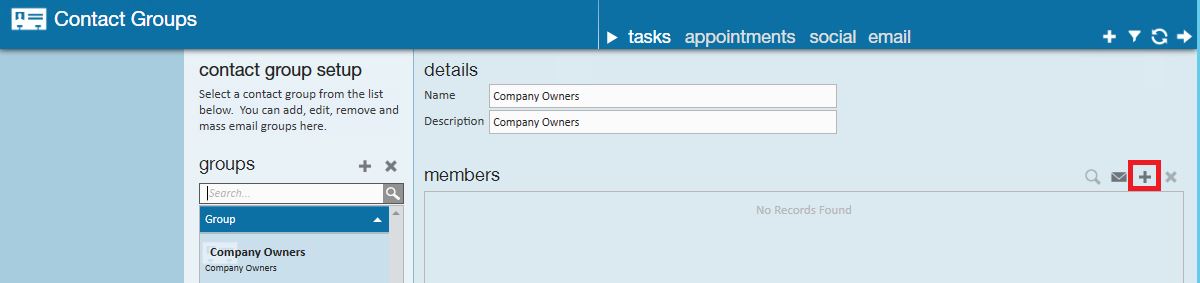
To add a contact group, click the + icon above the list of contact groups:
The "add contact group" window will open. Name the group and enter a description:
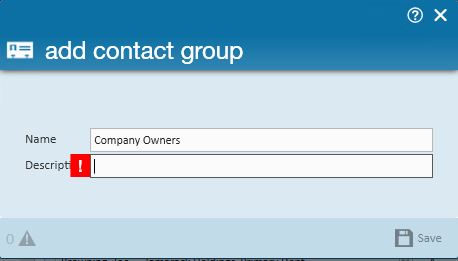
*Note* Fields with a red exclamation mark are required and you will not be able to save the new record without completing the information in those fields. To add members to the contact group click the + icon in the members table.
This will open the "add contact group members" window:
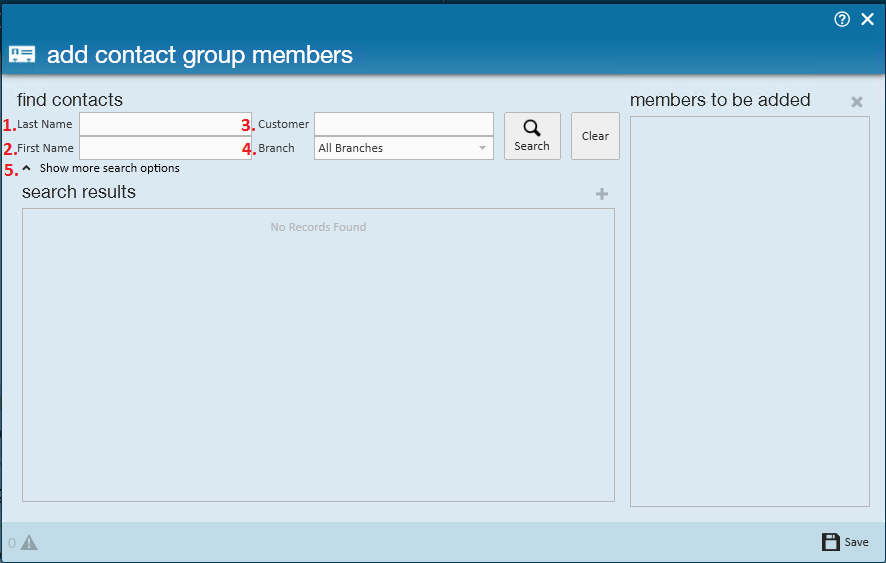
Search for contacts by: 1. Last name 2. First name 3. Customer 4. BranchClicking (5.) show more search options will provide more criteria for:
- Contact id
- Customer id
- Status
- Rep name
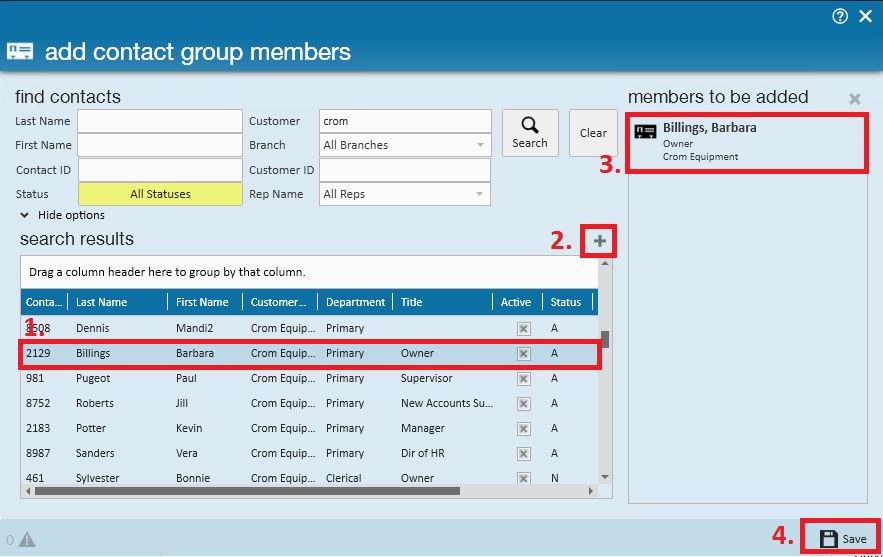
Once search results are returned, click to (1.) highlight the contacts to be added to the contact group then (2.) select the + icon. The added contacts will be (3.) displayed to the right. Once all contacts have been selected click (4.) save.
*Note* To select multiple contacts at once, hold down the ctrl key on your keyboard and click each contact you wish to add. To select a large group of contacts hold the shift key on your keyboard while making a selection.
After contacts have been selected, (2.) click the + icon and all contacts will be added.
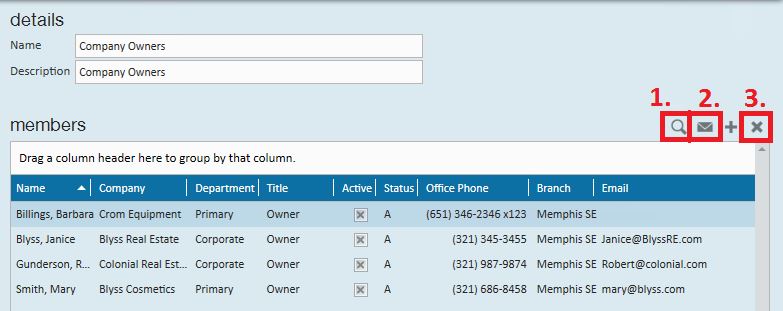
Once contacts have been added to the group, use the buttons in the upper right corner to:
1. View the contact record that is currently highlighted
2. Send a mass email to the highlighted contacts
3. Remove the contact that is highlighted from the contact group
If a contact group is no longer needed, delete it by clicking the x button:
Contacts can be a member of multiple contact groups. To view which contact groups a contact belongs to, look under the contact groups section of their visifile.
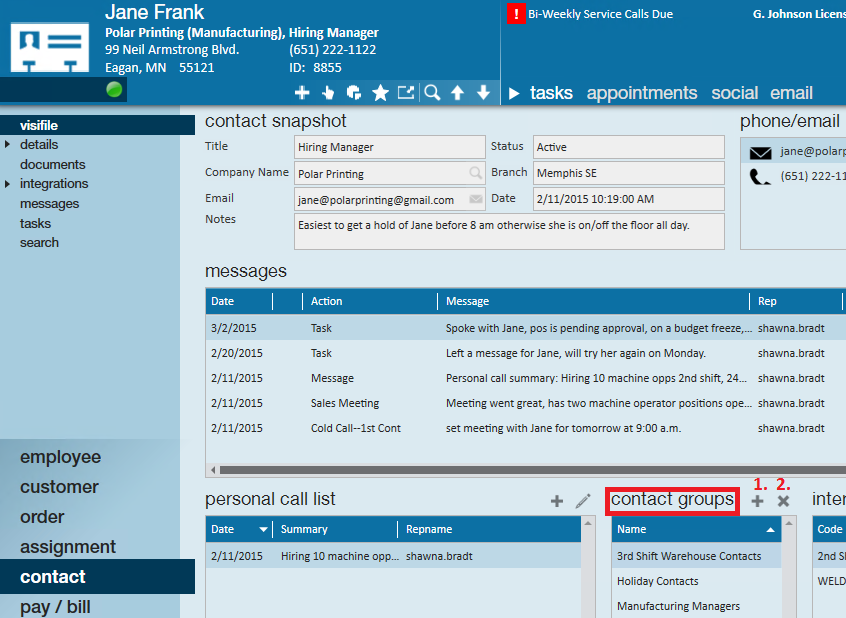
To remove a contact from the highlighted contact group(s), (2.) press the x button(1.) Press the + icon to add the contact to an existing contact group. This will open the "add to contact groups" window:
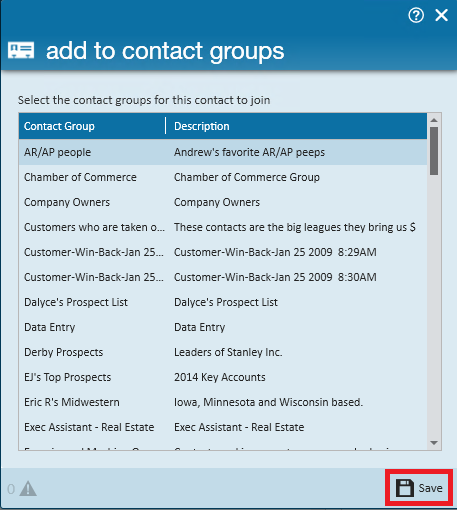
Select which contact group(s) they should be added to and click save to finish.