What is Live Chat?
Live chat allows your temp employees to chat with their staffing specialist, recruiters, or other representatives instantly using Buzz™ and Beyond™.
This gives your recruiters and employees an easy, fast way of communicating and every chat conversations is automatically logged as a message on the employee's record.
Requirements:
In order to utilize Live Chat functionality, you must have the following products set up:
*Note* If you are interested in learning more about Buzz or Beyond, talk to your TempWorks' Account Manager today!
Steps to Set Up Live Chat
You have live chat enabled, now what? Live chat functionality is rather simple, once it's enabled it's just about ready to go. This article will cover live chat options from the administration point of view. Looking for how to live chat? check out Buzz - Live Chat.
Once you have been given live chat functionality, you will want to review the following:
Giving the Employee Buzz Access
In order to chat with an employee, they will need to be given access to Buzz. Check out Buzz - Inviting Employees to Buzz for an overview of all your invite options.
"On-Call" Chat Rep Permission
By default, each temp employee will be able to see if their staffing specialist is available to chat but will not see any other staffing specialists/recruiters.
This is determined by the staffing specialist field on the employee record which can be found by:
- Navigate to an employee record
- Click on the details tab and scroll down to the hiring card
- Select the
 button to update this field:
 button to update this field:
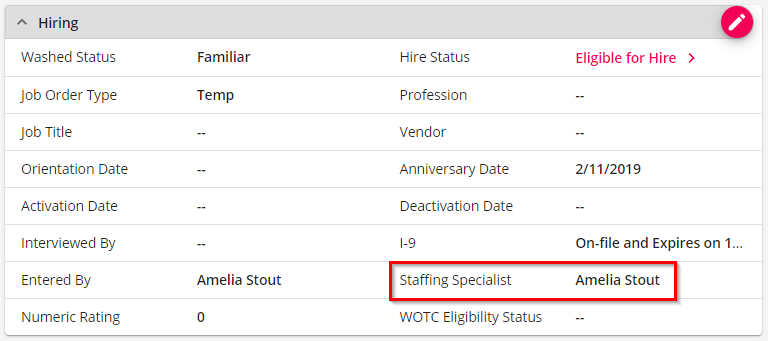
If you want all or some of your employees to be set as "On-Call" meaning they can be seen by all employees regardless of if they are a staffing specialist for the employee, then you will need to grant those recruiters an additional permission.
To Grant the "On-Call" Chat Permission:
- Navigate to
 > System Settings
 - Select Security Groups
- Select Permission Type
- Select or create the group you want to add the new permission to
- Check the box next to "Can use on-call chat functionality"

 > System Settings
New to Security Groups? Check out Beyond - Managing Service Reps & Security Groups for more information.
Once the permission has been granted, the staffing specialist will be able to select which branches they want to be available for under the live chat icon: 
Customizing Live Chat Names
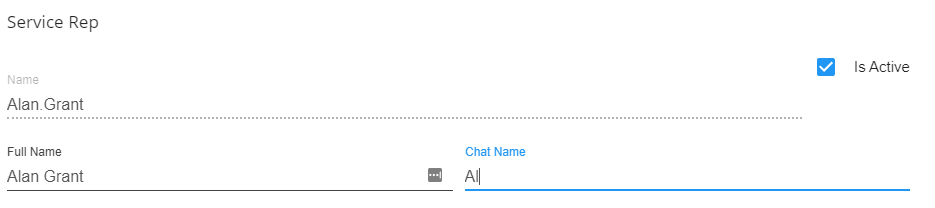
If you have a staffing specialist or recruiter who goes by a nickname or first name only, you can set their chat name in system settings.
To Update a Chat Name:
- Navigate to > System Settings
- Select Service Representatives on the left
- Select the
 to the right of the rep who's name you wish to update
 - Enter the name under Chat Name
 to the right of the rep who's name you wish to update
Related Articles
- None