What is a Mass Mailer Account?
A mass mailer email account allows multiple users to use the same email address. Typically these accounts are not tied to an individual but to a service or group. Example, payroll@staffingcompany.com or recruiting@staffingcompany.com.
These emails can be set up at the System level in order to be shared with one or more teams to use.
Beyond has a few system level settings that an admin should consider when using email in the system.
*Note* Only users in a permission type security group with the "Can Administrate" permission will be able to see and set up System Email options.
Adding a System Mass Account
- Navigate to the
 in the upper left
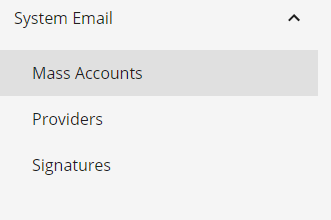
 - Select "System Email"
- Select "Mass Accounts"
- Select the "+" in the upper right to add an account
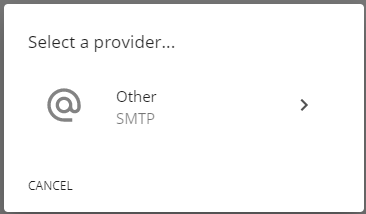
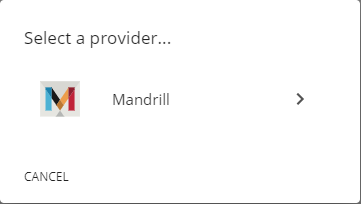
- Choose your provider (if no provider listed, choose other)
- Enter the following information:
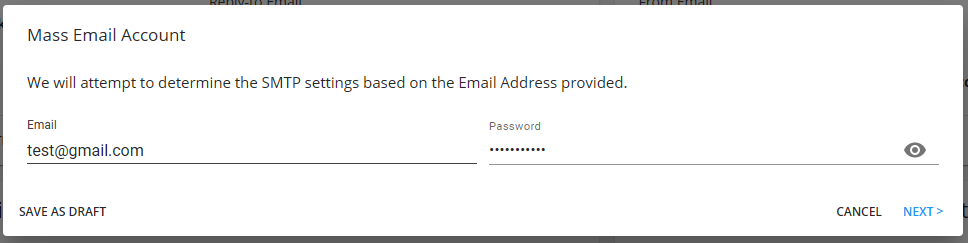
- Password
- Select "Next". At this point, Beyond will attempt to determine the correct SMTP settings based off the email address that had been entered.
- Review or modify the information based on what was found:
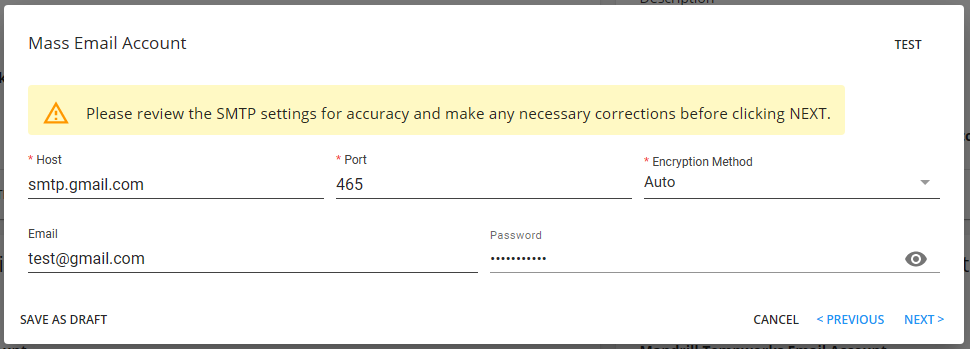
- Host (SMTP server information - see below)
- Port
- Encryption Method
- Username (usually your email address)
- Password
- Don't know your information? We recommend checking with your IT team. We've included some common default settings below.
- Select "Next".
- Enter the following information:
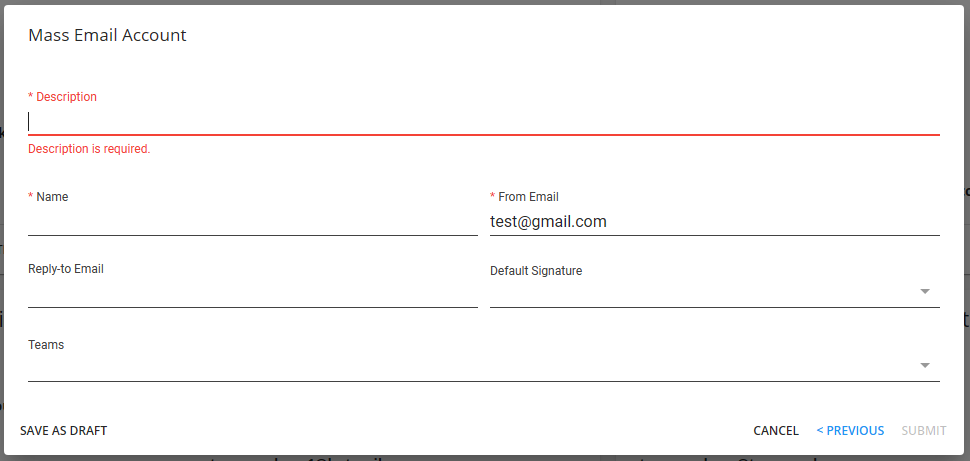
- Description - easy identifier for your users (ex. Onboarding Email or Payroll Email)
- Name - Name you would like to have displayed when sending
- From Email - email address you are sending from
- Reply to Email (optional) - if you would like a different email for the recipient to reply to
- Default Signature (optional) - signatures that you set up can be defaulted to already be inserted when an email is created from this email address
- Teams - Select the team that should have access to this email (Check out Beyond - Creating & Managing Service Rep Teams for more information)
- Select "Submit".
 in the upper left


Default Email Settings
| Mail Provider | Host | Port | Auth Method |
|---|---|---|---|
| Gmail | smtp.gmail.com | 587 | Auto |
| Office 365 | smtp.office365.com | 587 | Auto |
| GoDaddy | smtpout.secureserver.net | 3535 | Auto |
| Yahoo! | smtp.mail.yahoo.com | 465 | Auto |
| Mailchimp (Mandrill) | smtp.mandrillapp.com | 587 | Auto |
| Outlook (AKA Hotmail / Live) | smtp-mail.outlook.com | 587 | Auto |
| Rackspace | secure.emailsrvr.com | 465 | Auto |
Providers
This section allows you to add default settings for when your users set up their own email.
Mailchimp (Mandrill)
To add your Mailchimp (Madrill) account information:
- Navigate to System Settings > System Email > Providers
- Select the "+" to add a provider
- Select "Mandrill"
- Enter the following information
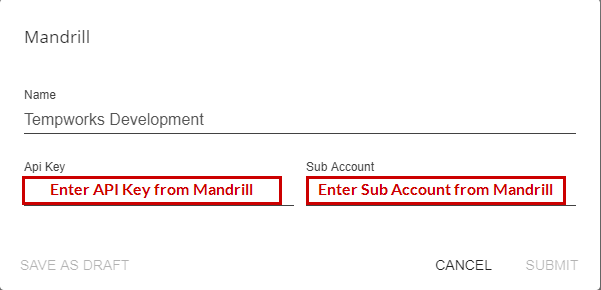
- Account Name - Identifier that will make it easier for users to know what to choose
- API key - From Mailchimp (Mandrill)
- Sub Account - From Mailchimp (Mandrill)
- Select "Submit"
- Now when a user goes to add their email under user settings, they will be able to pick the Mailchimp (Mandrill) settings you already set up:
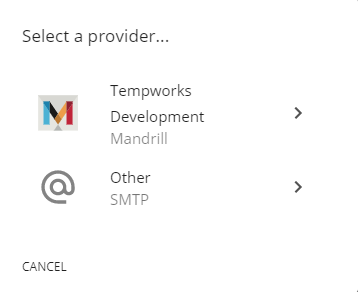
- They will then be able to add their email address from their Mailchimp (Mandrill) account and have the settings populate for them.


Microsoft 365
To add your Microsoft 365 account information:
*Note* If you are planning on using a Microsoft 365 email for Mass Mailing in Beyond, it is recommended that a separate "No-Reply" Microsoft account is used so that personal email addresses are not being used. For example, no-reply@staffingcompany.com.
- Navigate to System Settings > System Email > Providers
- Select the "+" to add a provider
- Select "Microsoft 365"
- A new browser tab will open, directing you to log in using your Microsoft credentials to complete the link between Microsoft and Beyond:

- Once the connection has been established, the browser tab will close and you will be navigated back to the Beyond Mass Email tab, specifically the "Mass Email Account" window.
- Within the "Mass Email Account" window, enter the following:
- Account Name (Required) - The name of the email account being added.
- Reply-to Email - This is optional if you would like a different email for the recipient to reply to.
- Default Signature - Signatures that you set up can be defaulted to already be inserted when an email is created from this email address.
- Description (Required) - A description for the type of email account being added.
- Teams - Select the team that should have access to this email (Check out Beyond - Creating & Managing Service Rep Teams for more information)

*Note* Before setting up a Microsoft 365 email account for mass emailing in Beyond, please review the Microsoft Exchange Sending/Receiving limits which can be found here to verify that the email address being used is able to adequately send/receive the number of emails expected.

*Note* Please keep the following in mind when creating a Microsoft 365 email account:
- The "Sender Name" field is unable to be edited and is the name that is stored within your Microsoft account.
- The “Sender Email” field prefills with the email address that is registered with Microsoft.
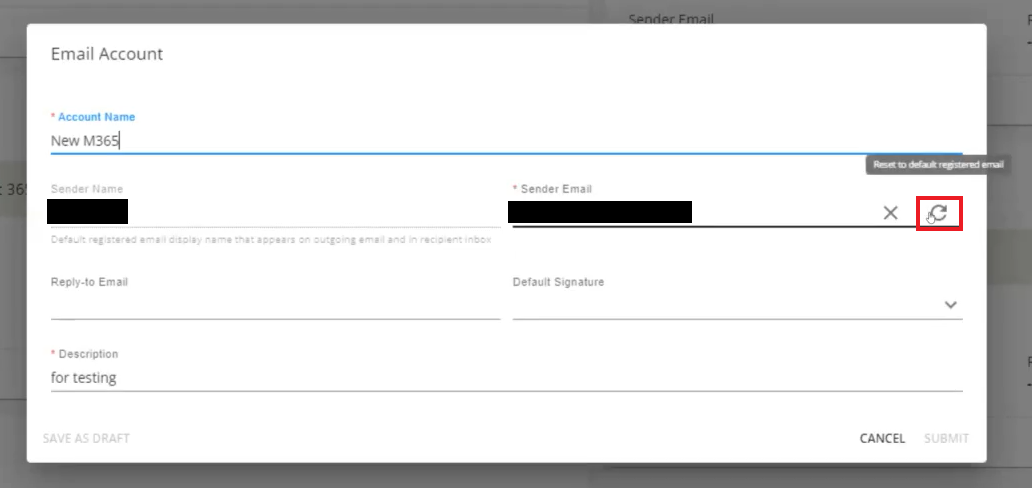
For the "Sender Email" field specifically, if you have another registered email address with the same Microsoft 365 account, you can enter that new email address within this field and test to verify that the email address directs as intended with the registered Microsoft 365 account.
Also, if the default registered email address is changed, the "Sender Name" will no longer be auto populated as the "Sender Name" is always linked to the default registered email address. Therefore, you would need to delete the account and create a new one, using the email address tied to the display name that you would expect.
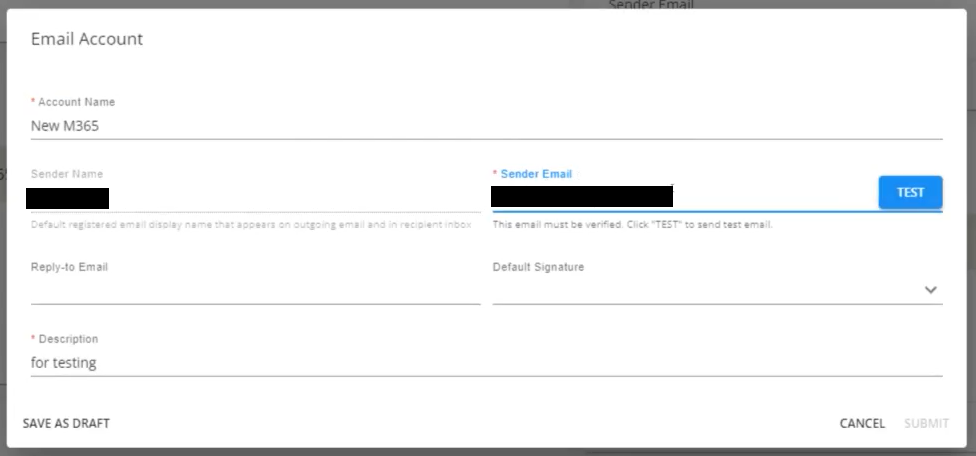
Once "Test" is selected, a test email will be sent to the email address entered if the entered email address aligns with the Microsoft Account:

If the test email is received, navigate back to the "Email Account" window within Beyond and select the "I received the test email" box and select "Submit":

If the test email was not received, simply select the "Revert" option to the right of the "Sender Email" to automatically re-apply the original Microsoft 365 email address:
- Once all of the information has been entered/verified, select "Submit" to complete the Microsoft 365 email setup process.
*Note* Microsoft may require the re-authorization of the email account that has been added to Beyond. If this occurs, you will see a banner within the Microsoft 365 email card with an "Authorize" button:

You will also see the banner when attempting to send an email within Beyond while utilizing the affected Microsoft 365 email address:

Selecting "Authorize" will open a new browser tab where you will need to log in with your Microsoft account credentials which will re-establish the link between Microsoft and Beyond.
Registered Domain (Notification Service)
If you are utilizing the Notification Service, you will need to select a Registered Domain when setting up your mass mailer.
- Navigate to System Settings > System Email > Mass Accounts
- Select the "+" to add an account
- Select one of your Registered Domains, indicated by the
 to the left of the email address:
 to the left of the email address:
Complete the setup by adding the required information and select "Submit" once complete:
*Note* In the event you are going to be utilizing the Notification Service within WebCenter, when setting up the Mass Mailer account within Beyond, you must also ensure the "Teams" field is populated with a Service Rep Team that contains your WebCenter Product Instance.
- Navigate to B Menu > System Settings > Service Rep Teams > "+ Add Service Rep Team":

- Within the "Service Rep Team" window, enter the name and select the intended hierarchy of the Service Rep Team:

- Select the "+" to add members, search for "wc" and add the related WebCenter Product Instance as a member of the team:

- Select "Submit" to finalize the creation of the Service Rep Team.
- When adding a Mass Mailer account utilizing your domain, within the "Teams" field, select the newly created Service Rep Team:


Signatures
Signatures under system settings allow you to set up different signatures that all users can use. These signatures can be set up as defaults on the system level email accounts or just used as generic templates for new users to copy and edit.
To Set Up a System Signature
- Navigate to System Settings Settings > System Email > Signatures
- Select the "+" in the upper right to add a new signature
- Enter a name for your signature (this will be used for your team to select from when they want to insert a signature)
- Copy and paste or type in your signature


Email Signature Tips & Tricks:
- Selecting the text color button (
 ) allows you to pick from default color pallette or use the Hex color code to add your own color to match your branding.
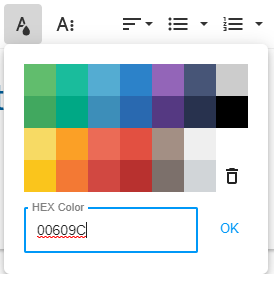
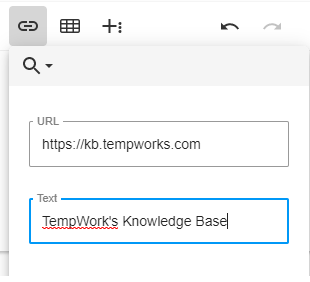
- Use the Insert a Link option to include a link to your company's website in your signature.
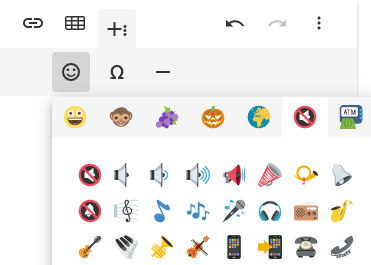
- Select the More Rich options to add emojis, symbols, or a horizontal line in your signature:
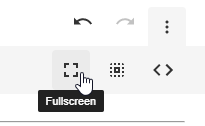
- Select the More Options on the right to view your signature in full screen, select all text, or (if you are feeling tech saavy) use HTML to format your signature.
 ) allows you to pick from default color pallette or use the Hex color code to add your own color to match your branding.


