Overview
Within Beyond, users have the ability to upload employee profile photos in-place of the default avatar.
This functionality is backwards-compatible with Enterprise, meaning employee profile photos uploaded within Enterprise will also appear within Beyond, and vice versa.
*Note* Although all employee profile photos will appear within Beyond from Enterprise, the following file types are supported when uploading directly within Beyond:
- .jpeg
- .jpg
- .png
This article covers the following:
- Setting Up Permissions
- Uploading an Employee Profile Picture
- Changing an Employee Profile Picture
- Deleting an Employee Profile Picture
Setting Up Permissions
To enable this functionality for your users, additional permissions must be added to your intended Security Groups.
Navigate to B Menu > System Settings > Security > Permissions, select the ![]() icon to the right of the Security Group you want to edit, and select "Edit".
icon to the right of the Security Group you want to edit, and select "Edit".
Within the "Permissions Security Group" window, enter "Avatar" into the "Filter" search bar to filter all the permissions to show the two needed for this functionality:
![]()
Select the checkboxes for the intended permissions:
- Can update employee avatar: Allows the user to upload/change/delete the employee avatar photo.
- Can view employee avatar: Allows the user to view the uploaded employee avatar photo.
*Note* The "Can update employee avatar" permission does not automatically include the ability to view the employee profile photo once it has been uploaded. Therefore, it is recommended to select both permissions for users who require the ability to upload/change/delete the employee profile photo.
Once the intended permissions are checked, select "Submit" to finalize the changes:
![]()
*Note* As an additional setup point, for users utilizing Security Groups with Advanced Permissions, access will need to be granted for the uploading of the profile photo within Employee > Employee Header > Upload Photo within the Advanced Permissions section of that Security Group.
![]()
Uploading an Employee Profile Picture
Navigate to an employee record you would like to upload the employee profile photo to:
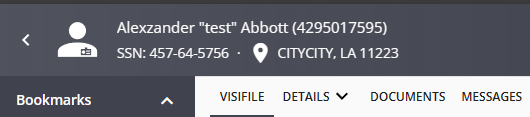
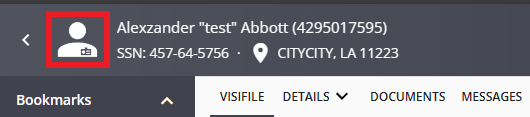
Hover over and click on the employee avatar to open the "Upload Photo" window:
*Note* In the event you are unable to upload/change/delete/view the employee profile photo, please do the following:
- Clear the Beyond cache by navigating to B Menu > User Settings > Data Cache > "Clear Cache"
- Clear your web browsers cache by following the instructions of the specific web browser being used
Within the "Upload Photo" window, either drag the photo from your computer to the window or click within the window to open the File Explorer:
![]()
Find the photo you would like to upload as an employee profile picture, select it, and select Open:
![]()
*Note* The maximum file size of a photo that can be uploaded is 5MB.
The uploaded photo will now appear within the "Upload Photo" window, allowing you to do the following:
- Rotate Photo
- Crop Photo
- Change Photo
- Submit Photo
![]()
Rotating the Photo
Within the "Upload Photo" window, select the ![]() icon to allow the ability to rotate the photo:
icon to allow the ability to rotate the photo:
![]()
- Select the
 icon to rotate the photo clockwise.
 - Select the
 icon to rotate the photo counterclockwise.
 - Select "Apply" to save the changes to the photo.
*Note* The "Apply" option must be selected before submitting the photo or the changes to the photo will not be saved.
- Select "Back" to navigate back to the "Upload Photo" window with the original photo unaltered.
![]()
Cropping the Photo
Within the "Upload Photo" window, select the ![]() icon to allow the ability to crop the photo:
icon to allow the ability to crop the photo:
![]()
Click, drag, extend, or shorten the box to crop the photo how you would like. A preview of the cropped photo will appear below:
![]()
Select "Apply" to save the changes to the photo:
![]()
*Note* The "Apply" option must be selected before submitting the photo or the changes to the photo will not be saved.
Updating the Photo
Within the "Upload Photo" window, either select the uploaded photo or the ![]() icon to open the File Explorer:
icon to open the File Explorer:
![]()
Find the photo you would like to upload as an employee avatar, select it, and select Open:
![]()
*Note* The maximum file size of a photo that can be uploaded is 5MB.
The newly uploaded photo will now appear within the "Upload Photo" window to then rotate/crop/submit as needed.
Submitting the Photo
Once the uploaded photo has been rotated/cropped/updated to your requirements, select "Submit" for the photo to be saved as the employee's profile picture:
![]()
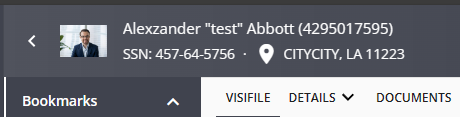
Once submitted, the employee avatar will now show the uploaded photo:
Changing an Employee Profile Picture
Navigate to an employee record you would like to change the employee profile photo of:

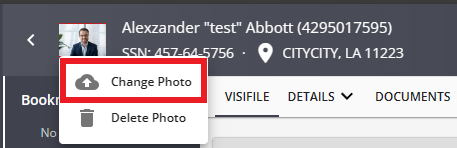
Hover over the employee avatar and select "Change Photo":
*Note* In the event you are unable to upload/change/delete/view the employee profile photo, please do the following:
- Clear the Beyond cache by navigating to B Menu > User Settings > Data Cache > "Clear Cache"
- Clear your web browsers cache by following the instructions of the specific web browser being used
You can now follow the same process as outlined within the Updating the Photo section of this article.
Deleting an Employee Profile Picture
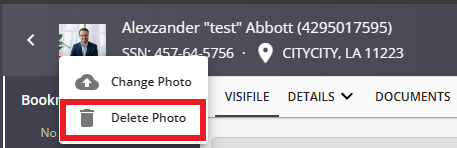
Navigate to an employee record you would like to delete the employee profile photo of:

Hover over the employee avatar and select "Delete Photo":
*Note* In the event you are unable to upload/change/delete/view the employee profile photo, please do the following:
- Clear the Beyond cache by navigating to B Menu > User Settings > Data Cache > "Clear Cache"
- Clear your web browsers cache by following the instructions of the specific web browser being used
Within the "Confirm Delete" window, select "Yes":
![]()
The employee avatar will now show the default placeholder icon.
Related Articles
- None