The Quick View
Beyond offers an easy way to manage records in the system called "Quick View".
This is a special side bar that will be appear when you right-click on a record in Beyond.
Whether interacting with records displayed in the "bookmarks" section or while reviewing records from a search, a simple right-click will give the user a way to interact with a record rather than navigating directly to it.
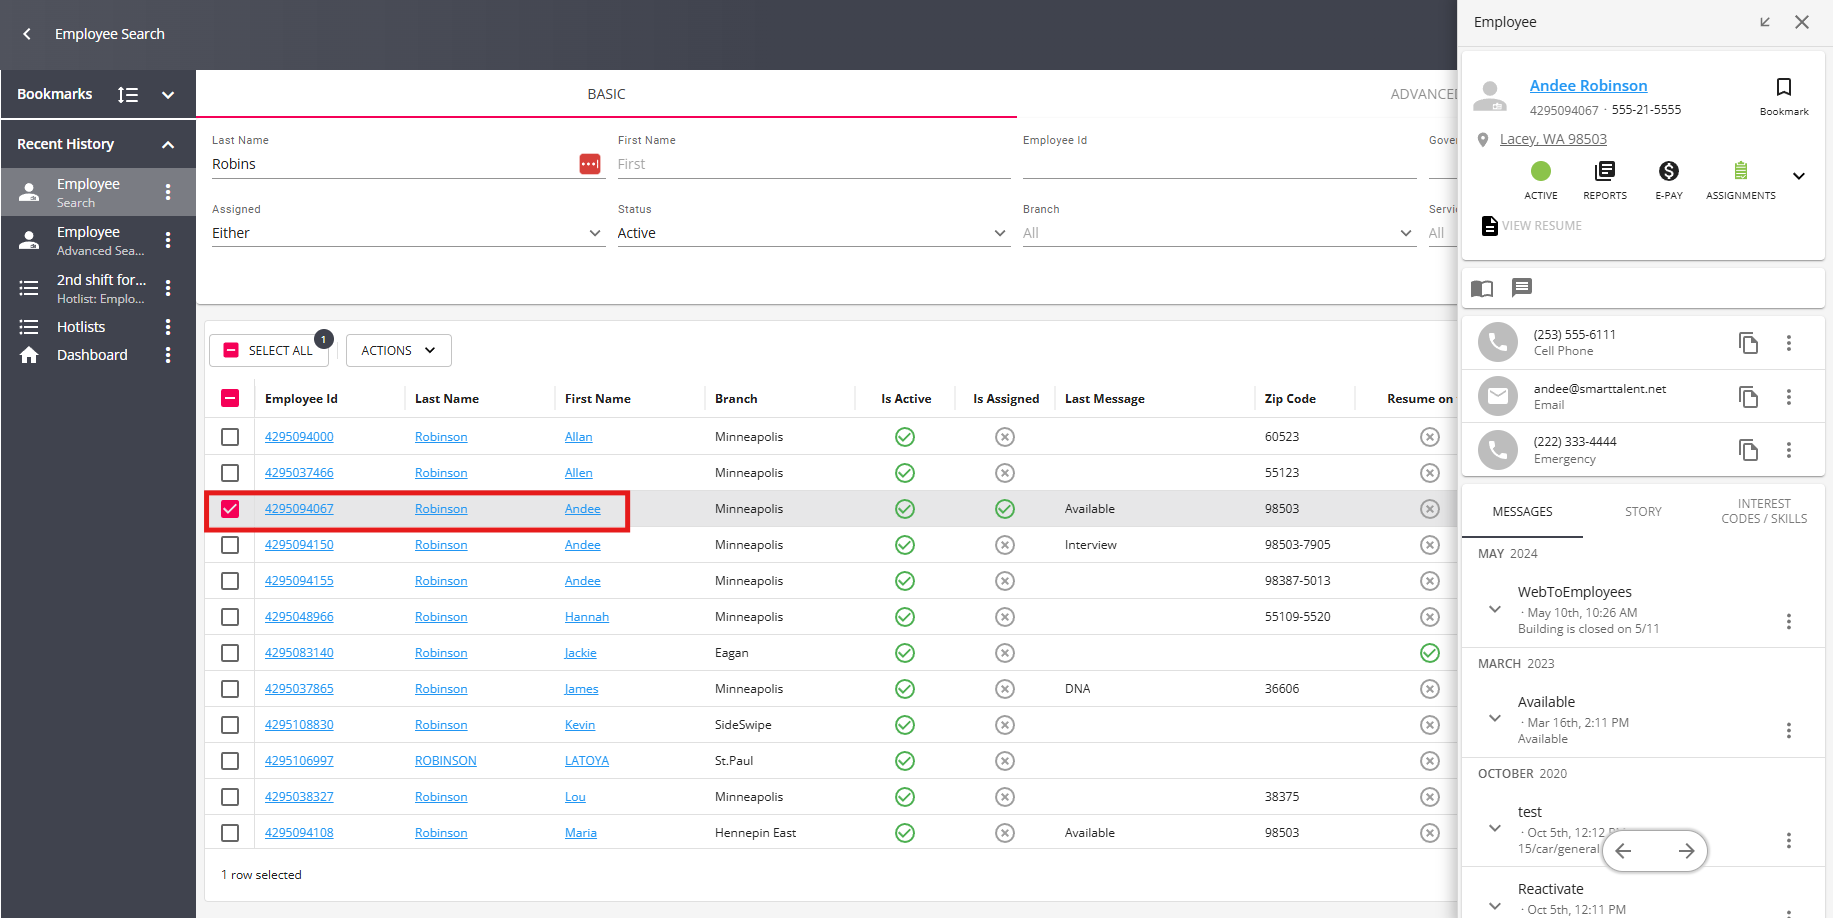
Once opened, "quick view" gives us a snapshot of the particular record we are attempting to access.
*Note* When opening the "Quick View" from a search, so long as the search provides more than one result, you can select the arrows at the bottom of the "Quick View" window to navigate between records within the search results.
Depending on the record type being searched, selecting one of the following fields to open the Quick View will show the navigational arrows:
- Employee: ID, Last Name, First Name
- Customer: ID, Customer Name, Department Name
- Contact: ID, Last Name, First Name
- Job Order: ID, Job Title
- Assignment: ID
Right-clicking a field not mentioned above will not open the navigational arrows within the Quick View.
The quick view is available on the following record types:
Employee Quick View
A 'quick view' of the employee record can be broken out into 4 major sections.
The Avatar Section: 
Here, users may observe details concerning the status of the employee including their charms. This section also includes links to the employee's address and their resume.
The Actions Section:

This section gives users the ability to add a new contact method or message to the employee's record.
The Contact Section: 
Here, users will be able to note and add to the various contact methods set up on the employee's record. By selecting the email of an employee, users may directly email that employee provided the user has their email integrated into the system.
The Information Section: 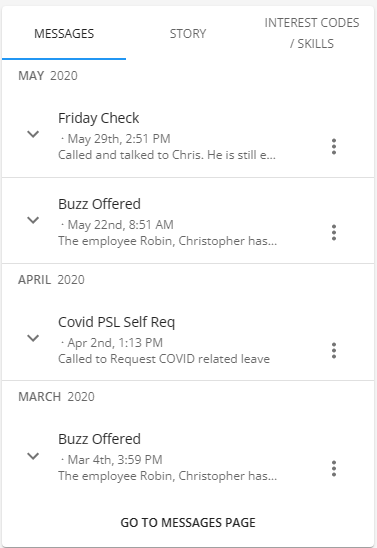
This section provides you with recent messages logged, story information, and interest codes for the employee.
Customer Quick View
A 'quick view' of the customer record can be broken out into three major sections.
The Avatar Section: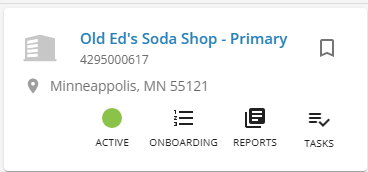
Here, users may observe details concerning the status of the customer including this customers charms. It also includes a link to the customer's address which opens a Google Maps location within a new tab in the browser.
The Contact Section: 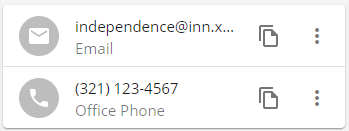
Here, users will be able to note and add to the various contact methods set up on the customer's record. By selecting the email of a customer, users may directly email that customer provided the user has their email integrated into the system.
The Information Section: 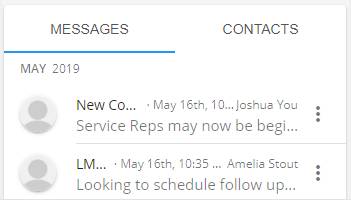
This section lists recent messages logged and active contacts related to this customer.
To log a new message, use the  button.
Contact Quick View
A 'quick view' of the contact record can be broken out into three major sections.
The Avatar Section: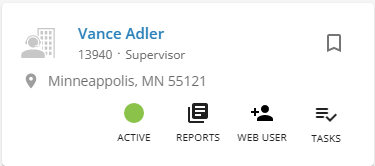
Here, users may observe details concerning the status of the contact including its charms. It also includes a link to the contacts address which opens a Google Maps location within a new tab in the browser.
The Contact Section:
Here, users will be able to note and add to the various contact methods set up on the contact's record. By selecting the email of a contact, users may directly email that contact, provided the user has their email integrated into the system.
The Message Section: 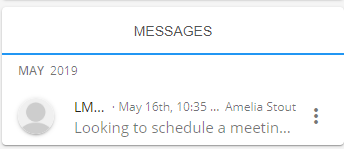
This section displays recent messages logged on the contact's record.
To log a new message, use the  button.
Order Quick View
A 'quick view' of the order record can be broken out into three major sections.
The Avatar Section: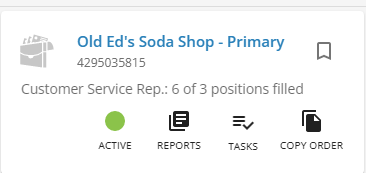
Here, users may observe details concerning the status of the order including its charms.
The Job Details Section: 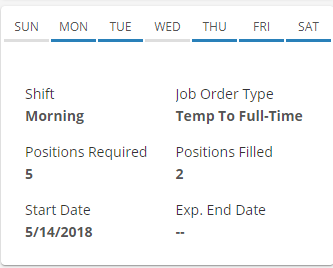
Here, users will be able to note the detailed specifications of the job order, including the start date, expected end date, and the shift information.
The Information Section: 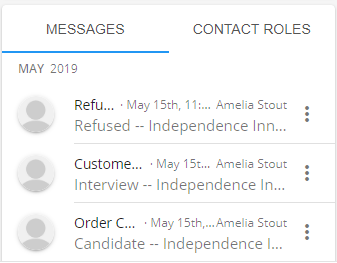
This section shows recent messages logged and any contact roles associated with this order.
To log a new message, use the  button.
Assignment Quick View
A 'quick view' of the assignment record can be broken out into three major sections.
The Avatar Section: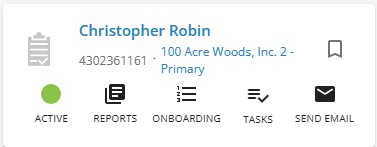
Here, users may observe details concerning the status of the assignment including its charms.
The Job Details Section: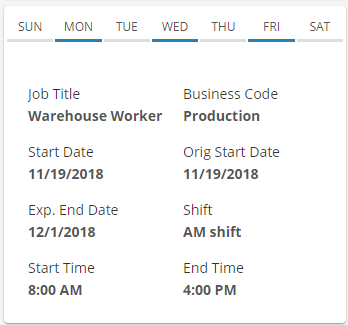
Here, users will be able to note the detailed specifications of the assignment including the start date, expected end date, and the shift information.
The Message Section: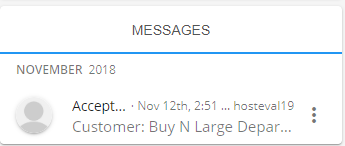
This section shows recent messages logged related to the assignment shown.
To log a new message, use the  button.