What is the Microsoft Outlook Add-in?
The Microsoft Outlook Add-in is an integration that allows TempWorksTM users who are also working with Outlook to get the most out of their email and their database.
*Note* This add-in is a sidebar that can be utilized in both the Outlook desktop application and the web browser-based platforms. The Outlook Add-in does not work with the mobile Outlook application and mobile web browsers.
*Note* Currently, the Outlook Add-in is only available to our hosted clients & utilizes Beyond. If you have not set up Security Groups or utilized Beyond, please talk to your Account Manager first. In order to log messages within the Outlook Add-in and Beyond, each user will need to be part of a Message Action Security Group.
For information on system requirements see Microsoft's Requirements for Running Office Add-ins.
How Do I Start Using the Add-in?
In order to utilize the TempWorks Outlook Add-in, your Outlook Admin will first need to install the add-in for your email server.
*Note* The add-in is only available on messages and appointments while composing or reading. For a full list of limitations on the add-in see Microsoft's Outlook Add-in Overview.
With Outlook, there are 2 different kinds of email servers: On-premise (sometimes known as Exchange) OR Cloud (commonly known as 365 hosted). It's important to identify which email server you are utilizing before installing the add-in.
This Article Reviews:
- On - Premise Server Instructions
- Cloud (365 hosted) Server Instructions
- Rolling out the Add-in to Users
On-Premise Server Instructions:
- Navigate to your email server's Outlook Admin Center
- Select organization on the left and choose add-ins
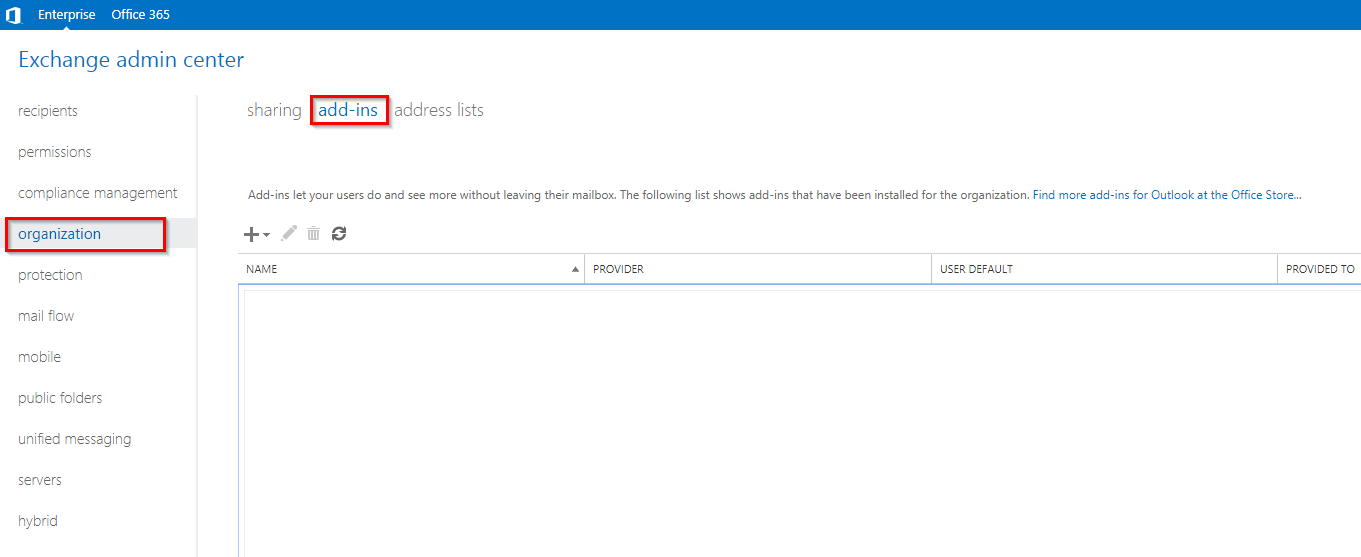
- Select the + icon to install a new add in and choose the option "Add from URL"

- Enter the URL: https://outlookaddin.ontempworks.com/configs/manifest.xml
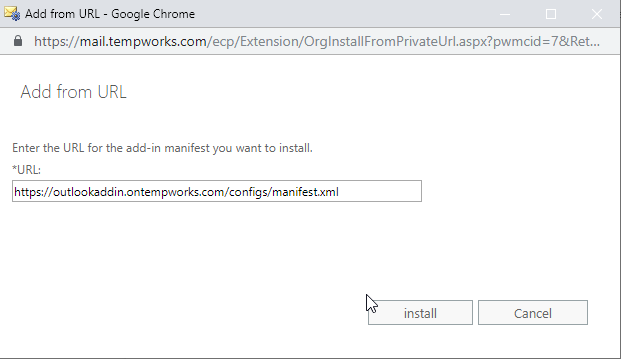
- Select Install


Cloud (365 hosted) Server Instructions:
- Navigate to your Microsoft 365 Admin Center
- Select Settings > Services & add-ins on the left
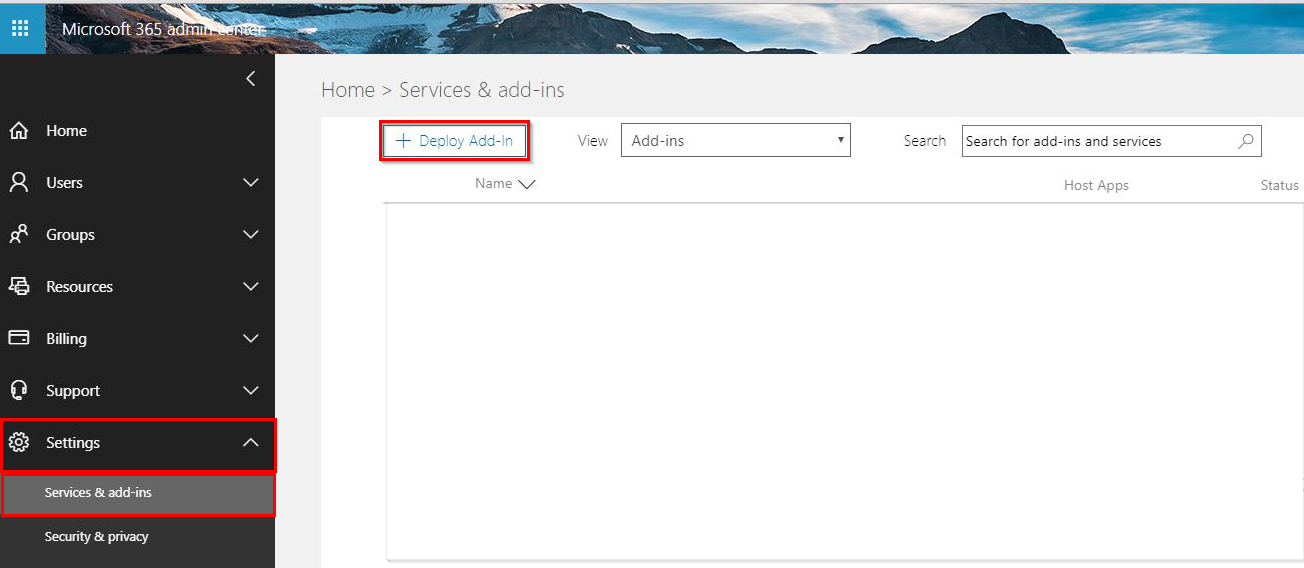
- Select the Deploy Add-in option
- Choose the "I have a URL for the manifest file." option
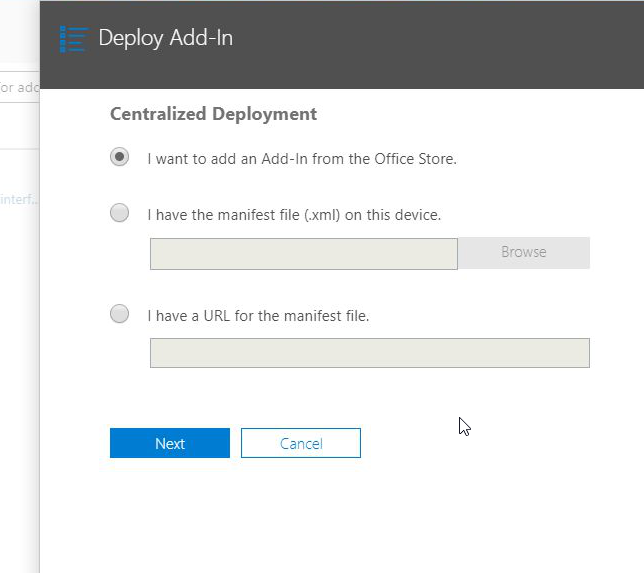
- Enter the URL: https://outlookaddin.ontempworks.com/configs/manifest.xml
- Select Next to install


Rolling Out the Add-in to Users:
Once the add-in has been installed to the email servers, you will have a few options for rolling out the add-in to your company. Double click on the add-in if you do not see these options.
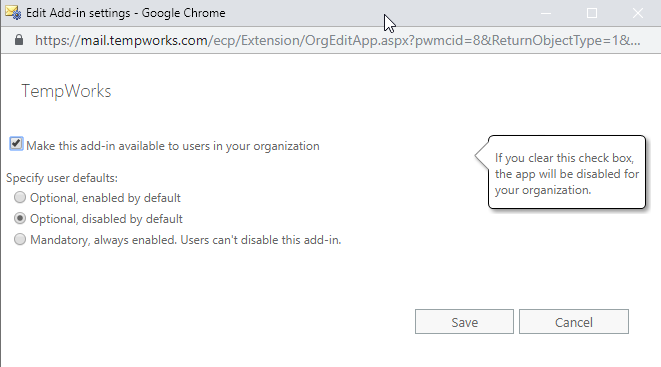
Option 1: Enabled by default
This option will automatically turn this add-in on for all email users on your server. They will then be able to turn it off if they no longer want to utilize it.
Option 2: Disable by default
This option will add the Outlook add-in option for all users. Users will need to select the add-in in order to use it.
To select the add-in:
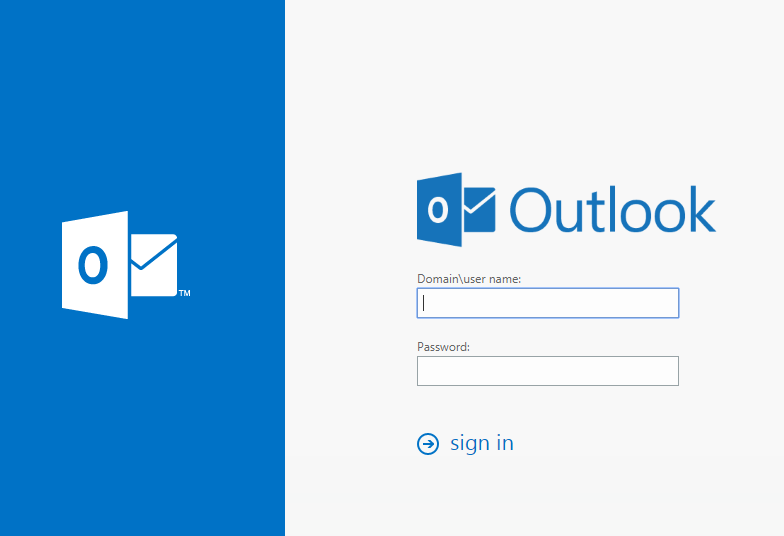
- Email users will be able to turn on the add-in by navigating to the web version of their Outlook.
- From here, login with your credentials. Be sure to include your domain:
- Once you are within your inbox, select the Apps in the upper right portion of the screen:

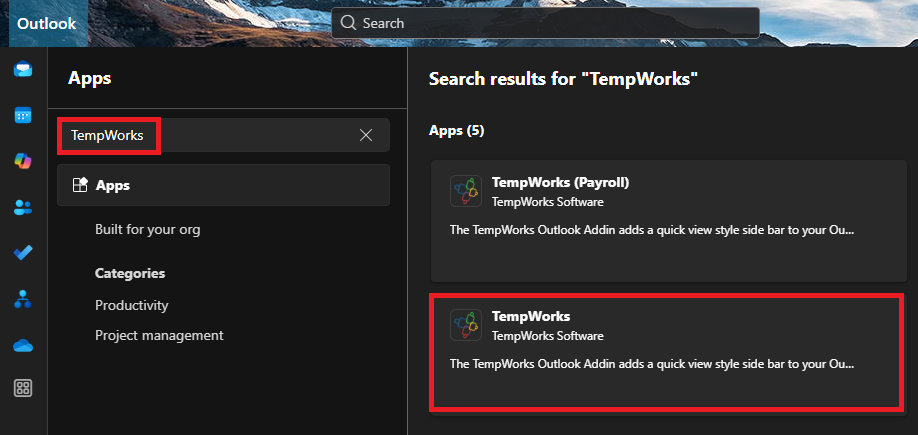
- Select "Add Apps":

- Within the search bar, enter "TempWorks" and select "TempWorks" from the list:
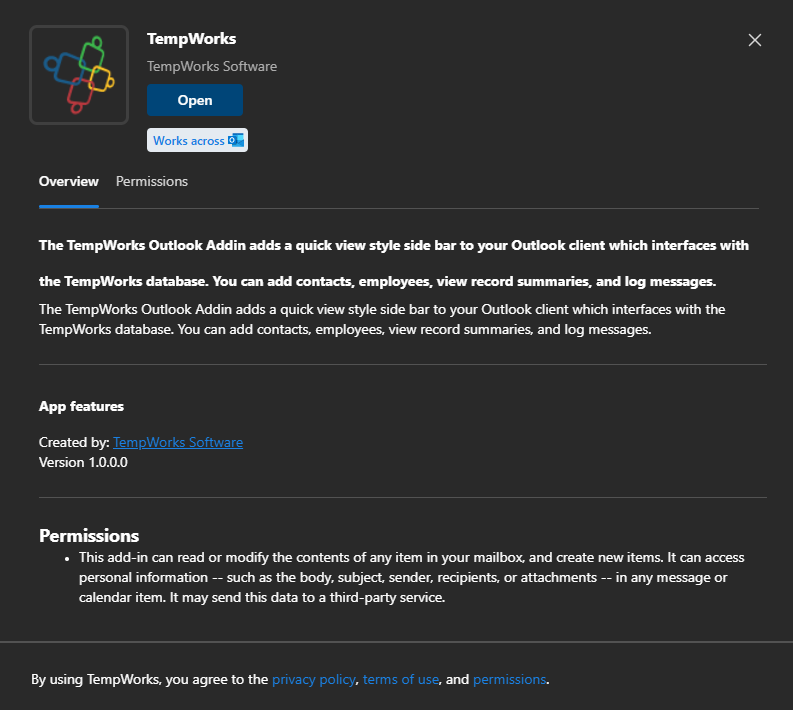
- Select "Add" or "Open":


Option 3: Mandatory, always enabled
This option will automatically turn this add-in on for all email users on your server. Users will not be able to remove the add-in themselves.