Overview
Data Frenzy is a candidate and job order management integration that has multiple different products (modules):
- Workforce management
- The ability to text message candidates
- The distribution of job orders from Beyond to external job boards (Indeed, Monster, ZipRecruiter, etc)
*Note* This integration does require additional setup, accounts with third-party job boards (Indeed, Monster, ZipRecruiter, etc), and an existing relationship with Data Frenzy. For more information about getting this setup, and pricing inquiries, please contact your TempWorks Account Manager.
This article covers the following:
Setting Up Data Frenzy
The setup and utilization of Data Frenzy requires the following:
- Creating the Data Frenzy Service Rep
- Creating the Personal Access Token
- Creating the Data Frenzy Cards
- Installing the Chrome Web Browser Extension
- Adding the Custom Cards & Pages to Record Types
Creating the Data Frenzy Service Rep
To begin the Data Frenzy setup process, a new Data Frenzy Service Rep (User) will need to be created within your system, via Enterprise.
Begin by navigating to Enterprise > All Options > Administration > Service Rep > "+":

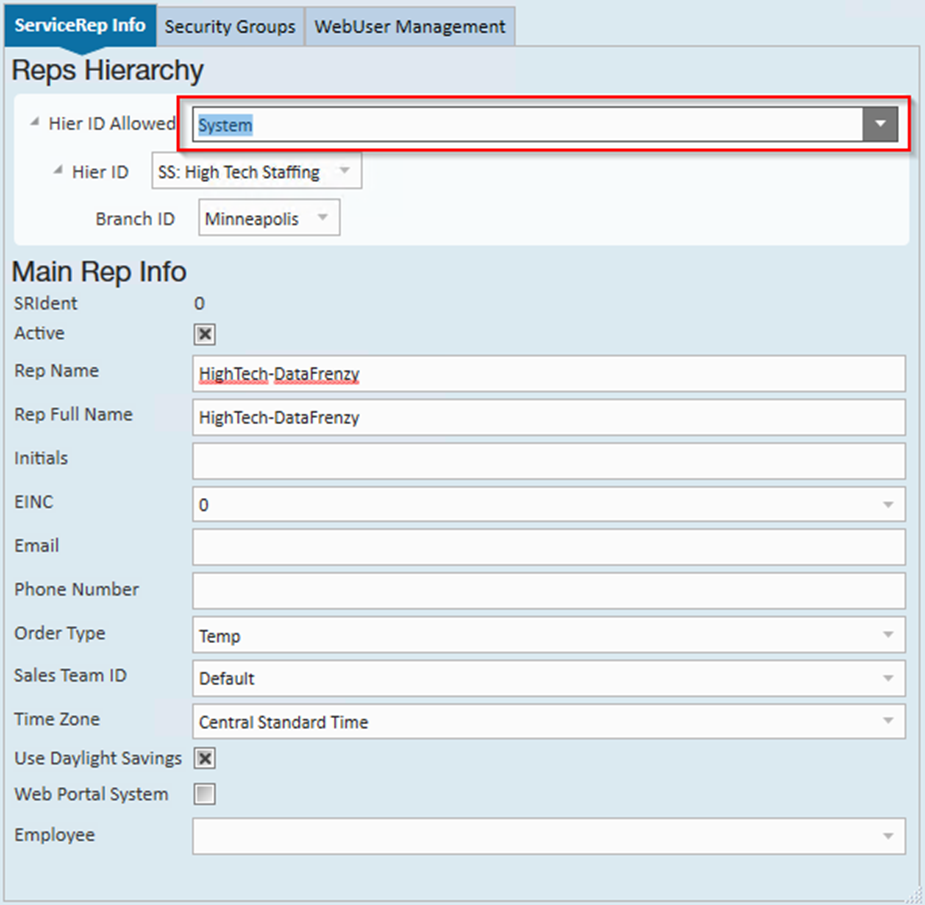
Within the "ServiceRep Info" tab, please add the following:
- Rep Name: Name the Service Rep "Company-DataFrenzy", replacing "Company" with the name of your company.
- Rep Full Name: Name the Service Rep "Company-DataFrenzy", replacing "Company" with the name of your company.
- EINC: Select the EINC for the company that will be utilizing the Data Frenzy integration.
- Time Zone: Select the appropriate time zone within the drop down.
- Hier ID Allowed: Select the highest possible hierarchy level allowed within the drop down.
- Hier ID: Select the highest possible hierarchy level within the drop down.
*Note* When creating the Data Frenzy Service Rep account, make sure you select the highest possible hierarchy level for "Hierarchy Level" and "Hierarchy Level Allowed".
If the Data Frenzy user is not setup at the highest available hierarchy level, Data Frenzy will not function as intended.
Once the user has been created, it's time to create the Personal Access Token that will be used to link up with Data Frenzy.
Creating the Personal Access Token
Once the Data Frenzy user has been created within your system, a Personal Access Token must be created, which will be used later within the setup process to link your Data Frenzy account with Beyond.
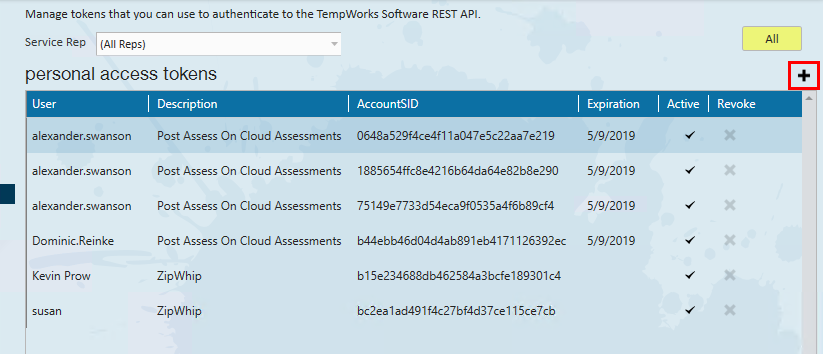
Begin by navigating to Enterprise > All Options > Administration > Personal Access Tokens:

Within the "Personal Access Tokens" window, select the "+" to the right to add a new token:
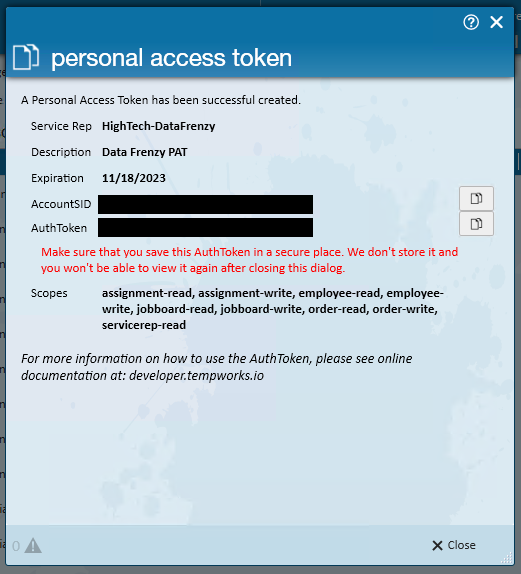
Within the "Create Personal Access Token" window, make sure the following are selected/entered:
- Service Rep: This is the "Company-DataFrenzy" Service Rep that was created earlier
- Description: Data Frenzy PAT
- Expiration: Select the appropriate expiration date within the drop down.
- Scopes: Please select the following scopes:
- Assignment Read
- Assignment Write
- Contact Read and Write
- Customer Read and Write
- Document Read and Write
- Employee Read
- Employee Write
- Job Board Read
- Job Board Write
- Job Order Candidate Read and Write
- Message Read and Write
- Onboarding Read and Write
- Order Read
- Order Write
- Service Rep Read
- Text Message Read and Write
- Universal-Search
- WebUser Read and Write
Once the information is verified, select "Create".
*Note* Once generated, please save the “AccountSID” and “AuthToken” immediately after they are created, otherwise new ones have to be created as they will no longer appear after navigating away from this window.
For any updates to Personal Access Tokens (expired or missing permissions) being used with the Data Frenzy integration, please contact your Data Frenzy representative to assist.
*Note* For more information on Personal Access Tokens, please see the following article titled Personal Access Tokens.
Once the Personal Access Token is created, and the AccountSID and AuthToken have been saved outside of Enterprise, select "Close" on the "Personal Access Token" window.
Please provide the saved AccountSID and AuthToken to your Data Frenzy representative. These will be used in the next step of the setup process.
The first step of the Data Frenzy setup process is now complete, and it's time for the custom cards and pages to be created.
Creating the Data Frenzy Cards
The Data Frenzy integration utilizes the custom cards and pages functionality in Beyond to insert an iframe of Data Frenzy directly into the respective record type in Beyond.
This allows you to access Data Frenzy without having to leave your instance of Beyond.
*Note* TempWorks will complete the setup of the cards to enable the integration with your system.
In the event additional assistance is needed with the Data Frenzy setup, please contact your TempWorks Account Manager.
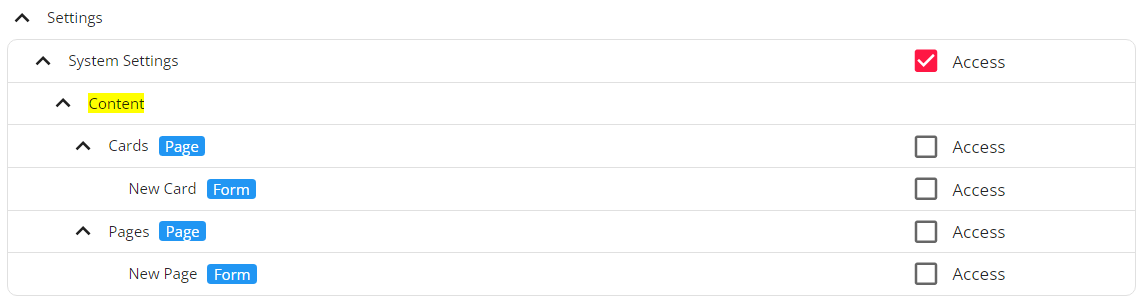
Once the cards have been created, depending on how you have Security Groups setup within your system, there may be an additional setup step that will need to be done:
*Note* As an additional setup step, for users utilizing Security Groups with Advanced Permissions, access will need to be granted for cards and pages within Settings > System Settings > Content within the Advanced Permissions section of that Security Group.
Once the Data Frenzy cards have been created, the Data Frenzy Chrome Extension will need to be installed.
Installing the Chrome Web Browser Extension
To use the Data Frenzy integration within Beyond, you must use the Chrome web browser and install the Data Frenzy Chrome Extension.
*Note* Please verify you always have the latest version of the Data Frenzy Chrome Extension installed to ensure proper compatibility and continued functionality of the integration.
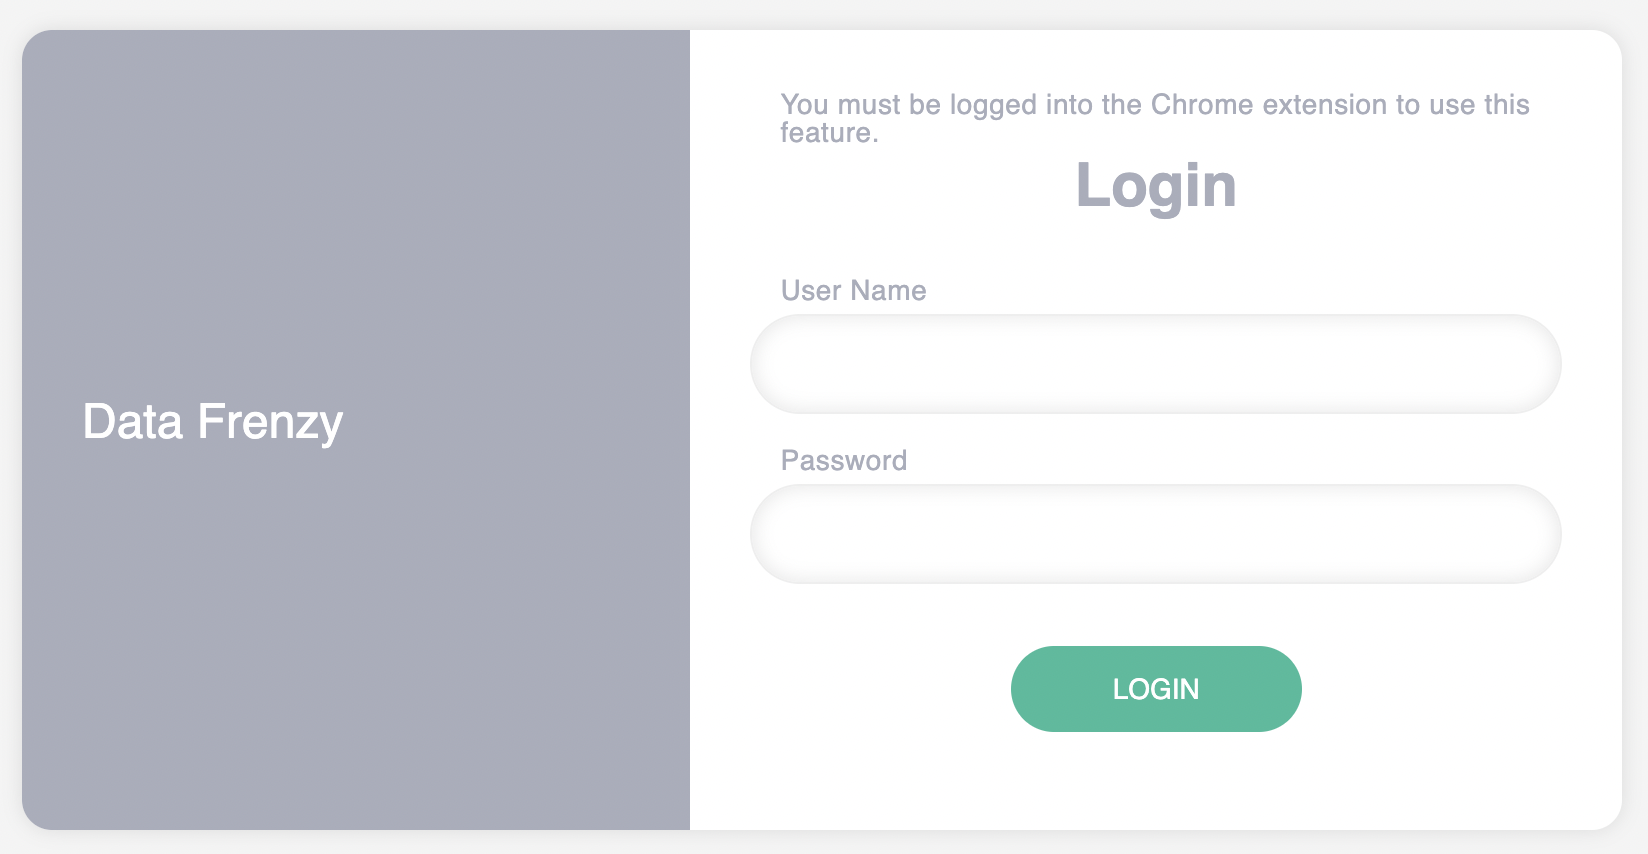
Once the Chrome Extension is installed, you will be prompted to log-in using your Data Frenzy credentials:
After logging in using your Data Frenzy credentials, the cards will need to be added to their respective record types within Beyond.
Adding the Custom Cards & Pages to Record Types
Navigate to a record of a respective record type (Employee or Job Order) where the card will live.
Within the record of the record type selected (Job Order for this example), while on the Visifile of the record, select the ![]() icon to edit the dashboard of the record:
icon to edit the dashboard of the record:

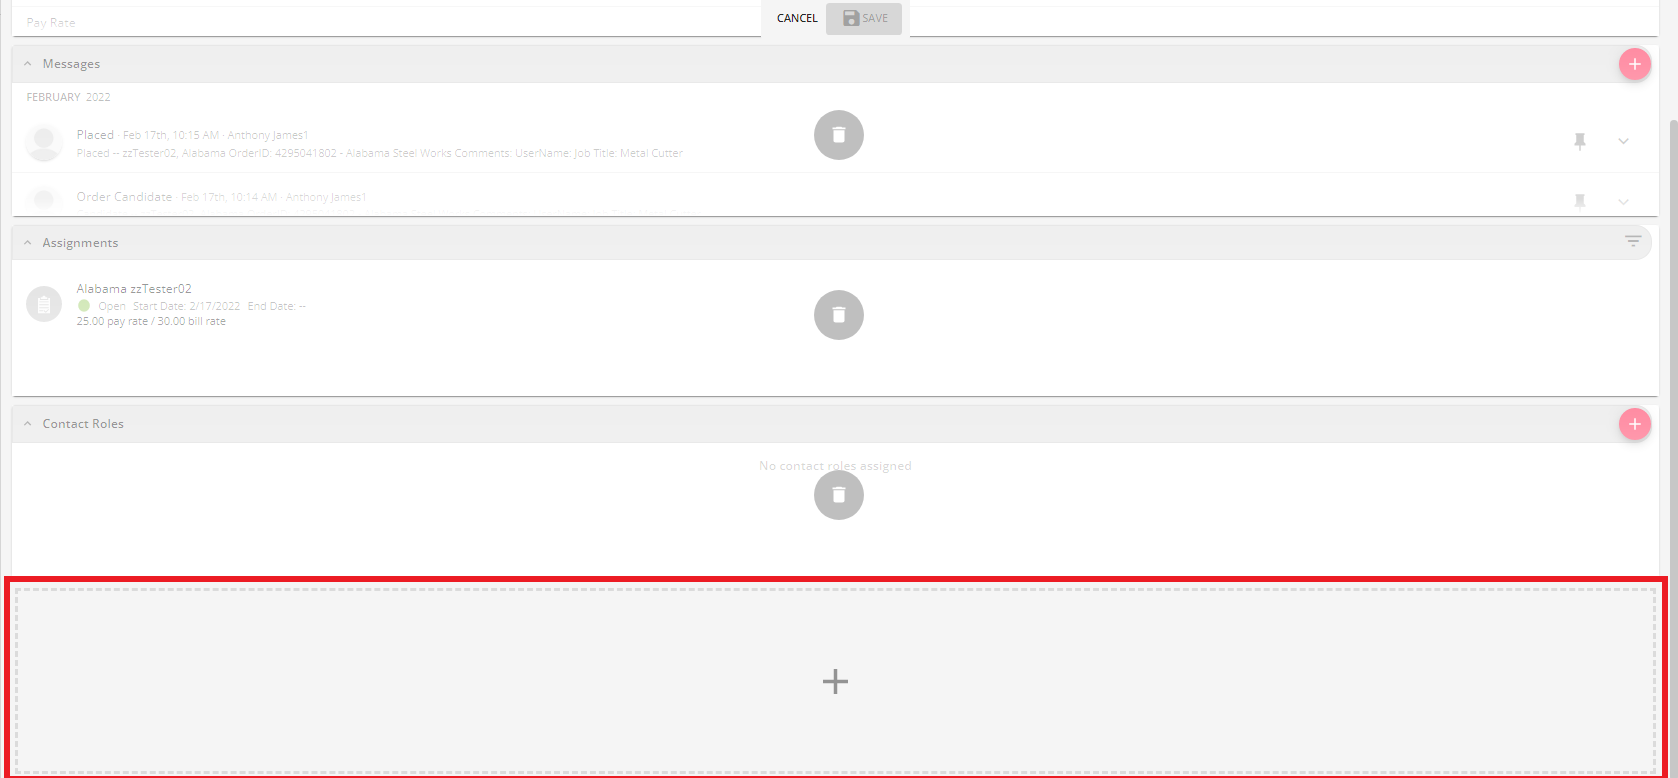
Navigate to the bottom of the page and select the "+" to add a card to the dashboard of the record:
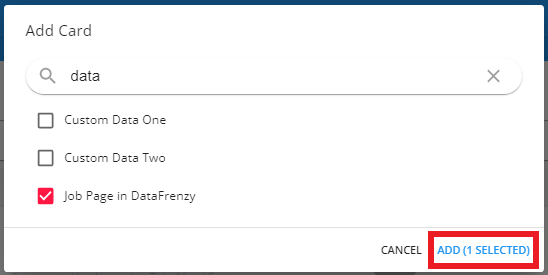
Within the "Add Card" window, select the intended Data Frenzy card for that record type and select "Add":
With the card added, you can click and drag the card to where you would like it visible within the Visifile of the record.
*Note* Once the card has been added to a single record, it will appear within all records of that specific record type.
You do not need to manually add the card to each record that requires it.
*Note* Cards can also be added as pages on the record. Pages allow for the card to fill the space of an entire page, allowing for more visibility.
For more information on this functionality, please see the article titled Beyond - How to Create and Utilize Cards and Pages.
Once the Data Frenzy cards and/or pages have been added to their respective record types, the integration has been setup and is ready for use.
Utilizing Data Frenzy
Once the cards have been setup within your system, they are ready to be used based on the modules that you have configured with Data Frenzy.
Data Frenzy offers many different types of modules for use with the integration. The following examples include candidate management, employee SMS texting, and job order posting to third-party job feeds.
*Note* For additional module information, please contact your Data Frenzy representative.
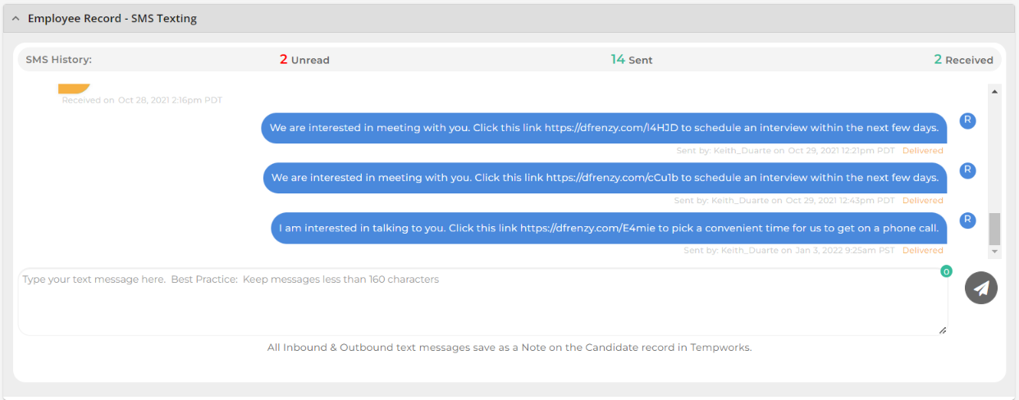
Employee Cards
The "Employee Page in DataFrenzy" card provides you with access to several functionalities related to the employee record, such as Texting History, Team Candidate Review, and Interview Scheduling.
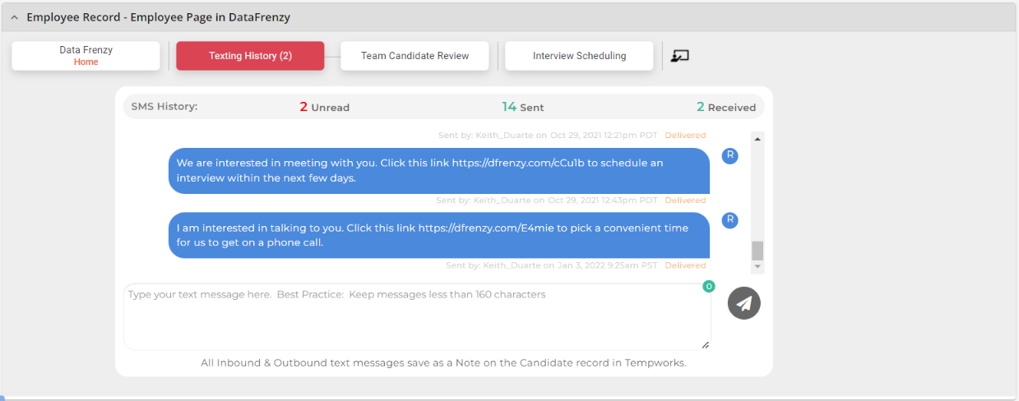
The "SMS Texting" card provides you with access to the SMS texting functionality in Data Frenzy. You can see a history of old SMS message that have been exchanged with the given employee or send new messages directly within the card.
*Note* Please contact Data Frenzy for further instruction on the modules that the Data Frenzy integration supports.
Job Order Card
The "Job Page in DataFrenzy" card provides you with various page related settings and functionalities such as posting the job on various third-party job feeds, the viewing of all posted job orders, and more.
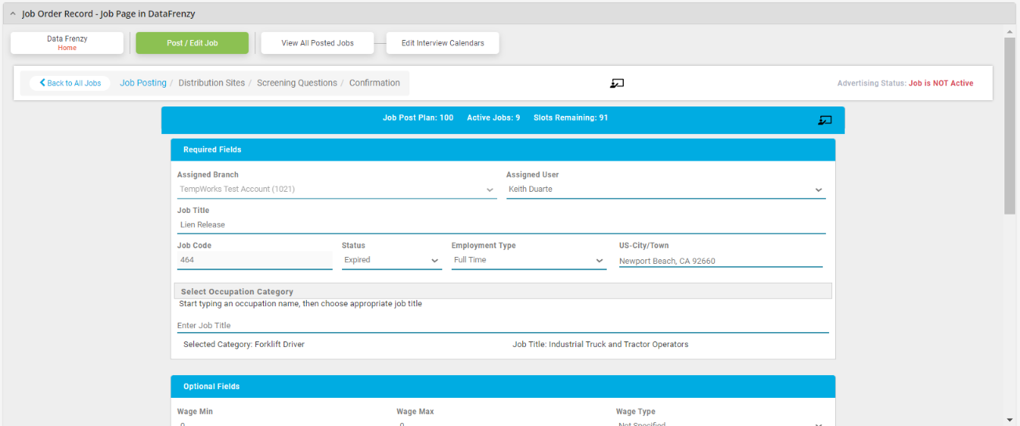
*Note* For job orders to post to third-party job feeds (Indeed, Monster, ZipRecruiter, etc), you will need to have an established relationship with the respective third-party job posting company.
Data Frenzy will assist you in linking those existing accounts with Data Frenzy during the setup process.
*Note* Please contact Data Frenzy for further instruction on the modules that the Data Frenzy integration supports.
Related Articles
- None