*Note* In order to set up WebCenter Roles, you must be a WebCenter Admin. To learn more, WebCenter - Intro to Administration.
What are WebCenter Roles?
WebCenter roles manage basic security for all of your WebCenter users. This allows you to control which sections of a WebCenter portal that a user can access. You can have multiple roles set up for different kinds of users. For example, one employee might be able to enter time via WebCenter while the other employee might be using a different method to track time such as our TempWorks TimeClocks.
Roles are set up for each type of user in WebCenter: Applicant, Employee, Customer Contact, Vendor, and Admin.
It's important to review and update these roles to ensure that the correct features are turned on for each of your users.
Where are Roles Found?
You can find role management by logging into WebCenter as an Administrator and navigating to the Roles Tab: 
Keep in mind that Roles are separated by Entities, so if you have multiple separated entities in WebCenter, you will need to set up roles for each entity.
This article reviews:
- Employee & Applicant WebCenter Roles
- Customer Contact WebCenter Roles
- Vendor WebCenter Roles
- Administrator WebCenter Roles
Employee & Applicant WebCenter Roles
Employee Vs. Applicant
Since HRCenter and WebCenter both utilize the same web user credentials for applicants and employees, an applicant can technically have access to WebCenter as soon as they apply online through HRCenter. 
Applicants can have access to documents, HRCenter, JobBoard, and profile information while employees can also be given access to options like assignments and timecards. An applicant becomes an employee and is given the default employee role once there washed status is switched from 'Web Pending' to 'Familiar' in Enterprise or Beyond by default (keep in mind some systems may have a different customized setup).
Setting Up Applicant's or Employee's WebCenter Roles
Before you can give an employee or applicant access to WebCenter, you need to decide what different security options you need to have in place and what the default options will be.
For example, you may have a default employee role that is given everything except the timecards tab. I might then have a second role that includes the timecards tab for those employees working where they are expected to fill out online timecards. Then, I might have a third role that is more limited for those employees who no longer work for my company but may still need access to just their paycheck stubs and W-2 information.
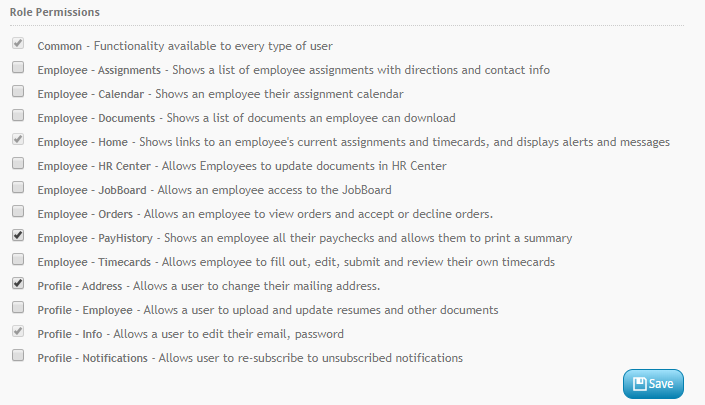
First look at all the permissions available & the default role and then decide how many roles or permission levels you may need to have for employees and applicants. Once you have decided this, you will navigate to the Roles tab in WebCenter Admin to set them up.
To Create a New Role
- Navigate to the Roles tab in WebCenter Admin
- Select Applicant or Employee

- Click on the default role already in your system
- Select the Copy button to the right

- Enter a Role Name and Description of when this role should be used

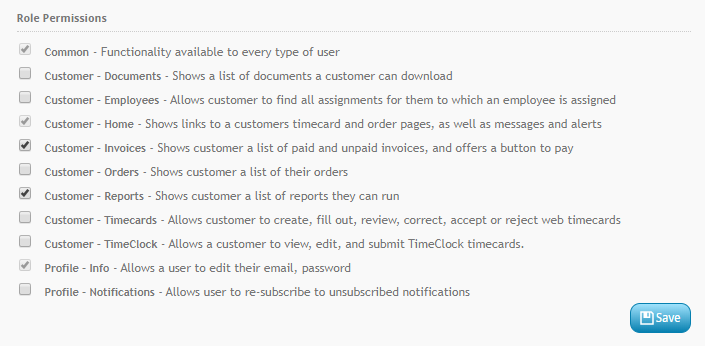
- Select the Role Permissions by checking the boxes or unselect the boxes to remove those permissions from this role
- Select Save


*Note* There is a default radio button next to each role. Only one role for each user type(applicant or employee) can be selected as the default. This will be the role granted when a user is given credentials or makes credentials in HRCenter. 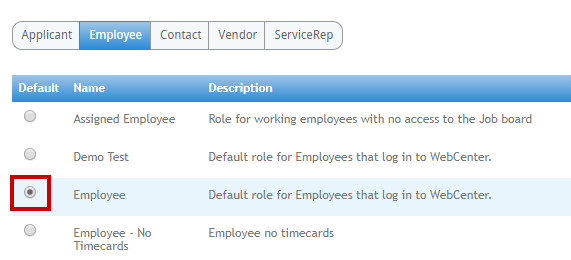
How to Change an Employee's Role in Enterprise
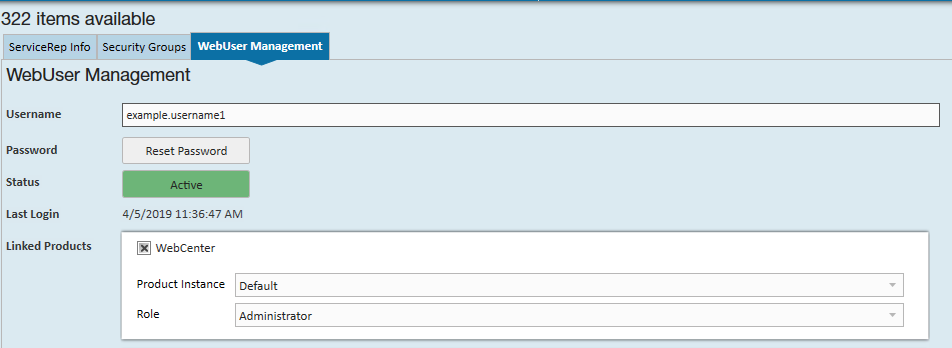
To set up or manage an employee's or applicant's WebCenter role in Enterprise, you will need to navigate to the employee record > Integrations > Web User Account. The WebCenter role can be managed under the WebCenter Linked Products: 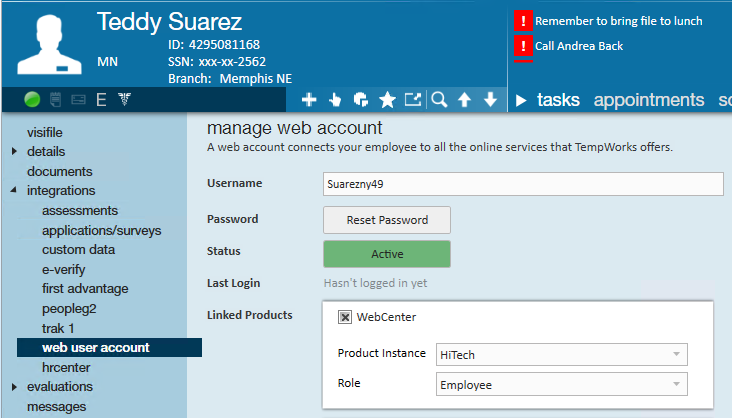
For more information, check out Manage Web User Account.
How to Change an Employee's Role in Beyond
To setup up or manage an employee's or applicant's WebCenter role in Beyond, you will need to navigate to the employee record and select the Web User charm in the upper right. From here you will have the option to create their account or change their role:
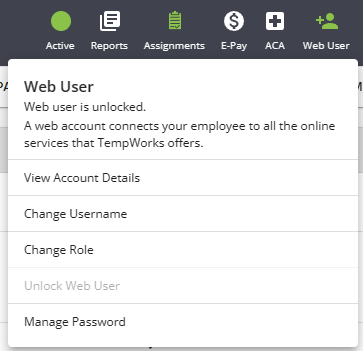
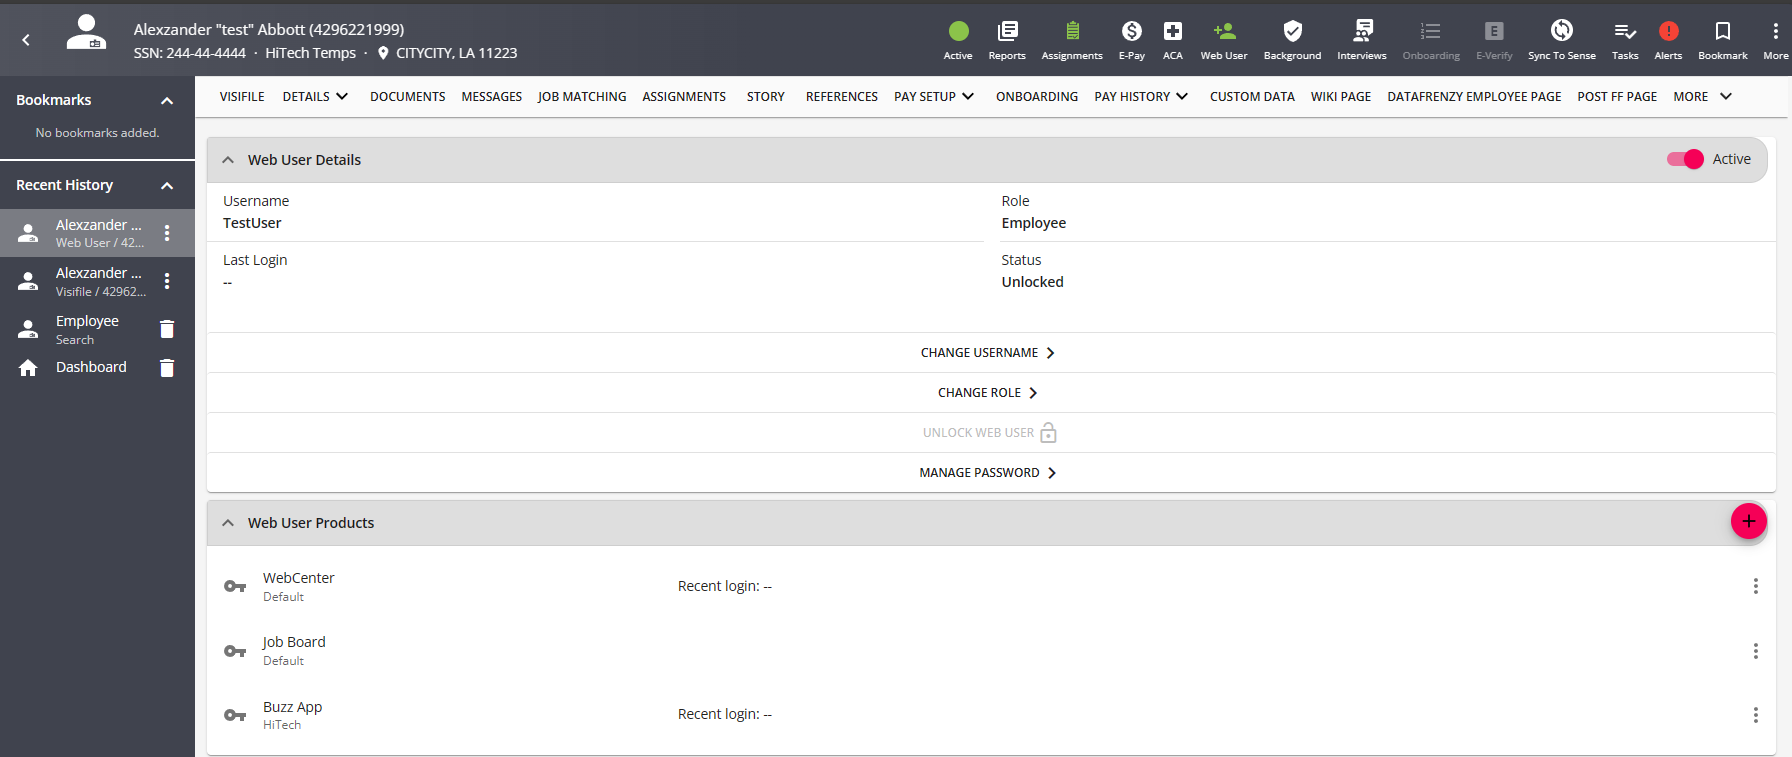
For more information, check out Beyond - Managing Web User Account.
*Note* If an employee has a status of deactivated in Enterprise/Beyond they will no longer have access to their employee WebCenter. They will also no longer appear in a search result for impersonating an employee in WebCenter Admin. If you would like to continue giving a deactivated employee access to their WebCenter please contact TempWorks Support to determine if this can be implemented in your system. If added, we recommend updating the deactivated employee(s) WebCenter role to a limited access role.
Contact WebCenter Roles
Similar to Employee roles, contact roles allow you to change which tabs and information a Customer Contact can see in WebCenter.
First consider your different types of customer contacts. Perhaps you have some that just need access to invoices and reporting, while other supervisors have agreed to approve time via WebCenter.
To Create a New Role
- Navigate to the Roles tab in WebCenter Admin
- Select Contact

- Click on the default role already in your system
- Select the Copy button to the right

- Enter a Role Name and Description of when this role should be used

- Select the Role Permissions by checking the boxes or unselect the boxes to remove those permissions from this role
- Select Save


Changing a Contact's Role in Enterprise
To setup or manage a customer contact's role, navigate to the contact record and select integrations > web user account on the left. The WebCenter role can be found under the WebCenter Linked Product: 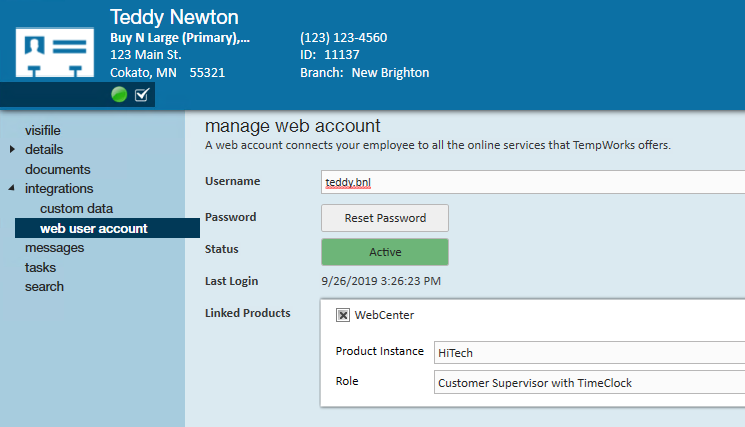
For more information, check out Manage Web User Account.
Changing a Contact's Role in Beyond
To setup or manage a customer contact's role, navigate to the contact record and select the Web User charm on the right:
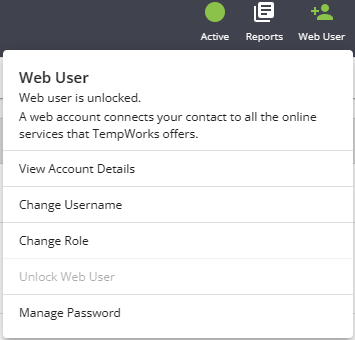
For more information, check out Beyond - Managing Web User Account.
Vendor WebCenter Roles
Vendor contacts can be given access to WebCenter to manage employees, accept orders, and submit candidates.
To give a vendor access, you can create a web user account for the Vendor contact the same way a customer contact is given a web user account. You can set up different roles for Vendors that will change what options they can see in the WebCenter portal. For more information on the Vendor portal, check out Vendor Portal Quickstart.
To Create a New Role
- Navigate to the Roles tab in WebCenter Admin
- Select Vendor

- Click on the default role already in your system
- Select the Copy button to the right

- Enter a Role Name and Description of when this role should be used
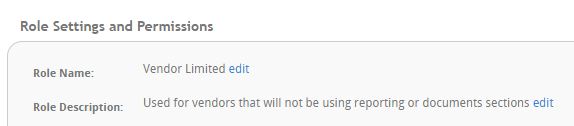
- Select the Role Permissions by checking the boxes or unselect the boxes to remove those permissions from this role
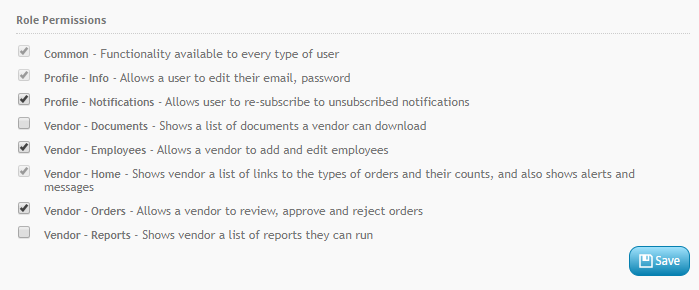
- Select Save


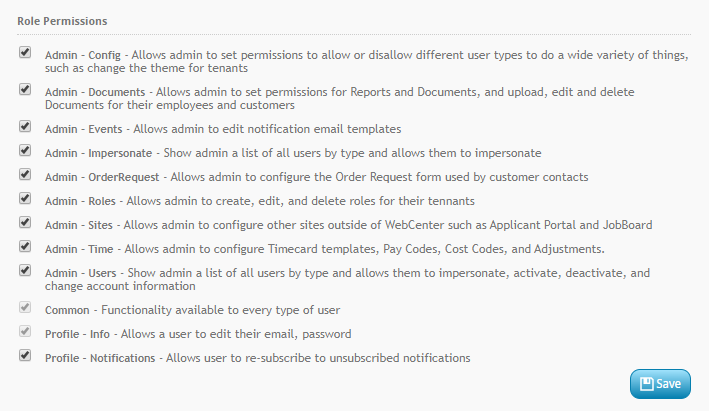
Administrator WebCenter Roles
You can also create different WebCenter roles to give your service reps different levels of access within WebCenter Admin.
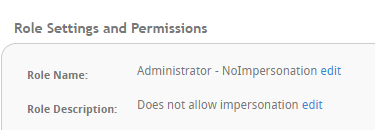
For example, if you have some users that you want to be able to update configurations but not be able to impersonate a user but then you have other users that need to be able to impersonate users for troubleshooting purposes, then you may need to set up different levels of access.
To Create a New Role
- Navigate to the Roles tab in WebCenter Admin
- Select Service Rep

- Click on the default role already in your system
- Select the Copy button to the right

- Enter a Role Name and Description of when this role should be used
- Select the Role Permissions by checking the boxes or unselect the boxes to remove those permissions from this role
- Select Save


Changing a Service Rep's Role
Service Rep's Web User accounts are managed in Enterprise Administration. Navigate to All Options > Administration > Service Rep and select the Web User tab at the top.
For more information, check out Managing Service Rep Web User Accounts.