Overview
*Note* TempWorks does not officially support Apple Computers as a preferred device when accessing Enterprise.
If you want to log into Enterprise on an Apple Computer, you will need to set up the Windows App on your device.
Login Requirements
In order to log into Enterprise from a Mac, you will need to have the following:
- Your computer is running Mac OSX 10.13 or newer with a 64 bit processor
- You know your TempWorks issued login
- You know your TempWorks issued server address (apps-mac.ontempworks.com)
- You have the official "Windows App" application installed from the App Store: https://itunes.apple.com/us/app/microsoft-remote-desktop/id1295203466?mt=12
- You have been granted "Enterprise Access" within Bridge
*Note* For more information on granting users' "Enterprise Access" within Bridge, please see the article titled Managing Users in Bridge.
How to Set Up the Windows App
The first time you open the Windows App, you will need to set it up to log into TempWorks Enterprise.
*Note* If you have not installed the Windows App, you will need to do that first.
Please note that the Windows App is a different application than the older Microsoft Remote Desktop Connection Client for Mac.
*Note* You must have your IP Address whitelisted by TempWorks Software before being able to access Enterprise on a Mac.
Find your IP address by navigating to the What Is My IP? website.
One you have your IP address, please contact TempWorks Support to complete the setup.
Setting Up Enterprise in the Windows App
The first time you download the application you will need to set up the application to connect to Enterprise.
- Once your download is complete, Open the Windows App either from Finder > Applications or from the launchpad
- Select the + button in the upper left and choose Add Workspace

- Enter the TempWorks URL: HTTPS://apps-mac.ontempworks.com
- Select "Add"
- Enter your TempWorks Credentials provided by your admin (don't forget to start with HOST\)
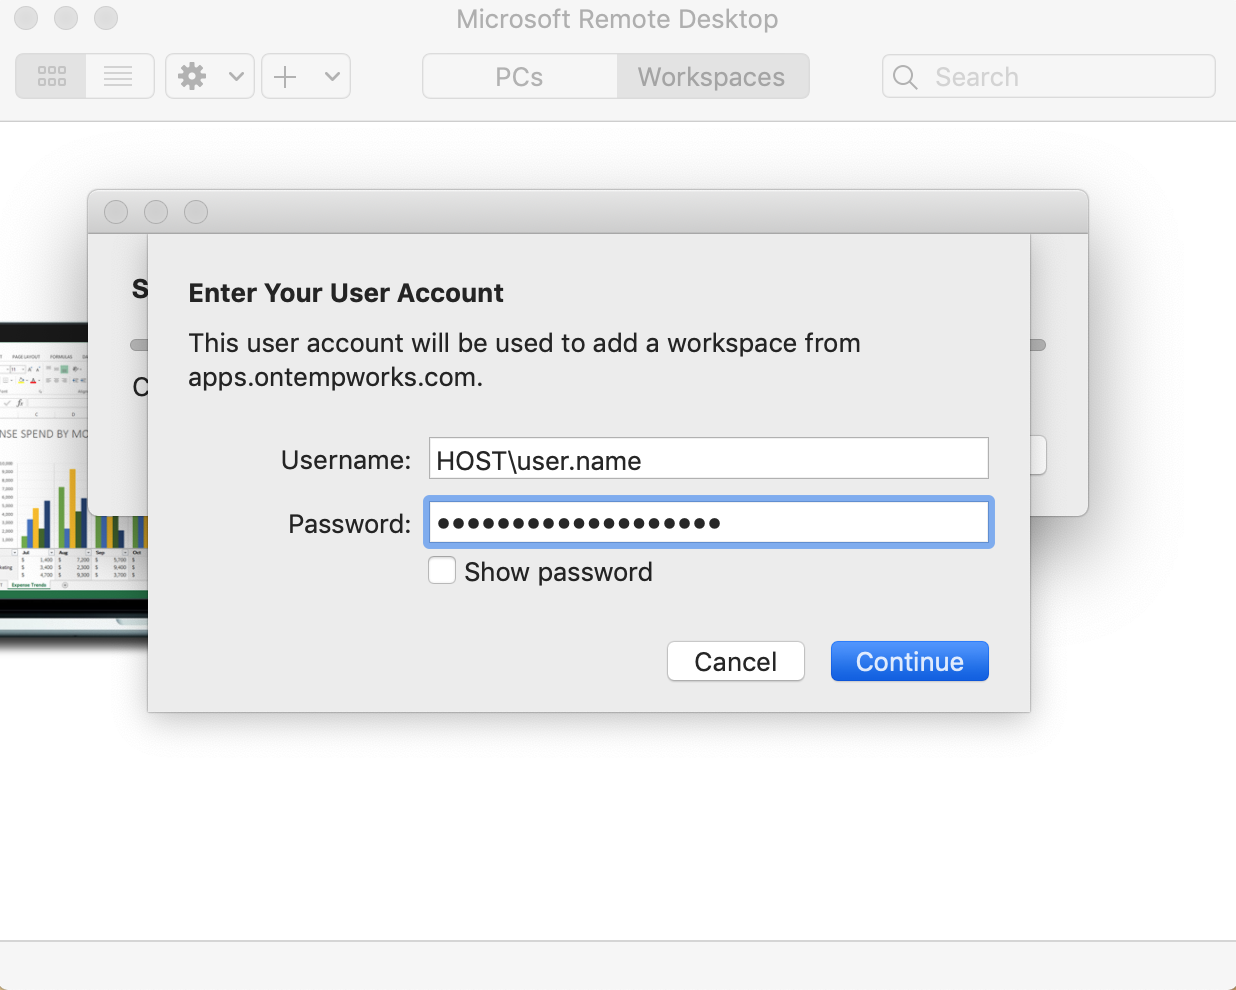
- Select Continue
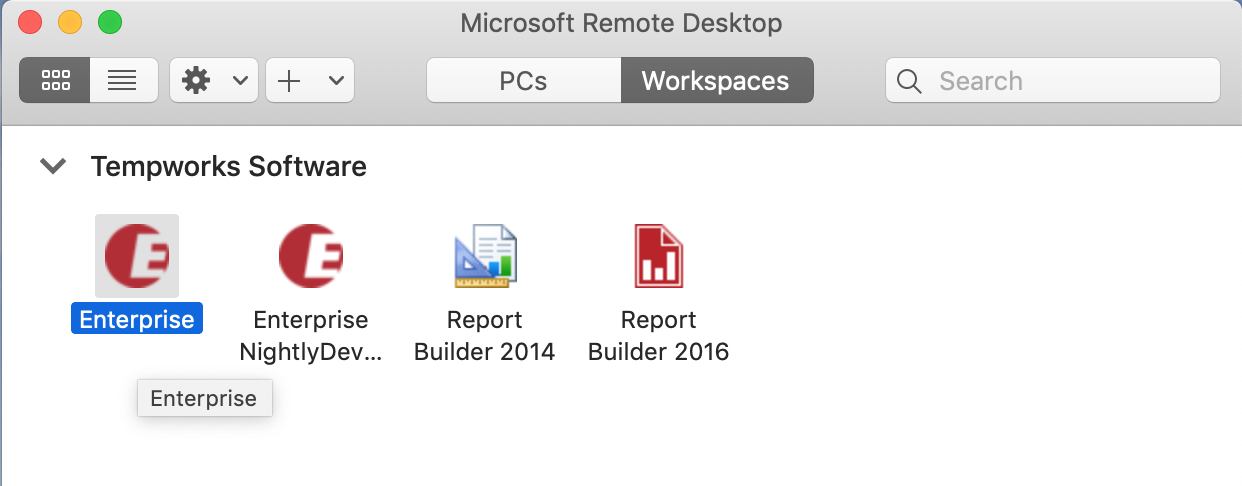
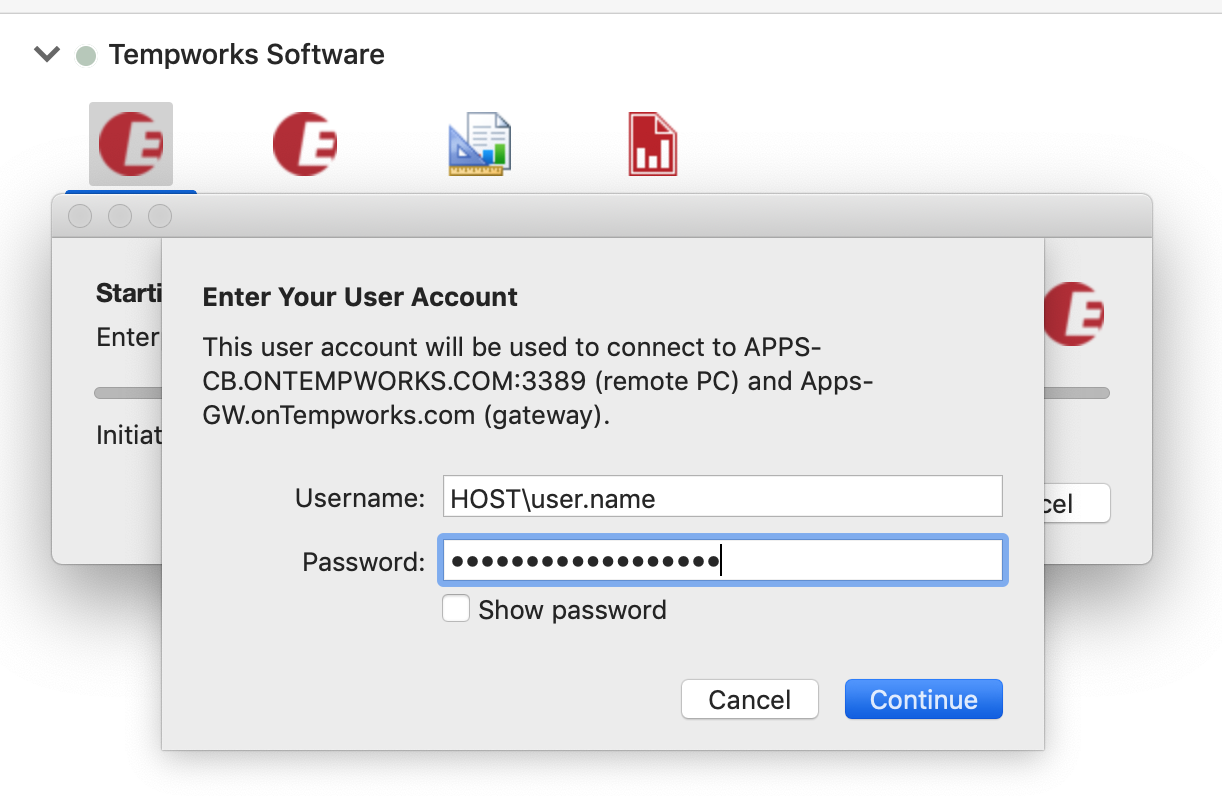
- Select the Enterprise Icon
- You may be asked to enter your credentials again
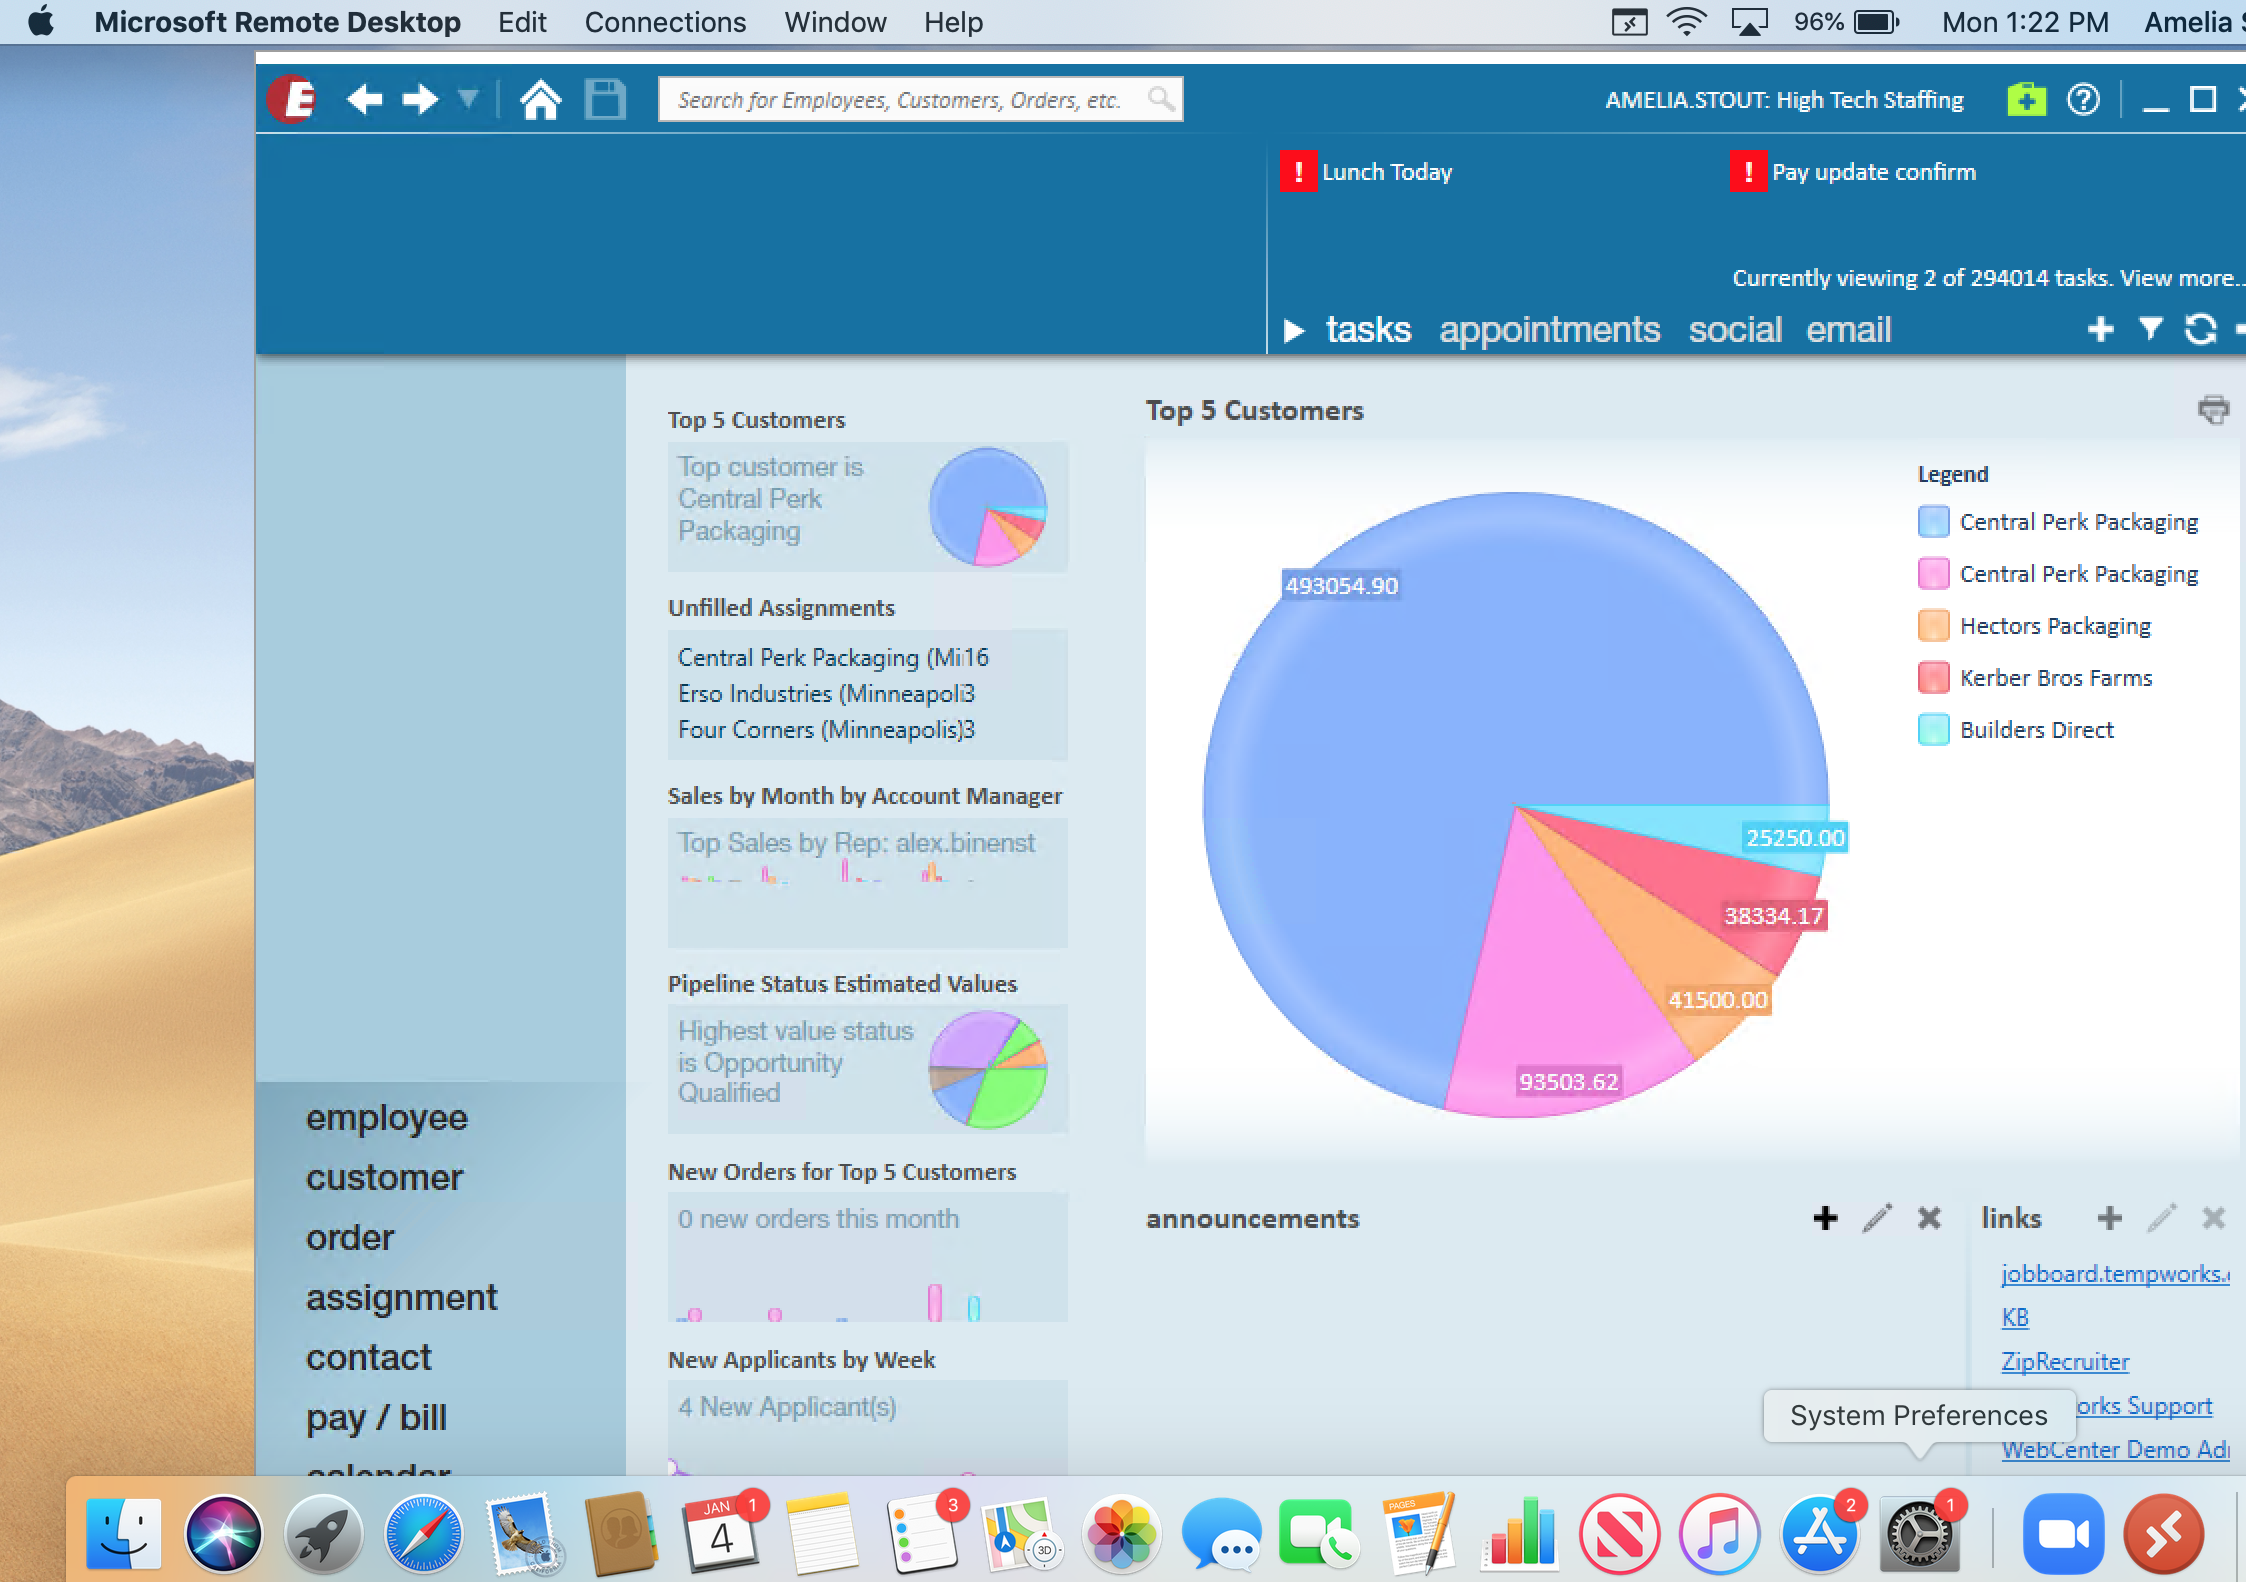
- Enterprise will open within the Windows App


Setting Up Document Access
The following instructions can be found within the Windows App article from Microsoft.
You can make local folders available in a remote session, which is known as folder redirection. This means you can open files from and save files to your Mac in your remote session. Folders can also be redirected as read-only. Redirected folders appear in the remote session as a network drive in File Explorer.
All remote sessions
To enable folder redirection for all remote sessions:
- Open "Windows App".
- From the macOS menu bar, select "Windows App", then select "Settings".
- Select the "General" tab, then for "If folder redirection is enabled for RDP files or managed resources, redirect:", select "Choose Folder"
- Navigate to the folder you want to be available in all your remote sessions, then select "Choose".
- Optional: if you want to make this folder available as read-only, check the box "Redirect as read-only".
Each remote device
To enable folder redirection for each device individually:
- Open "Windows App", select "Devices", then find the device you want to configure redirection settings for.
- Select the "..." on the card of the device, then select "Edit".
- Check the box for "Use custom settings".
- Note that this check box isn't applicable for remote PCs.
- On the "Folders" tab, check the box "Redirect folders", then select the "+" icon.
- Navigate to the folder you want to be available when accessing this remote resource, then select "Open". You can add multiple folders by repeating the previous step and this step.
- Optional: if you want to make this folder available as read-only, check the relevant box in the "Read-only" column.
- Select "Save".
Logging In After Setup
Once you have completed the setup steps above, when you want to log in, use the following steps:
- Open the Windows App either from Finder > Applications or from the launchpad
- Select Workspaces
- Select Enterprise

- You may be prompted to enter your TempWorks Username and Password

*Note* For further help from Microsoft regarding the Windows App, please see the following article: https://docs.microsoft.com/en-us/windows-server/remote/remote-desktop-services/clients/remote-desktop-mac.