Why Do We Need to Create Timecards?
At the start of each week, after the last processing week has been closed, you will need to create timecard for this new week. If you have an assignment that was added late, or a closed assignment that has a late timecard, you may need to also create a new timecard for this particular assignment.
This Article Covers:
- What Creates a Timecard
- How to Create Timecards En Masse
- How to Create Timecards from Assignments
Section 1: What Creates a Timecard
There are 3 reason with important information that are needed in order to create a timecard in enterprise:
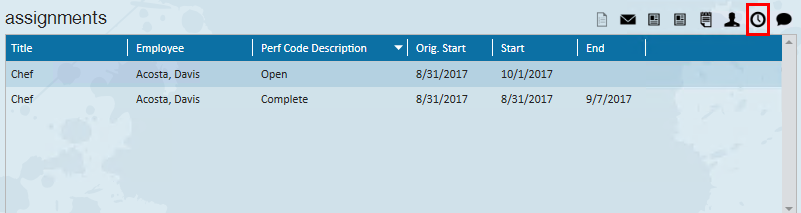
1. Status of an Assignment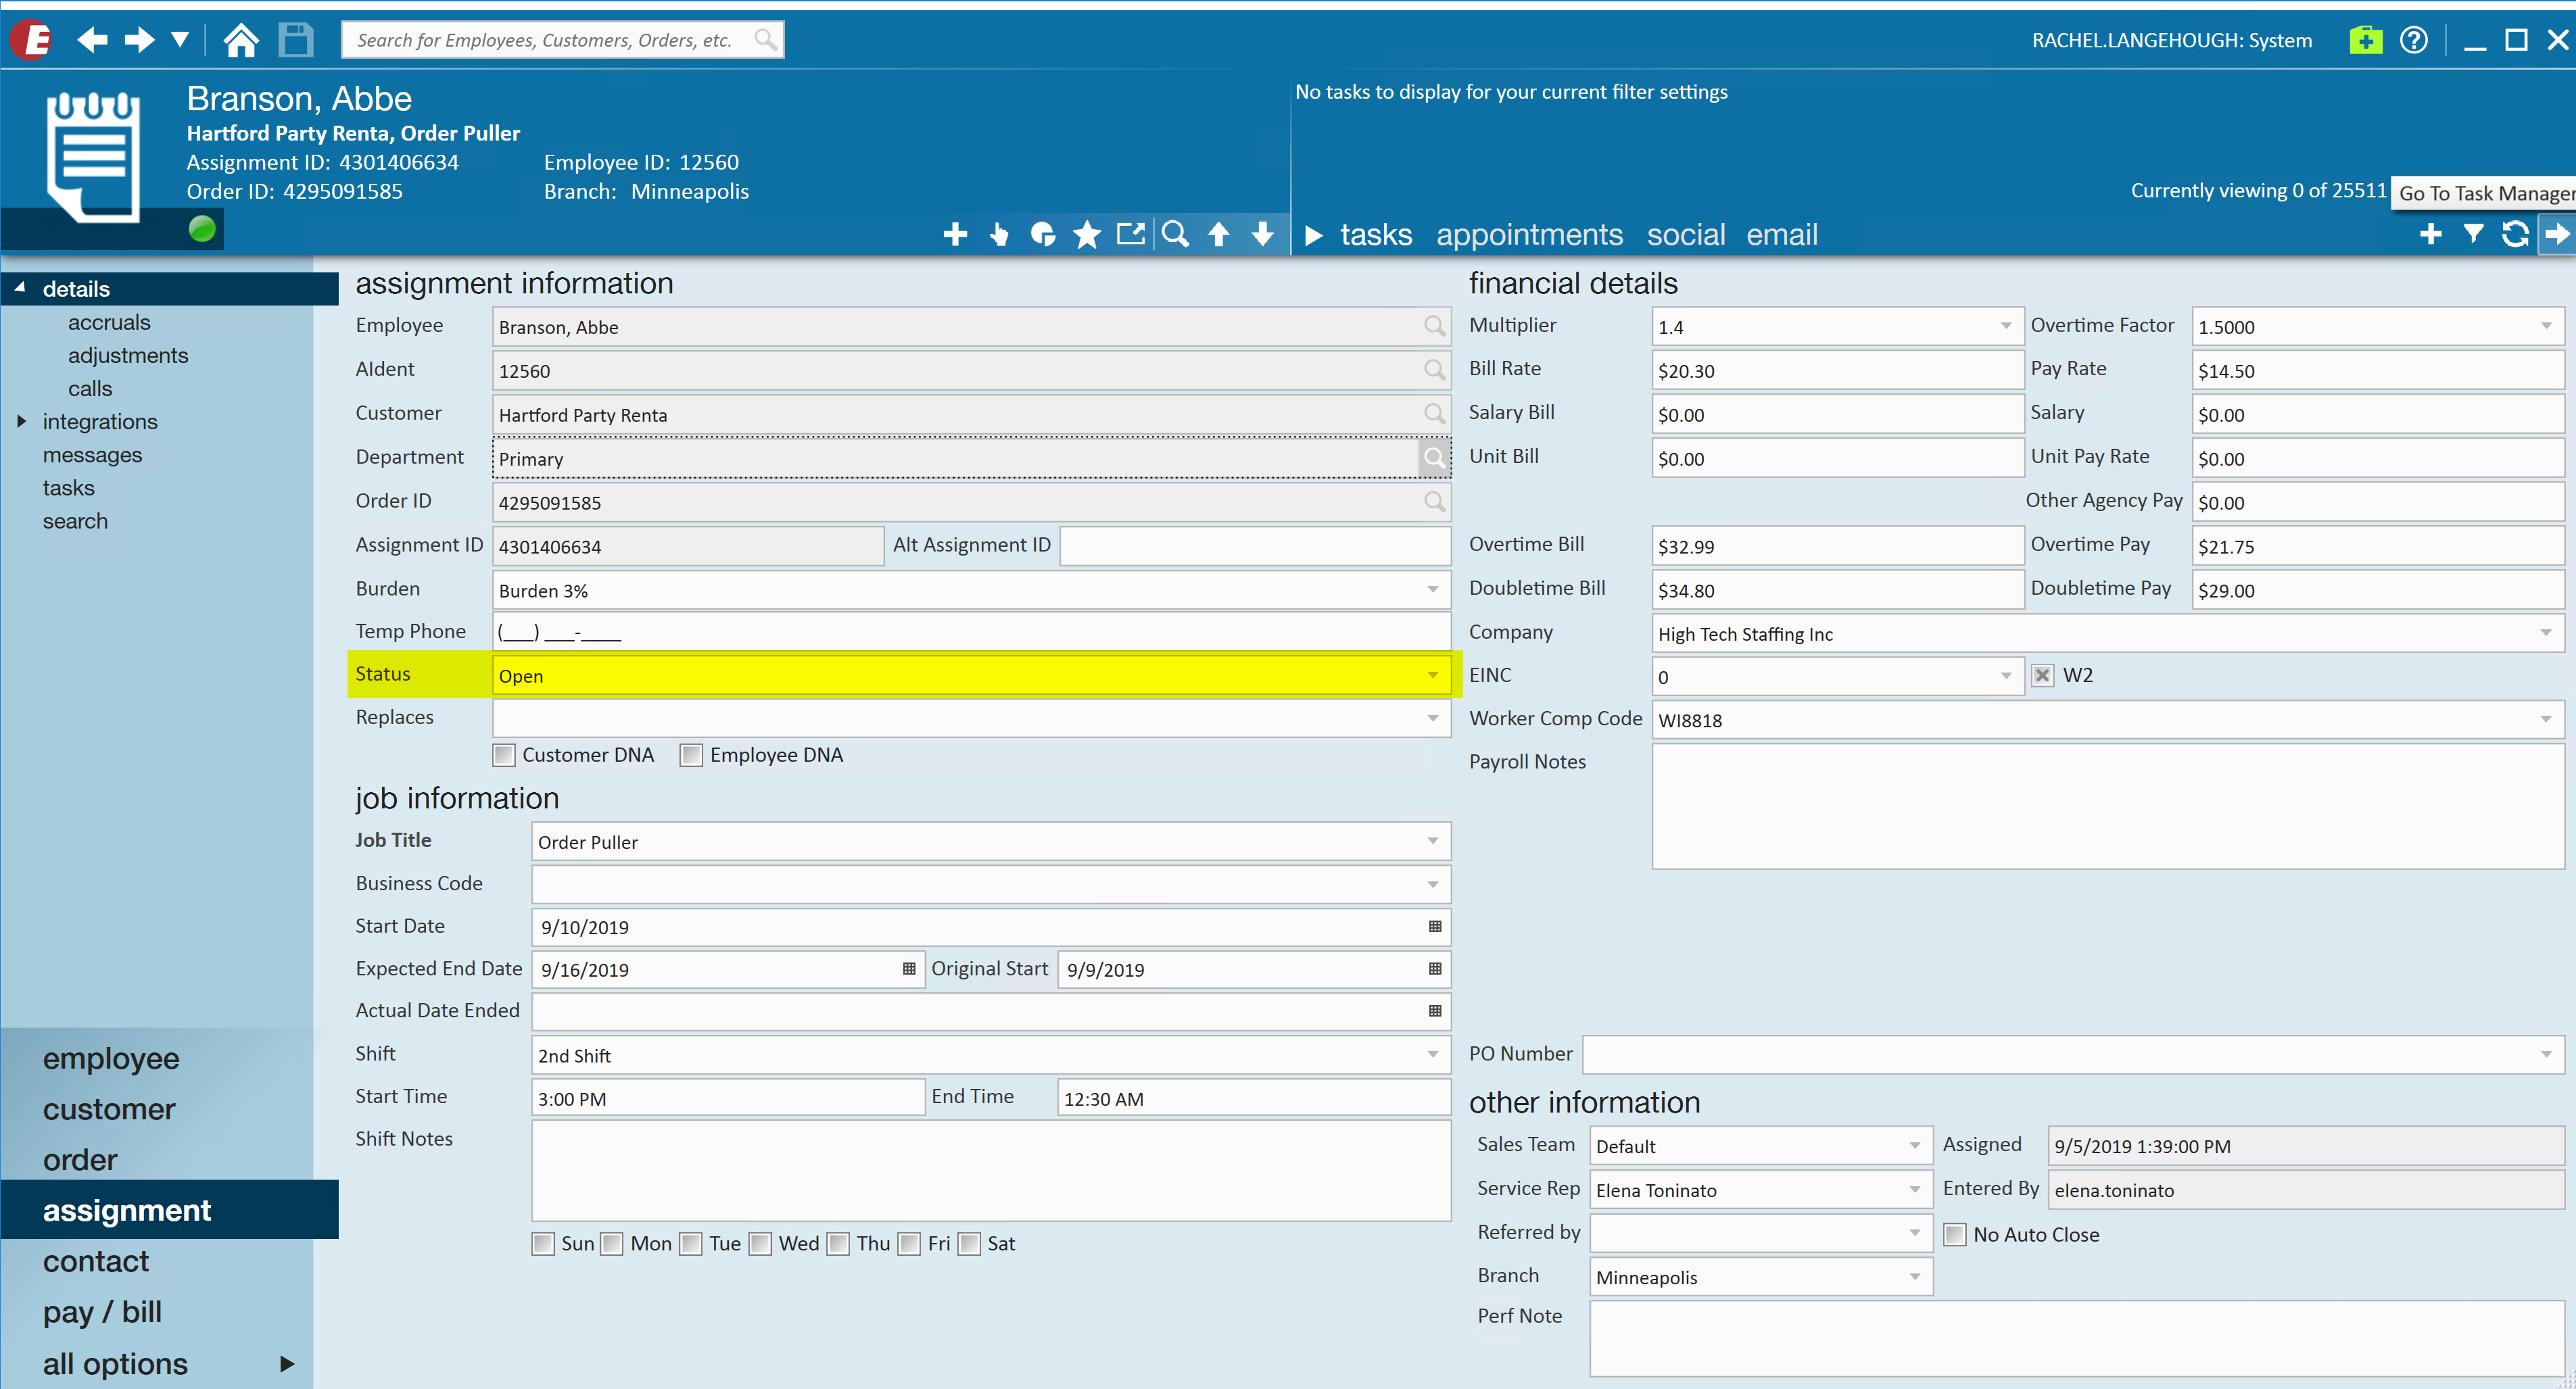 The status of the assignment needs to be active/open during the "Current Weekend Bill" date that is being processed for payroll.
2. Start Date of Assignment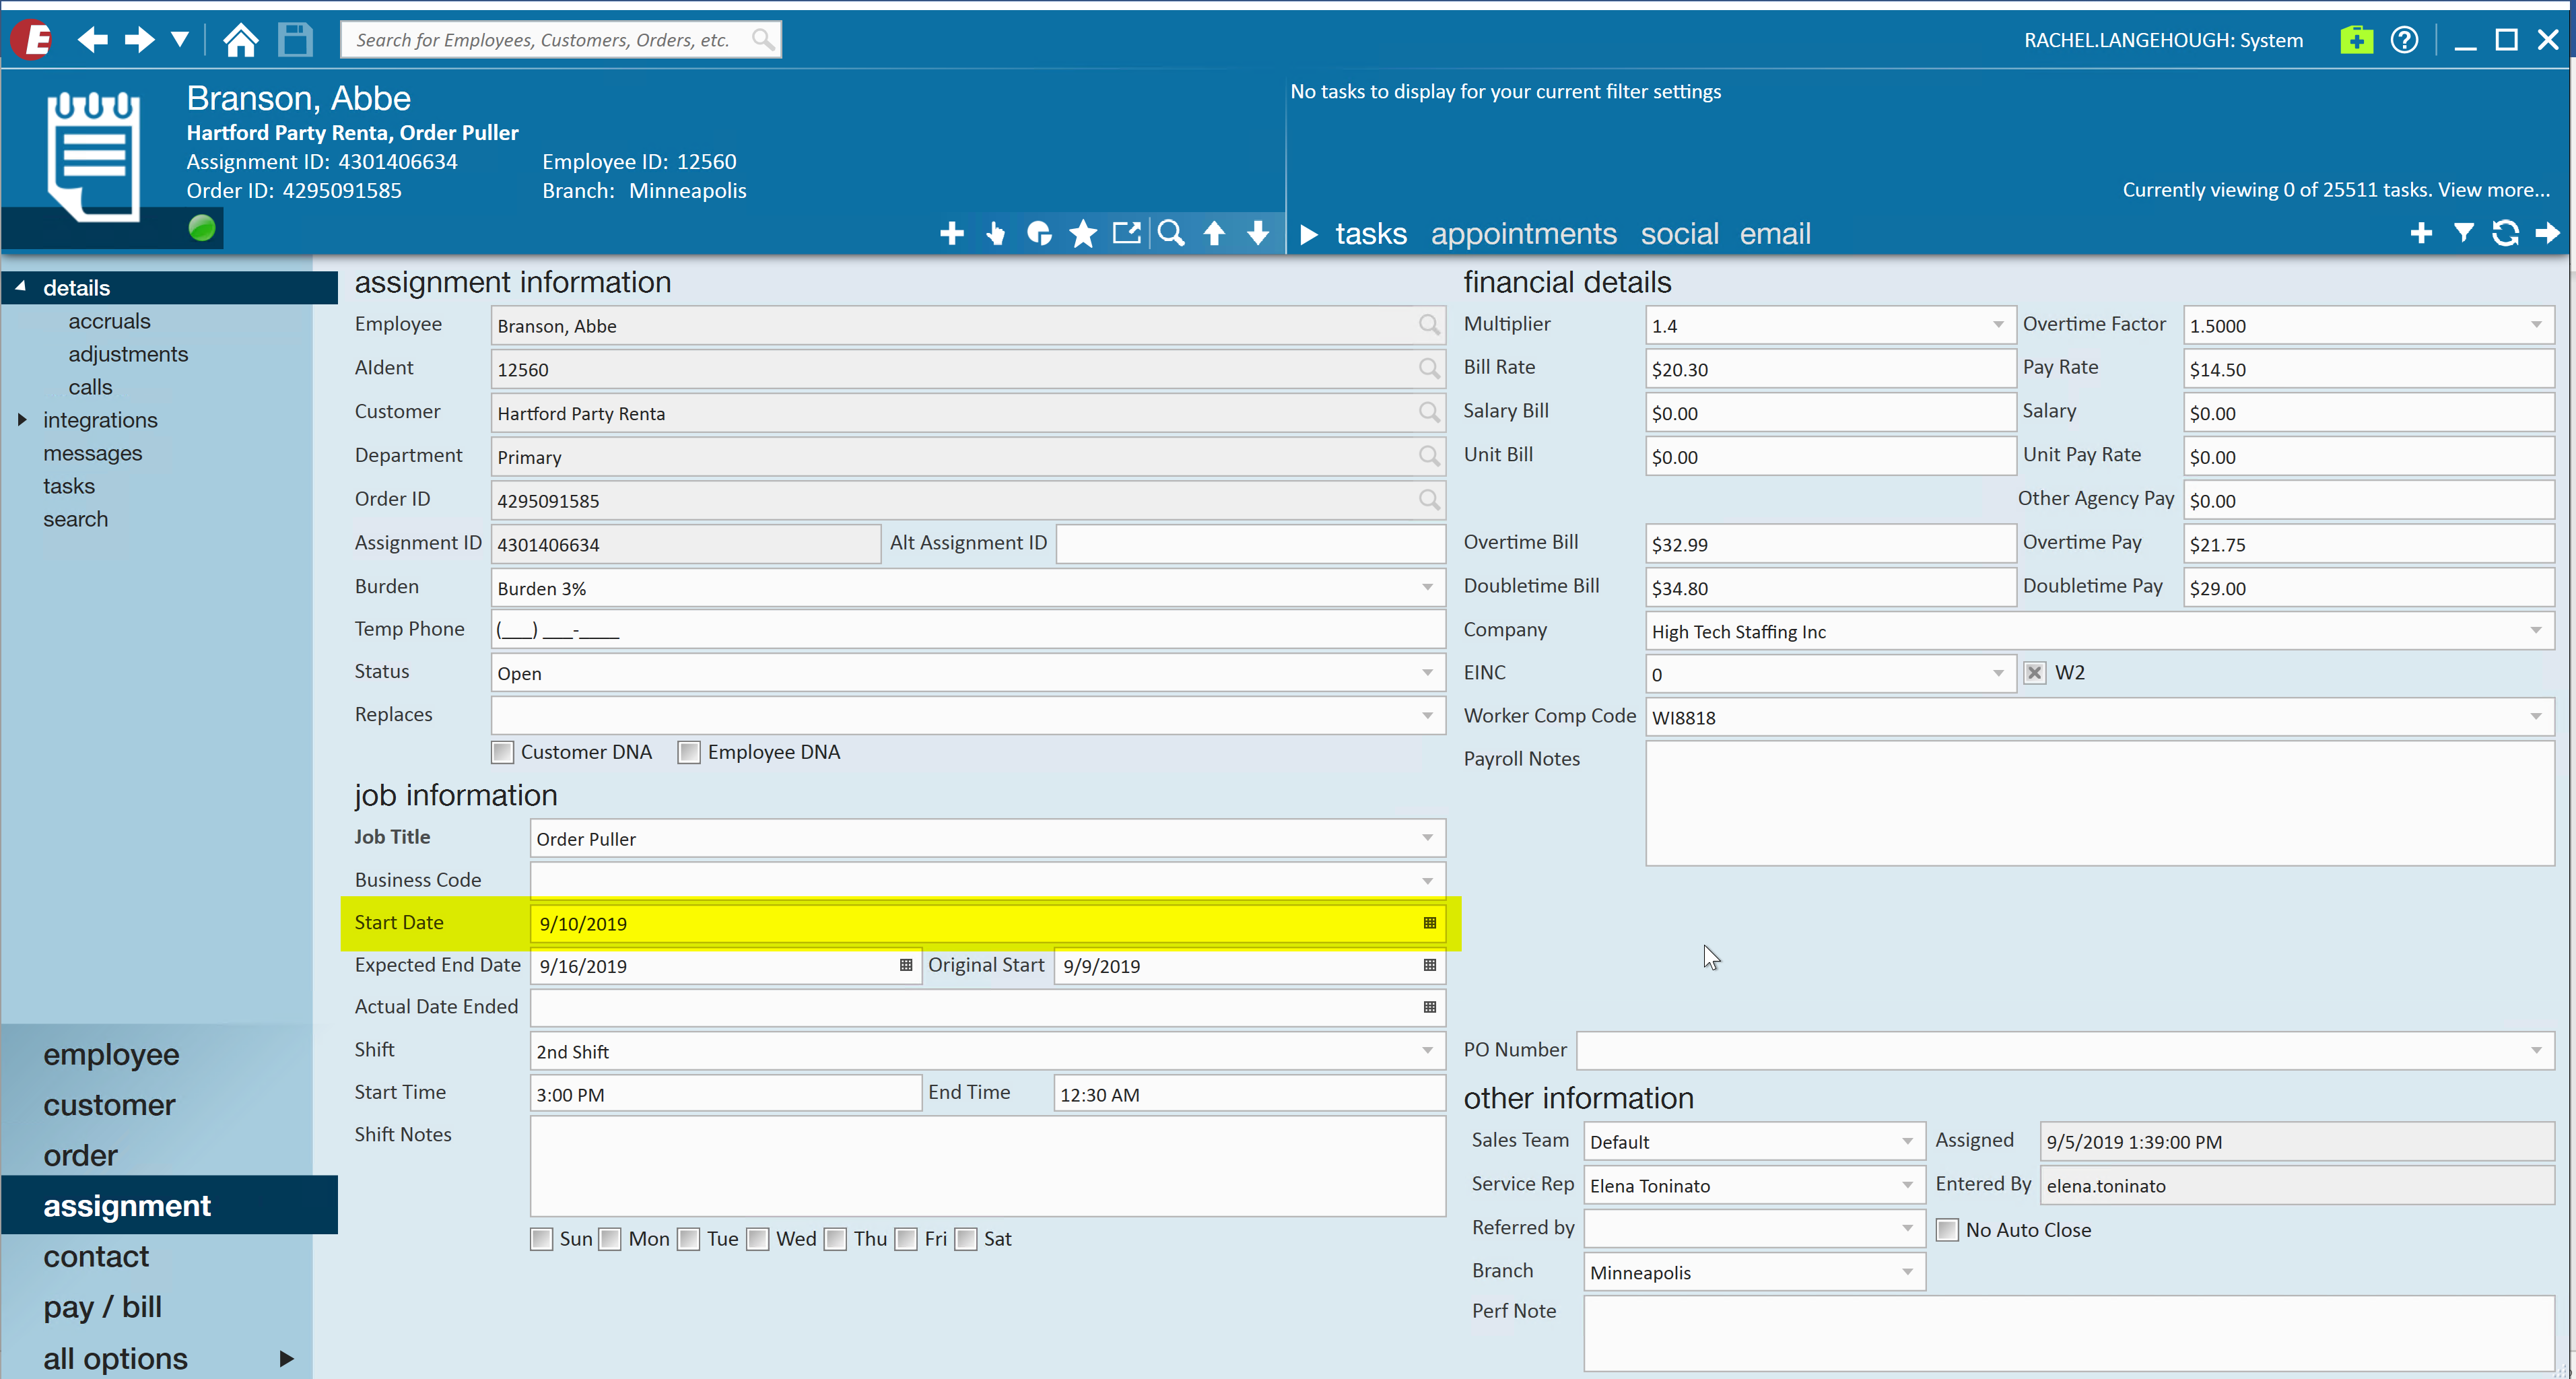 The start date of the assignment needs to during or before the current the "Current Weekend Bill" date that is being processed for payroll.
3. Actual End Date of Assignment 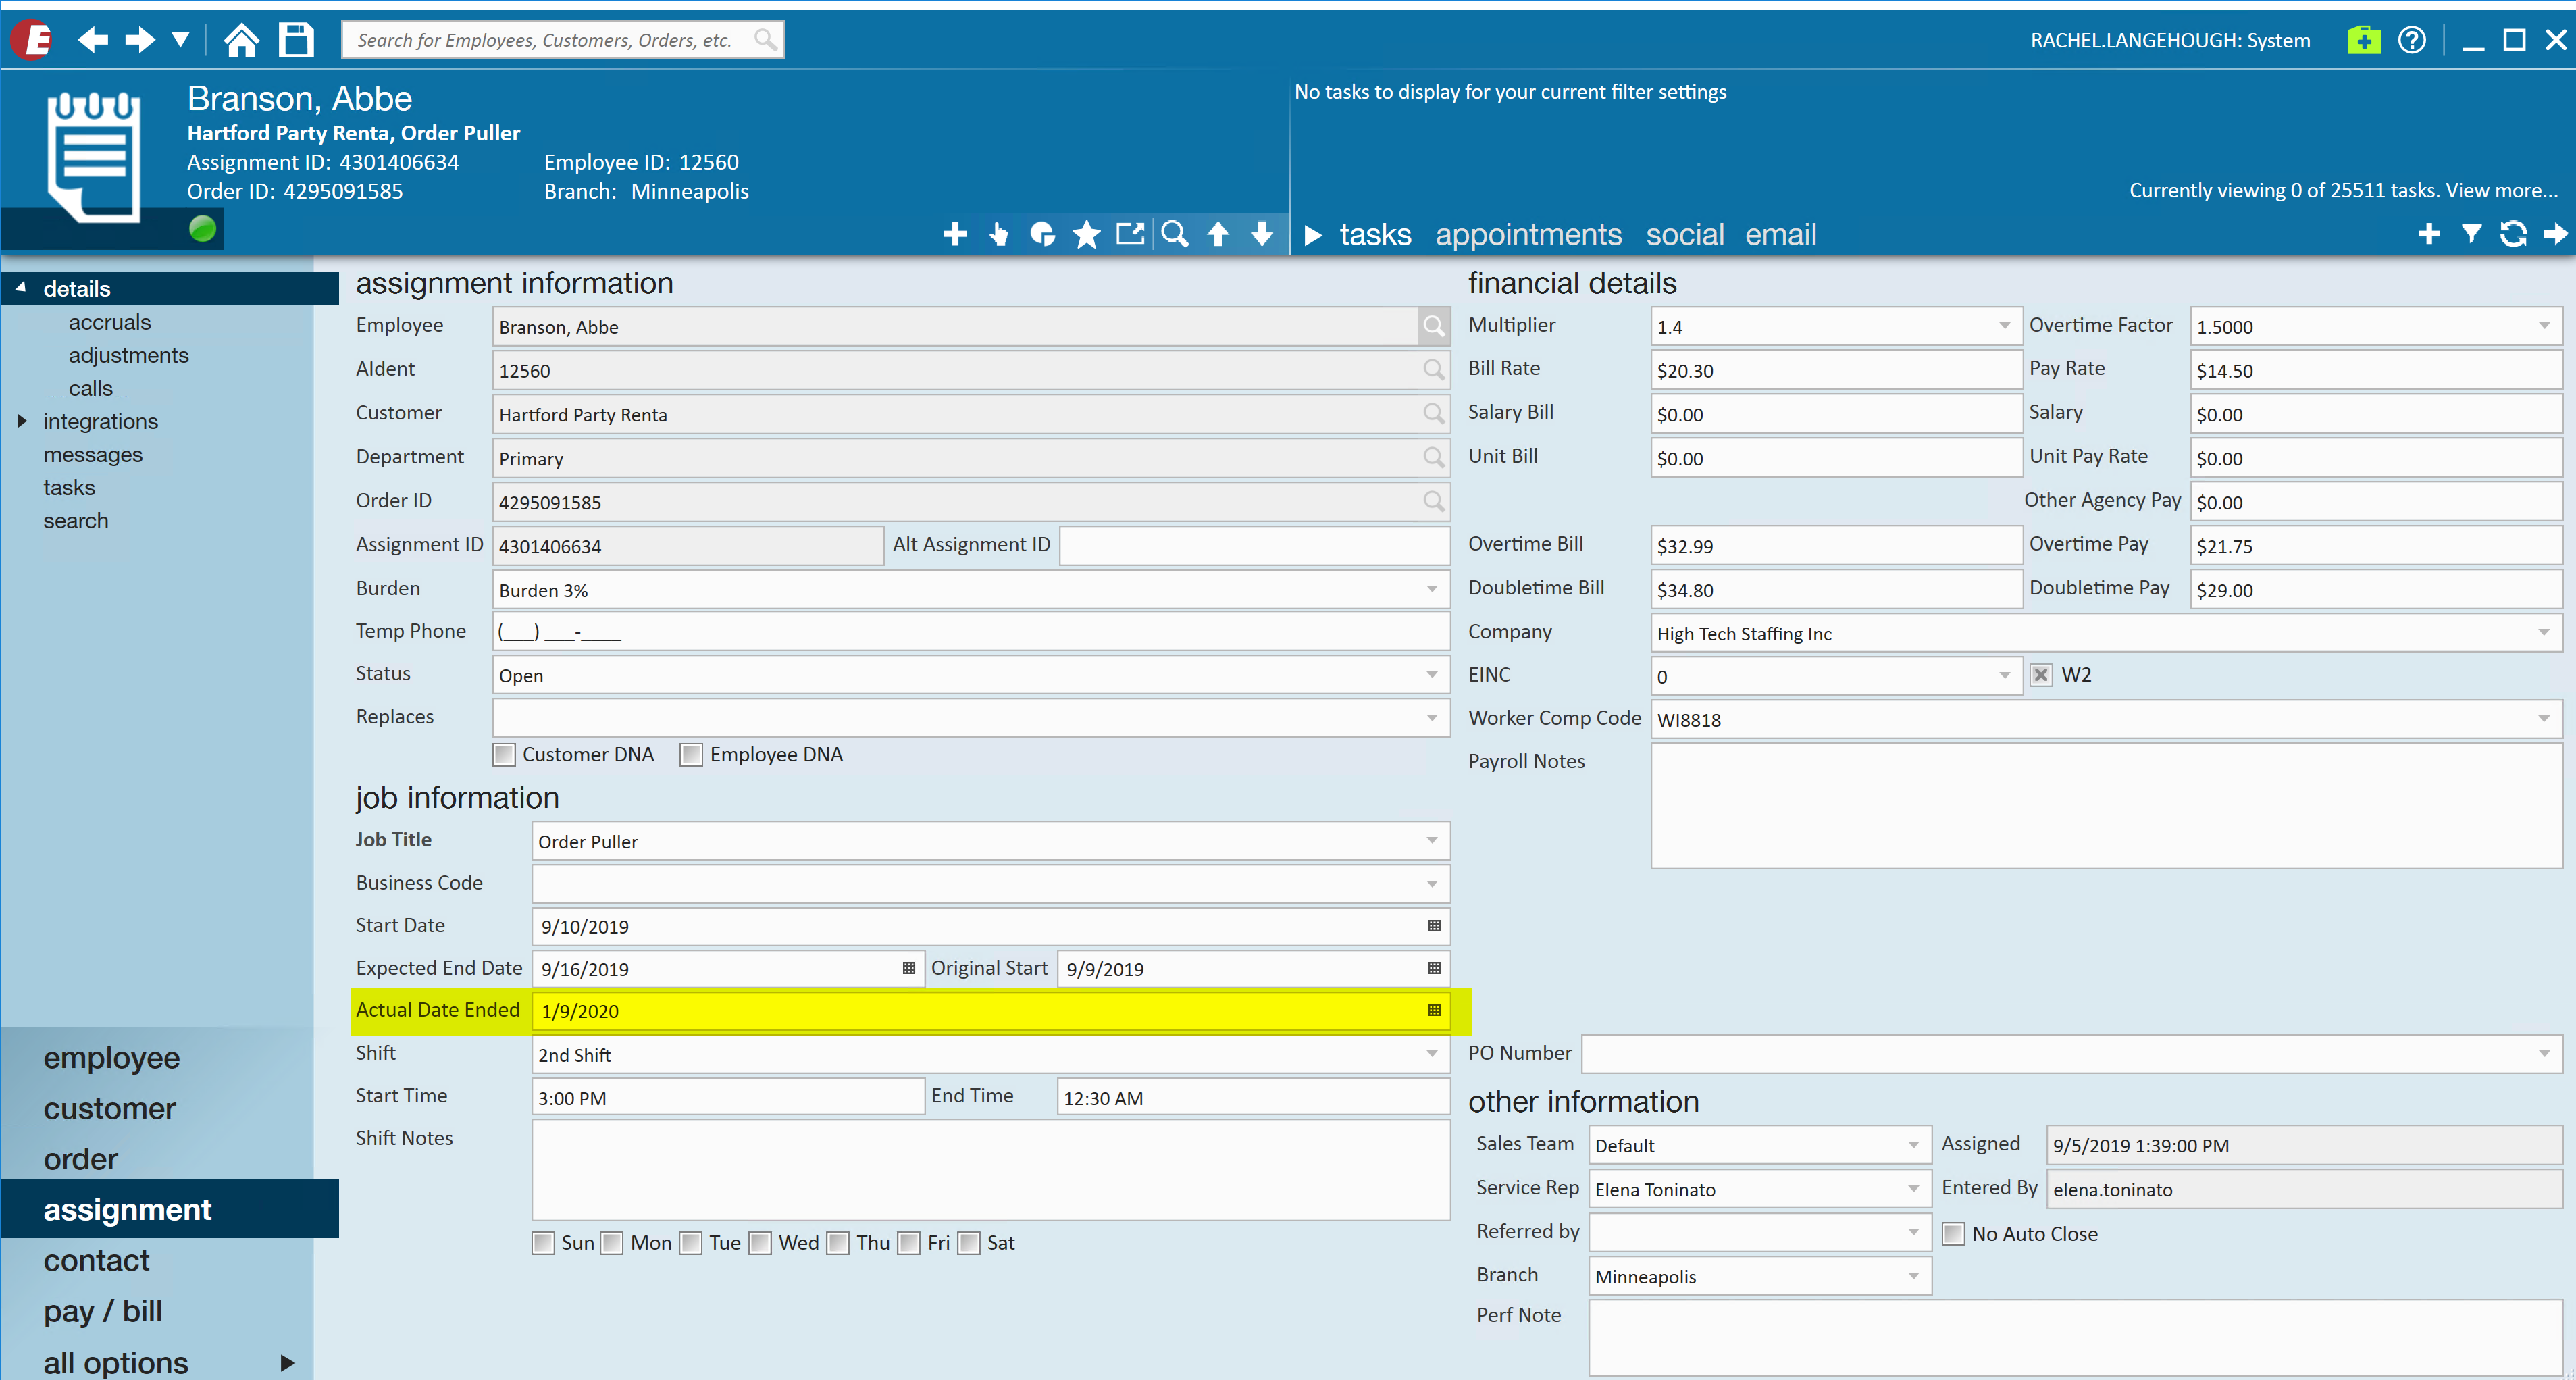 Actual End Date has to be within the "Current Weekend Bill" date being processed (Weekend Bill Date – 6 days), in the future, or empty indicating the assignment is ongoing.
Section 2: How to Create Timecards en Masse
Note that timecards are created for assignments that are/were active within the current bill date range.
Navigate to the pay/bill tab on the left-hand side of Enterprise and select timecards. Select "Create Timecard From Assignment" and then navigate to time entry.
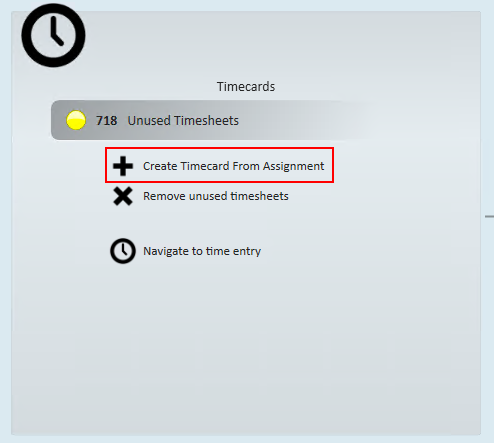
*Note* This will not generate a time card for any assignment that already has a time card for the current weekend bill date. It will also not create a time card for an assignment that was already processed for this weekend bill date. If needed a time card can be "forced" following the instructions documented below.
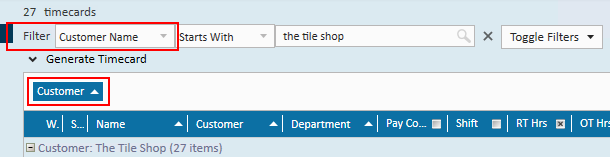
From here, you are able to sort your timecards in various ways. For example, if you are creating timecards en masse by customer, drag and release the column header "Customer" to the white space above and filter "Customer Name" to search for a specific client.
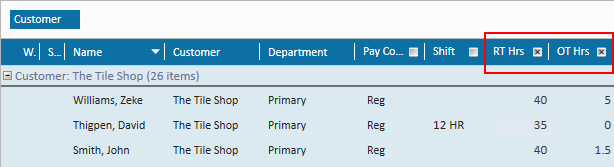
For efficient time entry, use tab stops to enter in hours for each employee. To do this, mark the check box next to each column you would like time entered for, enter the hours starting in the first row, then select tab to jump to the next column to continue entering hours.
*Note* You are able to add various column types by right clicking on the screen and selecting the appropriate time entry type you need.
Once you've completed entering in each employee's time, save your work. This will claim all timecards entered (a pencil icon will appear under the status column to the left). You are now ready to proof your timecards.
Section 3: How to Manually Create Timecards
In some cases the need to manually create timecards may arise, If a time card needs to be created you may "force a timecard" into existence. This will ignore the normal restrictions on allowing a time card to be created.
From the assignment record:
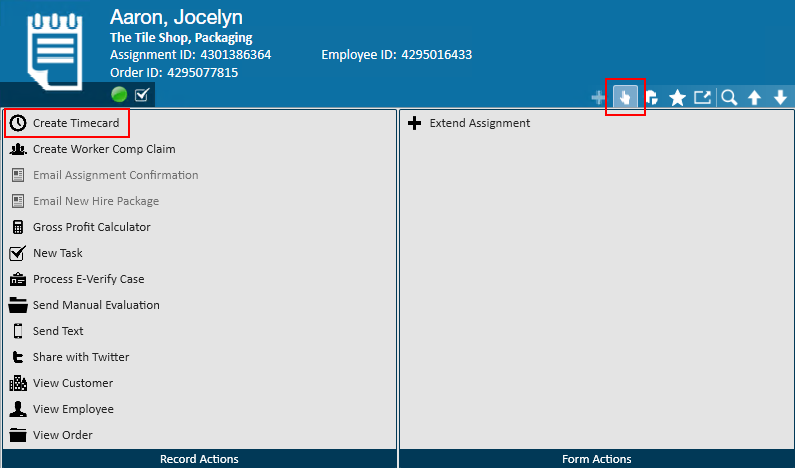
Navigate to the assignment record you are creating an employee's timecard for. From the actions menu, select "Create Timecard."
From the time entry tab in pay/bill, search for the specific timecard created and enter time as specified in Section 1.
*Note* Timecards will be created based off the users current hierarchy.
From the employee record:
Navigate to the employee's record. From their visifile, select the assignment in which you are creating the timecard for and select 'Create Timecard From Assignment' icon from the top right hand side of this section.

From the time entry tab in pay/bill, search for the specific timecard created and enter time as specified in Section 1.
*Note* This option also works for assignments that are late or have ended. For help on how to enter late assignments visit our Knowledge Base article: How to Enter Late Time and How to Enter Time.
From the Order record:
Navigate to the order's record. From their visifile, select the assignment in which you are creating the timecard for and select 'Create Timecard From Assignment' icon from the top right hand side of this section.