Emailing Invoices
Customer records in Enterprise can be set up to receive printed invoices, emailed invoices, or both. This article reviews how to setup your system to email invoices and provides an overview on how the email invoice process works.
Article Contents:
Setting up your System
Before you can begin emailing invoices, the following items need to be setup first:
- Ensure that a mass mailer is set up. This will allow invoices to be emailed out from your system en masse. For more information on setting up a mass mailer: Mass Emailer SMTP Setup.
- Set up an email template for invoices sent out via email.
- Set up the customer record invoice preferences with email options
- Select Invoice Recipients
Setting up an Email Template
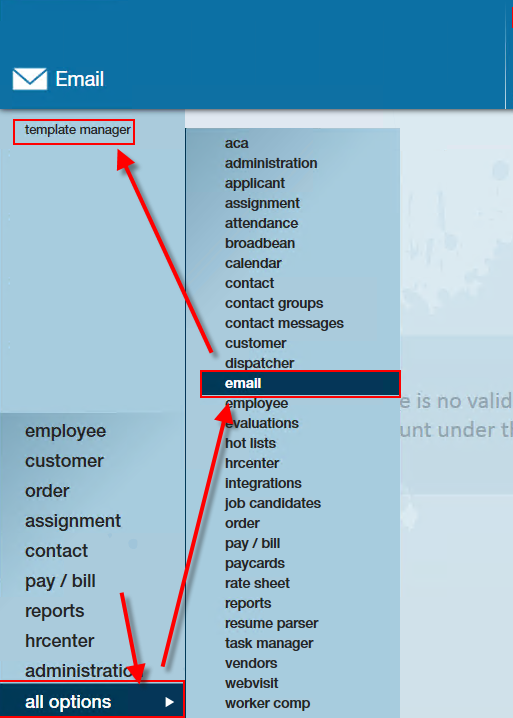
Users can setup a myriad of invoice email templates by navigating to 'all options' in the navigation tree. Then select 'email' and then 'template manager':
The template manager will display all of the templates that are available in your system. For more information about email templates: How to Set up and Utilize Email Templates.
Consider why you are setting up your invoice template. Do you need more than one? For example, if one customer requests very specific information in their invoice email, a custom template could be designed for them. Perhaps you would like to use a different template per branch. The possibilities are endless!
Customer Record Setup
If you intend on emailing invoices to your customer on a regular basis, it is crucial that their customer record is setup accordingly.
To do this, navigate to 'invoice setup,' then 'billing setup':

From the section titled 'invoicing,' select an invoice method that includes "email." In the example below, the service rep has selected "Print and Email":
Next, specify which email template you would like to send to the customer. Remember, all of the options listed in the drop-down correspond with the templates you designed in our first step outlined above:

If you would like a specific email to be CC'd on all invoices for a customer, the 'CC: Email Address' field may be used. For example, perhaps you want all of the new customer's emails to also be sent directly to a branch manager for the first several weeks:

Invoice Recipients
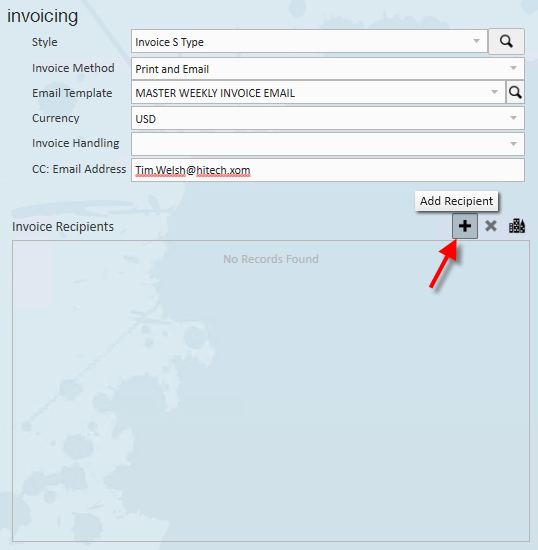
In order for emails to be sent out, at least one invoice recipient must be set on the customer's record. Multiple recipients can be set to receive the same invoices for a customer record. In order to add an invoice recipient, a contact record for that recipient must exist.
To add a recipient, select the '+' icon:
This will open the 'add invoice recipient' window. Select a contact from the recipient drop-down window:

If the contact has multiple email addresses, select the email address you wish to send invoices to under the contact method drop-down. Additionally, new contact methods can be added with the '+' icon.
After selecting the appropriate email, you must then select the format the invoice will be in when it is sent to the contact:
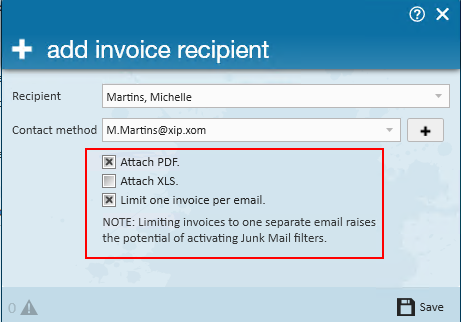 Contacts can be individually setup to receive PDF, XLS, or both formats. It is most common for a recipient to receive invoices as a PDF.
*Note* TimeCard images cannot be attached to the XLS invoices but will still be attached to the PDF format if both formats are selected on the invoice recipient.
Emailing Invoice Process
Customer records with an email option selected as their invoice method will have all emails pulled into an email invoice run. This is a separate step after the invoice run and must be done manually.
This can be illustrated in two simple steps:
The Invoice Run
After completing an invoice run within pay/bill, invoices will be displayed in the 'view invoices' step. From here, continue on to the 'Print' step by selecting 'Next>':

If there are no printable invoices in the run, such as customers which are set up to receive their invoices as 'Email Only,' you will be able to post the invoices and mark the run as completed.

If there are printable invoices in the run, such as customers which are set up to receive emailed invoices or the run has a mix of invoices from customers set up in differing ways, the run should be printed. This will print invoices that need to be printed but not print those that don't need printing (email only).

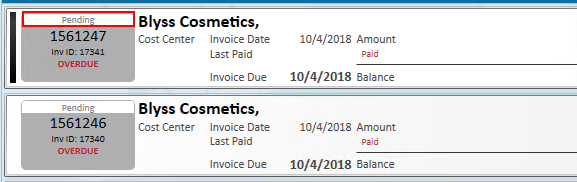
*Note* Invoices that have been posted and did not print where the customers are marked as 'print and email' still need to be or printed or they will be considered pending invoices:
Email Invoices
Once invoices have been created, users are able to create an invoice email run. This will send predetermined email templates with the invoices attached to customers who have elected for this.
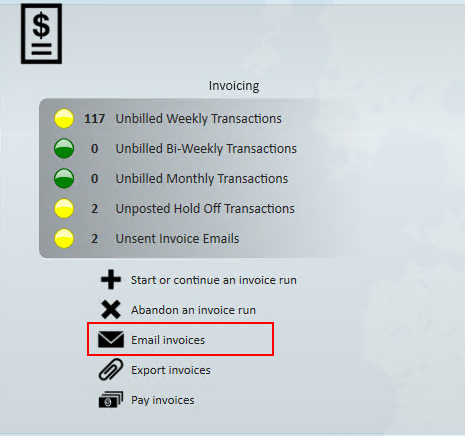
To do this, start by expanding the invoicing box in pay/bill and select 'Email Invoices':
 This will open the 'invoicing' wizard. The steps below highlight the process.
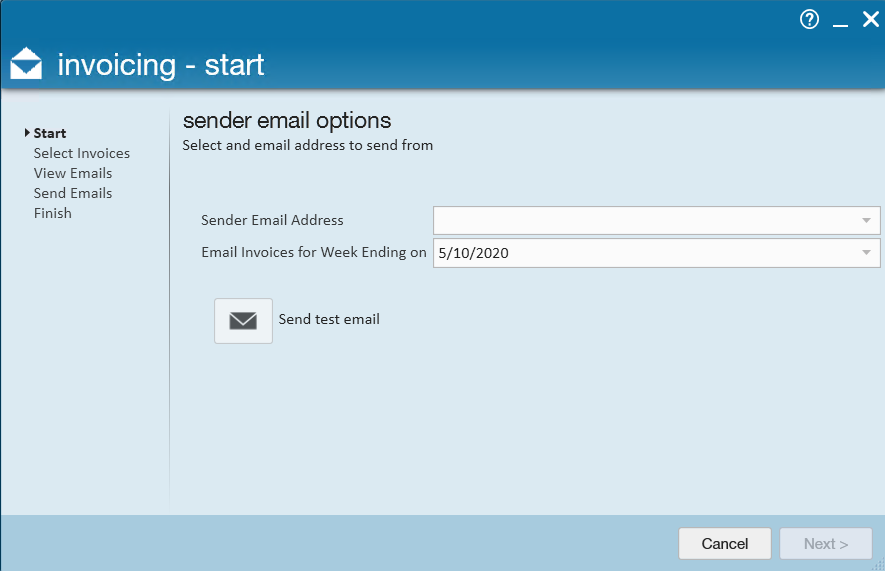
Step 1: Fill out the sender email options
- Choose your sender address.
- This drop-down will be populated by your mass mailing options set up in your system.
- Select the weekend bill date you would like to pull invoices from.
*Note* Invoices that are to be emailed are not required to be sent before closing your pay/bill week.

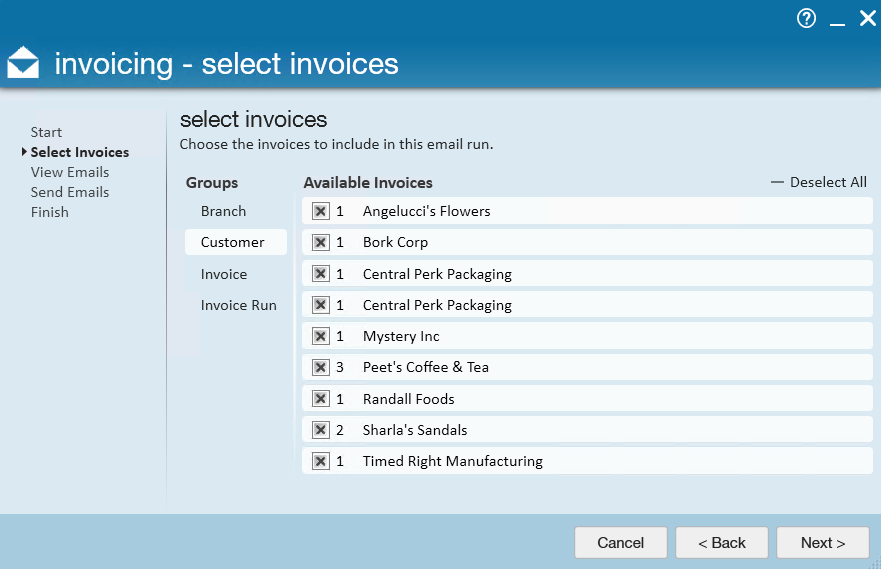
Step 2: Select the invoices you would like to send. This can be filtered by a variety of groups so users can choose to email invoices by Branch, Customer, etc.

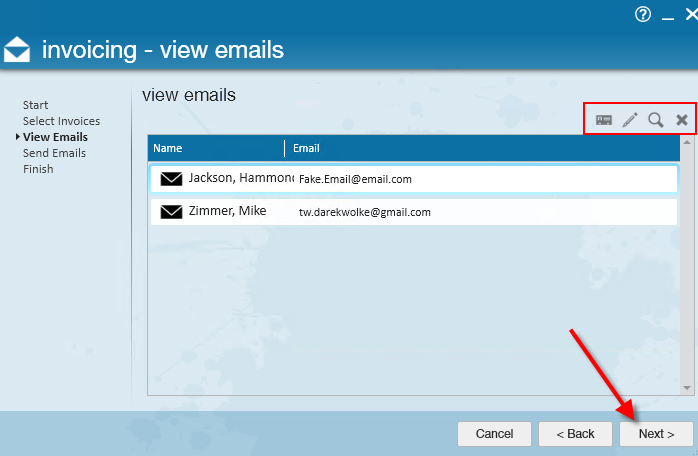
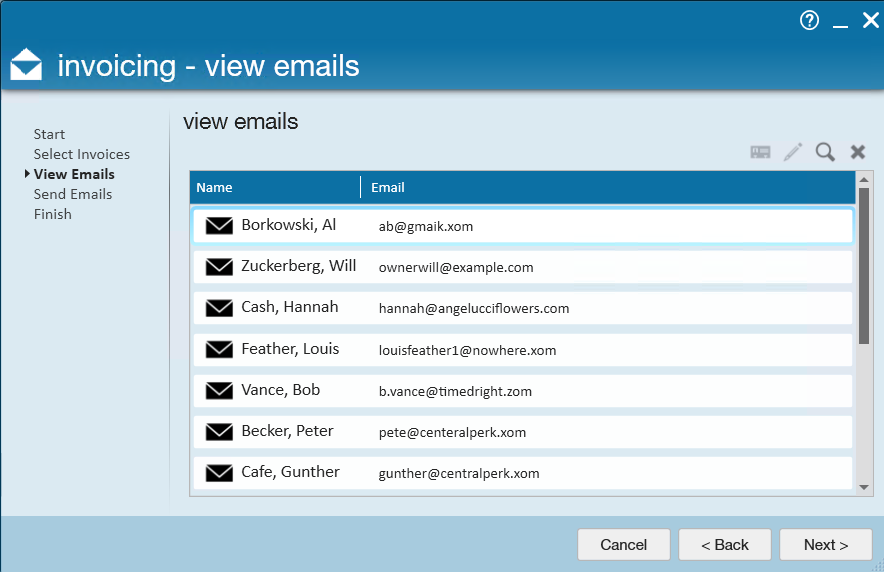
Step 3: Review emails to be sent
The 'view emails' step allows users to review the recipient's name and email address. From here, you can utilize the icons in the upper portion of the wizard to view a contact, edit contact details, preview the email, or remove the email.
Please note that you cannot edit the email body or template from here.
Each contact listed will receive the emails they are set to receive, thus you may see more than one contact from a customer represented:
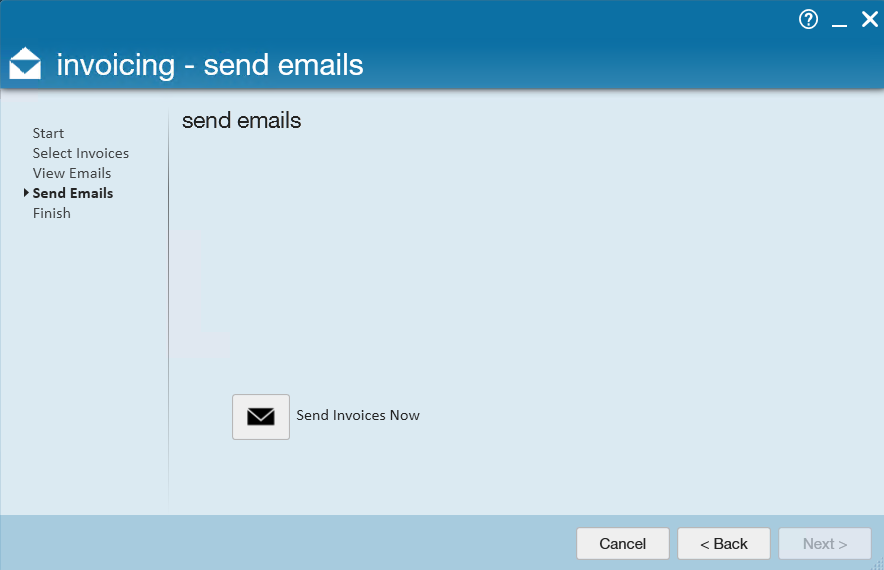
Step 4: Send the invoice emails with the click of a button:

Step 5: Click 'Finish' to close the wizard:

Removing Invoices from an Email Run
If desired an individual invoice can be removed from an email run by marking it as do not email.
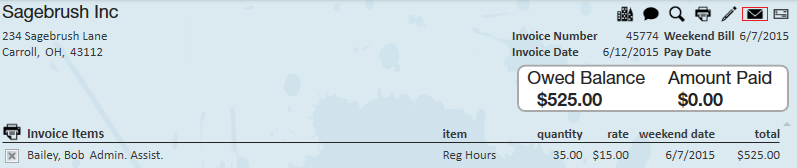
To accomplish this, locate the invoice in the 'invoice register'. Select the invoice to bring up the invoice detail page: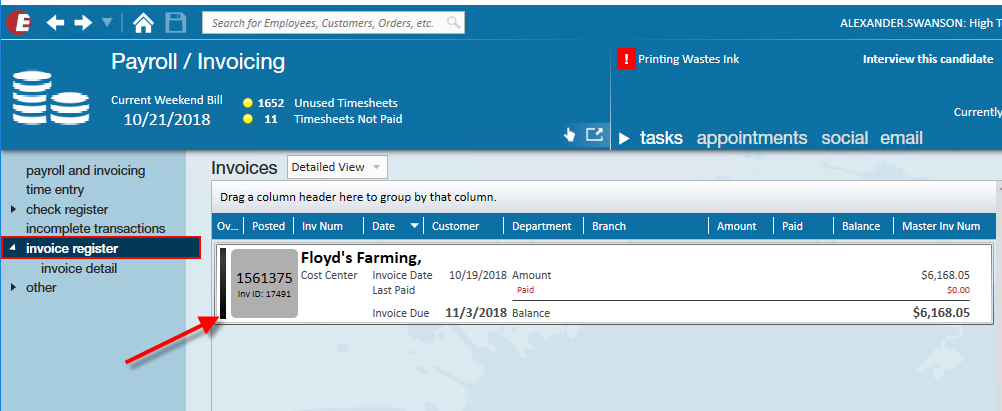
From here open the actions menu, then locate the action 'Mark as Do Not Email':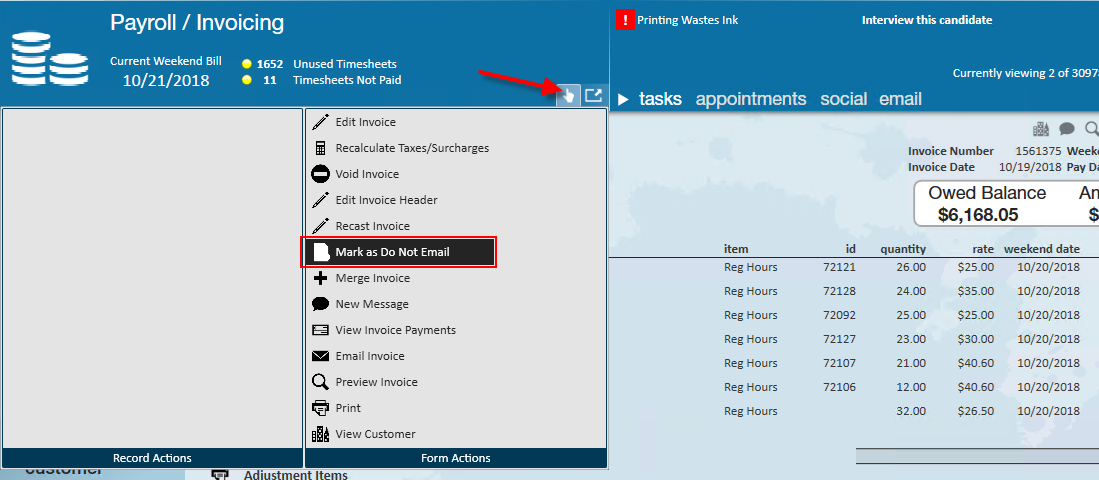
Once this has been done a warning will appear informing you of your action, invoices marked as such will now need to be manually printed or emailed to be given to your customers: 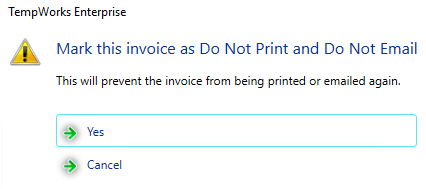
Emailing Invoices Individually
If you would like to send another copy of an invoice or email an invoice individually you can do so from the invoice details screen.
- Navigate to the invoice details
- Either navigate to pay/bill > invoice register and double click the invoice you want to send
- OR navigate to customer record > invoice history and double click the invoice you want to send
- Select the envelope icon on the right
- Select sending details:
- CC/BCC additional invoice recipients
- Select email template
- Choose send
Once Emails Have Been Sent
Example of the email template versus the actual email received:
Template

Actual Email
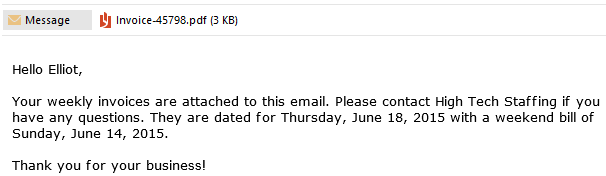
Every time an invoice is emailed out of Enterprise, a message is automatically logged on the recipient's record displaying the text of the email:

Reemail Invoices
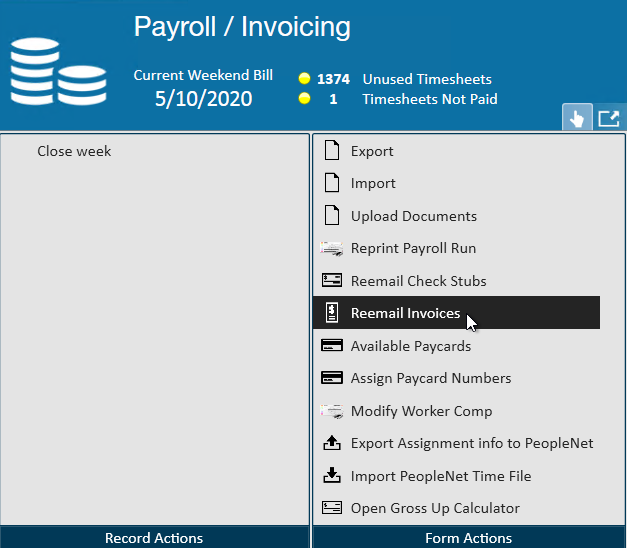
If you want to reemail invoices in mass, you can do so from the Pay/Bill action menu.
- Navigate to the pay/bill section
- Select the actions menu > Reemail Invoices
- Select the mass mailer you want to send the emails from
- Select the weekend date for the invoices
- Select Next
- Select invoices by customer, branch, invoice run, etc.
- Select Next
- Review the email addresses before selecting Next
- Click Send Invoices Now
- When the emails have been sent you will be able to close the window.


