What is the Vendor Portal?
The vendor portal in WebCenter is part of the TempWorks Vendor Module which allows your 3rd party staffing companies or "Subcontractors" to access important information including accepting order requests and submitting candidates.
There are lots of ways to customize your Vendor Portal in WebCenter. In this article, we will focus on how to get the Vendor Portal up and running for your Vendors.
For an overview on how the portal works, check out the following video:
Daily Webinar - The WebCenter Vendor Portal from TempWorks Training on Vimeo.
*Note* This article is designated for WebCenter Admins. If you are looking for instructions to send your Vendor Contacts, check out Vendor Portal Quickstart and all articles that start with "Vendor."
This article covers:
- Setting Up Vendor Roles
- Giving Vendor Contacts Access to the Vendor Portal
- Additional Configurations to Consider
Setting Up Vendor Roles
WebCenter roles give you the ability to customize what each Vendor contact will have access to in the Vendor Portal. It's important to review the role options before giving your vendors access to the web portal.
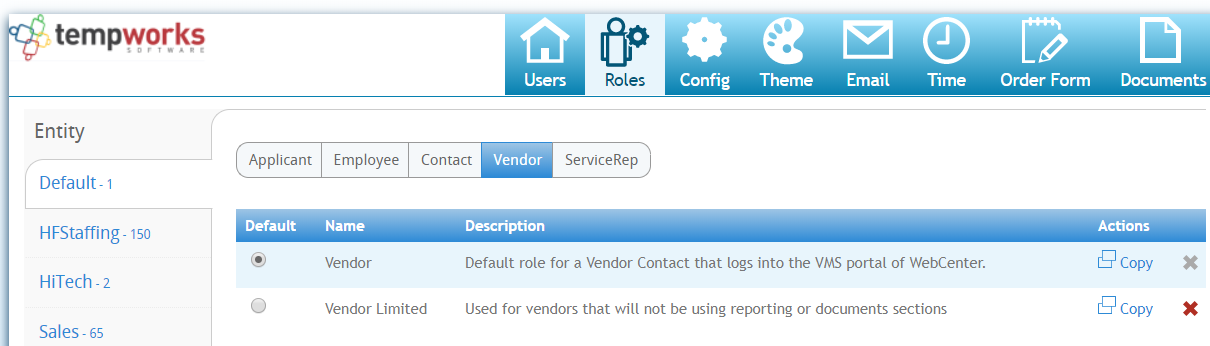
To Find Vendor Roles:
- In WebCenter Admin, Select the Roles Tab
- Choose the Vendor section
- A list of Roles will be available

To Create Your Own Role(s):
If you want to customize the vendor portal for different users, you can create your own vendor roles.
- Select the Copy option next to any existing role
- Update the name and description - this will be helpful when users are giving contacts access to the portal
- Check or Uncheck the different Role Permissions (check out more details on permissions below)
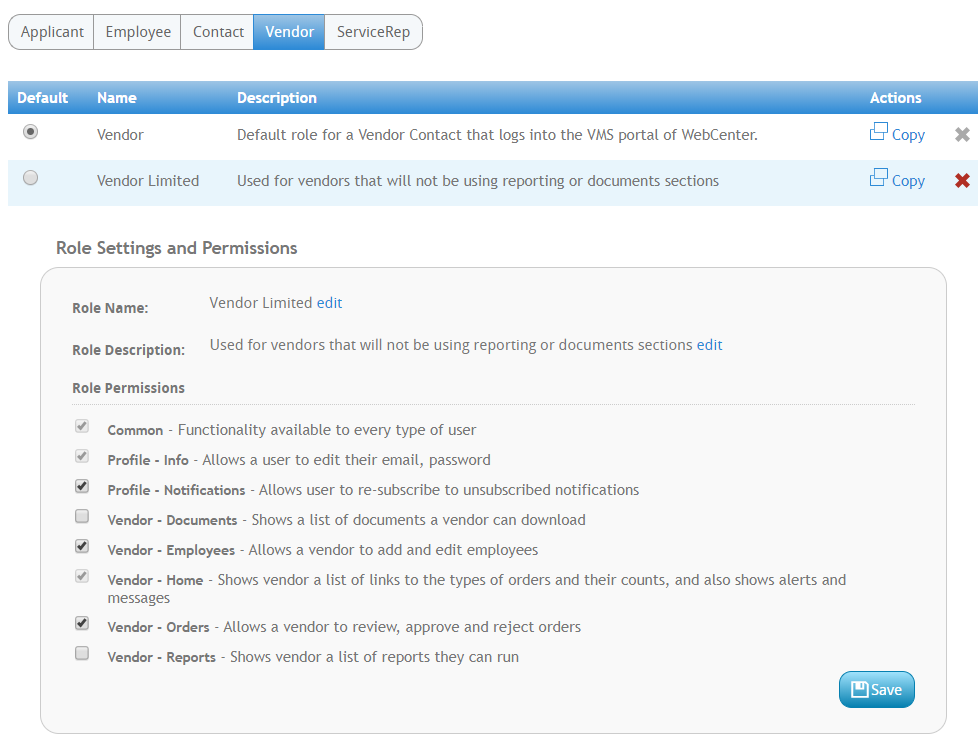
- Hit Save

Role Permissions Available:
A Role will give a specific set of permissions to the Vendor contact. Each Vendor contact can be assigned a different role depending on the access you want to give them. Below we will review the permissions available.
- Common: Needed to log into WebCenter (recommended for all users)
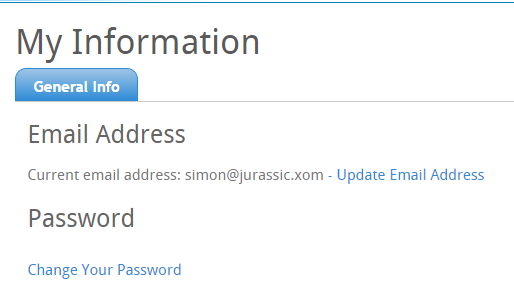
- Profile - Info: Will allow Vendors to edit their email and password in WebCenter (check out Vendor Portal Quickstart for more information)
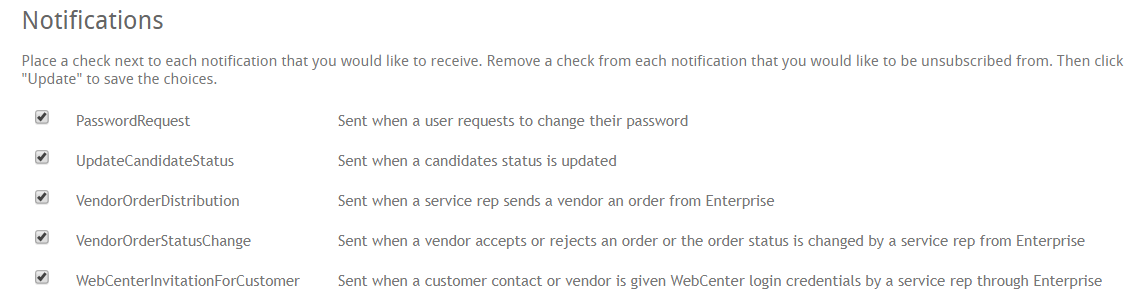
- Profile - Notifications: Will allow Vendors to edit their notification options (check out Vendor Portal Quickstart for more information)
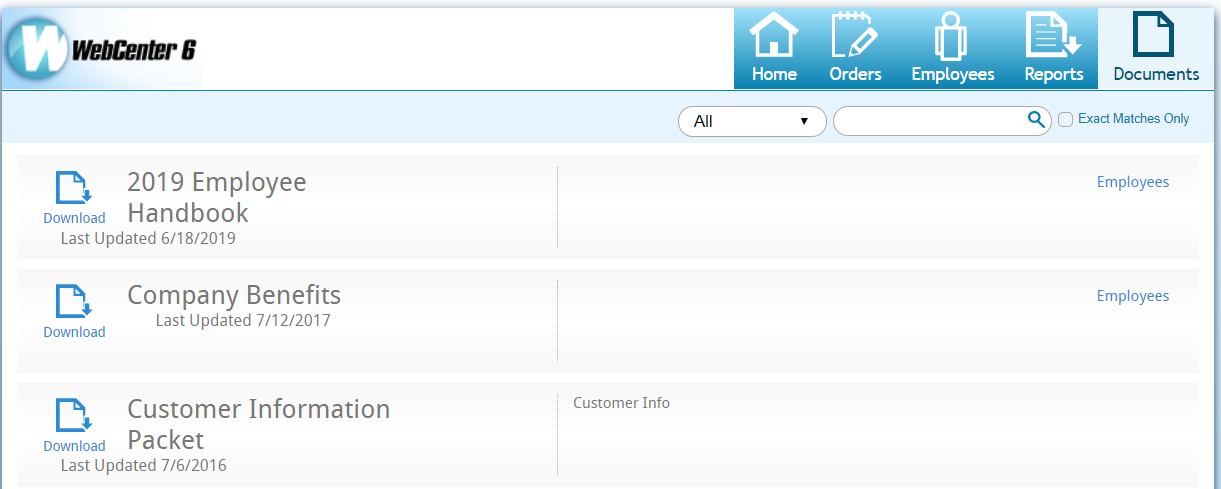
- Vendor - Documents: Will show Vendors the Documents tab where you can save documents such as a manual, contract information, forms, etc. for the vendor to have access to. (Check out WebCenter Admin - How to Add Documents to Portals for more information)
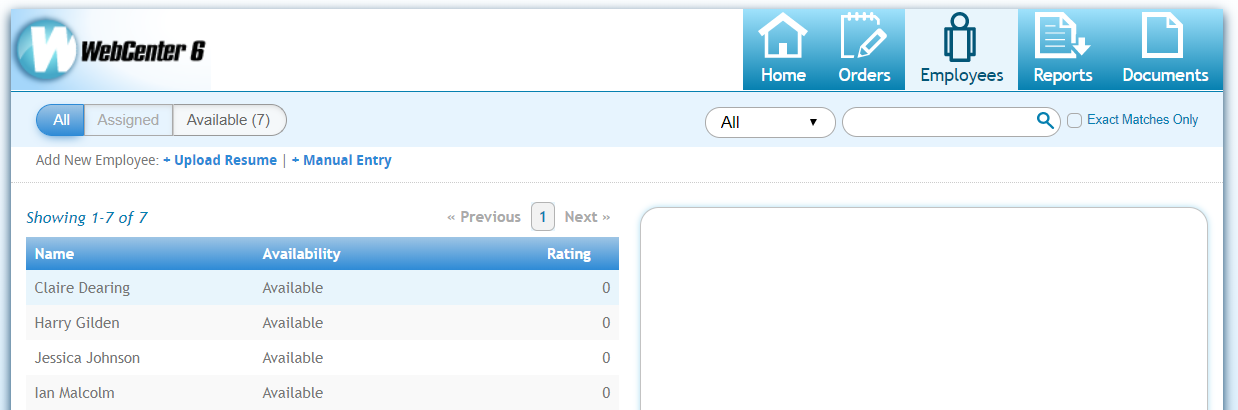
- Vendor - Employees: Gives Vendors access to the Employees tab of the Vendor portal where they can create and manage employees linked to their Vendor record (check out Vendor: How to Add and Submit Employees for more information)
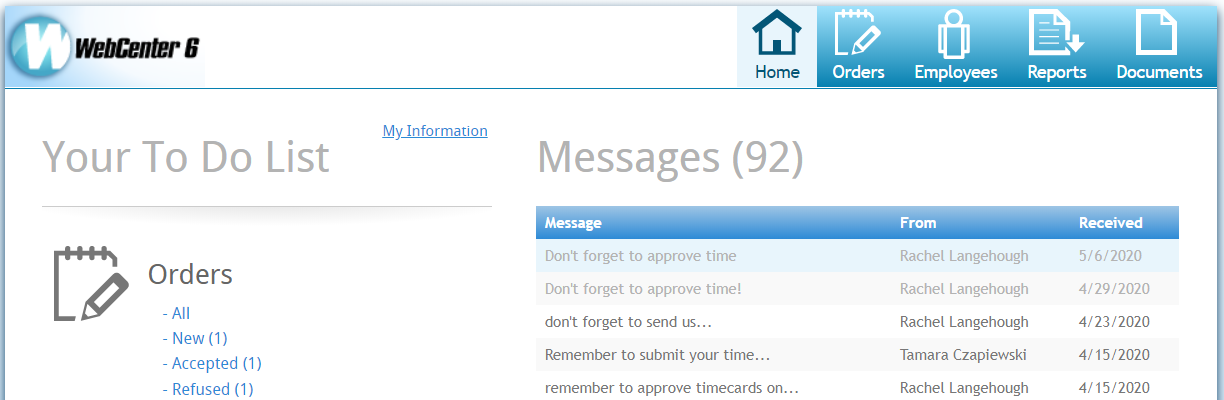
- Vendor - Home: Shows details on the home page including links to orders and messages (check out Vendor Portal Quickstart for more information)
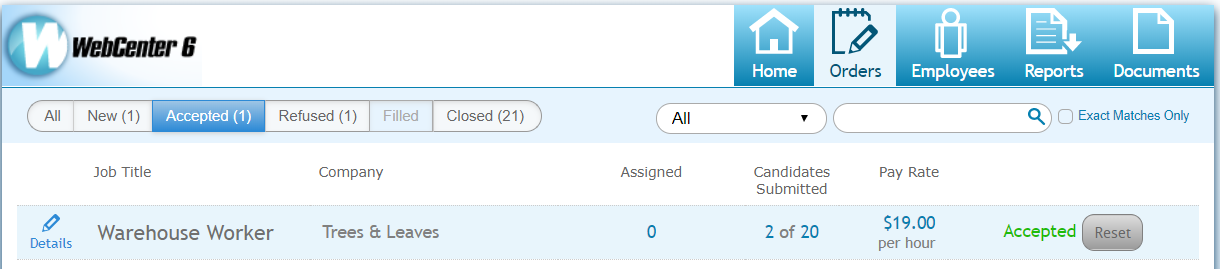
- Vendor - Orders: Allows Vendors to access the Orders tab where they can review orders and submit candidates
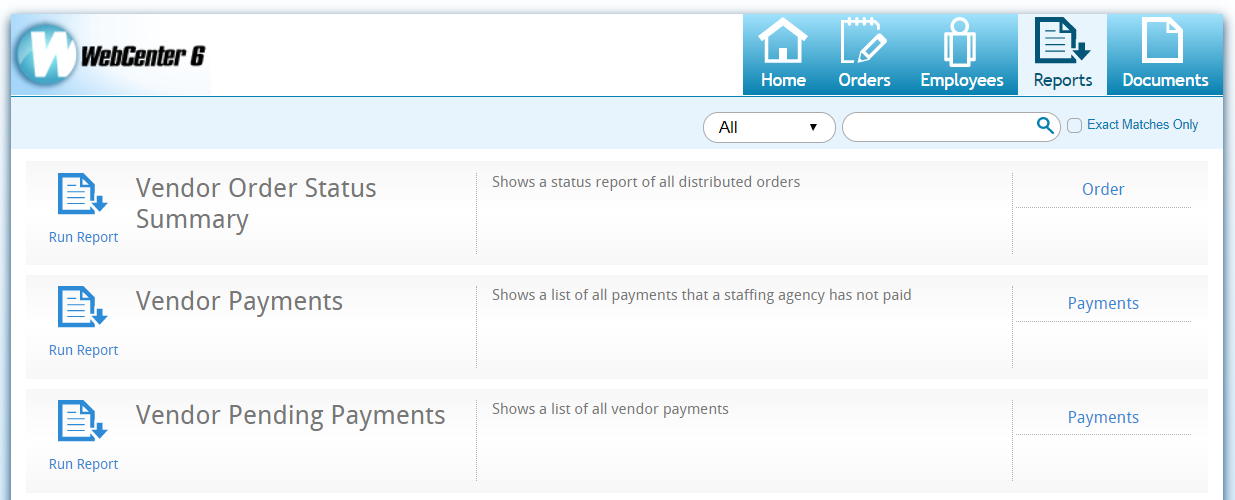
- Vendor - Reports: Gives the Vendors access to the Reports tab where they can pull additional reporting (check out WebCenter Admin - Vendor Reports Manual for more information)


Giving Vendor Contacts Access to the Vendor Portal
Access to the Vendor Portal can be given to each Vendor Contact you have in the system.
*Note* You will need to first set up the Vendor Record and related Contact Record(s) in order to do this. Check out Vendor - Subcontractors in Enterprise for more information.
Once the records have been set up, your team can give contacts access to the Vendor Portal by creating a Web User Account.
In Enterprise:
- On the contacts record, navigate to the
 in the top center
 - Select Manage Web User Account
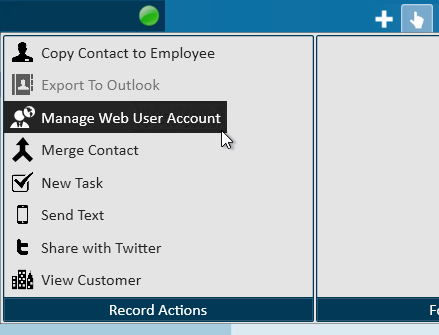
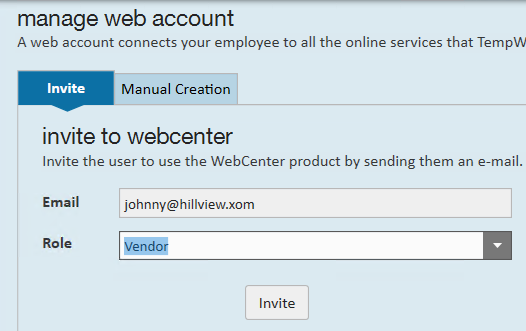
- Select Invite or Manual Creation:
- Invite: Will send an email to the email on file for this contact allowing them to set up their own username and password for WebCenter
- Manual Creation: You will have to enter the contact's username and password
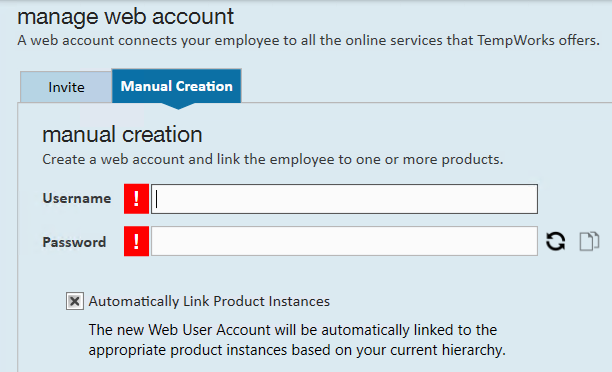
- We recommend asking your contact to update their password once you have handed them their credentials
- Invite: Will send an email to the email on file for this contact allowing them to set up their own username and password for WebCenter
- Either option you choose will have you select a "Role" this will determine the level of access the contact has on the Vendor record.
 in the top center


Additional Configurations
WebCenter has additional configuration options to allow you to further customize permissions and portal options for your Vendors. Consider reviewing and refining the following options:
General WebCenter Admin Options:
- Branding: This will allow you to customize the look and feel of the Vendor portal.
- Documents: You can upload additional documents for Vendors to have available (ex. Contract, Portal Overview Doc, etc.)
- Notifications: Whether you are letting your vendors change their notification subscriptions or not, you may want to customize which notifications are turned on by default and look at additional notification setup options.
Looking for Configurations Related to the Vendor Portal?
- WebCenter Admin - Additional Vendor Related Configurations: Walks through configs that directly impact what Vendors have access to in the Vendor portal.