What is a Vendor Record?
In Beyond, there are two types of vendors that can be set up:
- Subcontractor Vendors - These are 3rd party staffing agencies or other providers that are sending their employees to fill some of your orders. Because these employee's do not belong to your staffing agency, the payroll for these people will be consolidated into a payment to the agency. The agency is then responsible for paying and preparing tax documents for their employees.
- Independent Contractors (1099 Employees) - These individual employees are registered as independent contracts. Your staffing company pays the employees but the employees will be responsible for their own taxes. Instead of receiving a W-2, these employees will receive a 1099 form. For Information on these, click here.
In both cases, the client is not responsible for taking out the taxes or holding on to W-4s for the related employees.
*Note* If you utilize custom Security Groups with Advanced Permissions, please add the Access to the "Vendor" pages/forms/cards to the Security Groups that require the functionality:
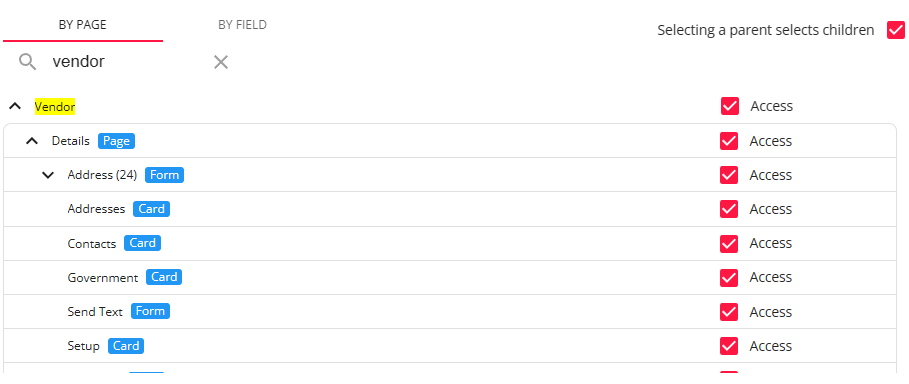
For more information on created custom Security Groups with Advanced Permissions, please see the following article titled "Beyond - Creating Security Groups with Advanced Permissions".
This Article Covers:
- Creating a Subcontractor Vendor Record
- Adding Vendor Contacts
- Linking Employee Records to Vendors
- Setting up Pay Information on Orders & Assignments
- Distributing Job Orders to a Vendor
Creating a Subcontractor Vendor Record
When you start a new relationship with a Subcontractor or 3rd party staffing company, you will need to add their record into the system.
To Create a New Vendor Record:
- In Beyond, Navigate to B Menu > Records > Vendors
- This will open the Vendor search, allowing you to search for a specific Vendor record or create one:

- Select "+ Add a New Vendor" to open the "New Vendor" window:
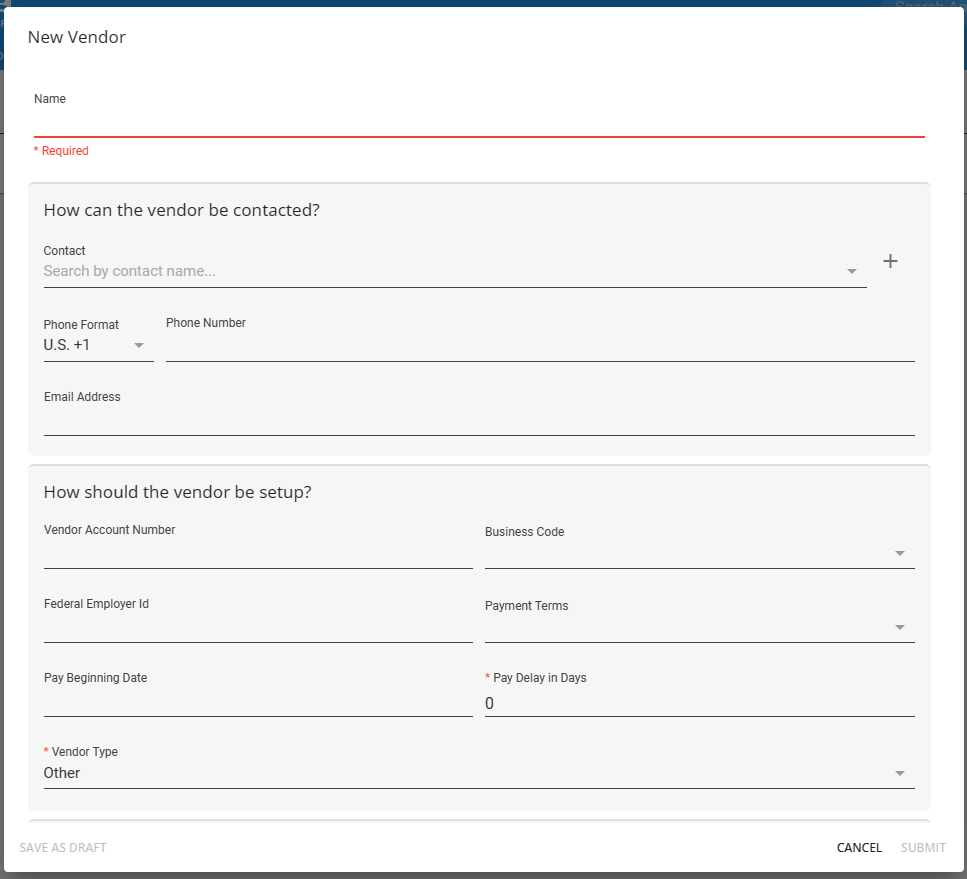
- Enter the following information:
- Name
- Name: The name of the Vendor record
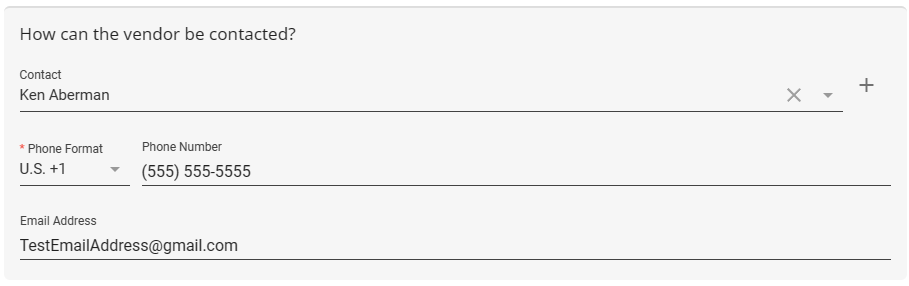
- How can the vendor be contacted?
- Contact: Either select a Contact record from the dropdown, or select the "+" to create a new Contact record.
- Phone Number: The phone number of the Vendor record.
- Email Address: The email address of the Vendor record.
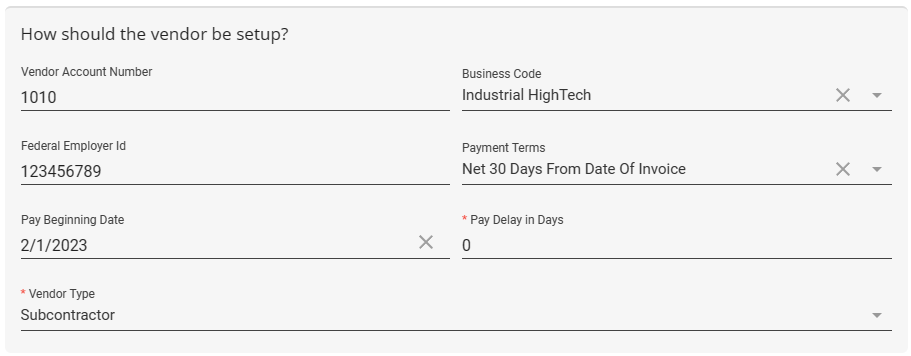
- How should the vendor be setup?
- Vendor Account Number: Optionally, enter an account number for your records with the Vendor.
- Business Code: Optionally, select the type of business - This option can be used for reporting.
- Federal Employer ID: Enter the federal employer Id for the subcontractor.
- Payment Terms: Optionally, select your payment terms for your record keeping purposes.
- Pay Beginning Date: Optionally, use this date field to set a date when payments will start being made to this vendor. This is great if you have a contract with them where the first payment will not be sent until after X days or months of working together.
- *Pay Delay in Days: This number field determines the number of days, after the original payroll is run, to send payment to the vendor.
- For example, if you have a net 30 set in your contract you would set the pay delay in days to 30 meaning the system will pay out transactions 30 days to the vendor by default.
- If you do not have this kind of contractual agreement, you can always set this field to 0 meaning that the system will pull in all transactions when you go to pay the vendor.
- *Vendor Type: Select "Subcontractor". This will automatically create an employee (Pseudo AIdent) record and link it directly to this new vendor record.
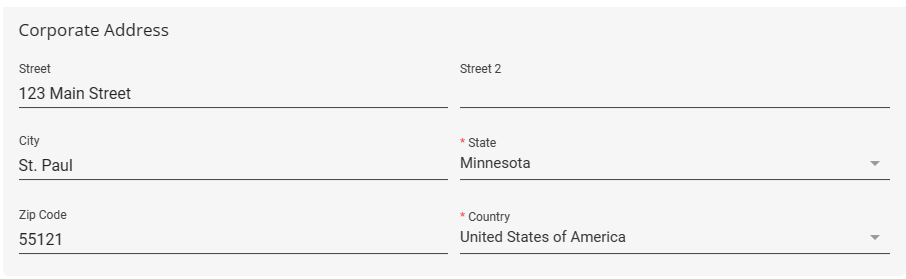
- Corporate/Local/Remittance Addresses:
- *Corporate Address: Main location of Vendor
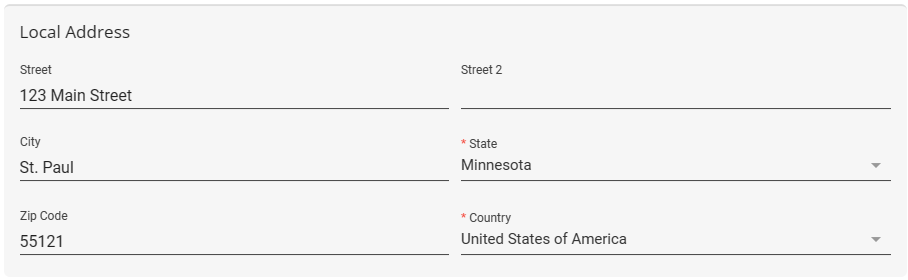
- *Local Address: Enter a local address for a branch you work with or copy the Corporate Address
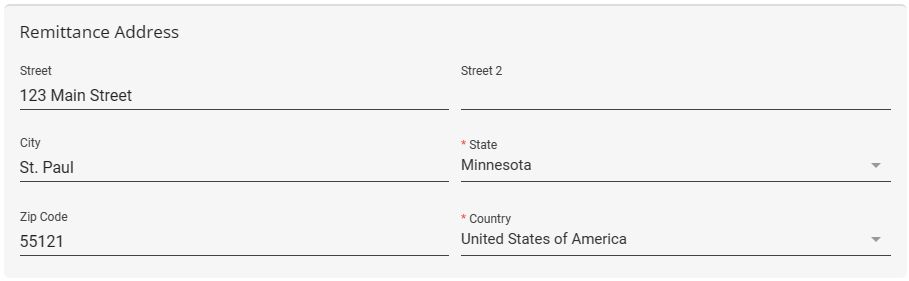
- *Remittance Address: Address that will appear on invoices
- Name
- Enter any notes within the "Notes" field if necessary.
- Select Submit once all of the information has been entered.


Reviewing the Details
Once you create a vendor record, there are a few details you will need to fill in and consider before you start working with them.
- The "Pseudo AIdent" record is automatically created with the creation of the Subcontractor vendor record. Instead of being names "Pseudo AIdent" like in Enterprise, this record is now called "Employee" within the "Setup" card of the vendor record:

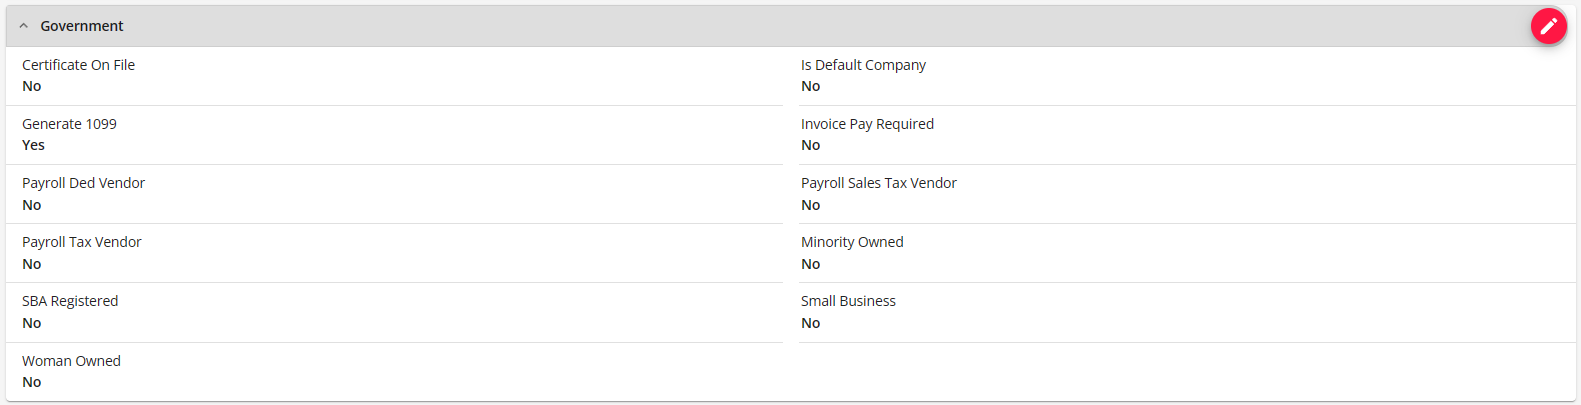
- Checking Government Contract Related Requirements: If you have a government contract with specific requirements, you can use the options within the "Government" card on the vendor record to determine whether the vendor you are currently viewing meets any of those related requirements:
- In most cases, you will be able to change the Generate 1099 box to "No" unless your contract requires that you still generate 1099 files for the employees of the 3rd party staffing agency.
- Invoice Pay Required: If updated to "Yes", the system will not be prompted to pay the vendor before the customer pays invoice in full (wouldn't use Pay Delay).


Adding Vendor Contacts
Just like with Customer records, you can add contacts related to the Vendor to keep track of important contact information with the Vendor.
To Add a Vendor Contact:
- Navigate to the Vendor record you want to add a contact to via B Menu > Records > Vendors.
- Once within the intended vendor record, scroll to the bottom to find the "Contacts" card. Select the "+" to add a contact to the vendor:

- Within the "Add New Contact" window, enter the intended information:
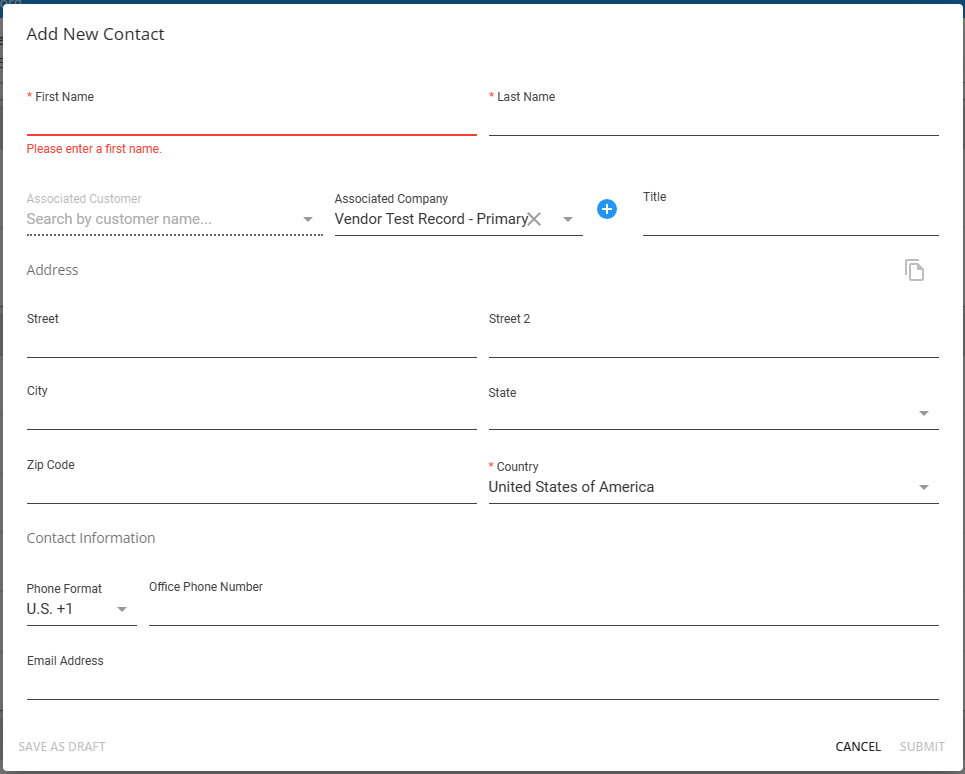
- Select Submit once all of the information has been entered.


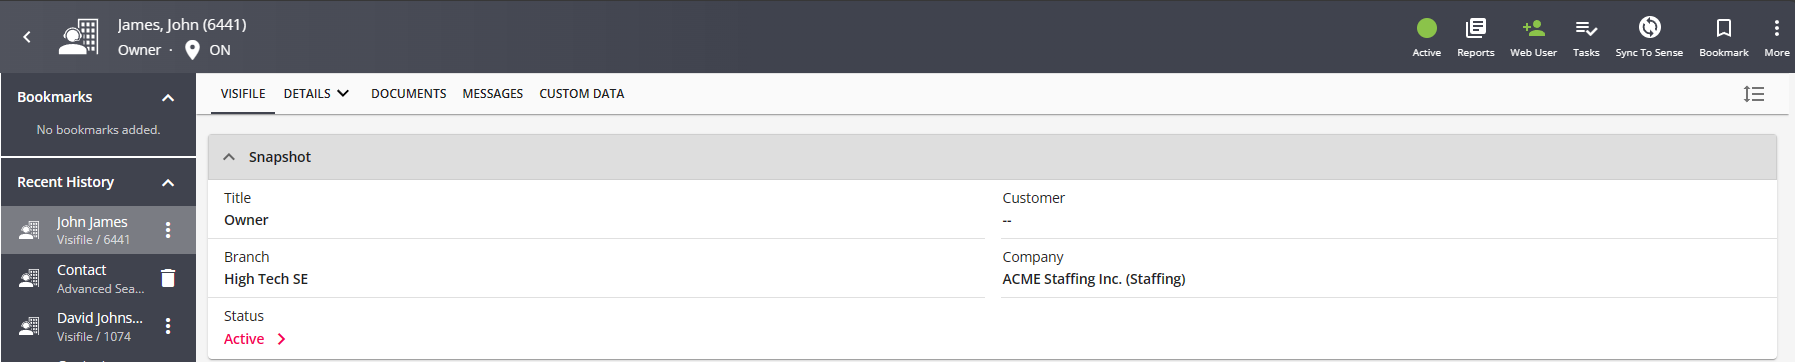
Vendor Contact records will be stored under the contacts section in Beyond. You can identify a vendor contact by the "Company" field on the contact visifile page:
Giving a Contact Access to the Vendor Web Portal:
If you are utilizing the Vendor Web Portal, you can give Vendor contacts access to their web portal in order to submit candidates and track available orders.
- On the contacts record, select the "Web User" charm:

- Select "Invite Web User" or "Manual Creation":
- Invite: Will send an email to the email on file for this contact allowing them to set up their own username and password for WebCenter.
- Manual Creation: You will have to enter the contact's username and password.
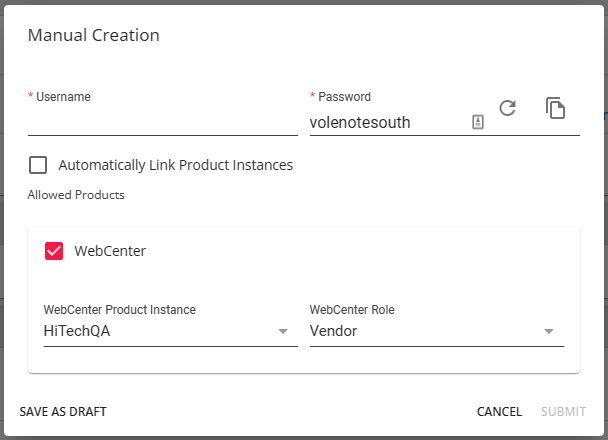
- When manually creating the Web User, we recommend de-selecting the "Automatically Link Product Instances" checkbox and selecting the instance manually. This gives you the ability to select the intended role for the contact.
- We also recommend asking your contact to update their password once you have handed them their credentials.
- Invite: Will send an email to the email on file for this contact allowing them to set up their own username and password for WebCenter.
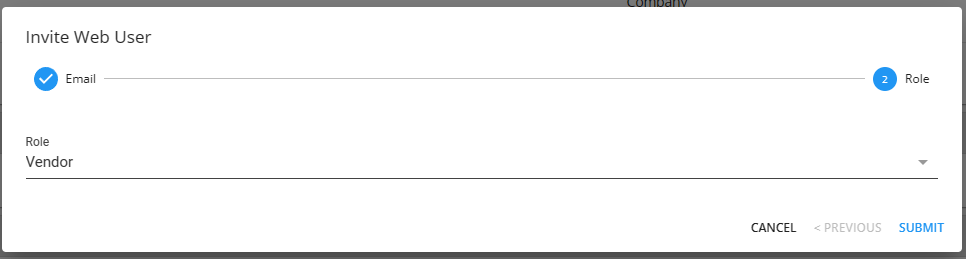
- Either option you choose will have you select a "Role" this will determine the level of access the contact has on the Vendor record.
- Check out WebCenter Admin - Giving Vendors Access to the Web Portal for more information.


Linking an Employee to a Subcontractor/Staffing Agency
Now that the vendor record exists, employee records can be linked to that vendor. Those employee records will be assigned to orders just like a W-2 employee but will have its assignments to help identify its status. Additionally, transactions for this record will experience payroll differently and will be processed through a "Subpush" Payroll run.
*Note* When a vendor sends an employee to fill one of your orders, you will want to create the employee record in Beyond in order to track financial information, etc. If you are not utilizing the Vendor Web Portal, then you will need to create the employee records in Beyond. These records can be created the same as any other employee.
Keep in mind the Vendor employees will not need to have an I-9 or W-4 on file or have a valid SSN on their record since the tax information will be held by the Subcontractor/Staffing Agency that is employing them.
Any employee coming from a Vendor will need to be linked to the vendor record in order to correctly process payroll.
To Link an Employee to a Vendor
- On the employee record, navigate to "Details" page.
- Within the "Hiring" card, select the "Edit" pencil icon to open the "Employee Hiring Information" window:

- Select the intended "Subcontractor" vendor record within the "Vendor" dropdown:

- Select Submit once all of the intended information has been entered.


Key Identifiers for Subcontracted Employees
- The Vendor will be listed under the name of the employee:

- The Vendor record will be listed under the employee hiring details:

- Assignments created for this employee will have the "W-2" field of the "Financials" card listed as "No":
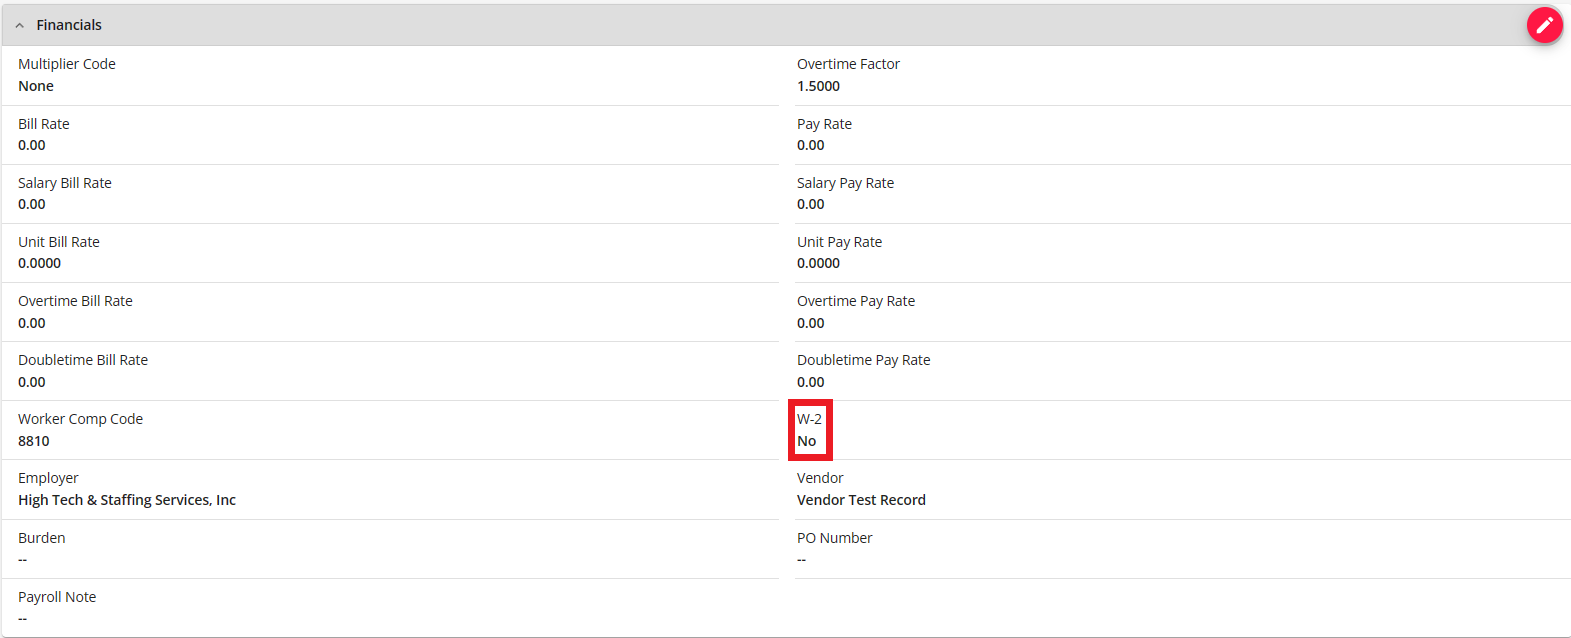


*Note* If you forgot to link the employee to a vendor before the assignment was created, the "W2" field will show as "Yes". You will need to close this assignment and create a new one once the employee has been linked to the correct vendor before you run payroll.
Setting Up Pay Information on Orders & Assignments
When a Subcontractor sends an employee to fulfill an order, you will need to assign the employee to the order in order to keep up your records and complete payroll.
The typical definition of pay rates and bill rates differ for orders/assignments associated with subcontractors.
- Bill Rate: When working with subcontractors the bill rate will still be what is invoiced to the client the employee works for.
- Pay Rate: When working with subcontractors the pay rate will now be what is paid to the subcontractor.
*Note* If you are utilizing Default Multiplier Codes for Customers, you may want to consider adding a vendor specific multiplier code or add a multiplier code of "None" which will allow you to update the bill and pay rate freely for these assignments.
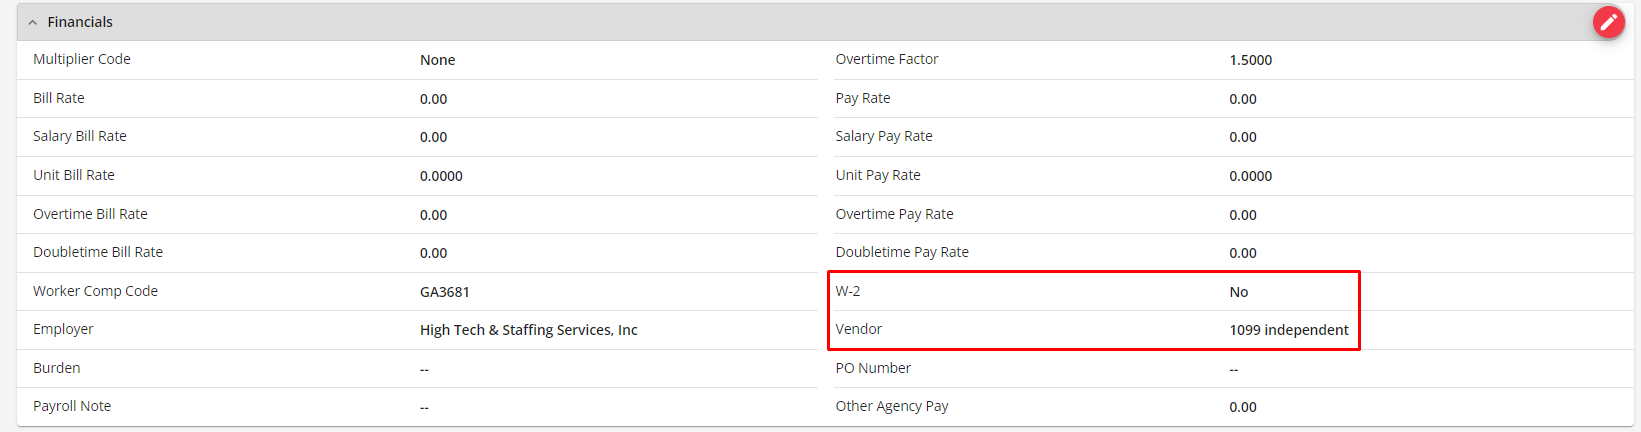
Assignments that are not listed as W-2 will have the Vendor name appear under the assignment:
Distributing Job Orders to a Vendor
With the Vendor record(s) set up within Beyond, you will have the ability to add the Vendor to the customer record so that newly created Job Orders for the customer with the same order type will be distributed to the linked Vendor. Additionally, you can link the Vendor directly to the individual Job Order record.
Linking a Vendor to a Customer Record
Begin by navigating to Customer > Details > Vendors and select the "Add Vendor" button:

Within the "Vendor Management" window, you will be able to add the following:
- Vendor Company - Contains all active Vendor records that the user has access to.
- Job Title - Contains all Job Titles that the user has access to.
- Order Delay (Hours) - The amount of time that needs to elapse, in hours, before the Job Order is able to be filled.
- Max Candidates Per Req - The maximum number of candidates that can be requested.
- Order Types for Vendor - Contains all Order Types that the user has access to.
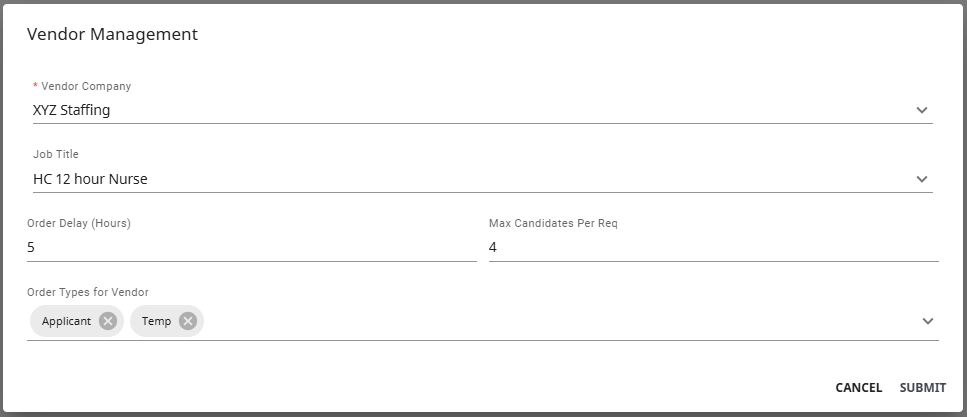
Once the information has been entered within the fields, select "Submit" to save the Vendor record to the Customer record.

Vendors can be edited/removed from the Customer record by selecting  to the right of the record and choosing the appropriate option:

Creating a new Job Order with the same Order Type for the Customer with the linked Vendor record will show the same Vendor record linked to the new Job Order record:
*Note* If you had previoualy selected a Job Title within the Vendor record linked to the Customer, you will need to add that Job Title to the newly created Job Order for the Vendor record to appear within the Job Order record as intended. Per the example above:
- Add a Vendor record to the Customer record, selecting a Job Title within the "Vendor Management" window.
- Create a Job Order for that Customer record, noticing how the Vendor record does not appear within the Job Order > Details > Vendors.
- Add the same Job Title to the Job Order that has been created for the Customer record with the linked Vendor record.
- Navigate to Job Order > Details > Vendors and see how the Vendor record now appears as intended.

*Note* The "Status" states "Waiting for distribution" due to the Order Delay being set to "5" hours.
Linking a Vendor to a Job Order Record
Begin by navigating to Job Order > Details > Vendors and select the "Add Vendor" button:

Within the "Add Vendor to Order" window, you will be able to add the following:
- Vendor Company - Contains all active Vendor records that the user has access to that are not already linked to the current Job Order record.
- Status - The status of the Vendor/Job Order can be selected.
- When Visible - A date can be selected as to when the Job Order will be visible to fill.
- Max Candidates Per Req - The maximum number of candidates that can be requested.
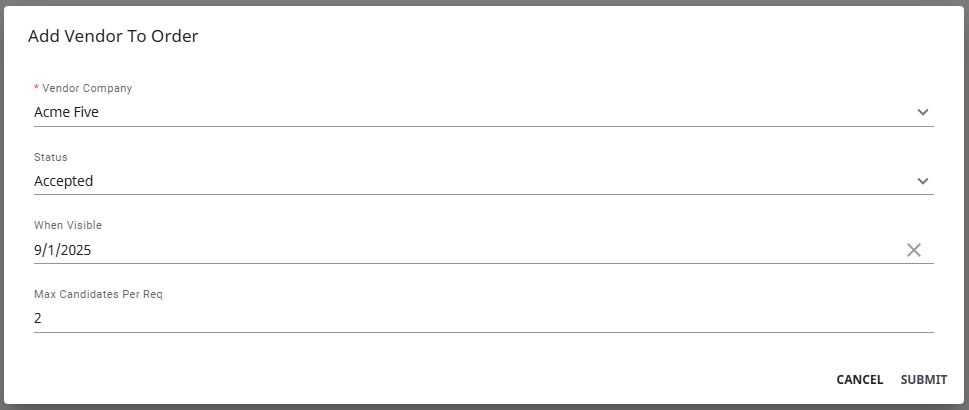
Once the information has been entered within the fields, select "Submit" to save the Vendor record to the Job Order record.

Vendors can be edited/removed from the Job Order record by selecting to the right of the record and choosing the appropriate option:

*Note* Upon deletion of a Vendor from a Job Order, the Vendor can no longer see and work on the job order in WebCenter.
Next Steps
*Note* If you are utilizing the Vendor Portal within WebCenter, job orders can be distributed to vendors within Enterprise and employees can be reviewed and assigned directly within the Vendor Portal of WebCenter.
For more information on distributing orders to subcontractors, please see the article titled Vendors - Distributing Orders to Subcontractors.
For more information on assigning vendor employees, please see the article titled Vendors - Assigning Vendor Employees to an Order.
Once subcontractors are ready to be paid, please see the following article titled Vendors - Paying Subcontractors in Enterprise.