Only one ACH bank account can be activated in the electronic pay page of the employee record:

If you have an employee who would like a portion of their paycheck to be distributed to a secondary bank account every time they are paid, this can be accomplished by adding the account as an adjustment.
If you are looking to set up a primary direct deposit, check out Enterprise - How to Enroll Employees in Direct Deposit
How to Add a Secondary Direct Deposit
Creating a Secondary Direct Deposit can be done in 3 easy steps:
Step 1: Create the Adjustment
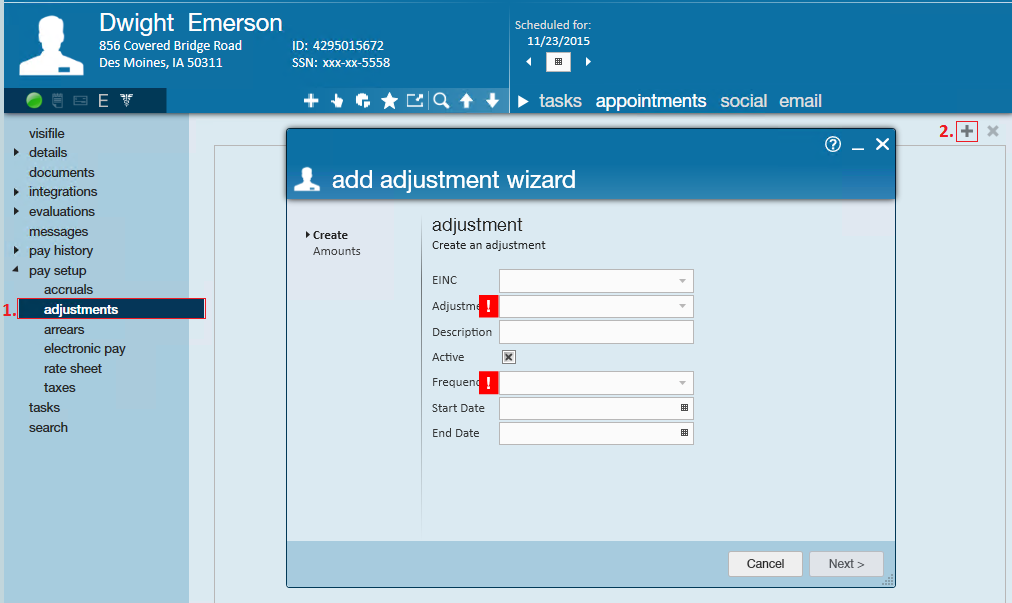
- Navigate to the employee's record → expand the pay setup section → select the adjustments page
- Click the + icon in the upper right to open the "add adjustment" wizard
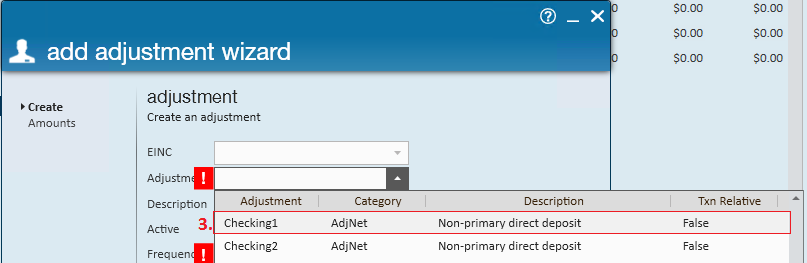
- Within the adjustment dropdown, select a type that has been designated to for non-primary direct deposits (typically checking1 or savings1 but check with your administrator for more information)
- *Note* If a secondary direct deposit adjustment is not listed in the adjustment dropdown, it can be added in the administration section of Enterprise by your admin. See How to Set Up Adjustments in Administration for more information.
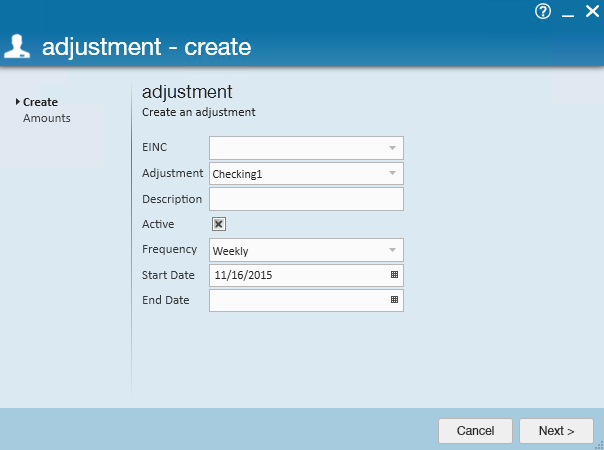
- Enter the Following Information:
- The frequency dropdown will also be required and should always match the frequency with which you pay the employee - daily, weekly, bi-weekly, semi-monthly, or monthly.
- Optionally, add a start or end date if this adjustment should only be active for a certain period of time. (if you do not enter a date it will start immediately)
- The frequency dropdown will also be required and should always match the frequency with which you pay the employee - daily, weekly, bi-weekly, semi-monthly, or monthly.
- Select Next
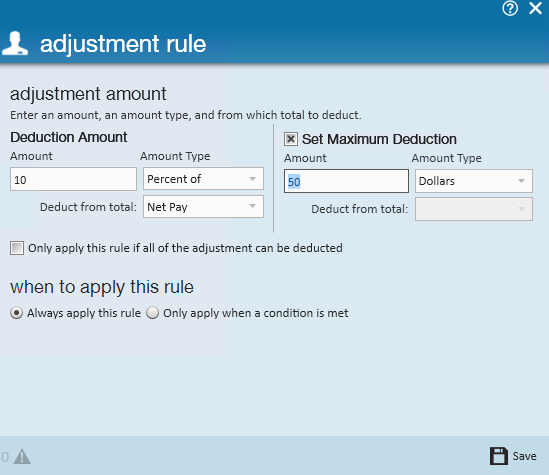
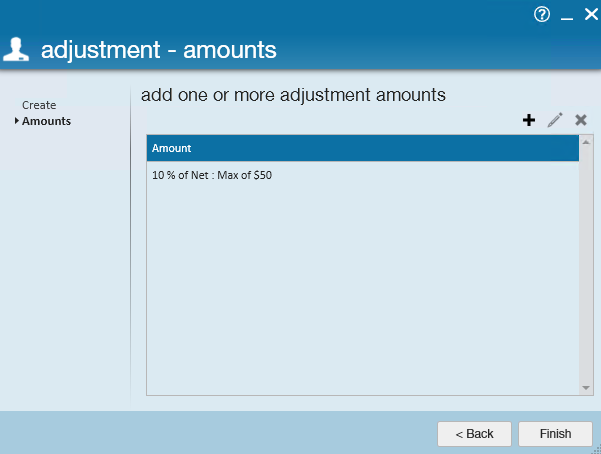
- Select the + in the upper right to add a rule for how much money should be set aside for this adjustment
- Enter a Deduction amount and (optionally) a Maximum Deduction amount:
- Following our example, we are stating that this employee is to have 10% of their net pay garnished weekly but we are never to take more than $50.
- Following our example, we are stating that this employee is to have 10% of their net pay garnished weekly but we are never to take more than $50.
- Select Save and then select Finish


Step 2: Confirm the Secondary Direct Deposit Details:
With the secondary account added, confirm the sequence and period max in the detailed adjustment.
Why Enter a Sequence?
When an employee has multiple adjustments setup on their record, how does Enterprise know which adjustment to garnish first and which to garnish last? Sequence! The sequence determines the priority of an employee's adjustments.
For example, the image above shows an employee that has (5.) multiple child support adjustments added in addition to a secondary direct deposit. Do the child support adjustments receive priority over the secondary direct deposit? In this example, we have given the Checking1 adjustment a (4.) sequence of 2 while each (5.) child support adjustment has an adjustment of 1. So yes, the child support adjustments will be garnished first, then Enterprise will move on to any adjustments with a sequence of 2 (direct deposit in our example).
Why Enter a Period Max?
Enterprise adjustments are tracked by weekend date. So for example, let's say our employee turns in a timecard with 40 hours on it for the weekend date 11/22/2105. That timecard is processed by payroll and the adjustment maximum of $50 is sent to the secondary direct deposit. Now, imagine if the employee turned in an additional timecard for the weekend date 11/22/2015 with 8 hours of additional overtime. Processing that second timecard without a period max would garnish the employee's wages a second time. By adding a period max we prevent Enterprise from double dipping into the same period. This way, the employee will never be over garnished.
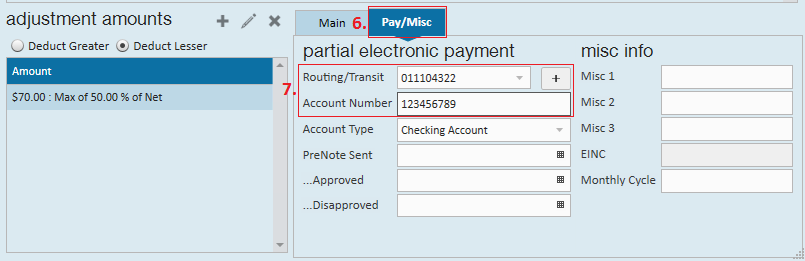
Step 3: Add the Secondary Direct Deposit Bank and Account Number
Select the (6.) Pay/Misc. tab within the adjustment details. Once there, enter the (7.) routing/transit number and account number associated with the secondary direct deposit.
If you attempt to save without inputting a routing and account number, you will be greeted with the following error message, alerting you that the routing number is missing or invalid:
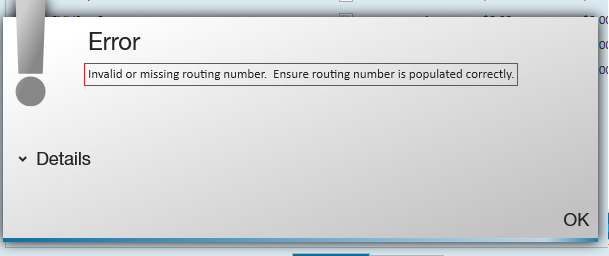
Once you have added the routing and account number, simply select the save icon in the upper left to confirm the secondary direct deposit setup.
*Note* If the pre-note feature has been enabled for electronic pay, it is then also enabled on the secondary direct deposit.
Pre-Notes: What are They and What to Do?
A pre-note is a banks way of checking to make sure the routing number and account number given are associated with a legitimate account. Essentially, the pre-note will send a “trial” payroll to the routing and account number to verify they are good numbers.
*Note* Every TempWorks client has the option to decide whether or not to utilize the pre-note feature. Please check with your manager to confirm if your company pre-notes new employees direct deposit information.
If the pre-note feature is enabled:
- Nothing needs to be added in the sent/approved/disapproved fields if you would like the pre-note sent. Leave that section blank.
- The employee's first check will be a live check. During that first pay period, the pre-note will verify the account is good to go for future deposits.
- When the routing and account number come back as approved, the employees next check will be directly deposited.
*Note* When sending pre-notes it may be until the second, or possibly the third payroll run until the employee's first direct deposit will be sent electronically. This depends on the timing of adding the direct deposit information on the employee’s record.
- Users have the option to override the pre-note wait period (for ex. if this employee is a rehire or if they give you a physical copy of a voided check) and instantly enroll the employee in electronic pay by entering a pre-note approved date that falls within the last pay period.
- If a pre-note is returned from your bank as being “disapproved” or wrong, add the date into the (4.) pre-note disapproved date field. This will prevent money from being sent to the incorrect account.
If the pre-note feature is disabled:
The pre-note sent/approved/disapproved fields do not need to be used. Entering any date in these fields will not impact the adjustment.