Overview
Like within Enterprise, you have the ability to merge duplicate employee records within Beyond.
While the process to merge employee records remains similar between Enterprise and Beyond, there are some differences to highlight.
*Note* For more information on the merging process within Enterprise, please see the following Knowledge Base article titled "How to Merge Employee Records".
How to Merge Employee Records
Employee records in Beyond are able to be merged via two methods:
*Note* Throughout this article, the terms "Source" and "Target" will be used. These terms relate to the type of employee record that is being utilized within the merging process:
- Source: The employee record that has the information to be transferred to the "Target" record and will be deactivated.
- Target: The employee record that will be updated with the information from the "Source" record and will remain active.
*Note* If you utilize custom Security Groups with Advanced Permissions, you will need to add the Access to the "Merge Record" form within Employee > Employee Header > Merge Record to the Security Groups that require the functionality:
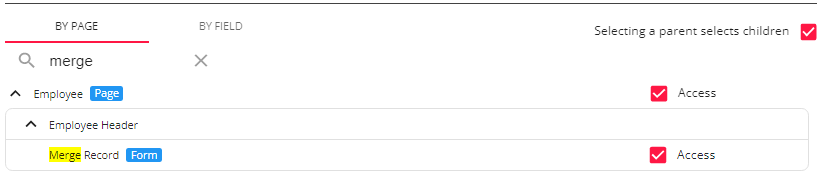
For more information on created custom Security Groups with Advanced Permissions, please see the following article titled "Beyond - Creating Security Groups with Advanced Permissions".
Employee Record Method
Begin by navigating to the employee record that you would like to be merged.
Within the employee record, select the "Merge" charm or, if the charm does not appear within the header, select the  icon and select the "Merge Record" charm:

Within the "Merge Record" window, you are now able to search for the additional employee record for the merge. For this example, we will be searching for another employee with the last name of "Abbott":

*Note* Keep the following points in mind when searching for employee records to merge:
- When starting with an "Unassigned" employee record, the employees provided within the merging search can be both "Unassigned" and "Assigned".
- When starting with an "Assigned" employee record, the employees provided within the merging search will be only "Unassigned".
Employees on active assignments are not shown in the search results, since you cannot merge 2 employees on active assignments.
Select the additional employee record you want for the merge and select "Next":

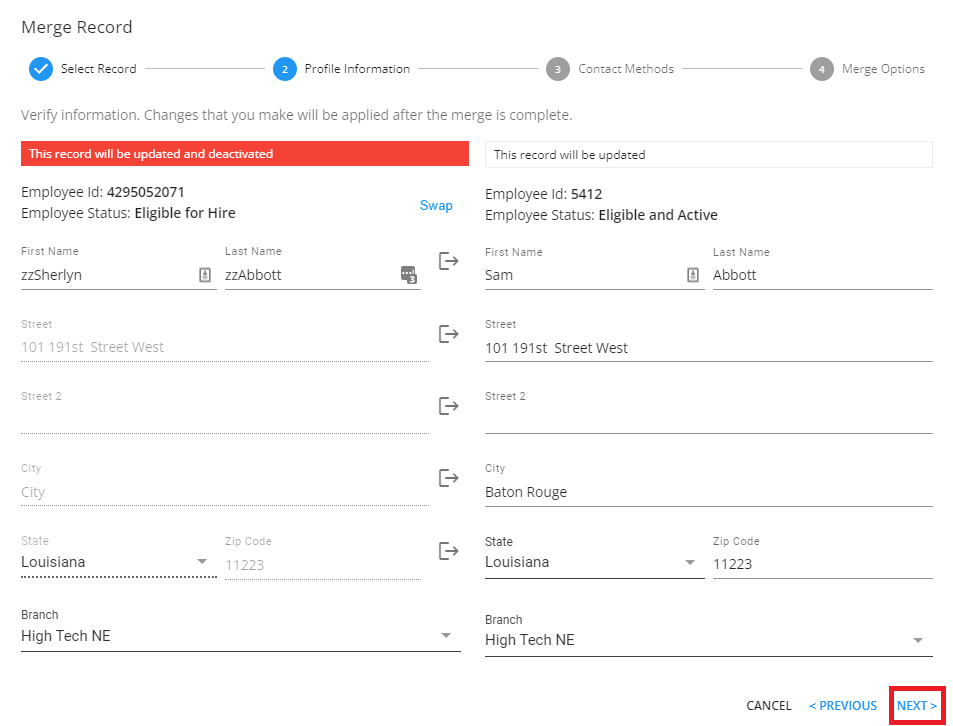
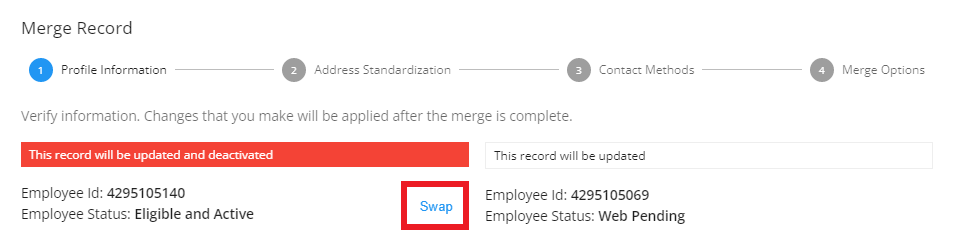
*Note* Once the "Merge Record" option has been selected, you will need to validate which record is being shown as the "Source" (Left) and which is shown as the "Target" (Right).
The older employee record will be set as the "Target" record unless that employee is currently assigned. This can be swapped by selecting the "Swap" option within the "Merge Record" window:
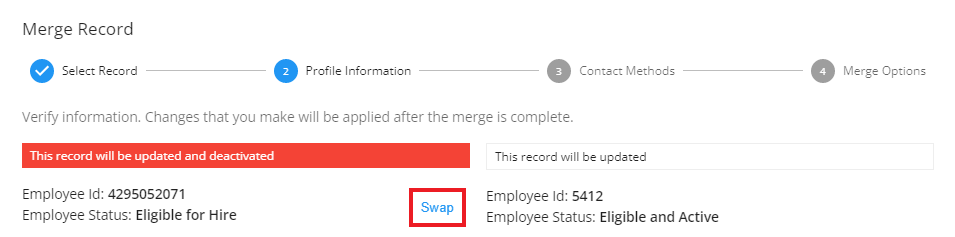
The "Swap" option will not work when attempting to merge from an employee record that has active assignments.
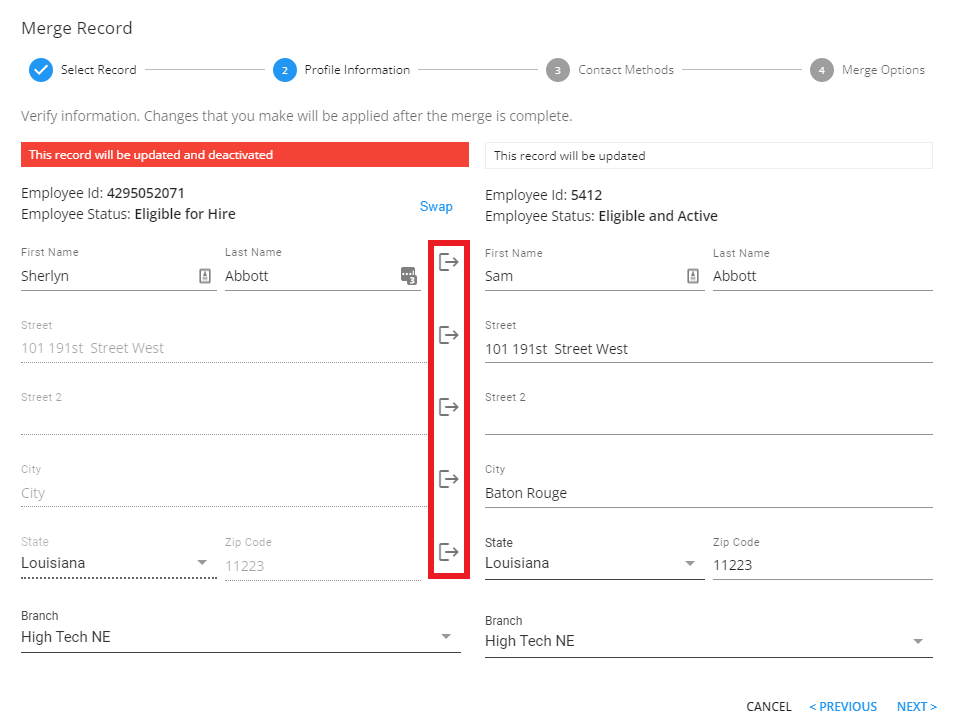
For all the information that you want transferred to the "Target" employee record, select the  icon for each item:
*Note* As a tip, you can add "zz" directly to the first and/or last name of the "Source" employee record that will be deactivated once the merge is complete:
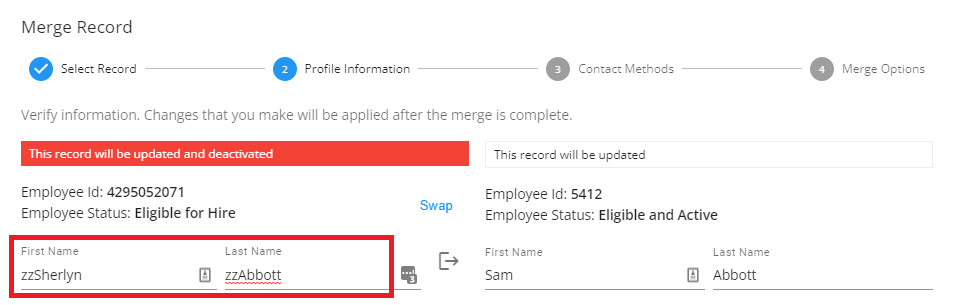
This will make the now deactivated employee record appear at the bottom of search results.
Once all of the information has been verified, select "Next" to continue:
*Note* If you have address standardization enabled within your system, you will be presented with an additional "Address Standardization" window to select the intended address for the merge.
*Note* If you have a custom method for merging employee records, you will now be prompted to choose whether you would like to use the standard method or your custom method:
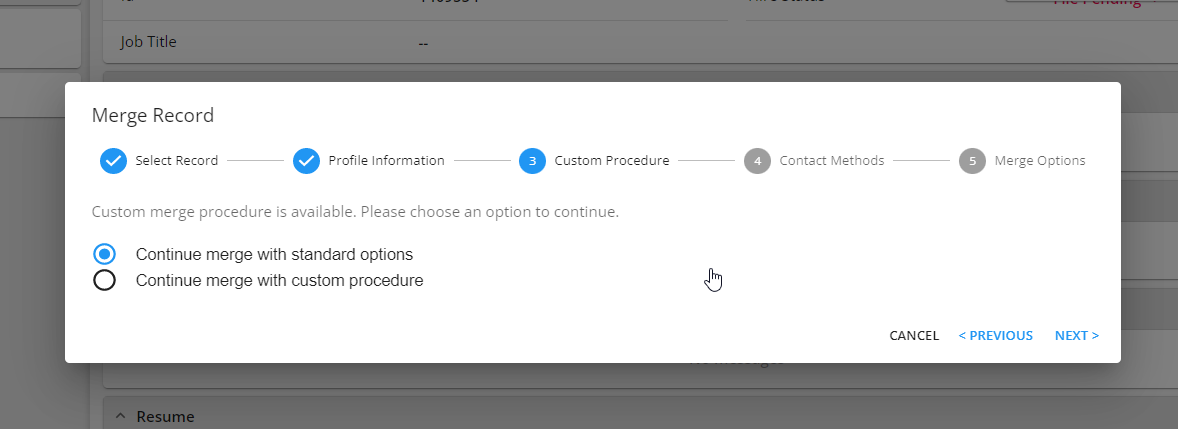
If you would like a custom method for merging employee records, please contact TempWorks Support.
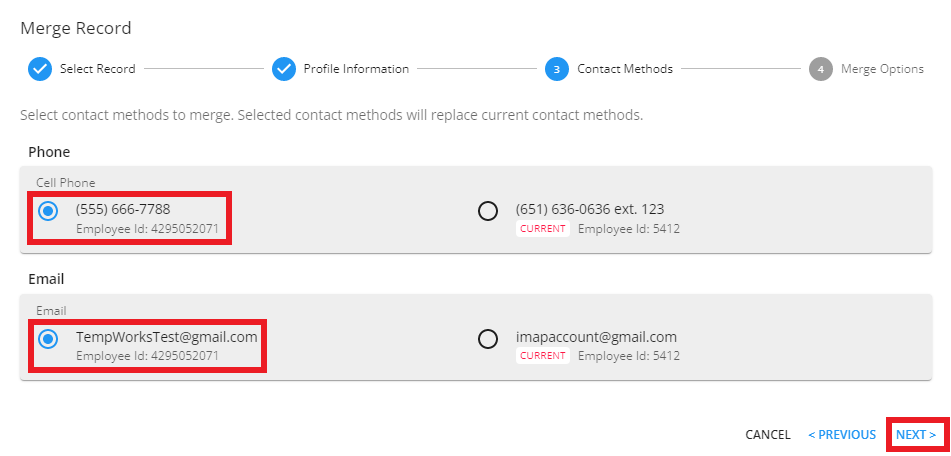
You will now be able to select Contact Methods to merge, if any, from the "Source" record to the "Target" record:
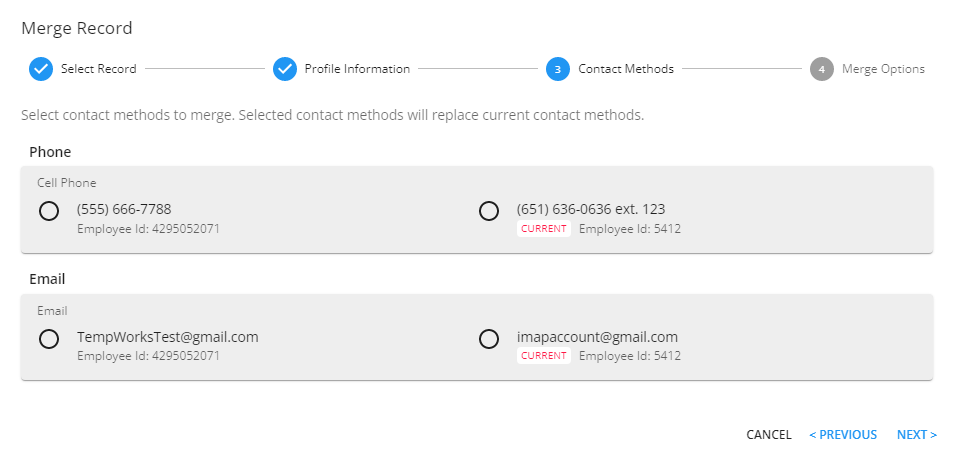
Select the Contact Methods to merge, keeping in mind that selected contact methods will replace "current" contact methods, and select "Next":
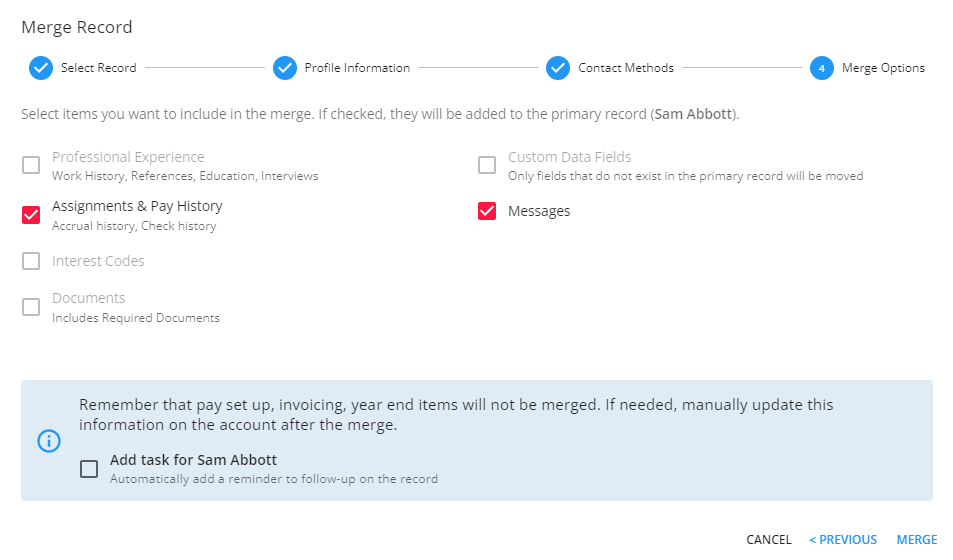
The final section of the merge process is the "Merge Options". This section allows you to select the following information to merge from the "Source" record to the "Target" record:
- Professional Experience (Work History, References, Education, Interviews)
- Assignments & Pay History (Accrual History, Check History)
- Interest Codes
- Documents (Includes Required Documents)
- Custom Data Fields (Only fields that do not exist in the "Target" record will be merged)
- Messages
*Note* While not directly listed within the "Merge Options", the basic tax setup information (Beyond > Employee > Pay Setup > Basic Tax Setup) of the "Source" employee record will be merged to the "Target" record:

*Note* If the "Source" record contains information from the above categories, those categories will be automatically selected to be merged.
If the "Source" record does not contain any information from the above categories, those categories will be automatically unchecked and unable to be selected.
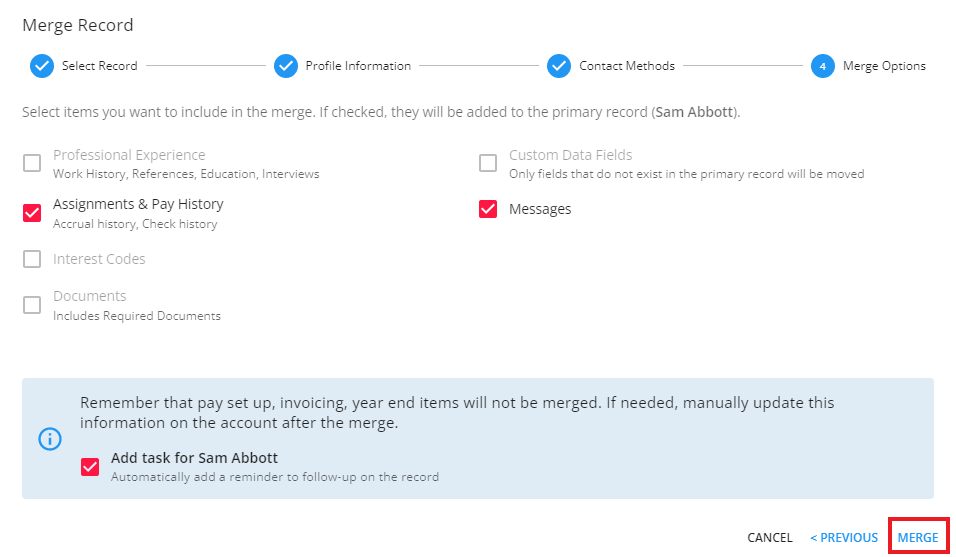
*Note* You also have the ability to create a task for the "Target" record to follow-up on information that is unable to be merged, including:
- Pay setup (excluding Basic Tax Setup)
- Invoicing
- Year End items

Once all of the categories have been checked, select "Merge" to complete the employee merge process:
Employee Search Results Method
Begin by navigating to the "Employee Search" and conduct the search for the employees to be merged:

*Note* When selecting records to merge within Search results, one of the records will need to be "Unassigned".
After the search has returned results, select one of the employees from the list:

Select the "Actions" dropdown and select "Merge Record":

*Note* The merging process can be completed by following the same instructions listed above.
Additionally, you have the option of selecting up to 2 employee records within the search results to merge.
After the search has returned results, select two of the employees from the list:

Select the "Actions" dropdown and select "Merge Record":

*Note* Once the "Merge Record" option has been selected, you will need to validate which record is being shown as the "Source" (Left) and which is shown as the "Target" (Right).
The older employee record will be set as the "Target" record unless that employee is currently assigned. This can be swapped by selecting the "Swap" option within the "Merge Record" window:
The "Swap" option will not work when attempting to merge from an employee record that has active assignments.
*Note* The merging process can be completed by following the same instructions listed above.
Employee Duplicate Checking Method
*Note* This functionality is being released in waves between April 28th, 2023 and July 31st, 2023. Therefore, you may not see this functionality while the backend work is being completed for your environment.
If you still do not see this functionality by August 1st, 2023, please contact your TempWorks Account Manager.
When editing an employee's SSN, in the event the last 4 of the SSN entered match another record within your system, select "Next" to open the "Duplicate Check" window:
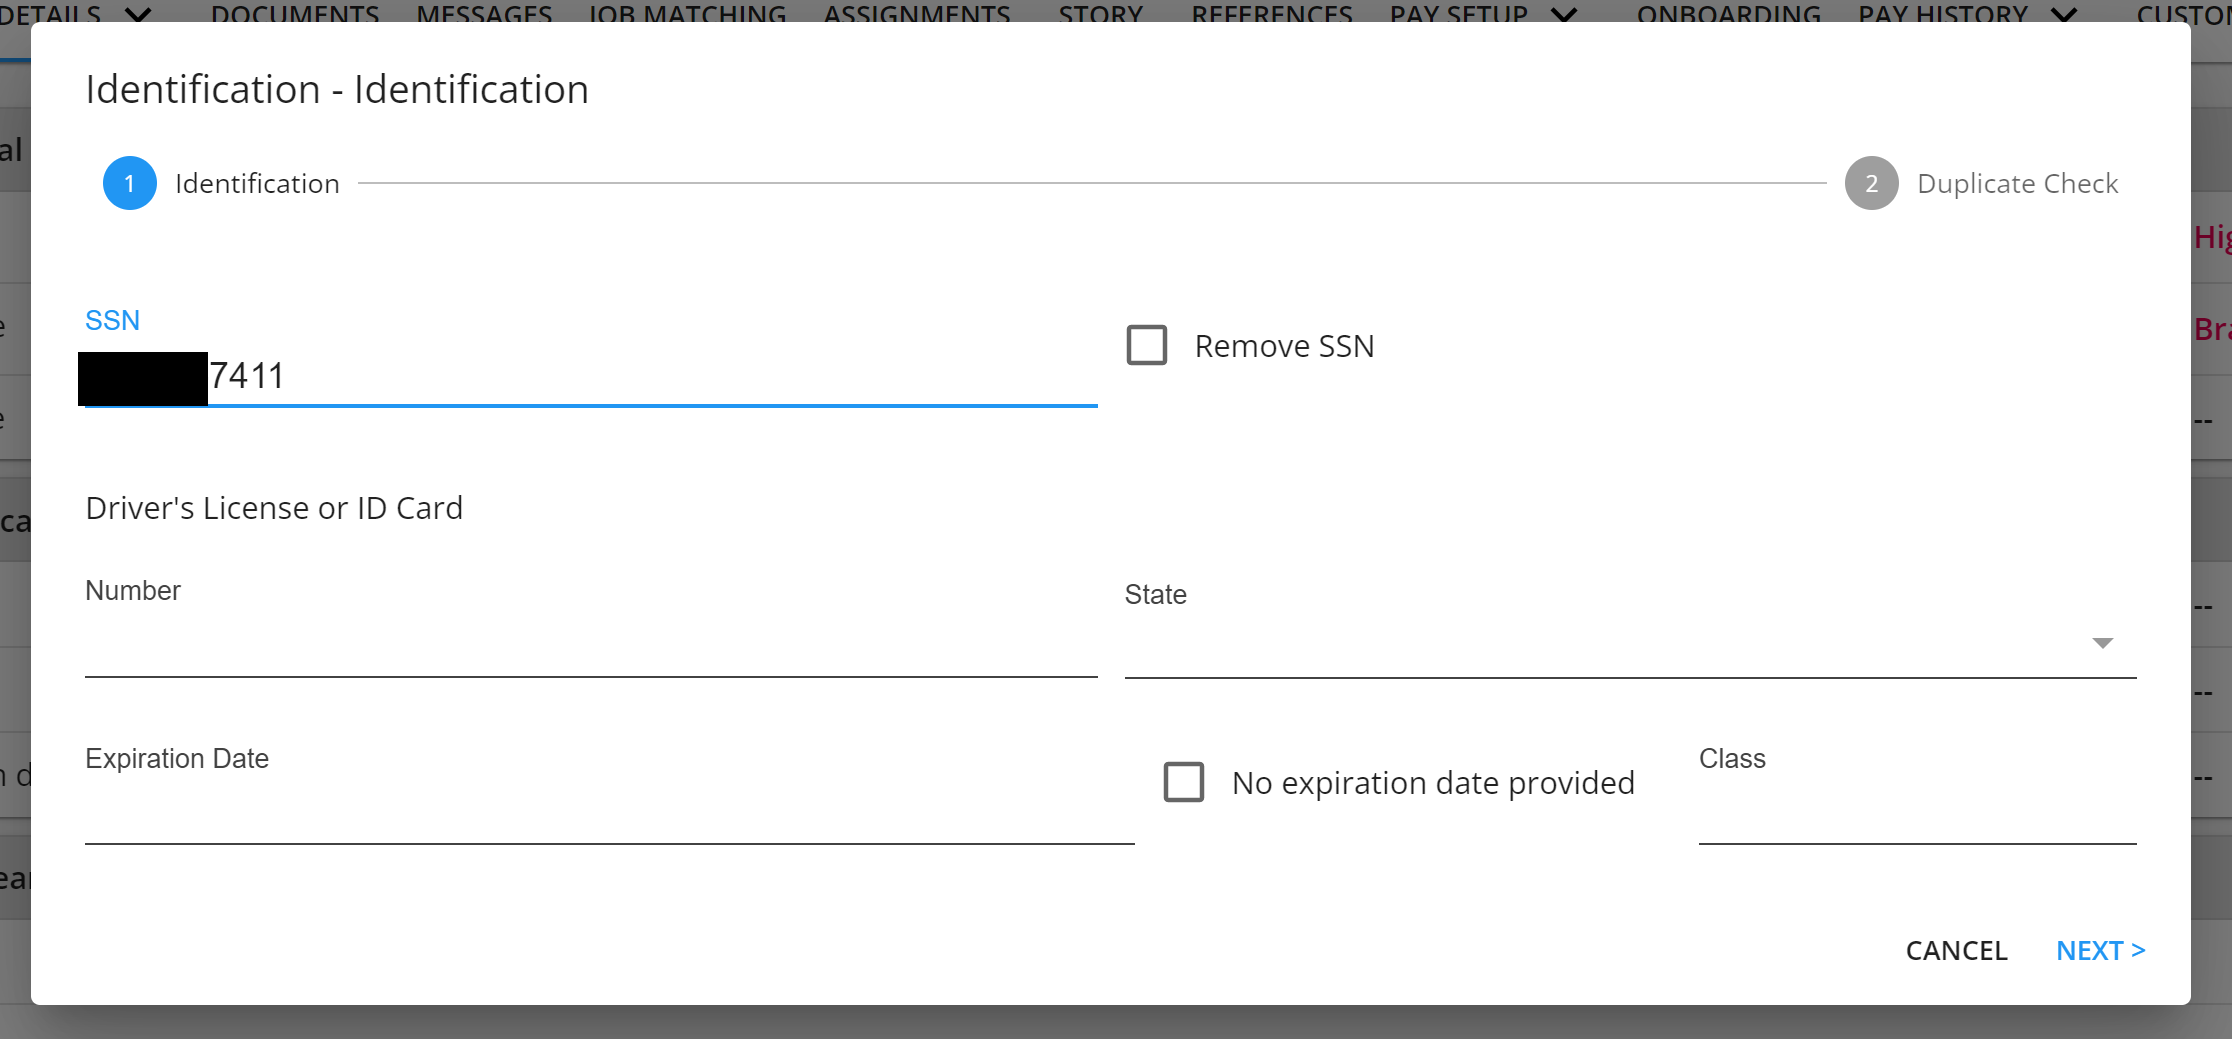
With the "Duplicate Check" window open, this will allow you to merge the employee records with the similar SSN's, or simply apply the intended SSN update to the employee record:
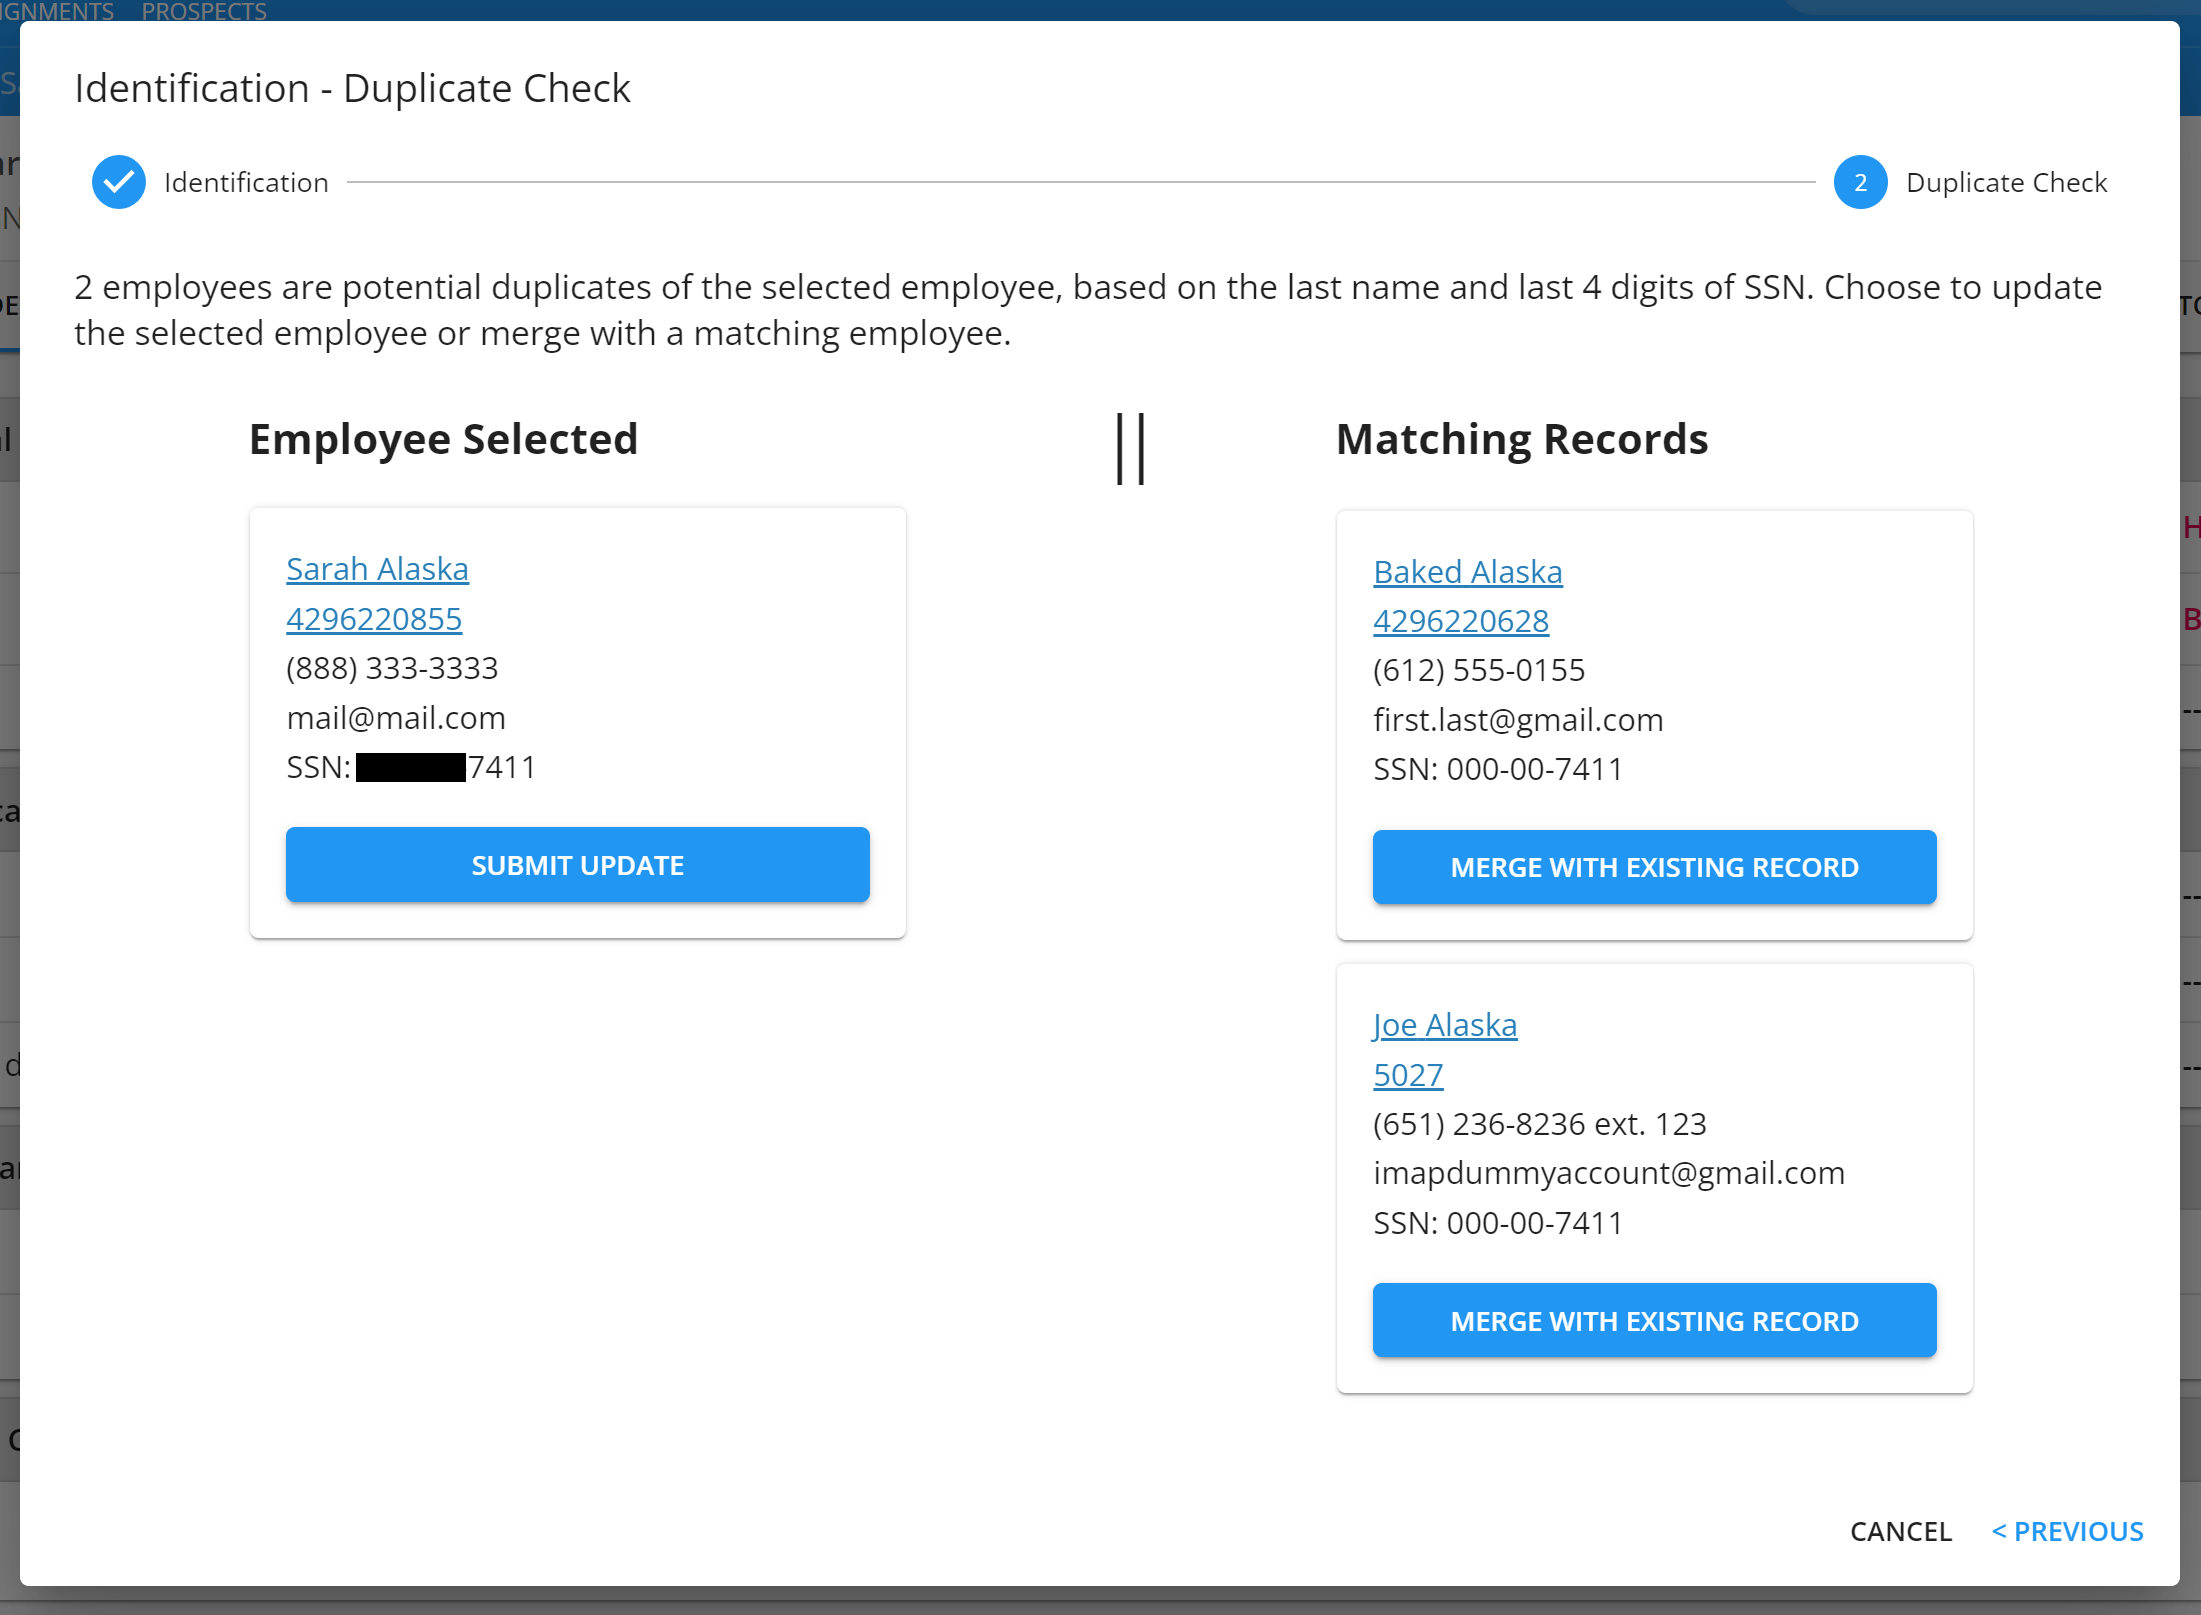
By selecting "Merge with Existing Record", the window will close, and you will be automatically navigated to the "Merge Employee" window.
*Note* The merging process can be completed by following the same instructions listed above.