This article includes:
- Before Running a Background Check
- Initiating a Background Check
- Record Validation
- Submitting the Background Check
Before Running a Background Check
Consider reviewing the following information on the employee's record before conducting a background check. Work with your team to decide what your processes will be.
If there is missing required information, the system will give you the opportunity to add information before you submit the background check request but it is always a good practice to review the employee record information while you have the employee with you.
Consider the following:
Background Check Consent Forms
Consider saving any signed background check consent forms on the employee's record. This is a great way to ensure that you have the proper consent before moving forward. Consider the following options:
*Note* First Advantage and AccuSourceHR require a consent form be saved on the employee's record for background checks. The document type used for this is configurable for each system.
Using HRCenter to fill out and sign the consent form electronically:
If you are using HRCenter to have employees fill out online applications and onboarding documents, you can have your admin add your background check consent form to HRCenter for the employee to fill out. Once it's signed and the workflow is submitted, it will automatically save the completed document in the documents section on the employee's record.
To learn more, check out HRCenter 102: The Applicant Process and Beyond - Onboarding.
Saving a scanned copy of a consent form:
If you are still using paper to have employees complete the consent form, you can still scan in a copy and save it to the documents section of the employee's record. 
Check out Beyond - Documents for more information.
Employee Record Audit
Each background check provider and package has a unique set of information that it needs. Below are a few general guidelines to consider. Work with your manager to learn more specifics with the background check packages you run.
Name 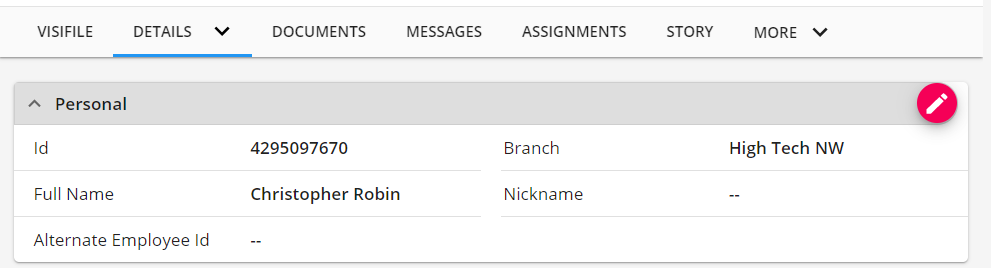
Make sure the employee's full name is listed with correct spelling on the personal card in the details section of the employee's record. Consider whether a middle name should be entered.
Identification 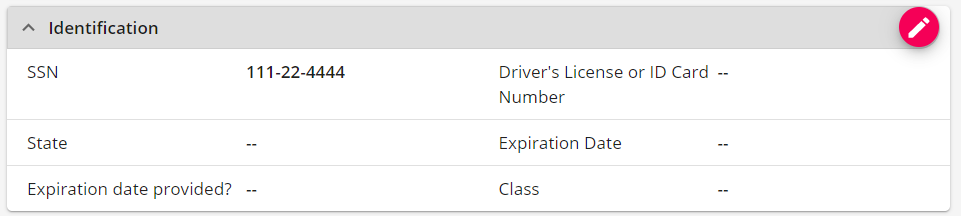
Some background checks require SSN and/or Driver's License information. Consider adding this information to the identification card on the details tab of the employee's record.
Address 
Make sure you have the correct address for any background check packages that require address information.
Work History & Education
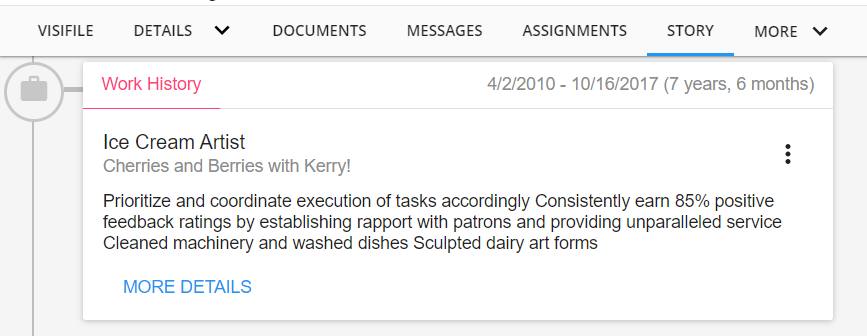
Some background check packages will take work history and education items. Review the Story Tab for relevant work history and education information.
Note that when you edit each item you can choose to exclude it from the background check by un-checking the box next to Include in Background Checks? 
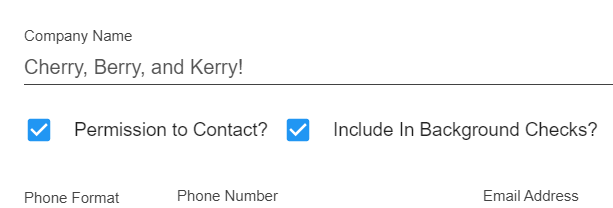
References
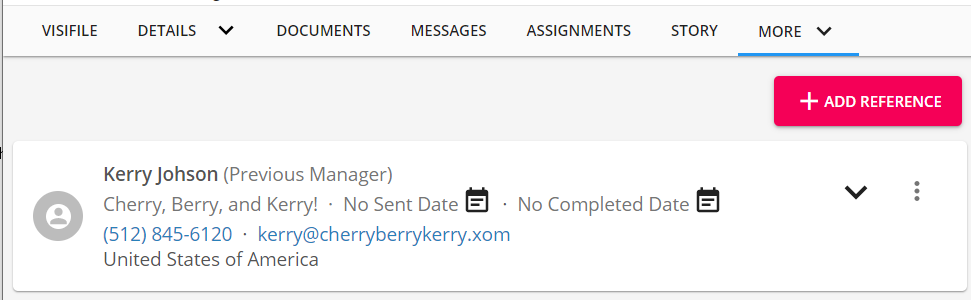
Some background check packages may look at references. Consider reviewing and adding any additional references with your employee. Should you not want to include a reference, you can un-check the box next to "Include in Background Checks?" when editing the reference:
Initiating a Background Check
Ready to request a new background check for an employee? Use the following steps to walk through the background check request process.
*Note* Before you can run background checks, you will need to the correct credentials and permissions. Check out Beyond - Background Check Providers and Setup.
- Navigate to the employee record you wish to request a background check for
- Select the background check charm and select "Run New Background Check"

- A new side bar will open (if you are on a smaller screen, the window will cover your screen)
- Select your background check provider and package: <Insert GIF>
- If you are utilizing multiple background check providers, use the pencil to switch between providers
- Select your package(s) from the drop down
- If you've selected the wrong package, use the Trash can next to the selected packages to remove it
- Additional Options:
- Each provider may have additional options to select from under additional options:
- First Advantage allows you to optionally select:
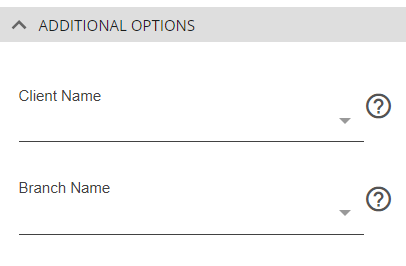
- Client Name (the drop down will include any customers from the employee's assignment section)
- Branch Name (only branches within your current hierarchy scope will be able to be selected)
- AccuSourceHR (SourceDirect) allows you to optionally select:

- Company Accounting Code - Optional codes used for accounting purposes.
- Drug Screen Reason - This is only required when there is a package containing a drug service screening.
- Drug Screen Testing Authority - This is only required if the selected package contains a DOT type drug order.
- Asurint allows you to optionally select:
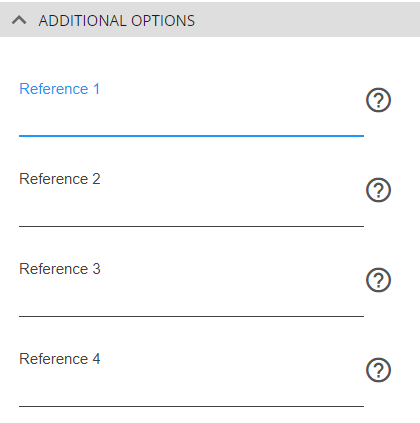
- References 1-4: optional values to be supplied with the background check request for Asurint.
- Universal allows you to optionally select:
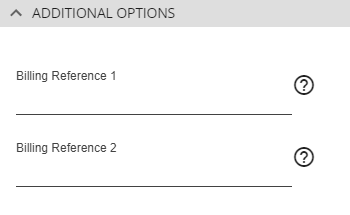
- Billing References 1-2: optional values to be supplied with the background check request for Universal.
- Select next to review your request
- You may be prompted to review some record validation before submitting. See below for more information


Record Validation
Once you hit next to submit a background check request, you may be asked to review a few items on the employee's record. There are two types of validation that may appear depending on the background check packages: Required and Suggested.
Required Validation
Required validation will need to be resolved before you can submit a background check. Typically these are employee details such as name, SSN, birth date, etc. Each background check provider and package can have different requirements.
Example:
Required validation will have a red banner with the word REQUIRED at the top:
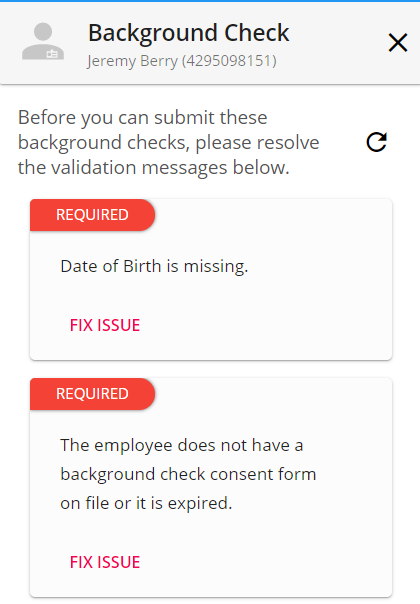
Since the background check is open in a side bar, you can still navigate through the employee's record to update and fix things before the background check is submitted.
To quickly fix these required options, simply select the FIX ISSUE text at the bottom of the item. This will direct you to the area or card on the employee's record that needs to be updated.
Suggested Validation
Suggested validation items do not need to be fixed in order to submit the background check request but should be considered. These are items that the background check packages would like to have or could enhance your background check request. This can include work history fields, education, address, etc.
*Note* Some Work History and Education items may appear here as suggested but depending on the background check provider and package selected, they may be required to complete the background check request. Should your background check fail to process, it may be because some of these suggested items are required for that specific package.
Make sure you know what your background check package requires before you submit your request.
Example:
Suggested validation will be set in grey with the word SUGGESTED at the top:
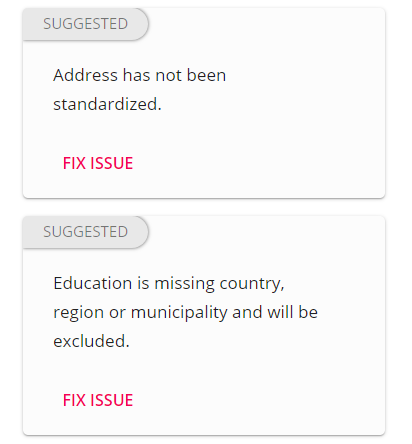
If you have a moment to update some or all of these items, you can quickly do so by selecting the FIX ISSUE option at the bottom of the item. This will direct you to the area or card on the employee's record that needs to be updated.
Submitting the Background Check
Once all the necessary information has been entered and the record validation is complete, you will be prompted to review and submit your background check request.
Once the background check request has been submitted you can watch the status update in the side bar.
Background Check Statuses:
| Status | Meaning |
|---|---|
 | When you press submit on a background check request, Beyond will gather all the necessary information and send it to the provider. "Queued" means that it is in process of sending all the information to the provider. |
 | Once a background check request has been delivered to the provider, it will be set to "In Progress" letting you know that the provider is working on the request. |
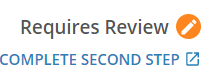 | Some background checks may require additional actions. If your request is set to Requires Review, click the "Complete Second Step" action link to be taken to the provider where you can complete any necessary additional steps. |
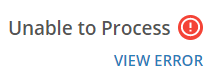 | This status is used to say that something went wrong with you request. Click the "View Error" action link to see more details. |
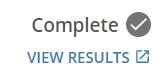 | This status means that the background check request has been completed successfully! Click the "View Results" action link to be brought to the results page of the check. |