Beyond offers email functionality which allows you to email anywhere you see an email address in the system. In this article, we will review the settings available for email functionality.
*Note* Email account within Beyond are separate from email accounts within Enterprise. If you have email accounts within Enterprise, these will need to be setup once more within Beyond.
Where to Find Email Setup
- Navigate to the
 in the upper left
 - Select User Settings
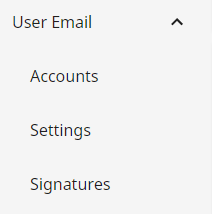
- Select User Email on the left
 in the upper left
The User Email section is split into 3 Sections:
Settings
The best place to start is settings. Beyond gives you the option to open your default email client or use Beyond's built in email option.
Benefits to Using Beyond Email Client:
- Still uses your email address.
- Keeps you within the Beyond system.
- Has options for logging messages on records.
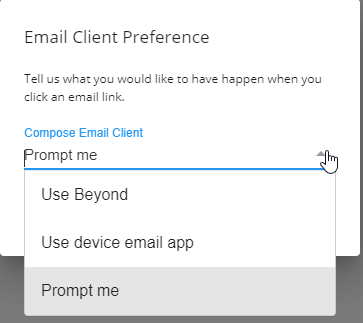
To Change Your Settings:
- Navigate to User Settings > User Email > Settings
- Tap the Edit button on the card
- Choose from 3 options:
- Use Beyond - Always use the Beyond Email Client when sending emails.
- Use Device Email App - Always open your default email program for the device you are on (ex. Outlook, Apple Mail, etc.) when you click on an email address.
- Prompt Me - Ask every time you email which option you would like to use.

Adding an Account
If you are going to use the Beyond Email Client instead of your default email program, you will need to add your email(s) into Beyond.
- Navigate to User Settings > User Email > Accounts
- Select the "+" in the upper right corner
- Select a provider (if no providers matching your email exist, then choose other)
- Enter the following information:
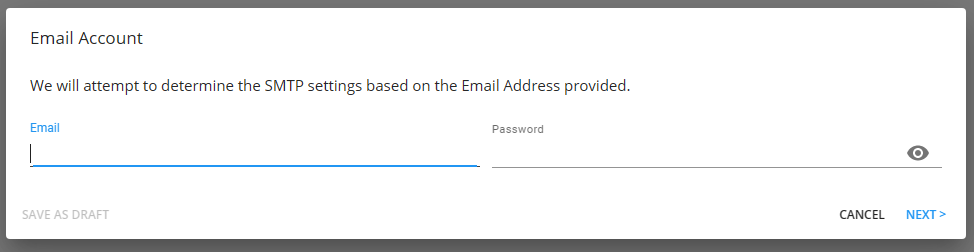
- Password
- Select "Next". At this point, Beyond will attempt to determine the correct SMTP settings based off the email address that had been entered.
- Review or modify the information based on what was found:
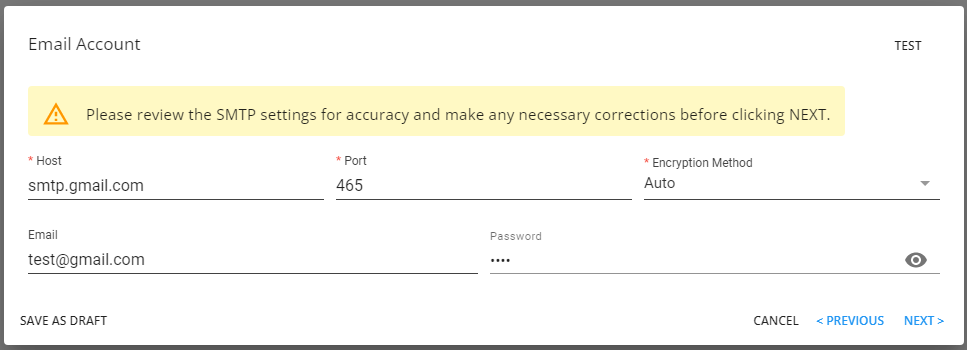
- Once everything has been confirmed, select "Next".
- Review or modify the information based on what was found:
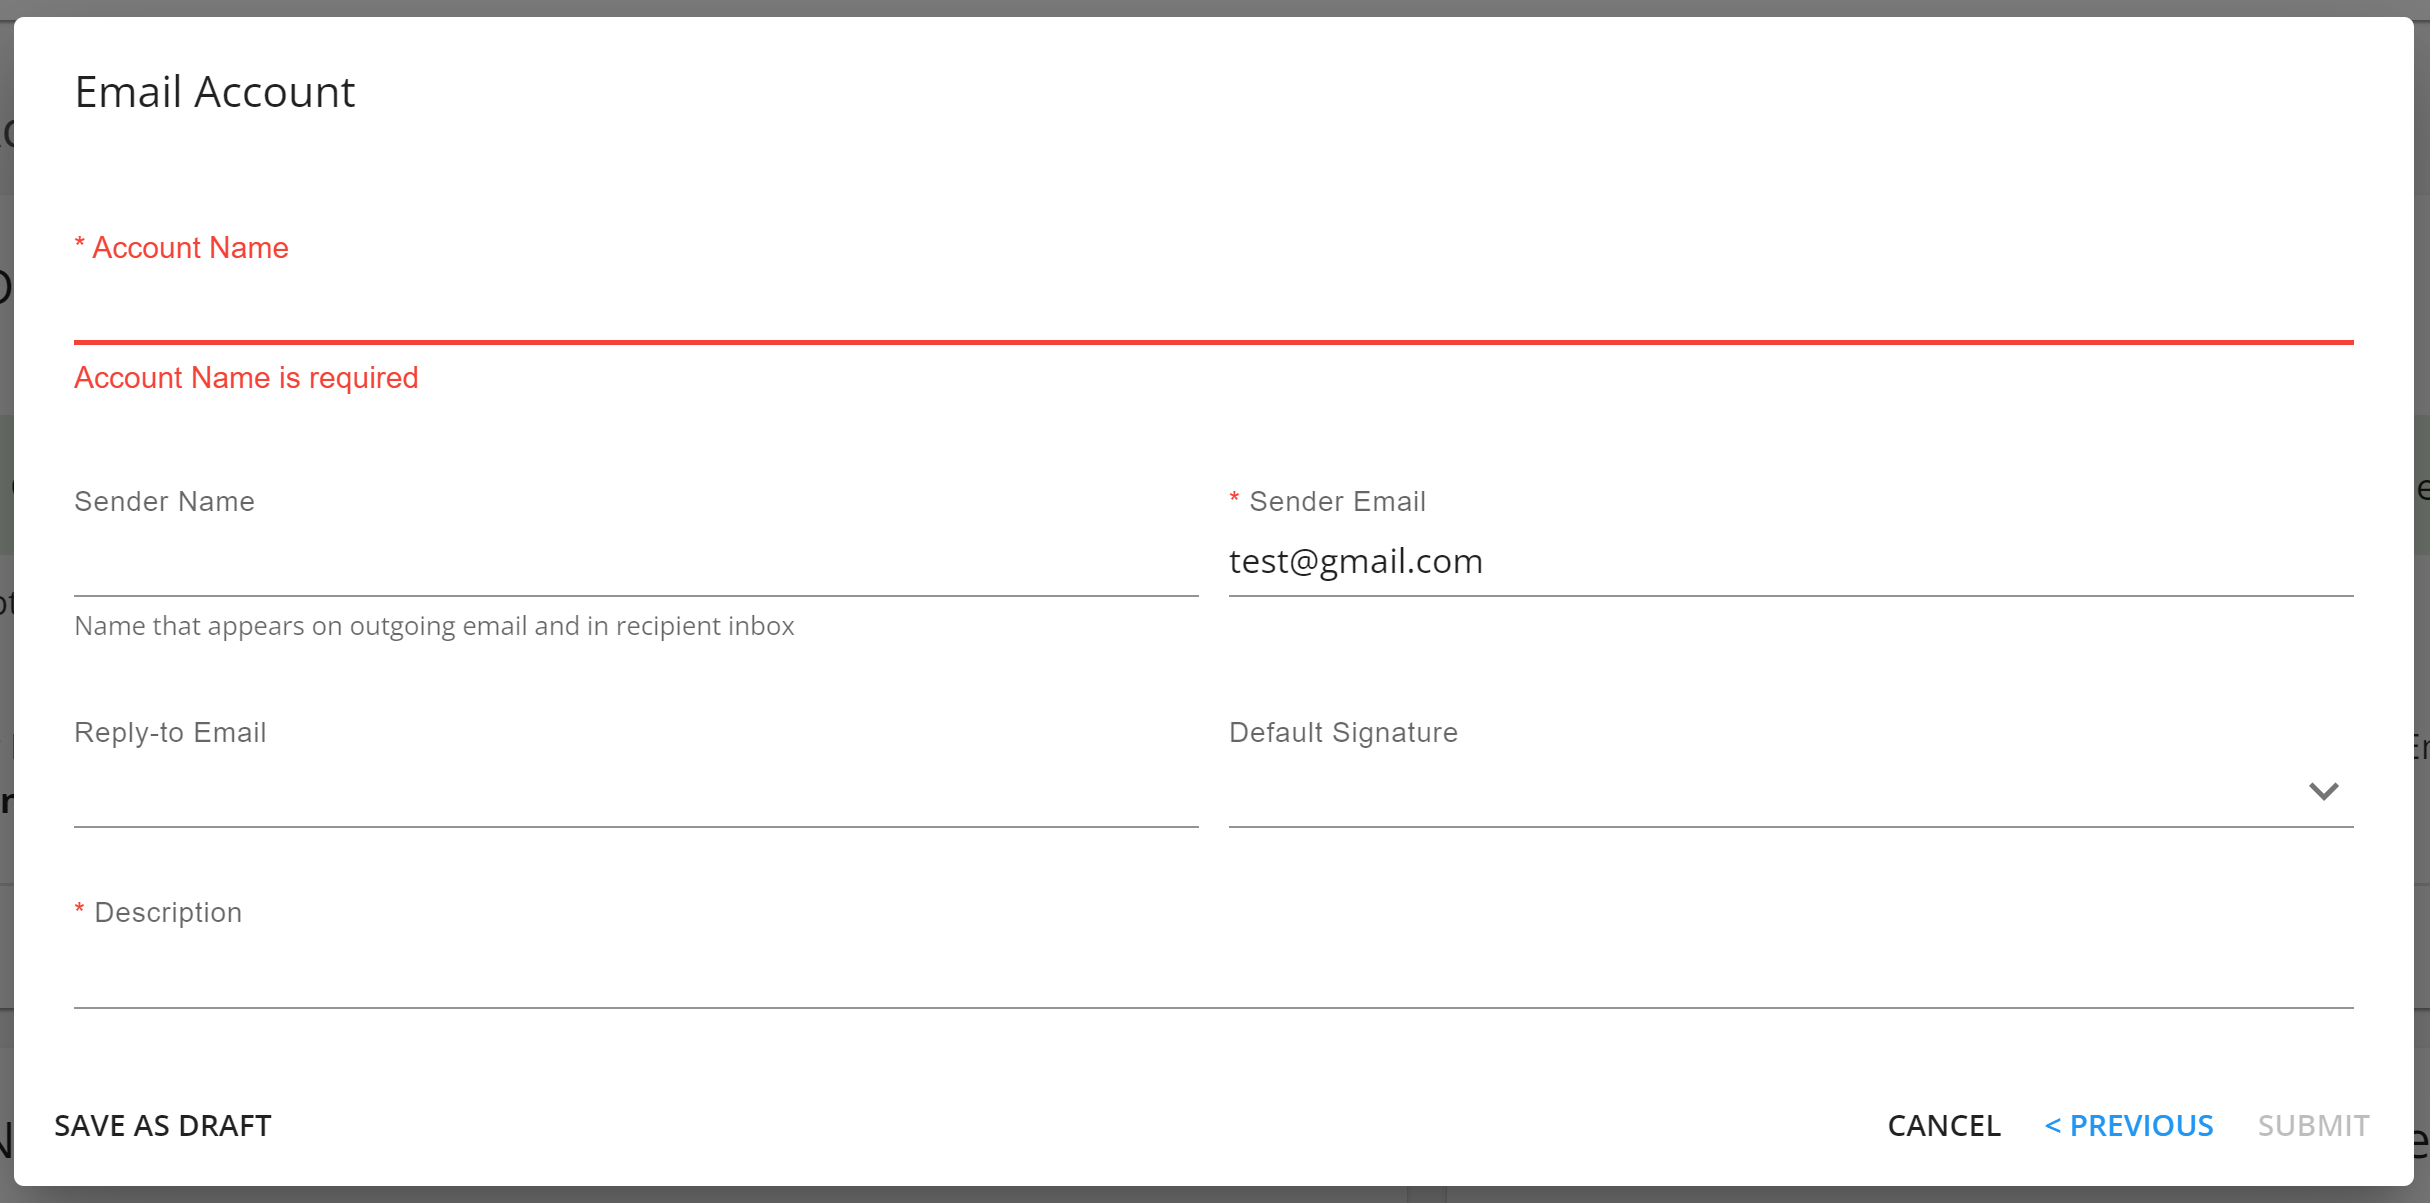
- Account Name (Required) - The name of the email account being added.
- Sender Name - Name that appears on outgoing email and in the recipient's inbox.
- Sender Email (Required) - The email address being added.
- Reply-to Email - This is optional if you would like a different email for the recipient to reply to.
- Default Signature - Signatures that you set up can be defaulted to already be inserted when an email is created from this email address.
- Description (Required) - A description for the type of email account being added.
- Select "Submit"


Microsoft 365
The following instructions outline how to add a Microsoft 365 email account to Beyond.
- Navigate to User Settings > User Email > Accounts
- Select the "+" in the upper right corner
- Select "Microsoft 365"
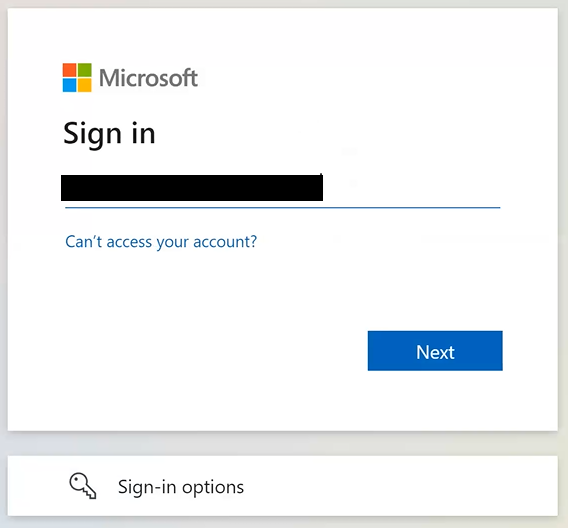
- A new browser tab will open, directing you to log in using your Microsoft credentials to complete the link between Microsoft and Beyond:
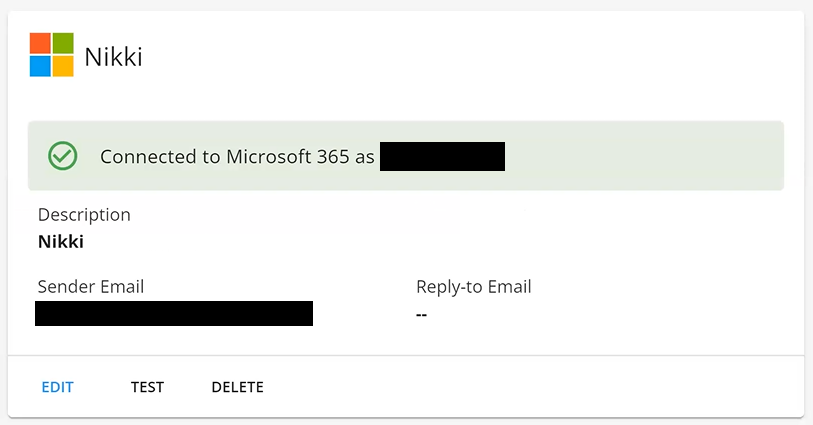
- Once the connection has been established, the browser tab will close and you will be navigated back to the Beyond email tab, specifically the "Email Account" window.
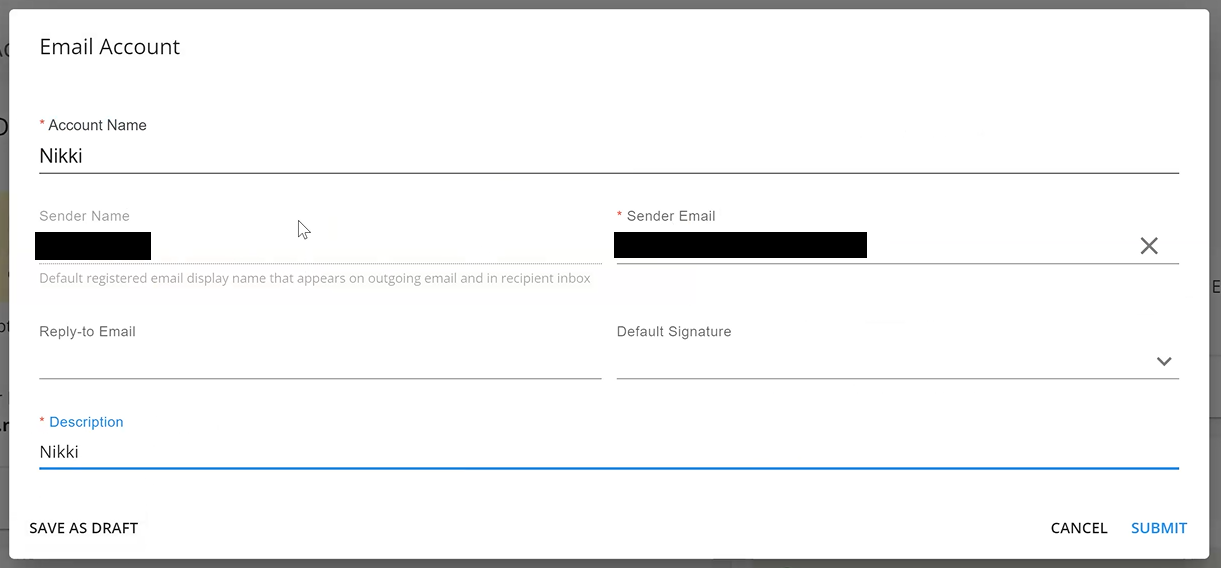
- Within the "Email Account" window, enter the following:
- Account Name (Required) - The name of the email account being added.
- Reply-to Email - This is optional if you would like a different email for the recipient to reply to.
- Default Signature - Signatures that you set up can be defaulted to already be inserted when an email is created from this email address.
- Description (Required) - A description for the type of email account being added.

*Note* Please keep the following in mind when creating a Microsoft 365 email account:
- The "Sender Name" field is unable to be edited and is the name that is stored within your Microsoft account.
- The “Sender Email” field prefills with the email address that is registered with Microsoft.
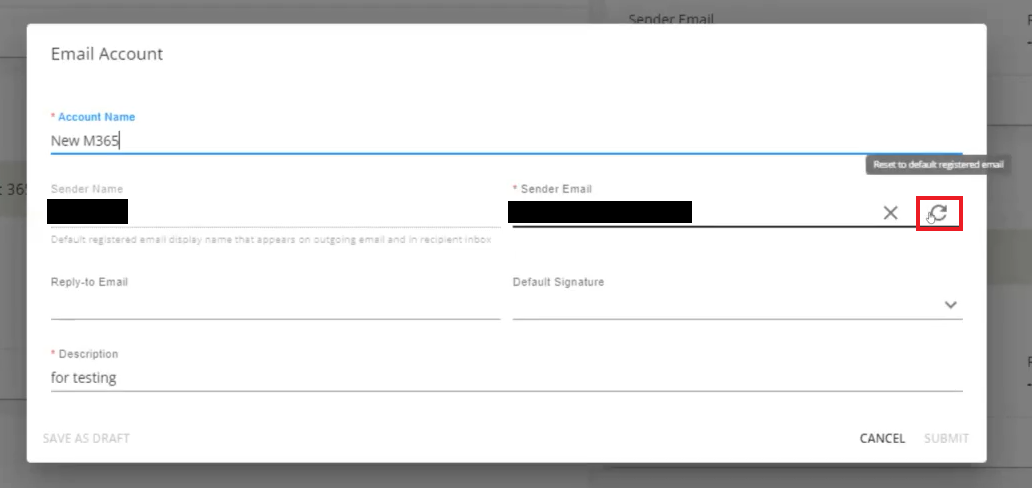
For the "Sender Email" field specifically, if you have another registered email address with the same Microsoft 365 account, you can enter that new email address within this field and test to verify that the email address directs as intended with the registered Microsoft 365 account.
Also, if the default registered email address is changed, the "Sender Name" will no longer be auto populated as the "Sender Name" is always linked to the default registered email address. Therefore, you would need to delete the account and create a new one, using the email address tied to the display name that you would expect.
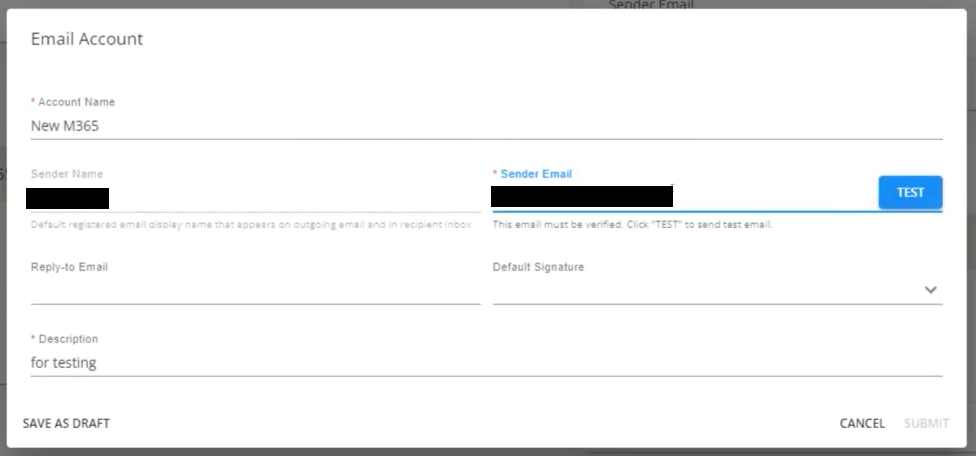
Once "Test" is selected, a test email will be sent to the email address entered if the entered email address aligns with the Microsoft Account:

If the test email is received, navigate back to the "Email Account" window within Beyond and select the "I received the test email" box and select "Submit":
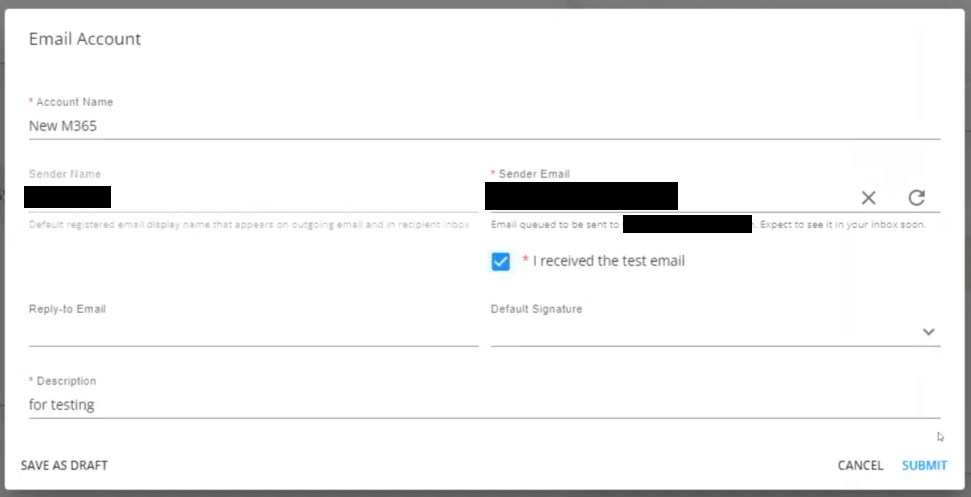
If the test email was not received, simply select the "Revert" option to the right of the "Sender Email" to automatically re-apply the original Microsoft 365 email address:
- Once all of the information has been entered/verified, select "Submit" to complete the Microsoft 365 email setup process.
*Note* Microsoft may require the re-authorization of the email account that has been added to Beyond. If this occurs, you will see a banner within the Microsoft 365 email card with an "Authorize" button:
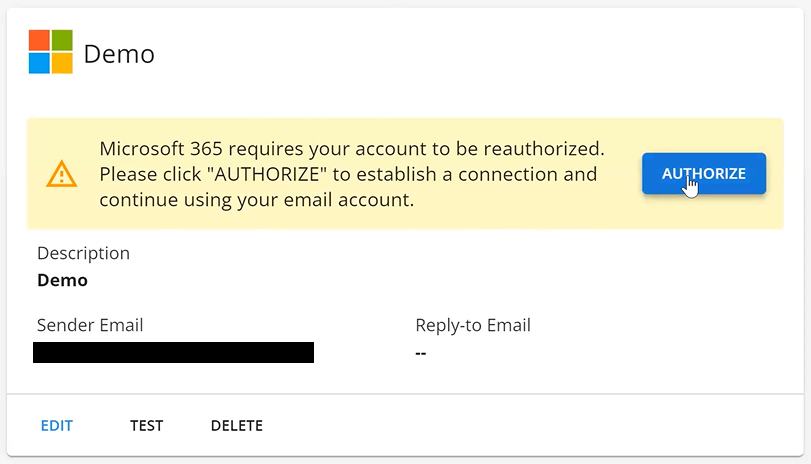
You will also see the banner when attempting to send an email within Beyond while utilizing the affected Microsoft 365 email address:
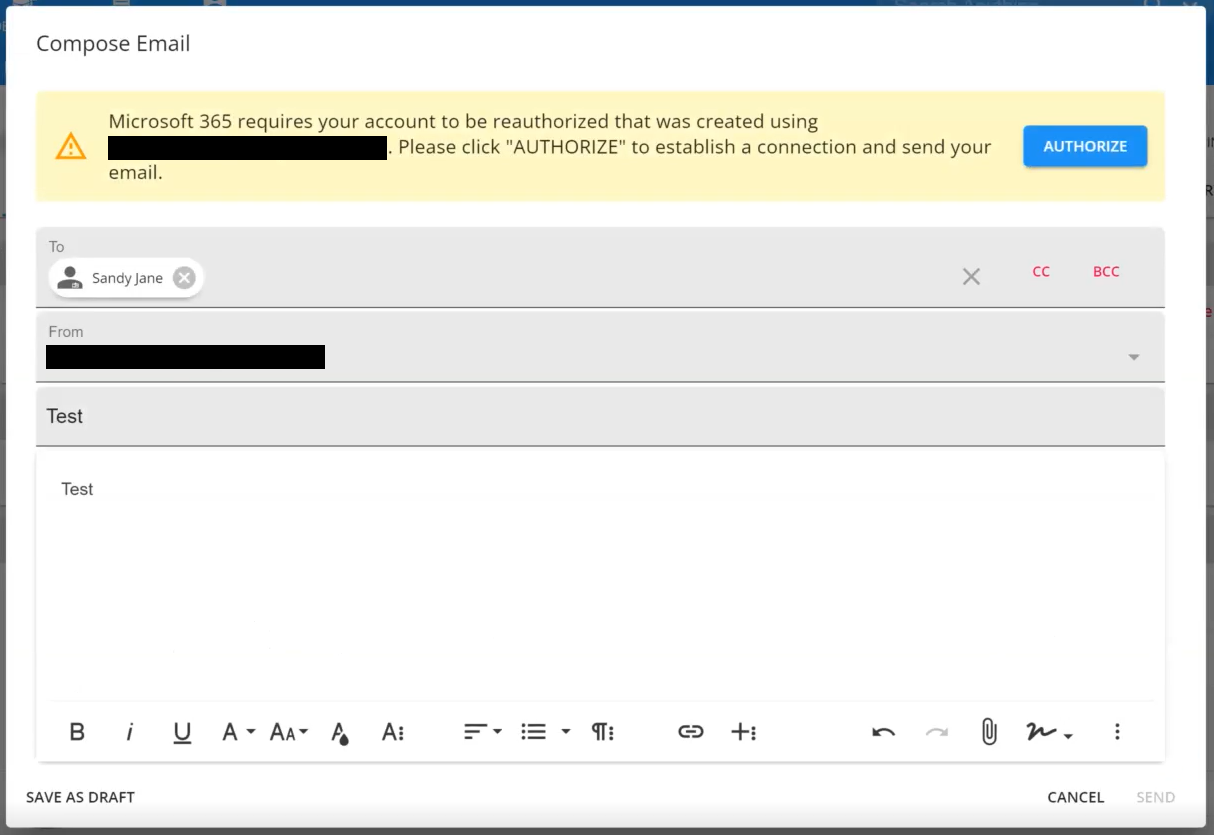
Selecting "Authorize" will open a new browser tab where you will need to log in with your Microsoft account credentials which will re-establish the link between Microsoft and Beyond.
Default Email Settings
| Mail Provider | Host | Port | Encryption Method |
|---|---|---|---|
| Gmail | smtp.gmail.com | 587 | Auto |
| Office 365 | smtp.office365.com | 587 | Auto |
| GoDaddy | smtpout.secureserver.net | 3535 | Auto |
| Yahoo! | smtp.mail.yahoo.com | 465 | Auto |
| Mailchimp (Mandrill) | smtp.mandrillapp.com | 587 | Auto |
| Outlook (AKA Hotmail / Live) | smtp-mail.outlook.com | 587 | Auto |
| Rackspace | secure.emailsrvr.com | 465 | Auto |
*Note* Your team's email settings may be different from these. Ask your IT team or email provider for the correct settings for your email. Some email providers, including Gmail, may require you to change your security settings in order to have another application access your email.
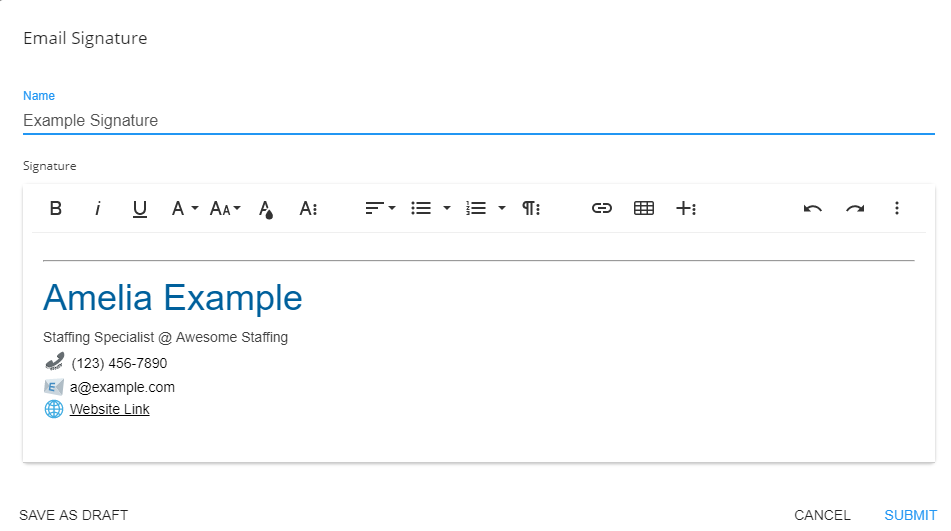
Setting Up Email Signatures
Once you've added your email into Beyond, you can set up different email signatures to appear at the bottom of the email you are composing.
Signatures can be defaulted for each email account. You can have multiple signatures.
*Note* Email signatures within Beyond are separate from email signatures within Enterprise. If you have email signatures within Enterprise, these will need to be setup once more within Beyond.
To Set Up a Signature
- Navigate to User Settings > User Email > Signatures
- Select the "+" in the upper right to add a new signature
- Enter a name for your signature (this will be used for you to select from when you want to insert a signature)
- Copy and paste or type in your signature

Email Signature Tips & Tricks:
- Selecting the text color button (
 ) allows you to pick from default color pallette or use the Hex color code to add your own color to match your branding.
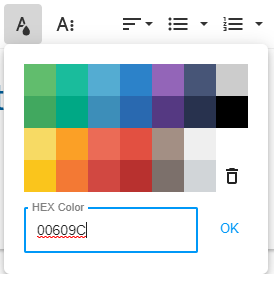
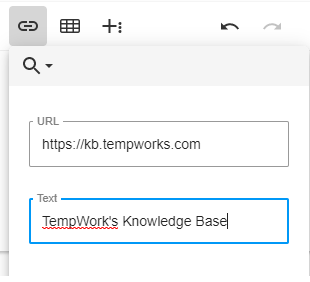
- Use the Insert a Link option to include a link to your company's website in your signature.
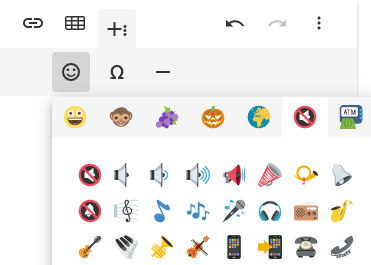
- Select the More Rich options to add emojis, symbols, or a horizontal line in your signature:
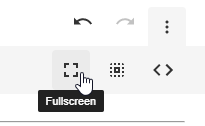
- Select the More Options on the right to view your signature in full screen, select all text, or (if you are feeling tech savvy) use HTML to format your signature.
 ) allows you to pick from default color pallette or use the Hex color code to add your own color to match your branding.


