Looking for a phone app option? Check out What is Buzz & reach out to your TempWorks account manager for more information.
What is WebCenter?
The employee portal of WebCenter gives you, the temp employee, access to important information including paycheck stubs, assignment info, and important documents.
*Note* Each staffing company has a unique URL link to WebCenter and will need to provide you with log in credentials. These same credentials are used to log into HRCenter.
Check out (Legacy) Employee Portal - Welcome to WebCenter for more information.
WebCenter can be accessed on mobile devices by opening the preferred web browser on your phone (ex. Google Chrome or Safari) and navigating to the same WebCenter URL link.
Once you log in as an employee, you will be greeted by a simplified mobile-friendly home screen: 
This article reviews:
Availability
This section allows you to mark yourself as available for the day. For more information on Availability, check out (Legacy) Employee Portal - The Home Tab.
View Assignments
This section allows you to view basic information about the current, upcoming, or past assignments. 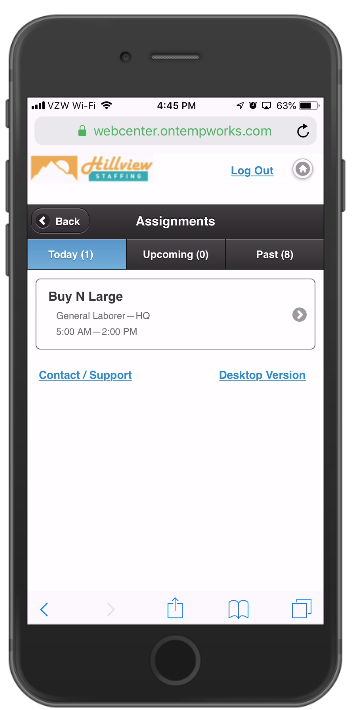
Once you select an assignment, you will be able to see details related to that assignment. This includes a directions option which will open the location in your maps application:

*Note* To learn more about assignments and WebCenter, check out (Legacy) Employee Portal - The Assignment and Calendar Tabs.
TimeCards
The timecards section allows you to view any unsubmitted timecards and add or edit the time entered. If you are not entering time via WebCenter, this tab may not be available to you.

*Note* New timecards cannot be created from the mobile version. In order to edit timecards here, you will need to navigate the desktop version, navigate to the assignment you wish to create a timecard for, and then select "create timecard from assignment".
*Note* For more information see (Legacy) Employee Portal - The Timecards Tab.
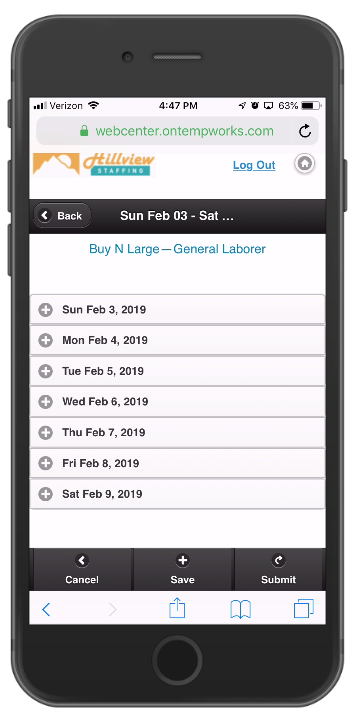
To Edit a Timecard:
- Select the timecard you wish to edit or add time to
- Depending on your timecard template, select the day you want to enter time for or enter hours for the total week.
- If you are utilizing a timecard template that requires punch in/out times instead of hours, you will need to enter each punch in or out:
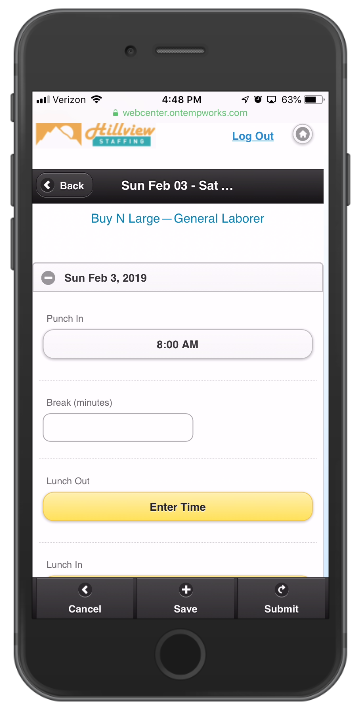
- Don't forget to select the Save button on the bottom to save your changes.
- Once you have entered all punches/time for the week, select the submit button to submit the timecard to the supervisor.


Pay History
This section allows you to see your last 20 check stubs.
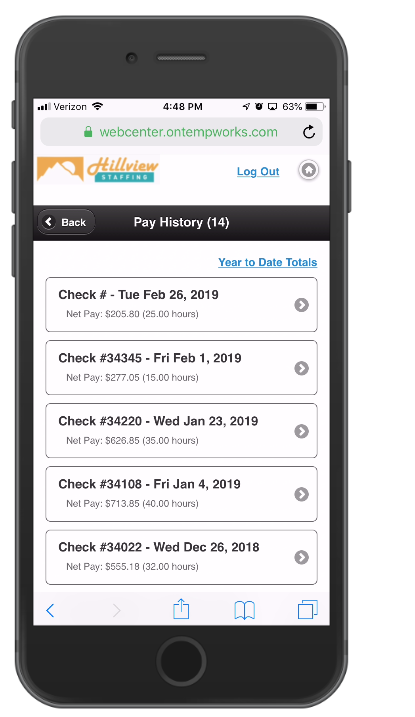
Select a paycheck stub to view more details:

*Note* For more information on pay history in WebCenter, see (Legacy) Employee Portal - The Pay History Tab.
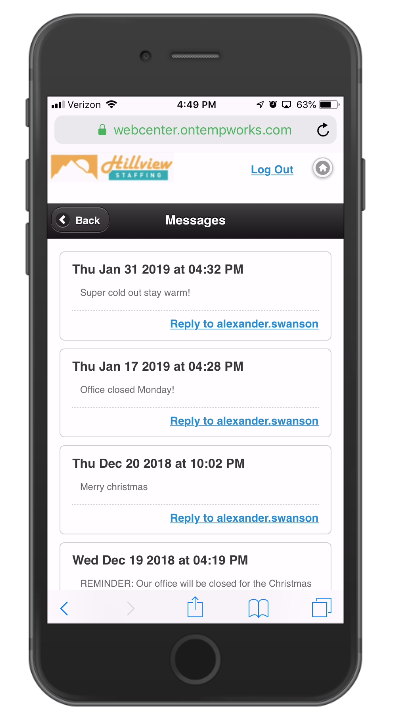
Messages
The messages option displays messages sent from your recruiter.
This is a great resource for reminders including days the office is closed, etc.
*Note* For more information on Messages see (Legacy) Employee Portal - The Home Tab.