What is a Worksite?
Worksites are the addresses for the physical locations that you are sending employees. They help calculate taxes during payroll, and help you document the location for each job site.

How are Worksites Different From Departments?
Departments help create additional separation for larger customers. They allow for different defaults, statuses, contacts, and more. Worksites exist both on a primary customer record and any departments to allow you to add the locations that employee's may be sent to work.
If you are looking for more information on departments, check out Beyond - Creating and Managing Departments
This article walks through:
How to Create a Worksite
Worksites are set up on Customer/Department records in Beyond.
Looking for a video tutorial? Worksites are included in our video on customer defaults:
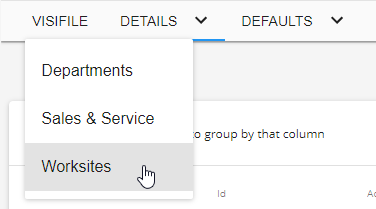
- Navigate to the Customer or Department record you want to add a worksite to
- Tap on the arrow next to the Details tab and choose Worksites
- Select the
 button to add a new worksite to the list
 - Enter the Worksite Details -
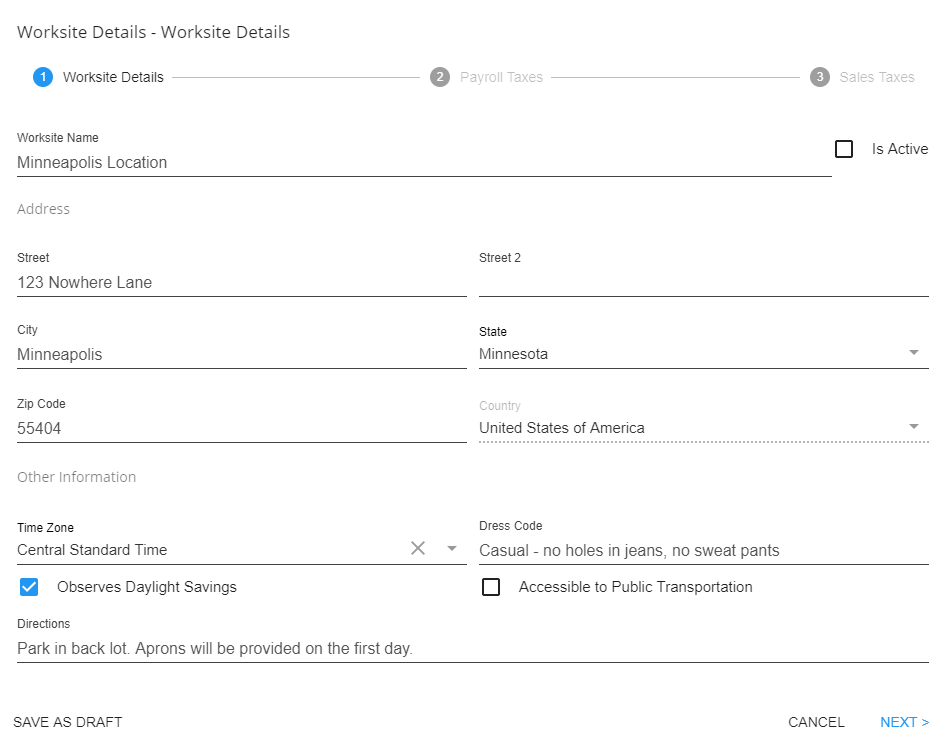
- Worksite Name: A unique name used to describe the location, e.g. Downtown, 2nd Street, South Shipping, etc.
- Address Information: The physical location of the site
- Time Zone: This is relevant especially for clients that are utilizing our TempWorks TimeClock solution. From the drop-down menu, set the time zone on the worksite to the time zone that the clock is in. The "Observes Daylight Savings' box should be selected in all instances except for clocks that are located in places where they do not observe daylights saving time (ex. Arizona and Hawaii).
- Dress Code & Directions: Allows users to input dress code and directional information related to the worksite. Text entered here will display/pre-fill into orders that are created for this worksite and will also post out to the WebCenter employee portal.
- Click next to continue
- Select Payroll Tax Information -
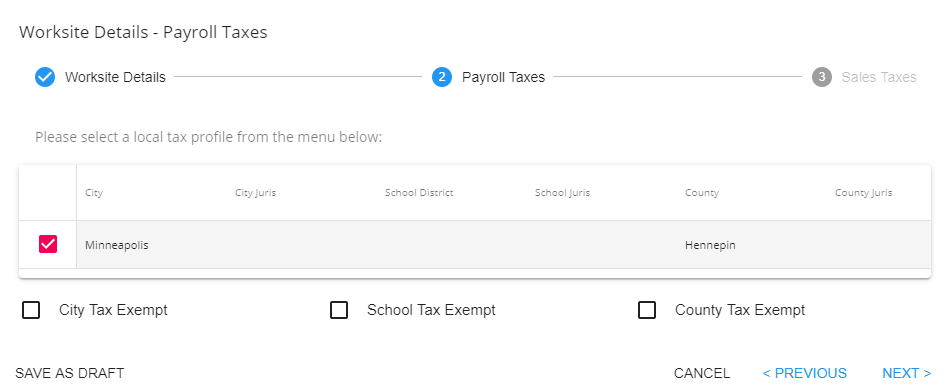
- Beyond utilizes the zip code that was entered within the worksite details step of the wizard to determine local tax profiles (state, city, school district, county, etc.). As long as the worksite selected on the order is accurate, payroll taxes will be as well.
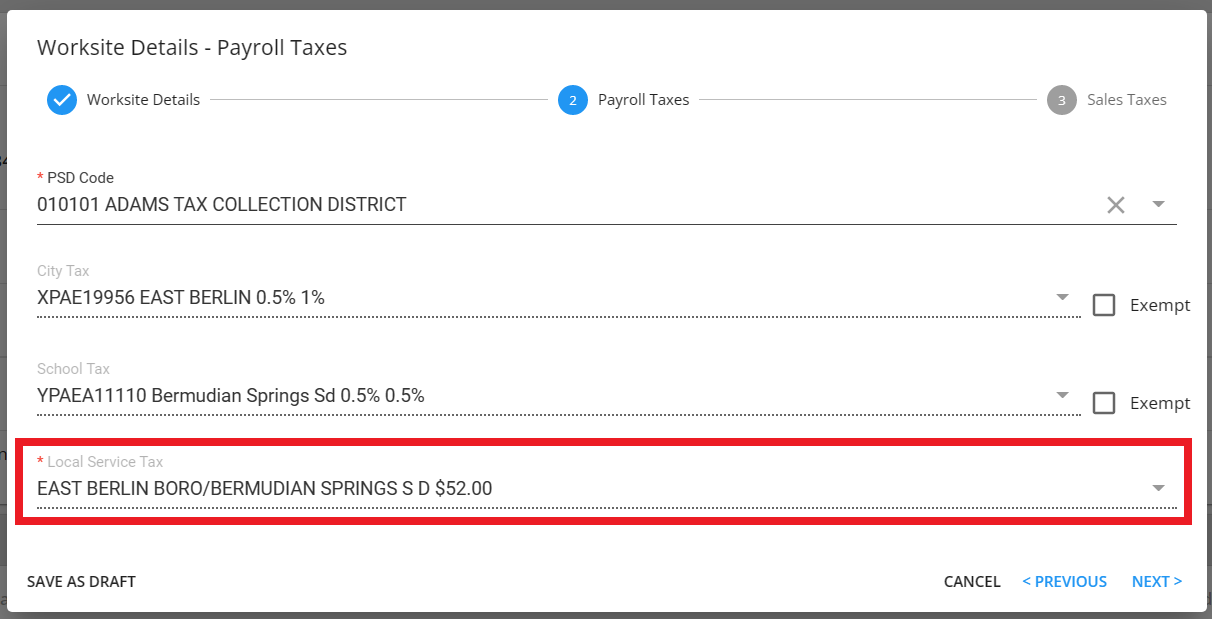
- For Worksites within the state of Pennsylvania, a PSD Code will need to be selected when creating the Worksite:
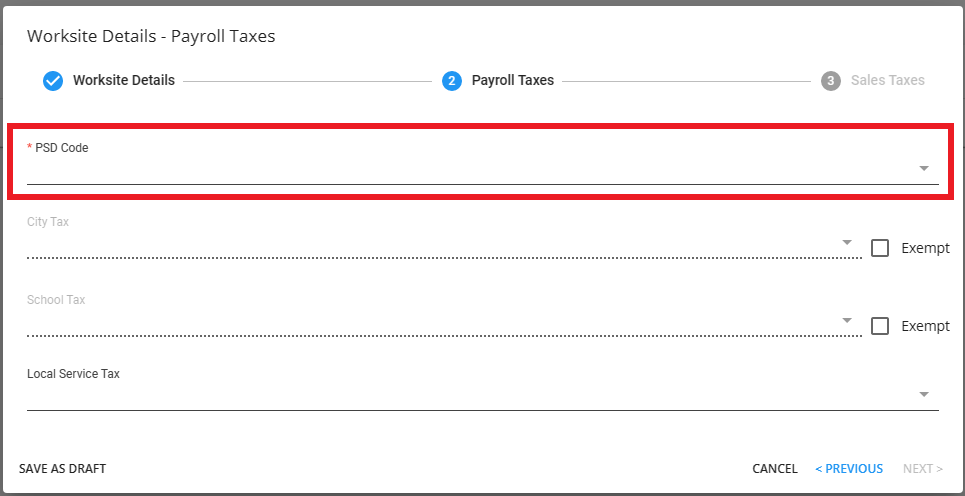
- Once the PSD code has been selected, if there is an associated Local Service Tax, it will automatically apply to the "Local Service Tax" field and will not be editable:
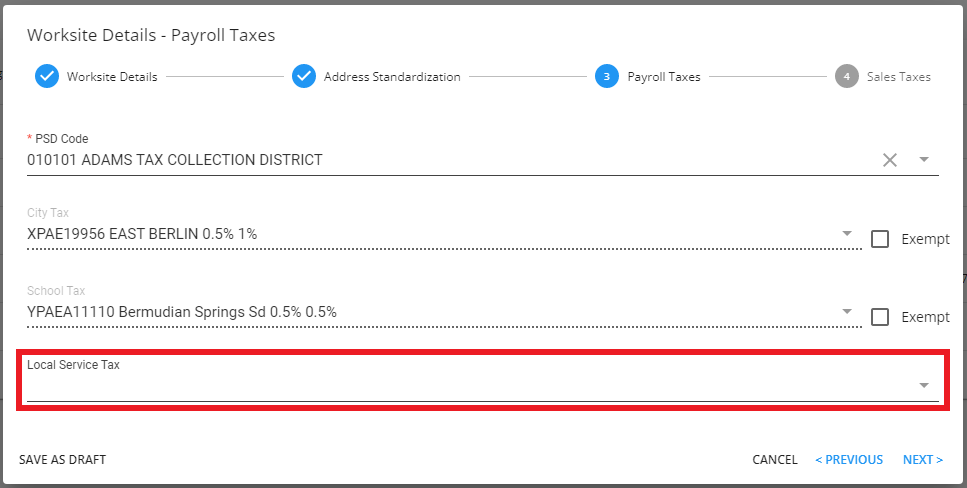
- If the selected PSD Code does not have an associated Local Service Tax, you will also need to select a Local Service Tax via the dropdown:
- Once the PSD Code has been selected for the Worksite, the City and School Tax fields will be unable to be edited:
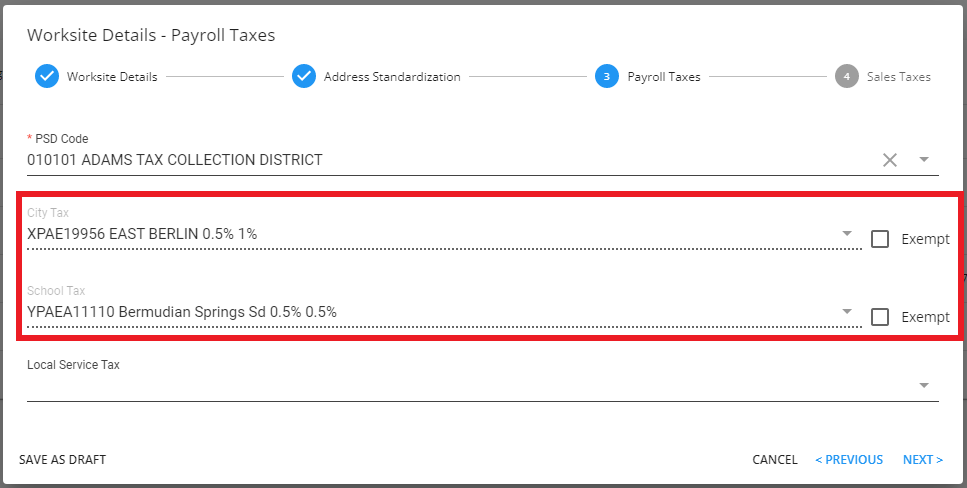
- Select Next to Continue.
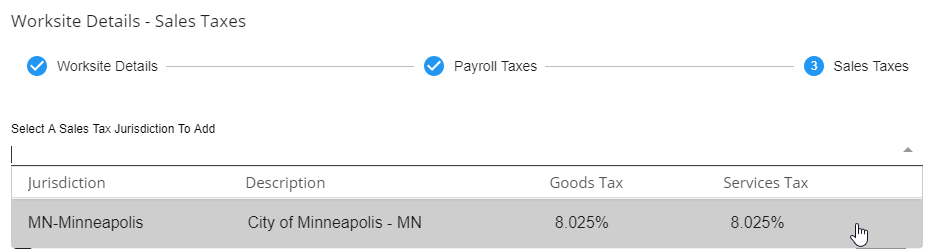
- Select Any Applicable Sales Tax -
- Typically, sales tax is location specific, meaning it should be applied based on where the employee works.
-
*Note* Not all states require sales tax on staffing services. Please consult your tax professional for specific information for your location.
- If you are in a situation where it would be appropriate to add sales tax, from the 'Select A Sales Tax Jurisdiction To Add' drop-down, simply select the matching jurisdiction:
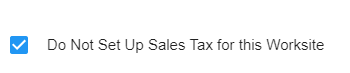
- If you do not want sales tax to apply to the worksite, select the checkbox at the bottom:
- Select Submit to Save Your Worksite

 button to add a new worksite to the list


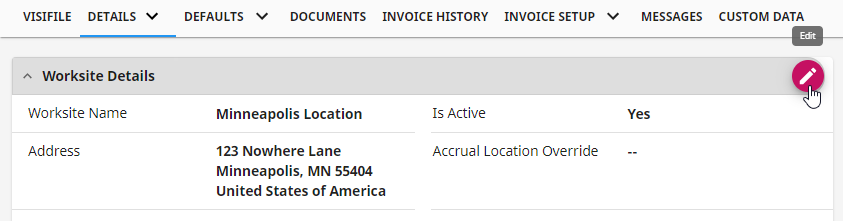
Once you have saved your worksite, you will be brought to the details of the worksite:

Select Details > Worksites to return to the list.
*Configuration Alert*
If you are utilizing our Address Standardization configuration for worksites, you may have an additional step to validate the address with the USPS. For more information, check out Beyond - Address Standardization
To Edit an Existing Worksite
- Select it from the list of worksites to see the worksite details.
- Choose the pencil in the upper right:

*Note* With the appropriate permissions, you can also edit the "Payroll Tax" card information directly from the Worksite details:

Users will need to be a member of a Security Group with the "Can edit customer worksite payroll tax section" permission, or they will need to be a member of an Advanced Security Group with "access" to the "Payroll Tax" form and related fields:

For more information on Security Groups and Advanced Permissions, please see the following articles:
If the Worksite is located in PA, the "Payroll Tax" card will not be able to be edited, regardless of the aforementioned permissions.
Selecting the Correct Worksite
Worksites need to be selected when filling out an order record to ensure employees are being taxed properly and that your records are accurate.
- Navigate to the order Details tab
- Select the Pencil on the Customer Information Card
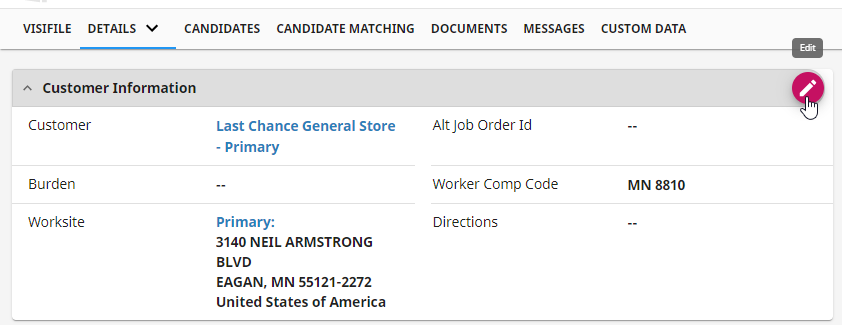
- Select the correct worksite from the drop down
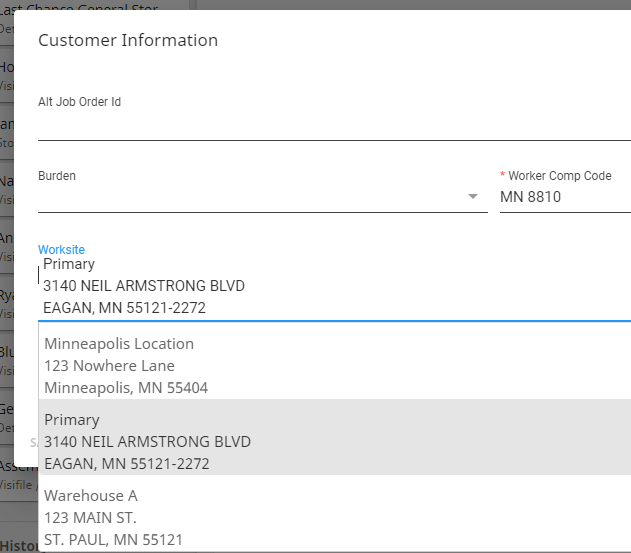
- Select Submit to save


Default Worksites
If you have a list of worksites, you may be wondering how the system chooses which one to be the default worksite when a new order record is created. Good news - you can set what the default worksite is for any customer or department record!
- Navigate to the customer/department record you want to change the default worksite for
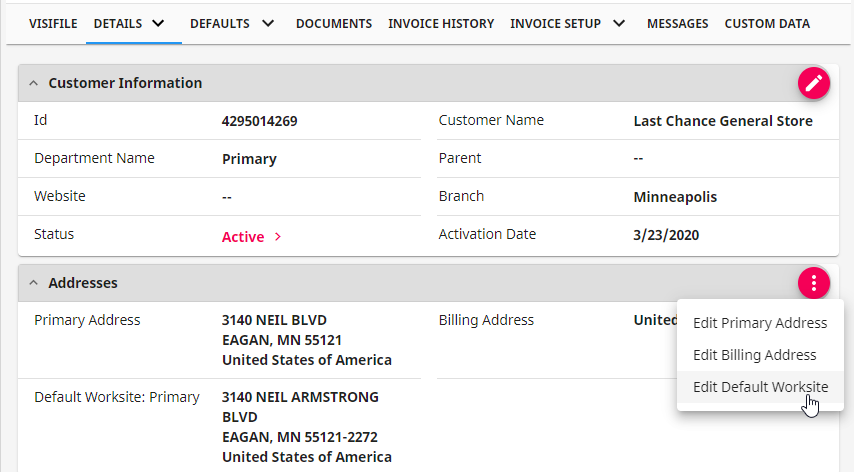
- Select the Details tab
- Select the 3 dots icon in the upper right of the Addresses card
- Select Edit Default Worksite
- Select the worksite you want to be the default from the drop down
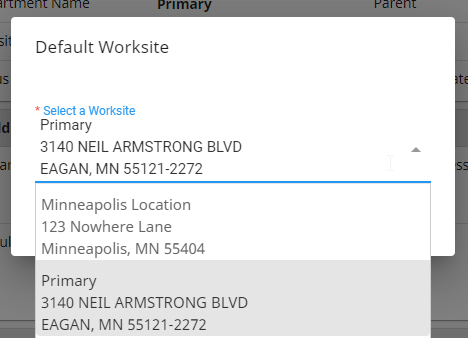
- Select submit to save your changes


Going forward, any new order records created will save with the new worksite selected by default. You can still change this worksite manually under order > Details.