Granting Employees/Contacts Access to Product Instances
Any employees that have been manually entered or parsed into the system, will need to have their web user account established before being able to access product instances (WebCenterTM, HRCenterTM, BuzzTM, and/or TempWorks Job BoardTM).
*Note* Any employees whose record was created by registering through HRCenter will automatically have a web user account.
To grant access to TempWorks product instances, navigate to the 'actions' menu from the employee record and select 'Manage Web User Account.' This action will also be available within the contact record.
Once selected, you have two options, you may either:
- Invite the employee/contact to create their WebCenter account
- Manually create web user account
1. Invite the Employee/Contact to Create Their WebCenter Account
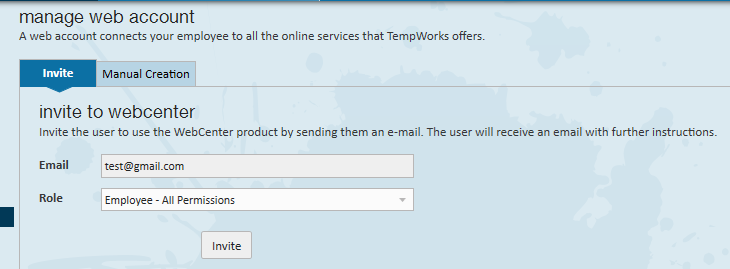
If you choose to invite the user, they must have a valid email on file. If the employee does not have an email address on file, navigate to details, contact methods and add their email address. The email address will then auto-populate into the email section as shown.
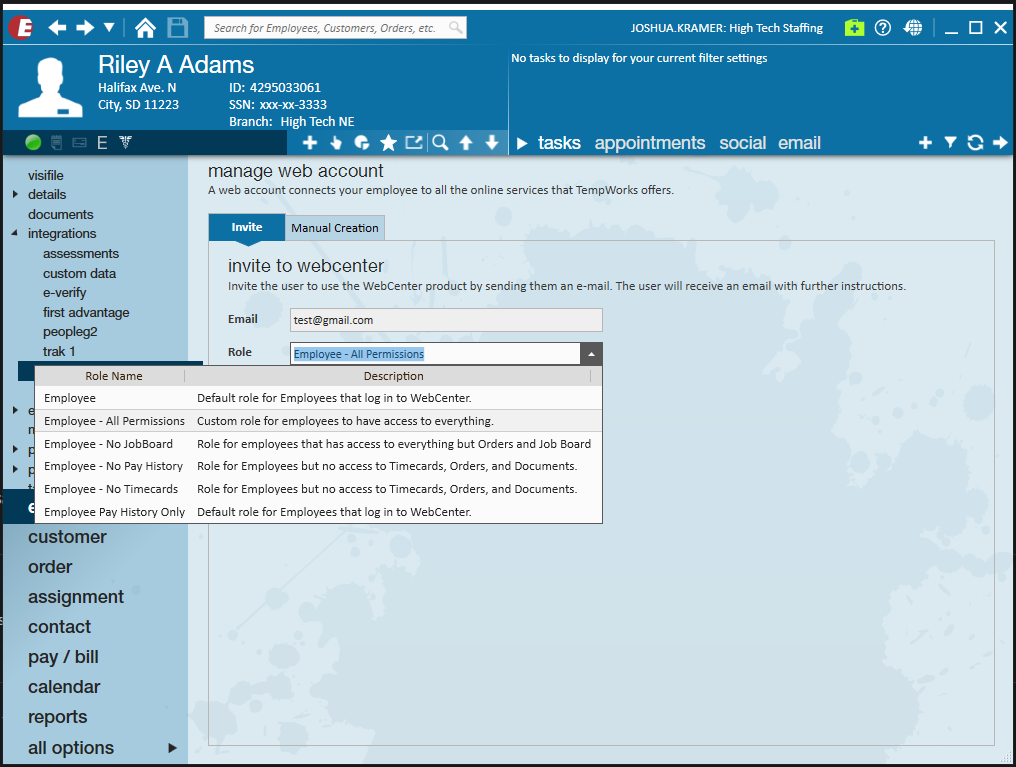
Selecting a role for the employee is required before you can invite them to WebCenter. A role determines what basic permissions (functions) the user will have within the employee portal of WebCenter.
*Note* Roles can be created to fit the needs of your staffing agency. The roles located within the screenshot below are just examples.
Once selected, you may navigate back into their profile and change a given role at any time it becomes necessary .
Click 'Invite' to invite this user.
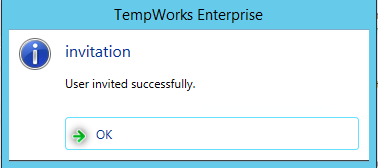
If everything is setup correctly you will receive the following notification. The user will then receive an email with further instructions on how to setup their account information.
2. Manually Create Web User Account
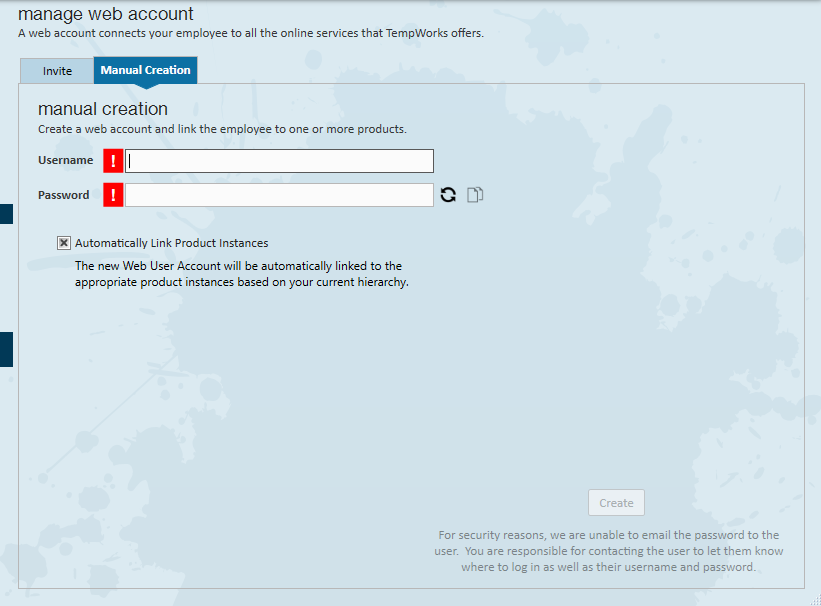
Additionally, you will be able to manually create a username and password from this section. Username is a required field and will need to be completed.
*Note* A username can only be used once, it cannot be duplicated in any given entity.
In the password field you may create a password for the user by typing it in, or automatically create one by clicking the 
*Note* If the 
You will now be presented with two options. The first, which is also the default, is 'Automatically Link Product Instances'. This tells the software to automatically provide appropriate WebCenter and HRCenter product instances to the Web User that is being created:
The second is to manually add product instances. This is where you will be able to choose the specific product instance along with the intended role for WebCenter, the tenant for HRCenter, and more if configured:
*Note* If you have access to multiple tenants, be sure to select the tenant to which employee belongs.
Once you have filled out all fields in the manual creation area, click 'Create'.
*Note* This "Web User Credentials" information will not automatically be emailed to the employee for security reasons.
Modify an Existing Web Account
Once a web user account is created, you may modify it from the manage web user account area of the employee/contact actions menu selected earlier.
To change a username, type in the new username into the field where the current name is listed.
*Note* You will receive an error message if you attempt to assign a username which already exists in your database.
Resetting a Password
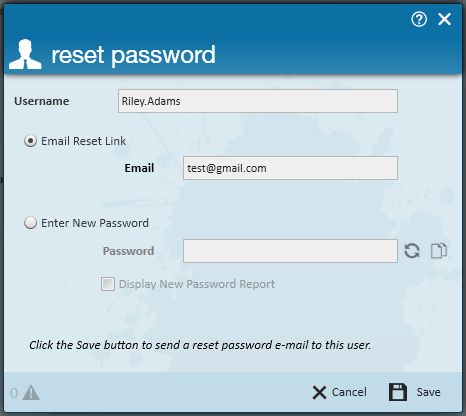
Click 'reset password'. There are two options when resetting a password:
The first option is to send the employee the option to reset their password by email. Within the reset password screen you may choose 'E-mail Reset Link' and then select save to do so. The system will automatically input the current e-mail address on file and send instructions to the employee on how to update their credentials.
The second option to updating an employee's password would be manually entering a new password for the employee or select 
*Note* You may select ' Display New Password Report' checkbox to populate a report listing the employee credentials.
If you wish to change a user's role, select the newly desired role from the drop-down menu:
If you wish to deactivate the user's web user account, click the 'Activation Status' toggle until it reads 'Inactive', and save your changes to put them into effect. Users may be reactivated at any point by selecting 'Active':

