Setting Up a Customer Record for Success
This article reviews different options for invoicing and payroll related set up on the Customer Record. To find these options, first navigate to a customer record. Not sure how to search for a customer record? See Core - Customer Searching for more information.
See the different sections below to learn more about the customer record and payroll.
Customer Status
Every company will have their own approval process for customers. Think about how you currently process customers. Do they have to go through credit checks? Are they approved right away?
To Change a Customer Status
- In the customer record under the details section, the customer status will be located on the right:

- Use the drop-down to select a different status (Ex. Approved or Hold for Credit).
- Select 'Save.'

Addresses
Before setting up invoices, it is important to make sure address(es) for the customer are added correctly to ensure the invoices are being sent to the correct place.
On the details page of the customer record there are three different sections for addresses: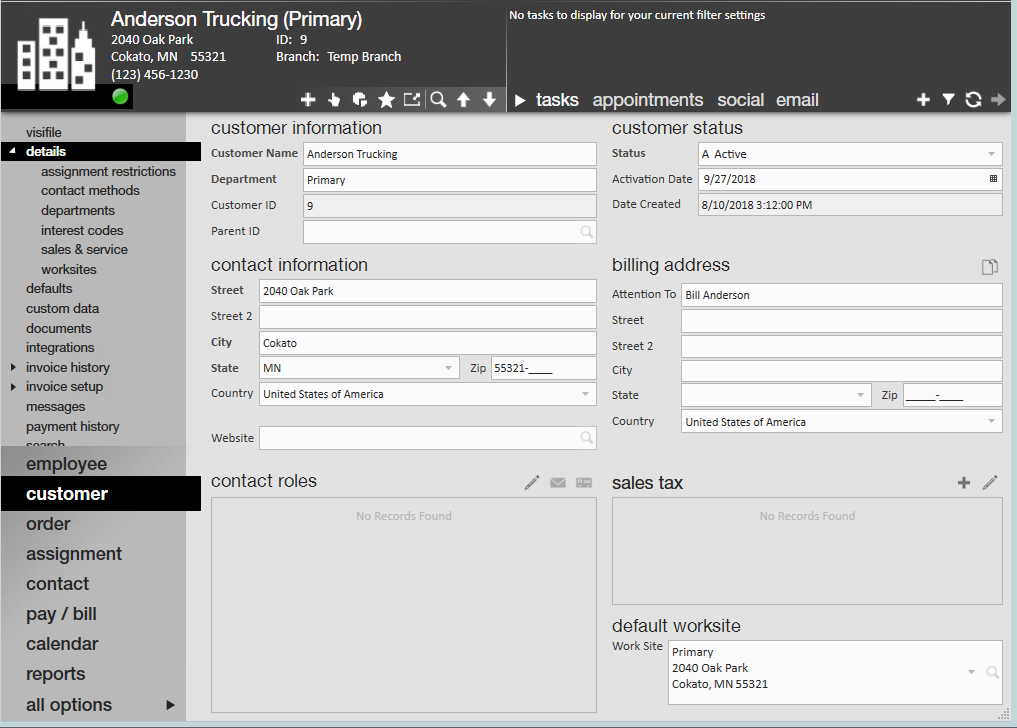
- Contact Information
- Address of main location or headquarters for customer or the location the sales person is selling to.

- Address of main location or headquarters for customer or the location the sales person is selling to.
- Billing Address
- Address for sending invoices.
- Use the paper icon to the right of the billing address to copy the contact address if they are the same.
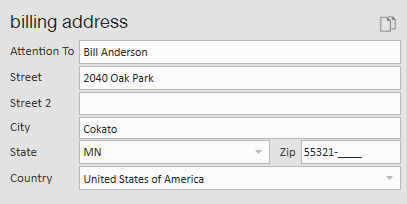
- Default Worksite
- Main location you send employees to.
- To add worksites or learn more – see Core - Departments Vs. Worksites
- Main location you send employees to.


Billing setup
Navigate to the Customer record > Invoice setup and select billing setup to set up billing information:
Fill out the following information:
- Billing Frequency (Weekly, Biweekly, etc.).
- If selecting an option other than weekly, navigate to the Bill On drop-down and select which week the billing will take place.
- Example: For billing monthly, are they billed the first week of the month or the last?
- Invoice Style.
- This option is customized for each client to have your logos and custom styles for invoices.
- Invoice Method (Email, Print, or Both).
- Remember that when you select email, you must have your email and an email template set up before being able to send.
- If you select email, you will notice that there will be a red exclamation mark noting that you have not added a recipient to send the invoice to.
- Optionally, select a contact to receive this invoice under Recipients.
- Select + icon and select 'contact.'
- If you do not have the contact setup, see Core - How to Add a Contact Record.
- Optionally, select how to separate invoices under the 'Separate Invoices' section.
- Select the options to create separate invoices depending on the criteria (Ex. Invoice for each worksite or department or employee).
- We recommend that you limit yourself to just a few options to avoid creating and overwhelming number of invoices for your customer.
- Optionally, select additional Invoice Line Items.
- Select the + icon to add a line to the invoice.
- Make sure to test invoices when adding lines because not all invoice templates work well with additional invoice line items added.
- Optionally, add Invoice notes- references for your information only.
- Select the save icon in the upper left to save any changes you made.
Credit and Payroll
Navigate to the customer record > Invoice Setup and select 'credit and payroll' to enter additional setup options and credit information:
Entering Credit information –
- Enter Credit limit.
- Entering a value in this field can trigger stops or warning when running payroll if a customer is about to exceed their credit limit.
- Enter Credit Analyst.
- You can use the drop-down or begin to enter an analyst’s name to set who ran the credit check.
- Enter Invoice/Billing Terms
- Terms can be set when a customer record is created but can be changed here.
- This field indicates how long before an invoice is considered overdue.
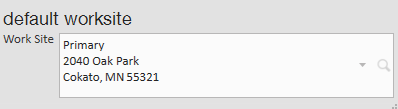
Additional Payroll Details
The following fields are optional information that you may want to consider entering:
- Hold codes:
- Hold codes can be configured to create stops for customer when creating orders/assignments, etc.
- Worker comp codes:
- You can set what the default worker comp code is for this customer so when orders are created they will automatically have the default selected.
- Overtime plan:
- You can set up the default for overtime plan.
- Pay periods:
- You can choose when employees are paid ( 52 = weekly, 260 = daily, etc.)
- The default will be 52.
- Keep in mind that this ensures that employees are correctly taxed based on their pay schedule.
- Week ends on
- This field is blank but will default to Sunday.
- If customer has a different weekend date, choose it from the drop-down for invoice dates.
Remember to select 'Save' in the upper left to save your changes.