WebCenter Timecards
WebCenter can be configured to allow employees to enter and submit their time. Submitted time is then approved by their supervisor and directly sent & entered into Time Entry for your back office payroll processors to complete. For information on how to process payroll for these timecards, see How to Process WebCenter Timecards in Enterprise.
This article provides an overview of the required steps in order to set up timecards in WebCenter.
Setting up Timecard Templates
Timecard templates allow you to customize what timecards look like for an employee to fill out. These can be customized per customer or even per employee as needed. You need at least 1 timecard template in order to process WebCenter timecards. You will also need to apply that timecard template to a group of employees by creating a rule under timecard template config.
For step by step instructions check out: Configuring Timecard Templates.
Timecard Configurations to Consider
Timecard Configurations allow you to customize how timecards behave.
You can find a list of timecard configurations by navigating to the 'Config' tab in WebCenter Admin and selecting the 'Timecard' category on the left.
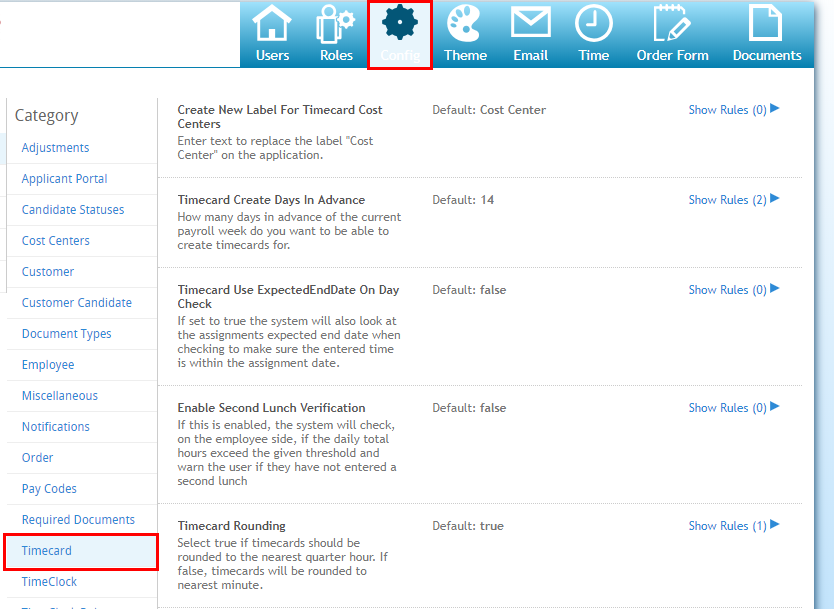
Each config will have a default setting. Exceptions can be made by selecting 'Show Rules' and adding a rule based on different criteria (ex. customer or employee name).
Here are few timecard configurations to consider:
- Timecard Create
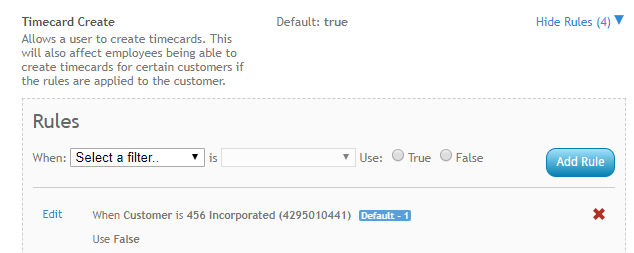
- This option allows employees or supervisors to create a timecard.
- By default, this is set to 'True'. Each employee will need to navigate to their assignment and choose the 'Create NEW timecard from this Assignment' option to create a new timecard each week.
- Auto Create Timecards
- This option when set to 'True' will automatically create a timecard for each open assignment during the current weekend bill. When you select the create timecards from assignments that will apply to the qualifying WebCenter timecards.
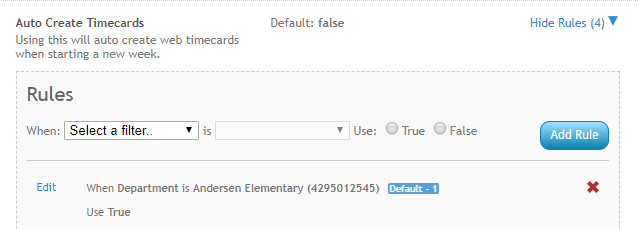
- This option when set to 'True' will automatically create a timecard for each open assignment during the current weekend bill. When you select the create timecards from assignments that will apply to the qualifying WebCenter timecards.
- Timecard Create Days in Advanced
- This option sets the number of days ahead of payroll that a timecard can be created. This is great for employees that like to look ahead and start up their timecard early but you may want to limit the number of days to ensure they aren't creating timecards for months ahead of schedule.
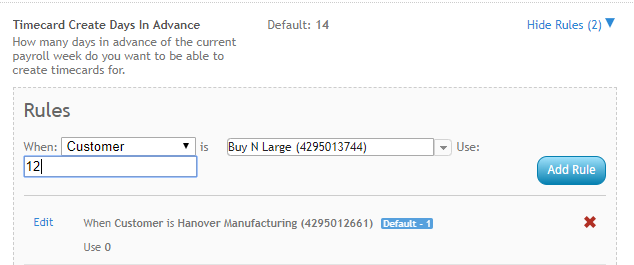
- This option sets the number of days ahead of payroll that a timecard can be created. This is great for employees that like to look ahead and start up their timecard early but you may want to limit the number of days to ensure they aren't creating timecards for months ahead of schedule.
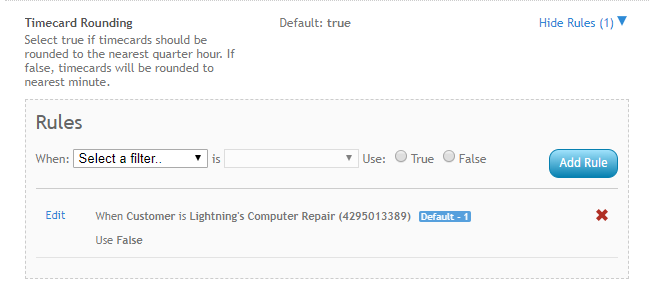
- Timecard Rounding
- When set to 'True', the timecards will be rounded to the nearest quarter hour.
- If 'False', then timecards will be rounded to the nearest minute.
- Timecard Edit Mode
- Choose who can edit, submit, or delete a timecard
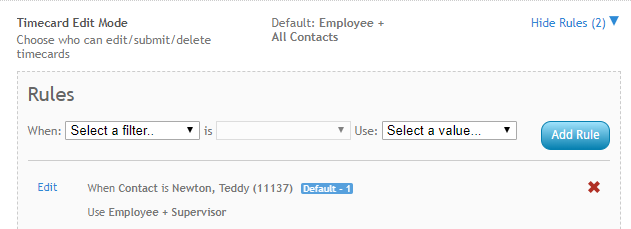
- Choose who can edit, submit, or delete a timecard
- Timecard Workflow Type
- Do you want customer contacts to approve timecards submitted by employees? Choose workflow types for each customer here:
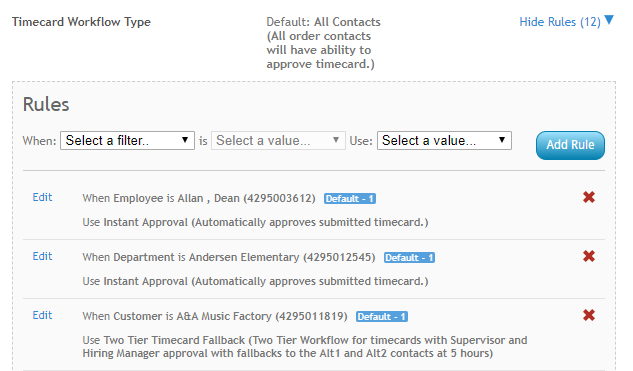
- For more information on workflow types see WebCenter Contact Roles.
- Do you want customer contacts to approve timecards submitted by employees? Choose workflow types for each customer here:
Set Up Employees to Access Timecards
Employees need to be set up to utilize WebCenter with Timecards in order to be able to fill out their timecards.
Every employee you want to have access to entering time will need:
- Web User Account - username & password to log into WebCenter (see Manage Web User Account for Enterprise instructions or Beyond - Managing Web User Account for Beyond)
- A WebCenter employee role that allows access to the 'Timecards' tab
For instructions on how employees fill out time, see Employee: The Timecards Tab.
Set Up Customer Contacts to Approve Timecards
Customers need to be set up to utilize WebCenter with Timecards in order to approve and view timecards.
Every customer contact you want to approve timecards will need:
- Web User Account - username & password to log into WebCenter (see Manage Web User Account for Enterprise instructions or Beyond - Managing Web User Account)
- A WebCenter contact role that allows timecard tab
- On the applicable orders, the customer contact needs to be set up under the 'Contact Roles'. The role they need to be set to depends on the Timecard Workflow you are utilizing. See WebCenter Contact Roles for more information.
For instructions on how Customer Contacts approve time, see Customer: Reviewing and Approving WebCenter Timecards.


