What are Security Groups?
Security groups allow you to set security permissions for each user within Beyond.
*Note* Security settings in Enterprise (Sec Roles) are separate from security in Beyond (Security Groups). When editing, adding users, or managing security groups, we recommend being at your highest hierarchy available (ex. system).
Watch this quick overview discussing the differences between Security Groups and Sec Roles:
Select the  to view in full screen.
Closed captioning is available by selecting the CC button on the video player.
To Access Security Groups:
Navigate to B Menu > System Settings > Security:
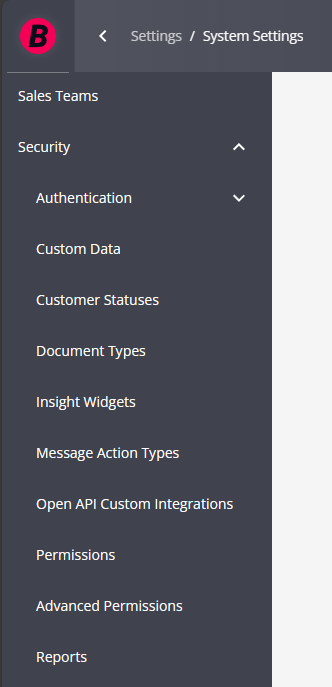
Beyond has divided security settings into 10 unique types:
- Authentication
- Custom Data
- Customer Status
- Document Types
- Insight Widgets
- Message Action Types
- Open API Custom Integrations
- Permissions
- Advanced Permissions
- Reports
Within each type, there are groups of users based on what their security settings are in the system. We have set up some default groups for you to utilize but remember that you can always customize or create your own groups.
*Note* Regarding the Authentication security type, this is related to Single Sign On (SSO) and the ability to control access to Beyond using an Identity Provider. For more information on this functionality, please see the article titled Beyond - Single Sign On (SSO).
This Article Covers:
- Security Group Types & Their Default Groups
- Adding Users to Security Groups
- Customizing & Creating Your Own Security Groups
Security Group Types and Their Default Groups
We have set up default groups for each security group type in order to make implementing and managing users easier. Here, we will go through each type and the default groups available.
- Permission
- Custom Data
- Customer Status
- Document Type
- Insight Widgets
- Message Action Type
- Open API Custom Integrations
- Report
*Note* For a full list of all permissions included check out the "Beyond Security Group Comparison" Report.
Permission
We recommend starting here since the permissions security group type allows you to set which general permissions a user has. The Permission security group type includes a list of functionality related permissions including access to time entry, update employee EEO information, Mass Update Rates, etc. This is an extremely important category to review. 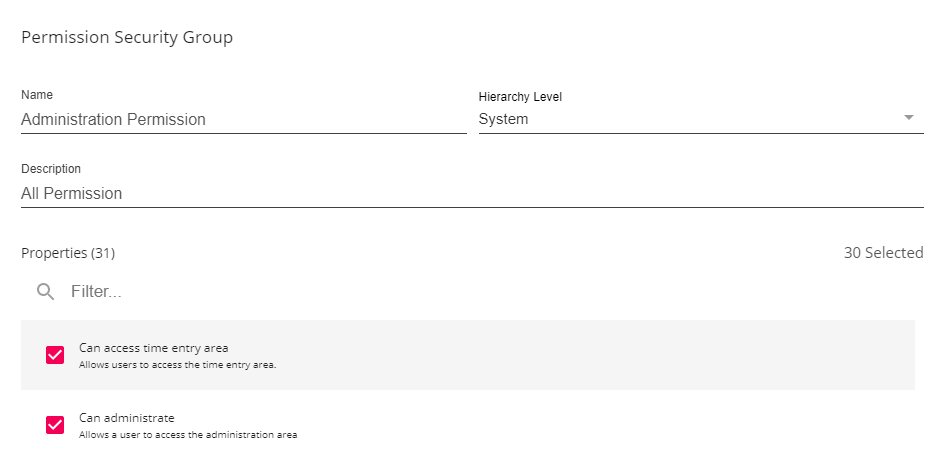
Default Groups in Permissions Type:
- Administrator – has all permissions
- Back Office Manager – does not have admin permissions but all other manager related permissions
- Billing Clerk – has basic billing functionality and related permissions
- Front Office Manager – has similar permissions to back office manager but can not update bank account numbers while payroll is running and does not have access to time entry
- Limited Access – has no permissions
- Pay Clerk – has basic payroll functionality and related permissions
- Sales – has sales related permissions
- Staffing Specialist – has basic recruiting or employee focused permissions
Custom Data
The Custom Data security group type includes a list of Custom Data Security Groups that allow access to Custom Data fields created from the Administration section of Enterprise.
*Note* For more information on creating Custom Data fields, please see the following article titled Enterprise - How to Setup and Manage Custom Data.
There are no default Security Groups within this category.
You can create Custom Data Security Groups to remove permissions to view (Deny Read) or edit (Deny Write) for each Custom Data field.
Customer Status
This type sets which customer statuses that the service rep can change. 
Default Groups in Customer Status Type:
- All Statuses – can change any status
- Customer Status Lite – can change Active, deleted/mistakenly entered, and prospect status
- No Statuses – can not change any customer statuses
Document Type
The Document Type security group sets which documents a service rep can view (read), upload (write), or delete. 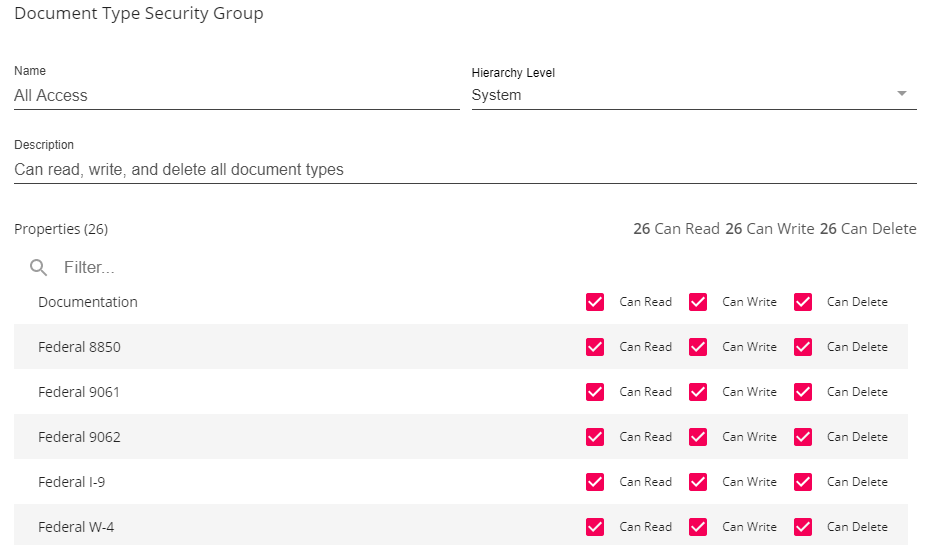
Default Groups in the Document Type:
- All Access
- No Access
- Read Only – All
Insight Widgets
The Insight Widget security group type manages which users have access to which Insight Widgets. 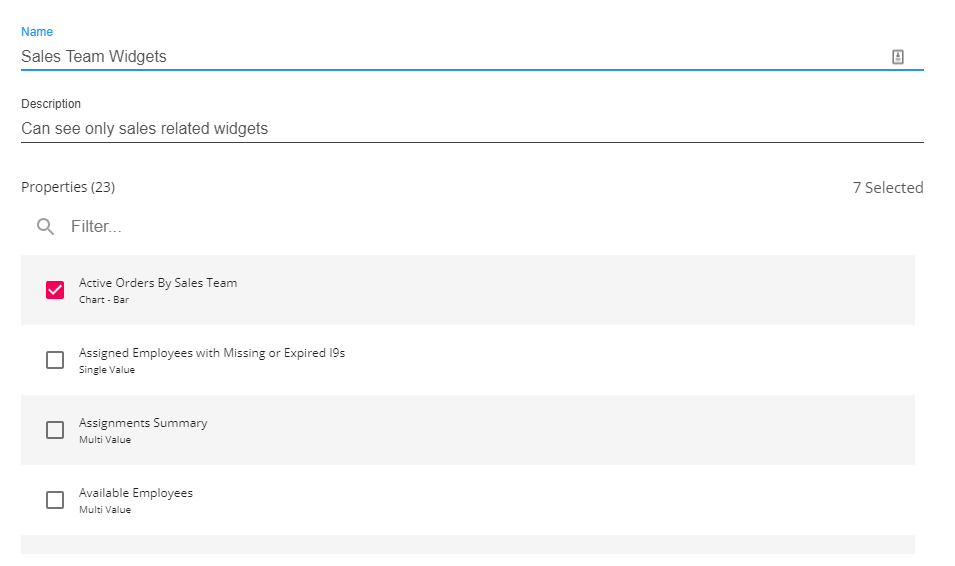
Default Groups in Insight Widgets Type:
- All Insight Widgets - gives users access to all insight widgets
- No Insight Widgets - gives users access to no insight widgets
*Note* For more information on Insight Widget setup, check out Beyond - Insight Widget Access.
Message Action Type
This type sets which message action codes users are allowed to use and see when logging a message on a record. Message action types are defined by the administrators when they set up the message action code.

Default Groups in Message Action Type:
- Non Secure Message Types – can read and write all message action codes besides ones set as secure
- Secure Messages – can read and write all message types
Open API Custom Integrations
This type makes it possible for users to access third party integrations that utilize OAuth to authenticate with the TempWorks Open API.

Default Groups in Open API Custom Integrations:
- TempWorks Default - None - No links to Open API Custom Integrations.
*Note* Once a third-party integration has been added that utilizes OAuth, a new Security Group within the type of "Open API Custom Integrations" will need to be created.
Report
The Report category sets which reports a service rep can run. 
Default Groups in Reports Type:
- Administrator – has access to all reports
- Back Office Manager – has access to all back office related reports
- Billing Clerk – has access to invoice and AR related reports
- Front Office Manager – has access to all front office related reports
- Limited Access – has access to active and deactivated employee reports only
- Pay Clerk – has access to payroll related reporting
- Sales – has access to customer and sales related reports
- Staffing Specialist – has access to employee, order and assignment reports related to recruiting
Adding Users to Security Groups
Once you have reviewed the permissions in each default security group or created your own group, you will need to add users to the groups to give or restrict their permissions.
*Note* Each user can only be a part of one group in each security group type. For example, a service rep can not be apart of the Staffing Specialist permission type group and the Front Office Manager permission type group.
Adding Users from the Security Group
This option is best when you are already reviewing a security group or adding multiple users to a group.
- Select the security group type you are looking for
- Select the
 next to the group you wish to add users to
 - Select Edit
- Select + to add users
 next to the group you wish to add users to
OR
Managing a Service Rep's Security Groups
This option is best when you are adding a new user into the system or a user is changing roles and you need to add or update all their security groups.
- Navigate to B Menu > System settings > Service Representatives
- Select
 to the right of the Service Rep you wish to edit permissions for
 - Select Edit
- Select the correct security group for each security group type
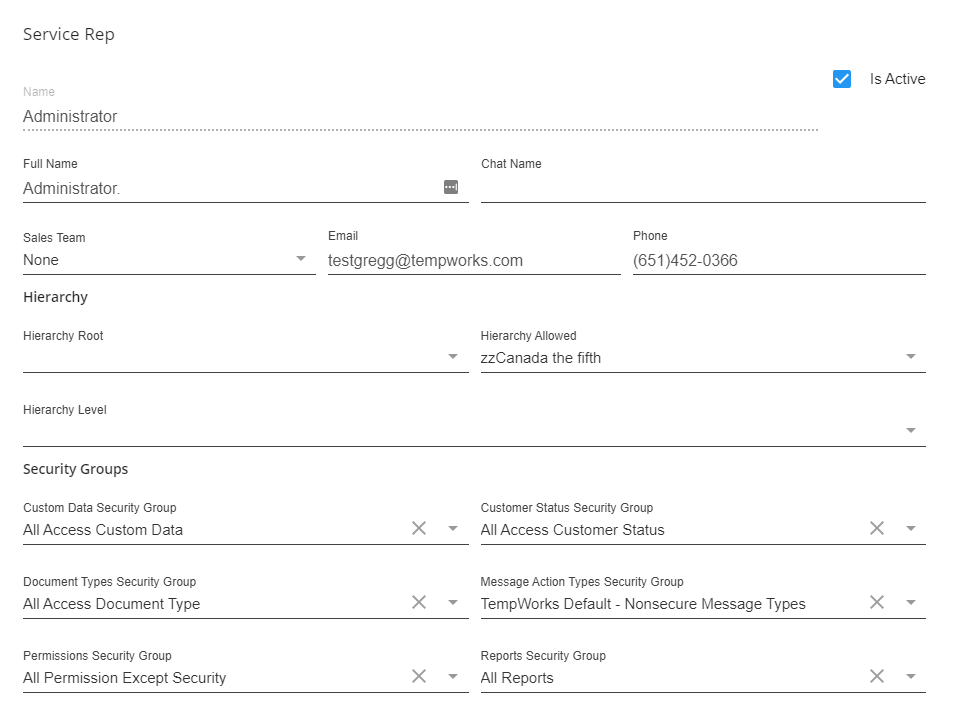
- Select Submit to save your changes
 to the right of the Service Rep you wish to edit permissions for
*Note* Once a user's permissions have been updated, we recommend having them clear their cache to make this change immediate. For more information on service rep section, check out Beyond - Managing Your Service Representatives.
Customizing and Creating Your Own Groups
Copying a Group
Sometimes you may find you want to customize a default security group to better match your specific business processes. While you can't edit a default security group, you can copy the group and then make any changes you need.
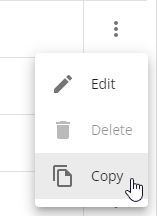
- Find the security group you want to copy
- Select the
 icon on the right
 - Choose Copy
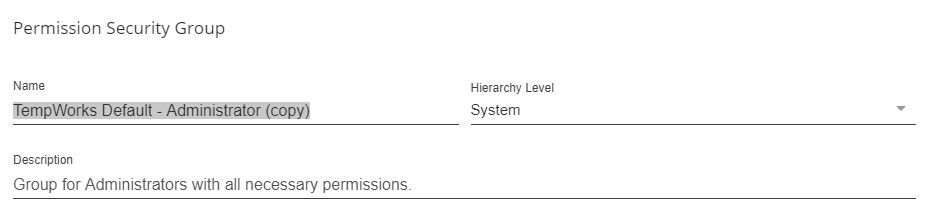
- Rename the copied group and edit the description:
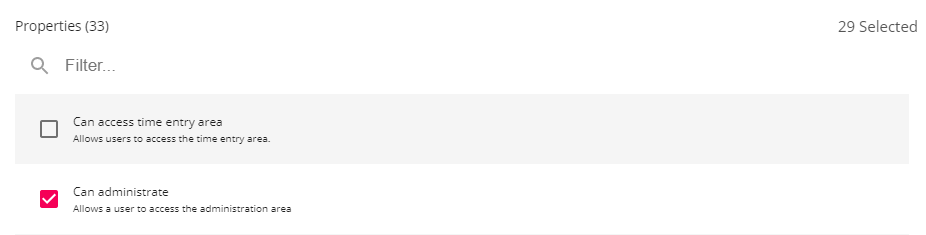
- Change the permissions by checking or unchecking options:
- Add users by selecting the + button under users:

- Choose submit in the lower left
 icon on the right


*Note* A copied security group or a security group you make on your own will not automatically update as new permissions and functionality are added to Beyond. New permissions will be notes on release notes which can be found here, on the TempWorks Knowledge Base.
Security groups' hierarchy level can not be changed once it is set. We recommend creating your security groups at your highest hierarchy to avoid visibility issues. If you need to change a hierarchy level you can copy a security group to update it.
To Create a New Group From Scratch:
- Navigate to one of the security group categories
- Select the '+' in the upper right corner
- Name your group & set a description
- Set the Hierarchy level this group applies to (ex. system)
- Select Properties
- Select the '+' next to members to add users
- Select 'Submit' to save
*Note* Beyond also allows for highly customized Security Groups to be created.
These can include anything from restricting users to view the first name of any employee in your system, to preventing the editing of information on specific cards, and so much more.
For instruction on how to create and customize Security Groups using forms, please see the article titled Beyond - Creating Security Groups with Advanced Permissions.