*Note* If you are interested in utilizing the BuzzTM app, please contact your TempWorks Account Manager.
Time Punching & Buzz
The Buzz app can be configured to allow your employees to clock in and out from their mobile devices while on the job. In order to utilize this option, a few things will need to be setup and configured in your system.
Want to learn more about Buzz in general? Check out What is Buzz.
*Note* Buzz works in conjunction with Enterprise/Beyond and WebCenter to utilize Mobile Time Punching functionality. To enable Mobile Time Punching for your instance of Buzz, you must first work with your Account Manager and the TempWorks' Implementation Team to ensure all options are enabled for you.
This article covers:
Turning on Mobile Time Punches
If you want to utilize Mobile Time Punches, a few settings need to be turned on in order to accurately record time.
- Set Up Employee for Buzz
- Set up Worksite
- Set Up Order
- Set Up Contact
- Turn on Buzz Mobile Time Punches
Set Up Employee for Buzz
Your first step is to make sure each employee that will be utilizing Buzz for Mobile Time Punches has access to Buzz. In order to utilize Buzz, an employee will need to have a web user account and a Buzz invite code. Check out Manage Web User Account & Inviting Employees to Buzz for instructions.
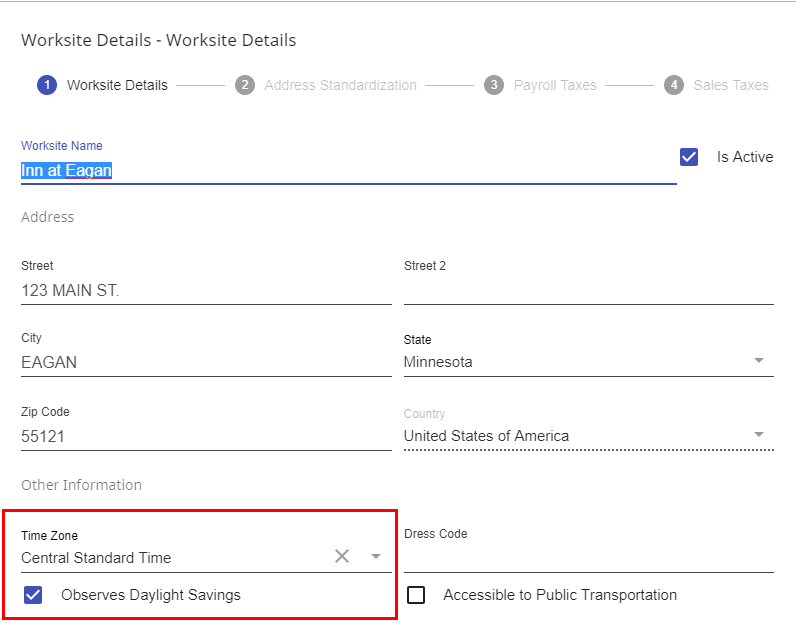
Set Up Worksite
In Enterprise or Beyond, you will need to make sure the worksite is setup properly on the Customer record. When adding or reviewing a worksite, make sure you have chosen a timezone and selected the Observes Daylight Savings Time (DST), if applicable.
For Beyond instructions see Beyond - Departments vs Worksites

For Enterprise instructions see Enterprise - Worksites.
Set Up Order
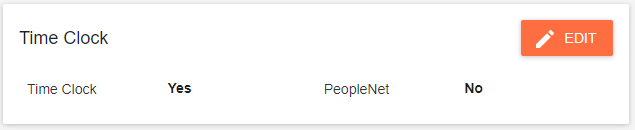
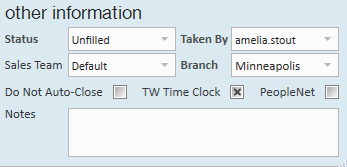
On the applicable order(s) in Enterprise or Beyond, you must have TW TimeClock option checked to allow for Mobile Time Punches.
In Beyond, navigate to the order record and select the Details tab. Locate the TimeClock card and change the TimeClock option to Yes:
In Enterprise, navigate to the Order record details page and check the TW Time Clock checkbox in the lower right:
Set Up Contact to Approve Time
In order for a contact to approve and submit time for their employee, they need to be set up as the supervisor on the applicable order(s).
In Beyond, the contact roles card is found on the Details tab of the order: 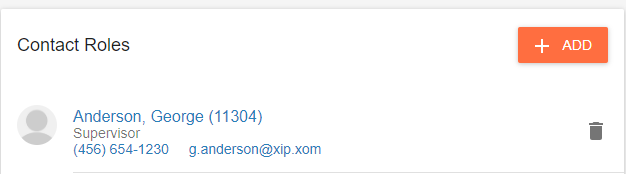
For more information on contact roles in Beyond, see Beyond- Contact Roles.
In Enterprise, contact roles are found on the Order details page:
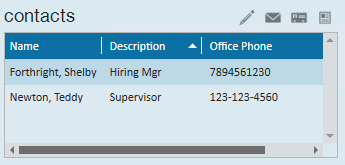
For more information on contact roles in Enterprise, see How to Add a Contact to a Customer vs. How to Add a Contact Role.
Turn on the Buzz Mobile Time Punches
The final step is to turn on the Buzz Mobile Time configuration located in WebCenter.
- Log into WebCenter Admin
- Navigate to the Configs tab & select the TimeClock category
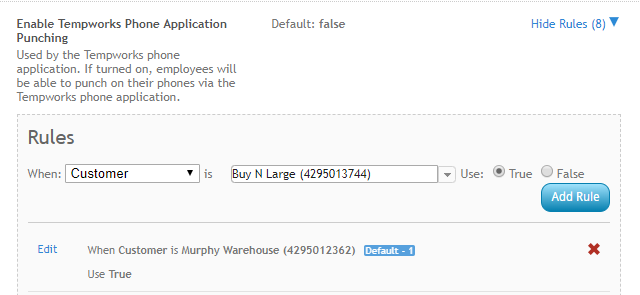
- Find the 'Enable TempWorks Phone Application Punching' config and click 'Show Rules'
- Enter the following information:
- Choose Customer or Department for your rule
- Enter the customer or department name
- Select 'True'
- To Save, select the 'Add Rule' button
*Note* The Time Entry option will still appear to the employee even though you have turned on the time clock punching (as seen in the screenshot below). This means the employee would still technically have both options. However, there are indicators to WebCenter supervisors and users in Enterprise as to whether a timecard was submitted through Time Entry or a Timeclock.
Time Entry is not an option that be turned on or off for certain employees/customers/etc. Time Entry is a system wide setting - so you either have it turned on for every one or no one.
If you are not sure what your system settings are / how your Buzz is set up please contact your account/project manager or Tempworks Support.
*see below in 'Configuring Mobile Time Punching Rules for Buzz' section for more recommendations.

Configuring Mobile Time Punching Rules for Buzz
Buzz can allow your employees to clock in and out via the phone app. In order to utilize this functionality, there are a few settings you will need to configure. Buzz Mobile Time settings are found in your WebCenter Admin under Configs just like other timecard and TimeClock configurations.
To Locate Configuration Options:
- Log into your WebCenter Admin
- Select the 'Config' tab
- Select 'TimeClock' from the categories on the left
This section will allow you to set up different punch settings similar to our TempWorks' TimeClocks.
To learn more about the standard TimeClock configurations and TimeClock Rules, check out TimeClock Overview.
The following settings DO NOT apply to Buzz:
- Quick Pin Length - Buzz Mobile Time does not use a quick pin and instead rely on facial verification and geofencing combined with the user's log in information.
- Allow deleting of Timeclock timecards - Buzz does not have a way to currently manage Timeclock timecards in the app.
- Show comments field - Buzz does not have a field for comments on Timeclock punches.
The following settings apply ONLY to Buzz:
| Buzz Only Config Title | Description of the Configuration |
|---|---|
| Enable TempWorks Phone Application Punching | Allows users assigned to a given customer/department to use the Mobile Time Punching functionality to punch in/out |
| Enable Face Verification | Used to enable facial verification for a given customer/department. There is additional setup required in order for the employee to utilize it. For more information on facial recognition setup, check out Buzz - Setting up Facial Recognition. |
| Enable Geofencing | Enables geofencing for a given customer/department, provided the worksite for the employee's assignment/order has geofencing set up. For more information on geofencing setup, check out Buzz - Setting up Geolocation. |
| Face Verification Confidence Threshold | How confident the face verification system must be that the picture taken is the employee before allowing the punch to succeed. The entered value is a percent value from 0 to 100. The default is 80%. |
Additional WebCenter Configurations that apply to Buzz time:
- Cost Center - (under the Cost Centers category) If the cost center is enabled for a particular customer/department, these correspond to the cost codes that the employee is able to punch in/out with.
- Pay Codes - (under the pay codes category) If the pay code is enabled for a particular customer/department, these correspond to pay codes that the employee is able to punch in/out with.
- TimeClock Rules Category - All the options located under TimeClock Rules apply to Buzz Mobile Time Punching.
Once you have set up the Buzz Mobile Time punches, you have two additional options:
Please click on the links for the corresponding articles for more information on setting up Facial Recognition and Geolocation within Buzz.
Once complete, employees will be able to complete Mobile Time Punches within Buzz! For more information this process, please see the article titled Employee - Mobile Time Punching in Buzz.
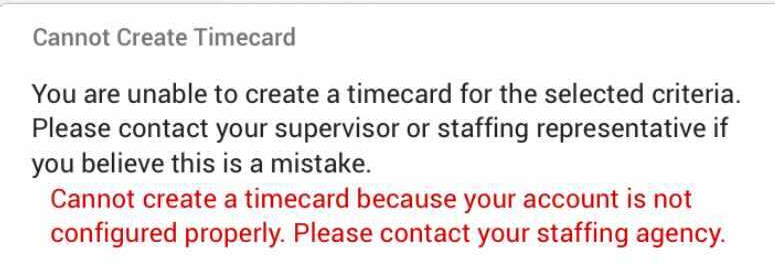
*Note* Do you have timeclock punching setup and don't want the employee to be able to manually submit time? What we recommend doing is setting up an additional config for your customer/department to disable an employees ability to manually submit time. This can be accomplished by utilizing the 'Timecard Create' rule under the timecard category. This rule is set to 'true' by default, therefore, you will need to create a new rule for your customer(s)/department(s) that is set to 'false.' When set to false, it will prevent the employee from being able to create a timecard, therefore, prevents them from manually entering in time.

Reminder that the employee will still see both options for (manual) time entry and timeclock punching in the Buzz. However, because we have disabled the ability to create a timecard the employee will receive the following error if they attempt to manually enter in time instead of punching.