Bulk Uploading Resumes
Within Beyond, you have the ability to upload resumes in bulk. This functionality allows for employees to be created more quickly and efficiently when uploading resumes.
This article includes:
- Getting Started
- Uploading Resumes In Bulk
- Duplicate Checking
- Resolving Resume Issues
- Creating Employees from Uploaded Resumes
- Merging Employees from Uploaded Resumes
- Deleting Staged Employees
Getting Started
Begin by navigating to the B Menu > Resume Management > Resume Upload.
*Note* There are no specific security permissions required to access this functionality.
Within the 'Resume Upload' window, by default, you will see all of the uploaded resumes that are under your Service Rep name:
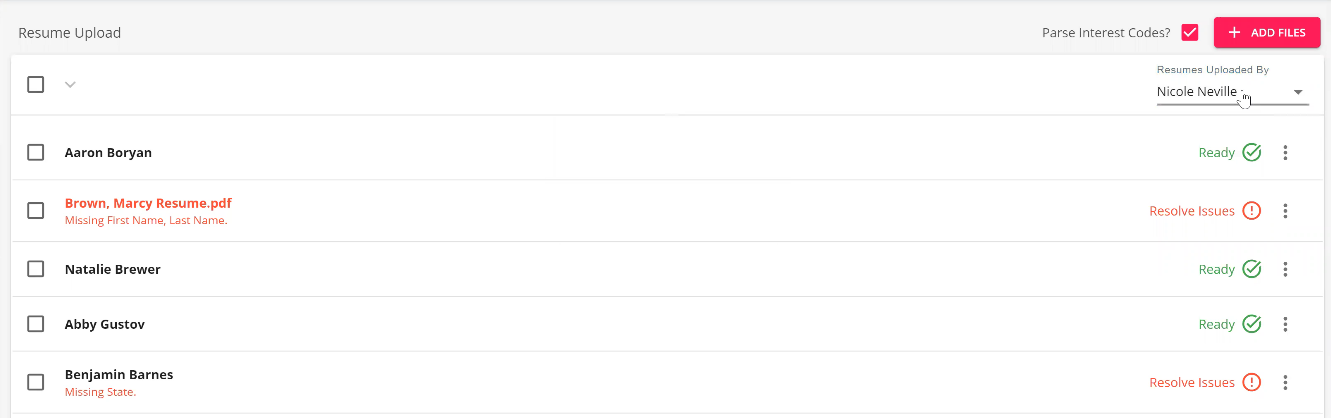
*Note* To change this view to be of a different Service Rep, select the 'Resumes Uploaded By' dropdown and select the Service Rep to view the list of resumes uploaded by them. To view all resumes that have been uploaded by all Service Reps, select 'Show All' within the dropdown:

Upon the initial viewing of the 'Resume Upload' window, you will be shown a tooltip stating that you are able to simply drag and drop a resume, group of resumes, or folder containing resumes within the window at any time:

*Note* By selecting 'Got It' within the tooltip, the tooltip will be dismissed forever. By selecting the 'X' at the top right corner of the tooltip, the tooltip will be dismissed for your login session. Once you log into Beyond again and navigate to the Upload Resume window, the tooltip will reappear until dismissed.
Uploading Resumes In Bulk
Resumes are able to be uploaded in bulk via three methods.
*Note* When uploading resumes en masse, it is recommended to stay within the threshold of 1000 resumes within a single upload.
*Note* Resumes must be one of the following supported formats and can have a maximum file size of 2MB:
- .doc
- .docx
- .txt
- .rtf
*Note* When uploading resumes, you have the ability to parse interest codes. To do this, select the checkbox that states 'Parse Interest Codes' before uploading the resume(s):

First Upload Method
When you navigate to the Upload Resume window for the very first time, or if you do not have any uploaded resumes, you will be shown the following:
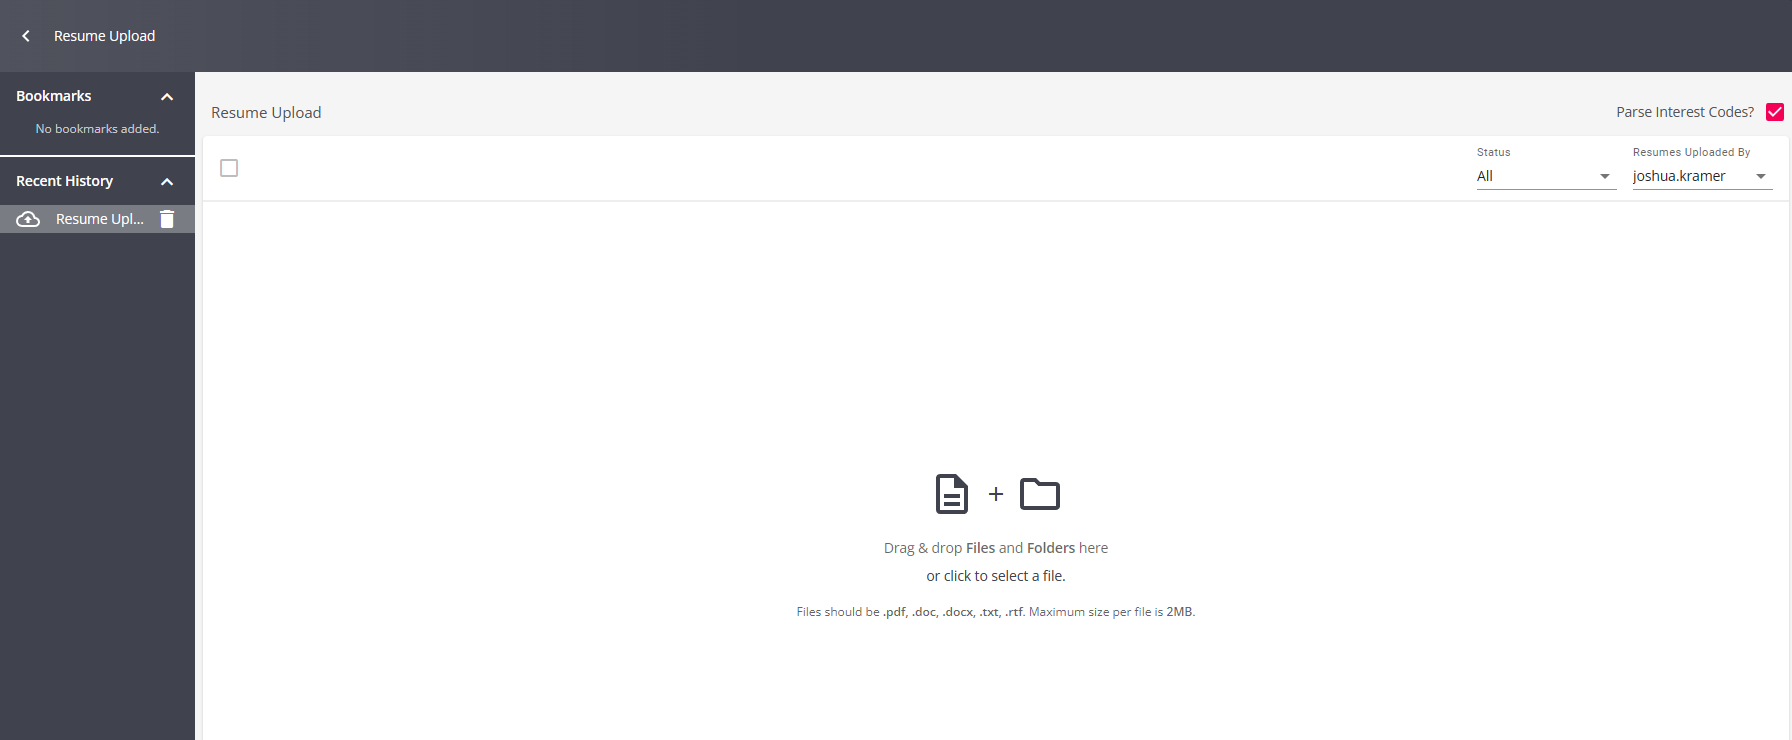
To upload a resume, or group of resumes, either drag and drop from your file destination to the 'Resume Upload' window, or select the option that states 'or click here to select a file' to open a File Explorer window where you can navigate to your file destination and upload from there into the 'Resume Upload' window:
Drag and Drop Method
This method is able to be done regardless if you have already uploaded resumes.
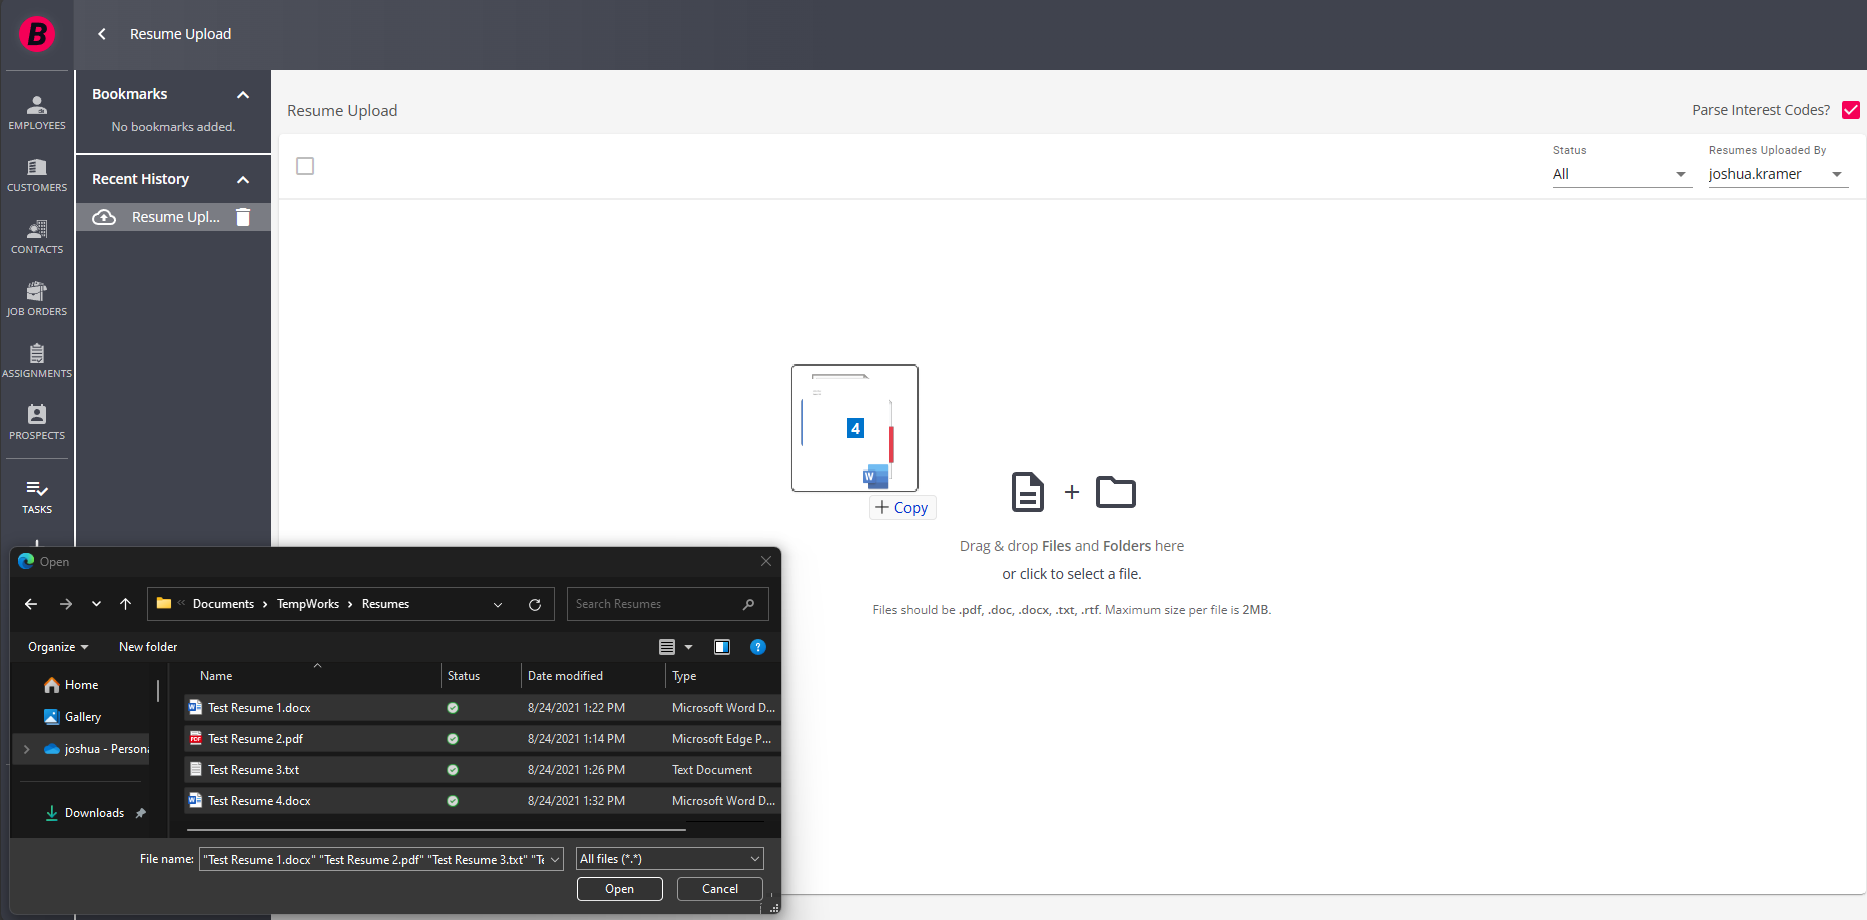
To upload a resume, or group of resumes, drag and drop from your file destination to the 'Resume Upload' window:
Add Files Method
This method is made available once you have resumes uploaded within the 'Resume Upload' window.
*Note* It is not recommended to attempt to upload a folder of resumes using this method. When uploading a folder of resumes, it is recommended to use the Drag and Drop method.
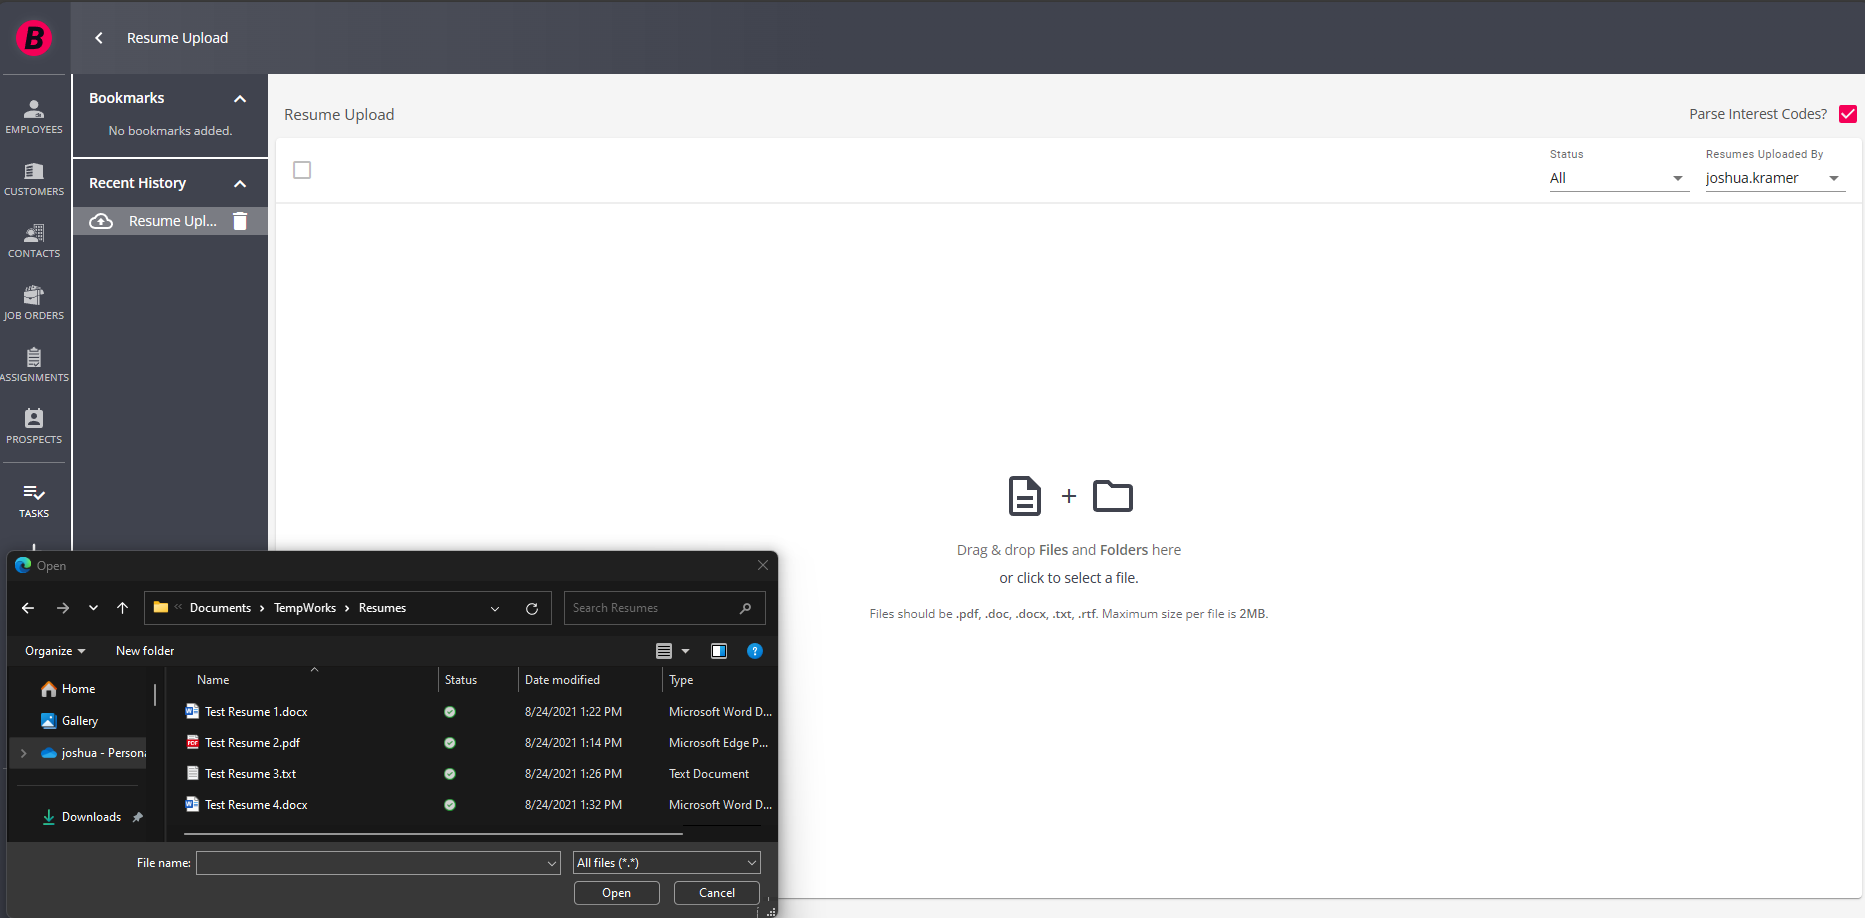
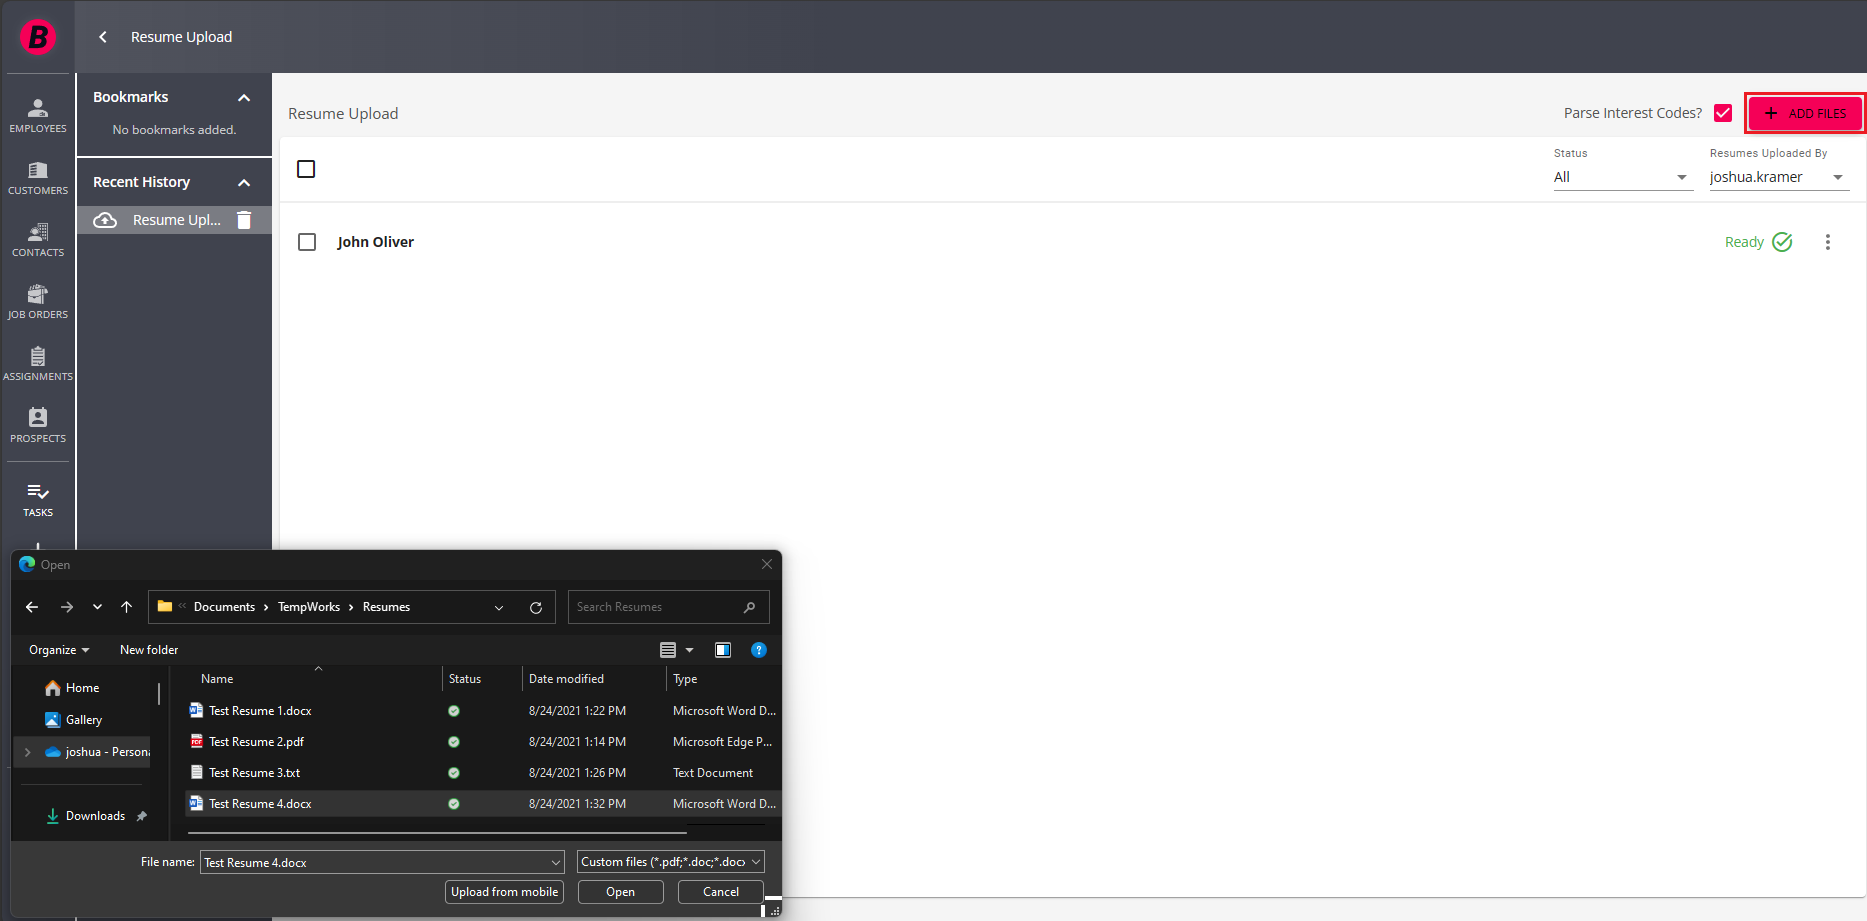
To upload a resume using this method, select the 'Add Files' button at the top right. This will open a File Explorer window where you can navigate to your file destination and upload from there into the 'Resume Upload' window:
Resume Upload Duplicate Checking
Once resumes have been uploaded within Beyond, duplicate records are identified via two methods, resumes within the Upload Resume screen, and potential duplicate employees within your system.
*Note* Duplicate checking does not take into account the event where multiple users are uploading the same resumes, at the same time.
Identifying Duplicate Resumes
When uploading resumes in bulk, either being a multi-select or by folder, there is a possibility that the same resume is attempted to be uploaded more than once within the "Resume Upload" screen.
*Note* When uploading resumes in bulk, either by multi-select or by folder, there is a possibility that the same person might already exist as an employee within your system.
To identify the potential duplicates, the following is done:
- We first match on the employee’s first and last name.
- The first and last name must match exactly with the name on the employee record.
- Next, we check that the Email Address of the resume being uploaded exists amongst the same group matched by first and last name. If a match is found, the resume (staged employee) is considered a duplicate.
- Lastly, we check that the Street Address, and the Zip Code of the resume being uploaded exists amongst the very same collection of employees that were found within the first step. If a match is present, the resume (staged employee) is considered a duplicate.
*Note* For points 2 and 3 above, the duplicate will be flagged only once the Email Address and Street Address match exactly with the corresponding information on the employee record.
*Note* TempWorks supports address standardization throughout Beyond, but in the instance of resume upload, the address is not standardized during the upload process:
- If a resume or an employee was previously added to the system and was standardized, but the resume, at the time of upload, is not standardized, the system will not recognize it as a duplicate on address.
- Some common issues tend to be that the last 4 digits of the zip code are missing on the resume, or that the standardization added/removed special characters. Both scenarios in this case would result in no duplicates found.
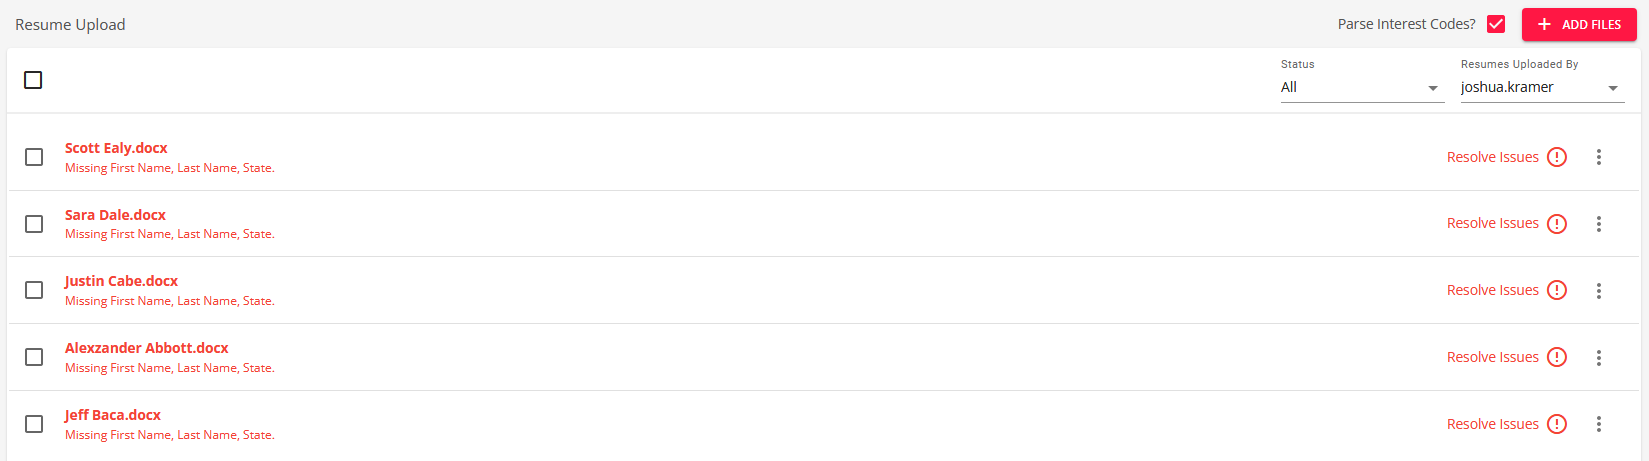
For example, 5 resumes are uploaded within Beyond.
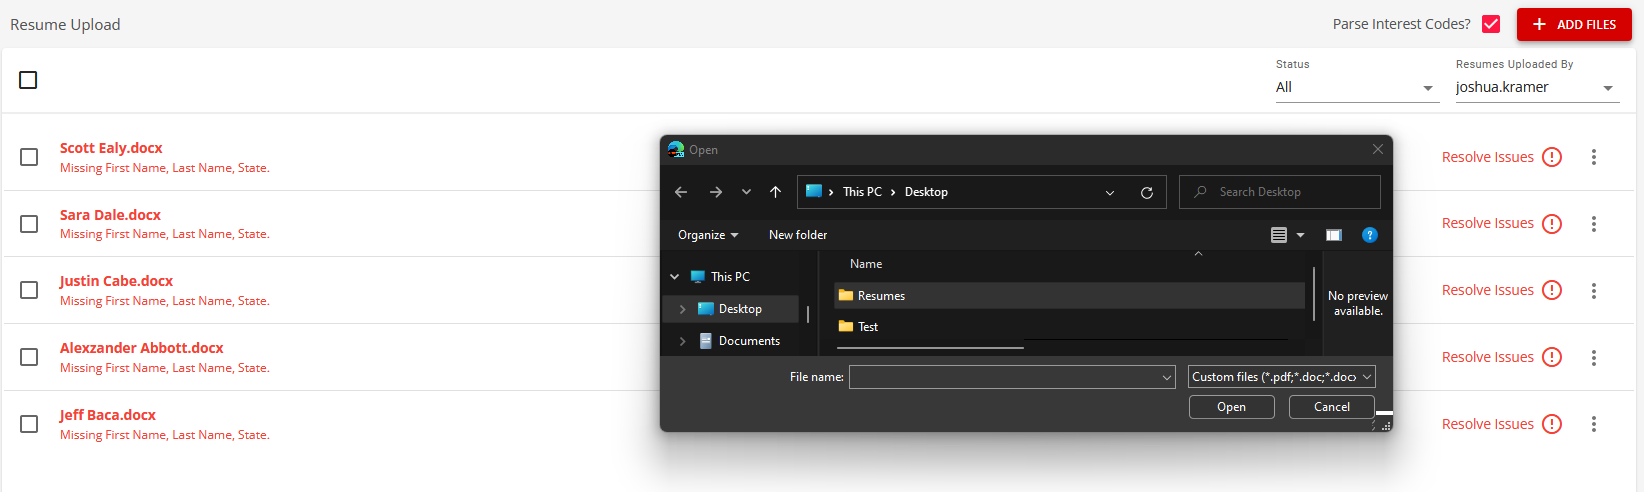
Those same resumes are then attempted to be uploaded once more; this time located within a folder with additional resumes:
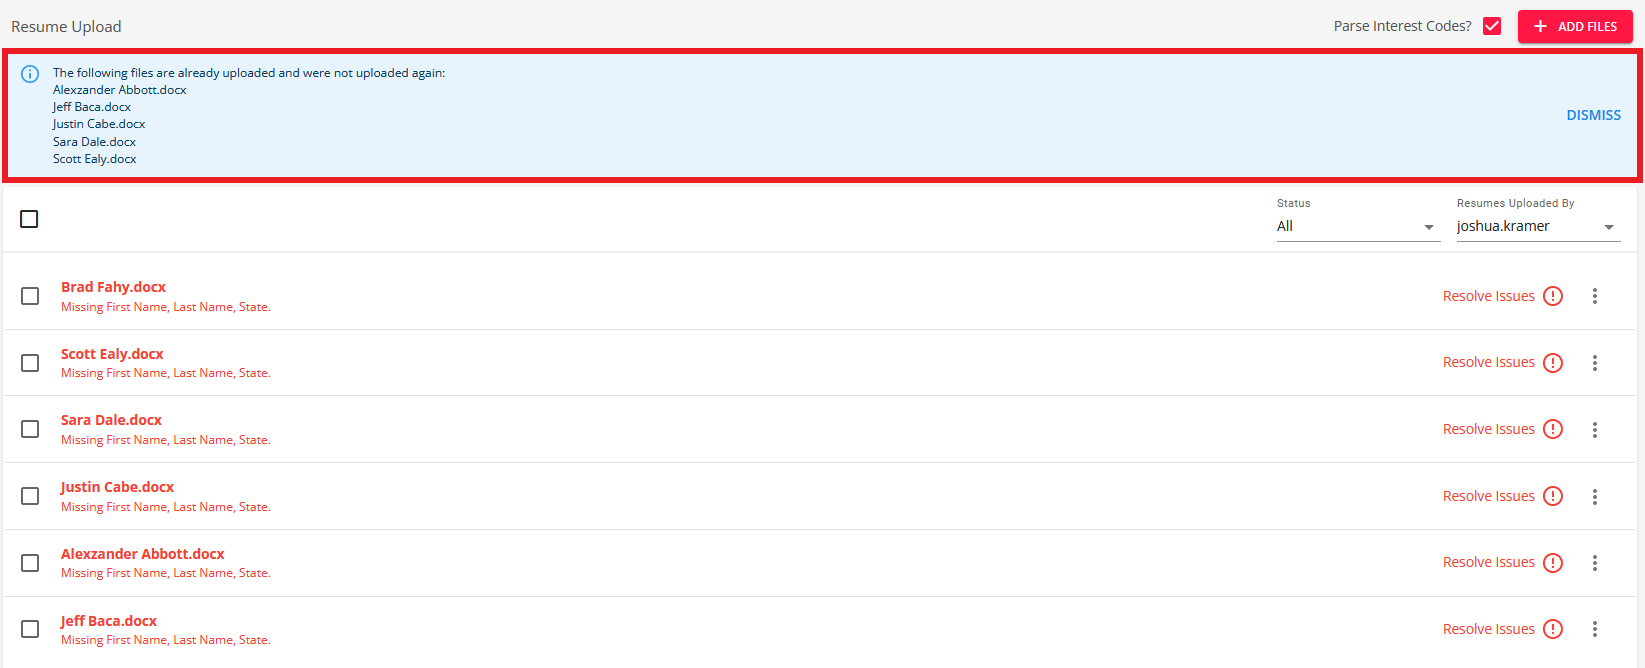
A validation message will appear at the top of the "Resume Upload" screen, showing the number of resumes within your current instance that were not uploaded due to being duplicates, along with a link to the others if there are more than 5 duplicates found:
Identifying Duplicate Employees
When uploading resumes in bulk, either being a multi-select or by folder, there is a possibility that the information within the resume matches information present within an existing Employee record within your system. If this happens, Beyond flags the resume within the "Upload Resumes" screen to show that it might be a duplicate record.
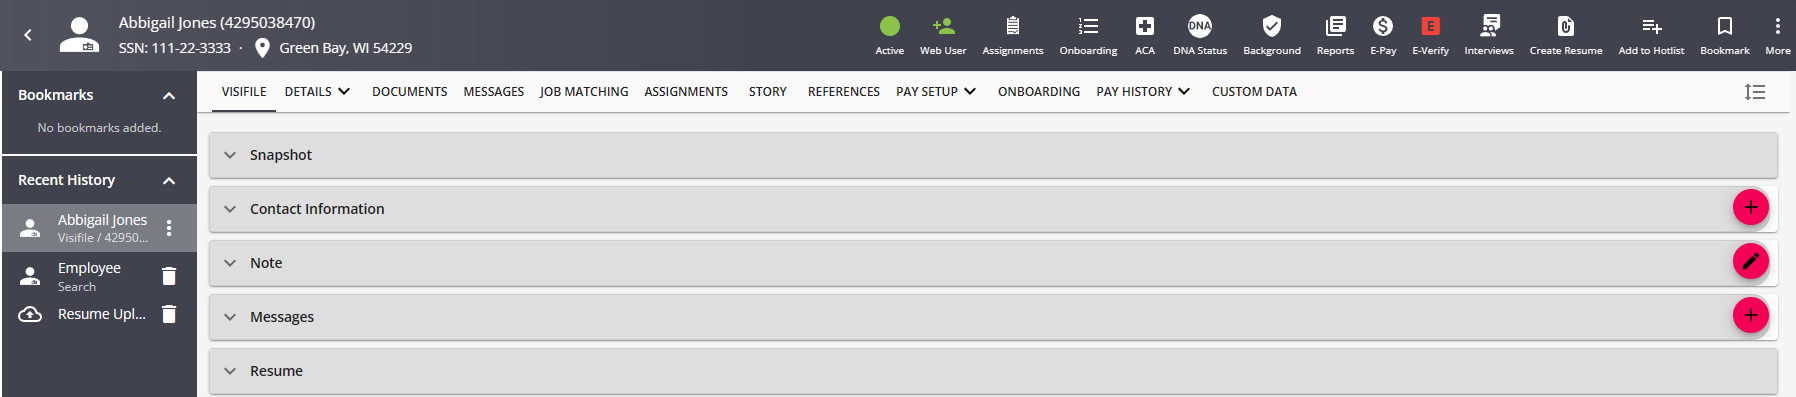
For example, a resume for Abbigail Jones is uploaded into Beyond and an Employee record is created for Abbigail based off the resume information:
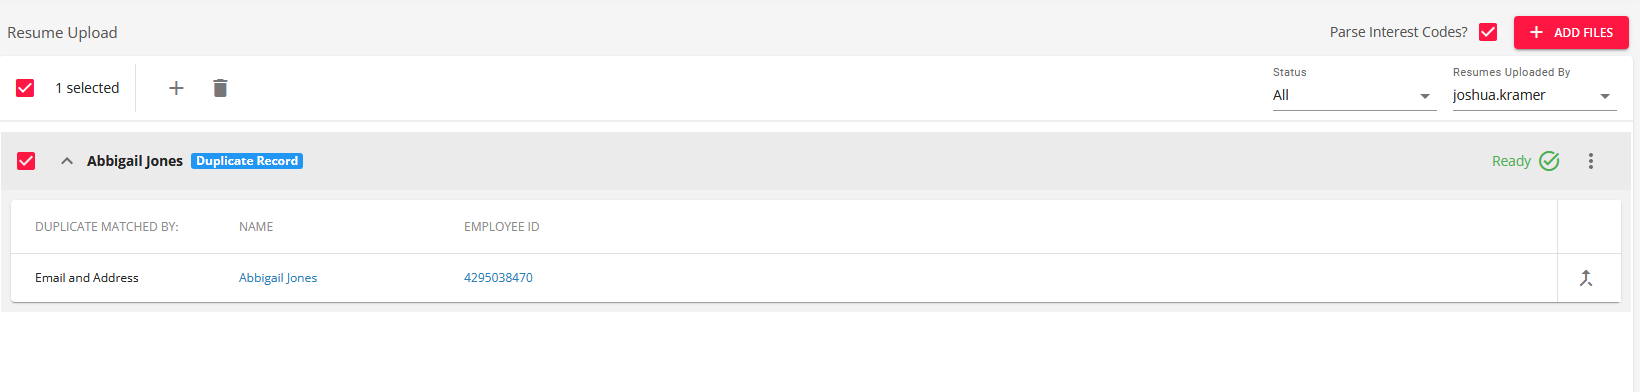
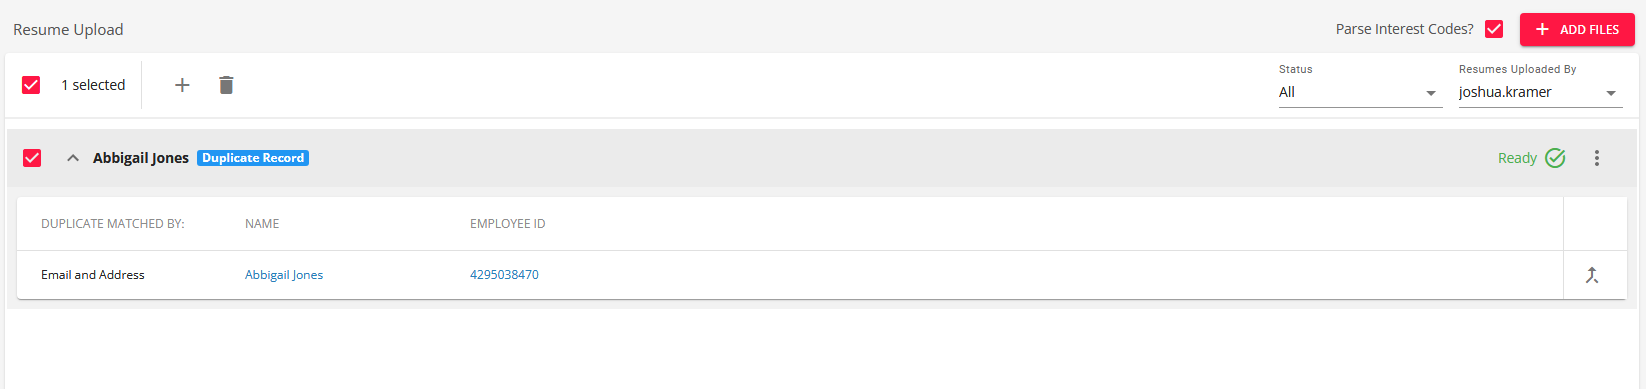
Later on, a new resume for Abbigail Jones has been uploaded into Beyond and the Staged Employee record is flagged as being a potential duplicate based on the information provided within the newly uploaded resume:
*Note* When uploading resumes in bulk, either by multi-select or by folder, there is a possibility that the same person might already exist as an employee within your system.
To identify the potential duplicates, the following is done:
- We first match on the employee’s first and last name.
- The first and last name must match exactly with the name on the employee record.
- Next, we check that the Email Address of the resume being uploaded exists amongst the same group matched by first and last name. If a match is found, the resume (staged employee) is considered a duplicate.
- Lastly, we check that the Street Address, and the Zip Code of the resume being uploaded exists amongst the very same collection of employees that were found within the first step. If a match is present, the resume (staged employee) is considered a duplicate.
*Note* For points 2 and 3 above, the duplicate will be flagged only once the Email Address and Street Address match exactly with the corresponding information on the employee record.
*Note* TempWorks supports address standardization throughout Beyond, but in the instance of resume upload, the address is not standardized during the upload process:
- If a resume or an employee was previously added to the system and was standardized, but the resume, at the time of upload, is not standardized, the system will not recognize it as a duplicate on address.
- Some common issues tend to be that the last 4 digits of the zip code are missing on the resume, or that the standardization added/removed special characters. Both scenarios in this case would result in no duplicates found.
*Note* Even if Beyond flags a record as being a potential duplicate, you will still have the option to create an Employee record from the resume, delete the Staged Employee record, or merge the Staged Employee record with the existing Employee record. Instructions for these items can be found later within this article.
Resolving Resume Issues and Editing Resume Information
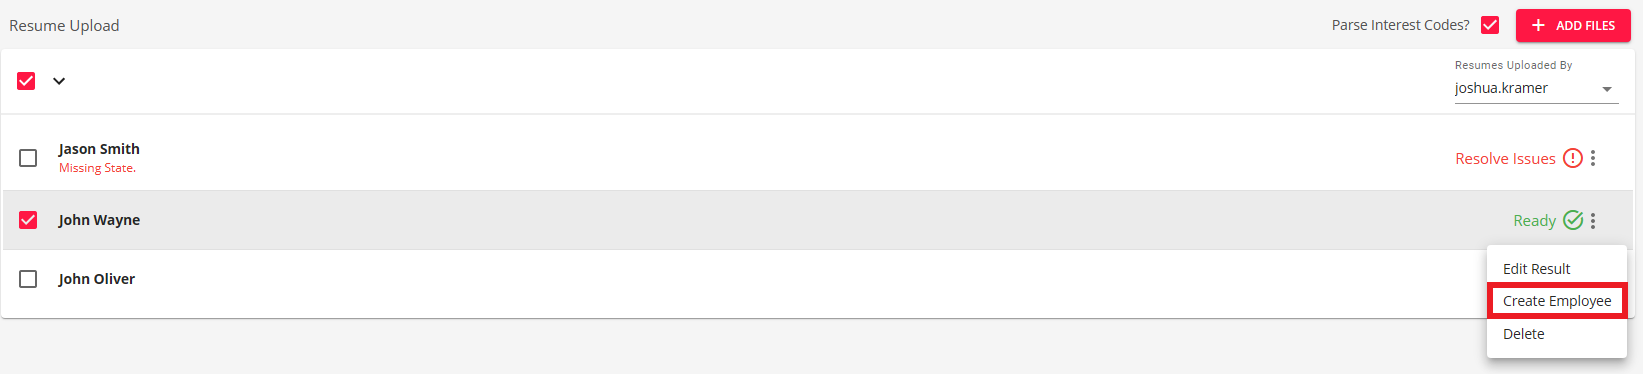
Once you have uploaded your resume(s), they will appear within the 'Resume Upload' window along with a status as to whether they were successful or if issues need to be resolved:
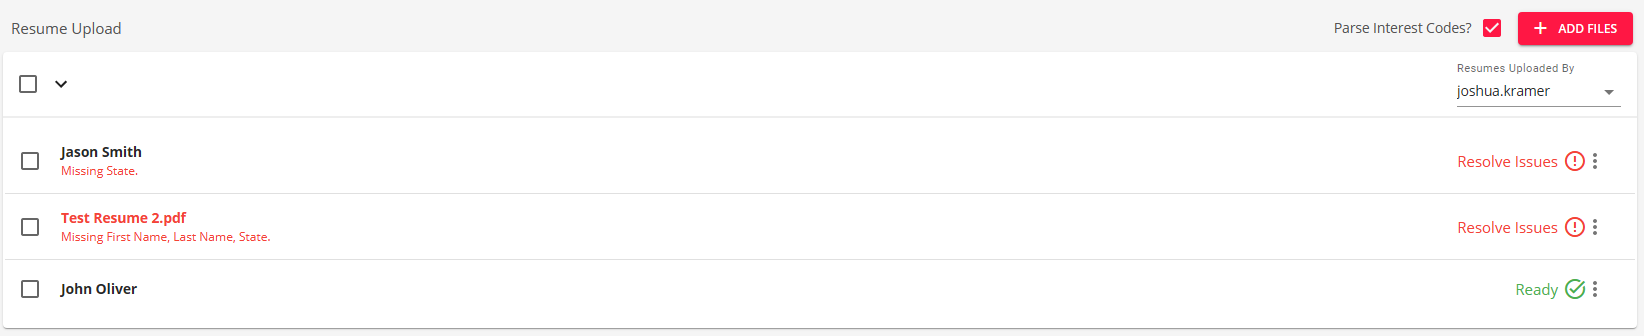
*Note* In order for a resume to be considered 'Ready' for an employee to be created, it must contain a First Name, Last Name, and State.
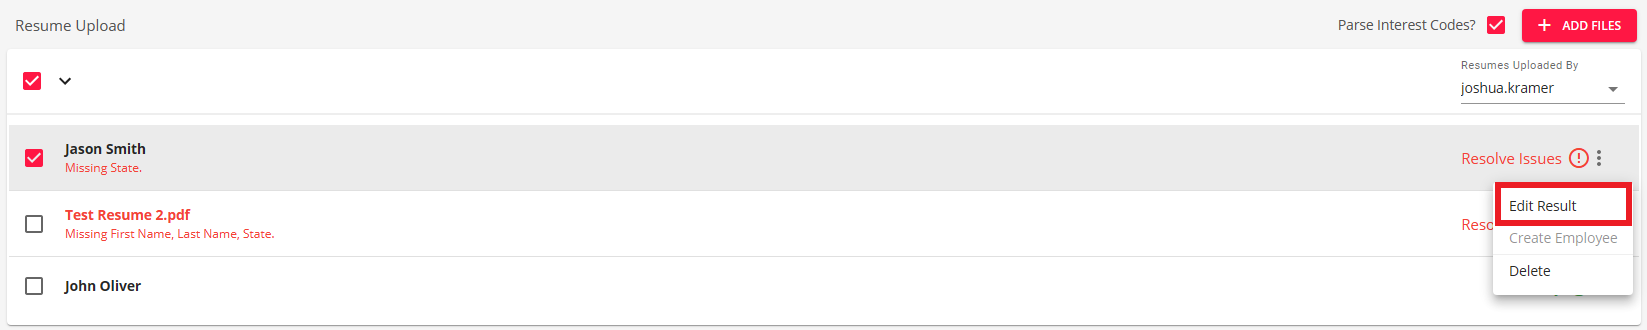
For resumes that have issues that need to be resolved, select one of the resumes via the checkbox on the left, select the  icon on the right of the resume, and select 'Edit Result':
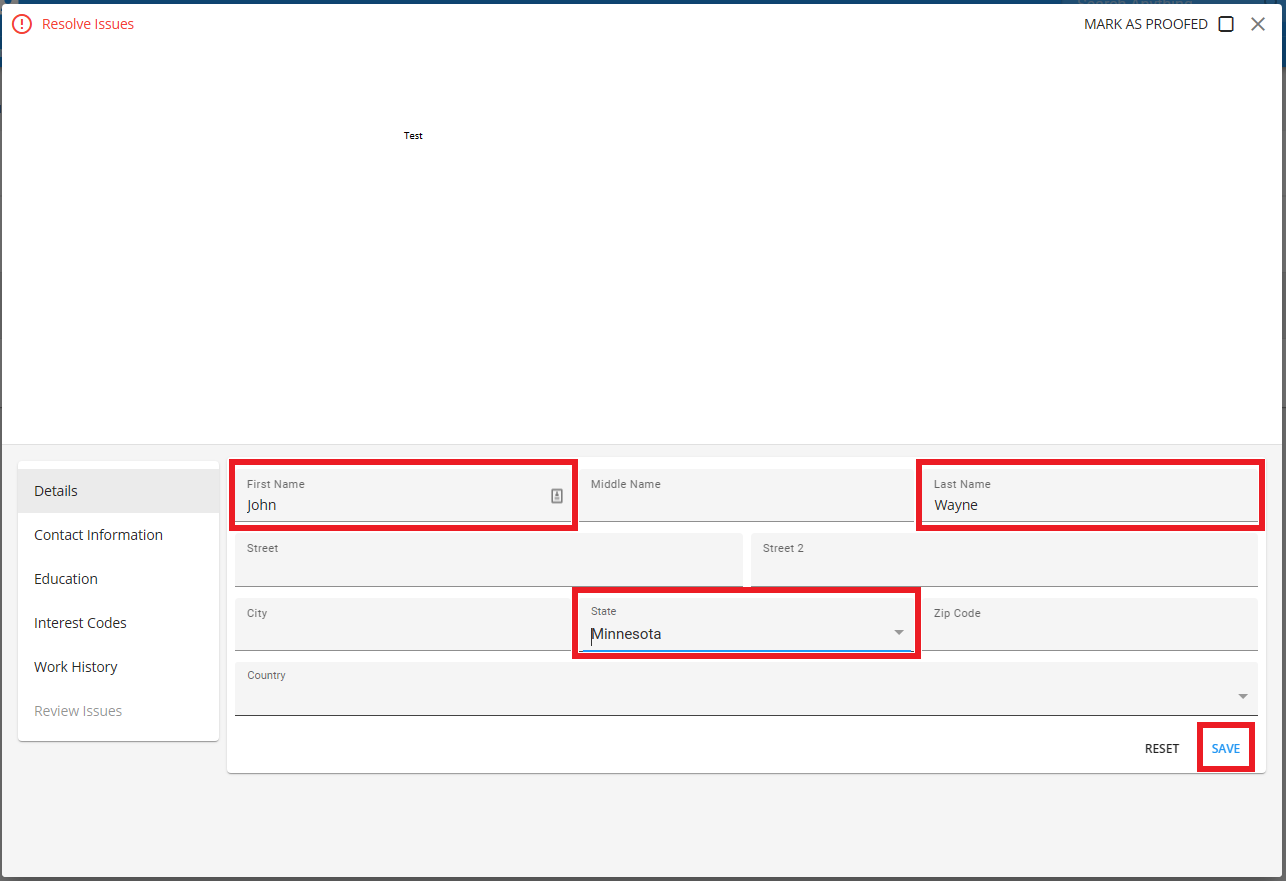
Within the 'Edit Result' window, you will see a preview of the resume that has been uploaded and you will have the ability to update the following information:
- Details: First Name, Middle Name, Last Name, Street 1, Street 2, City, State, Zip Code, Country
- Contact Information: Method Type, Contact Information
- In the event the resume parser finds a phone number for the employee, this will be listed as a Cell Phone at default.
- Education: Institution, Date Started, Date Ended, Degree Type, GPA, Other Information
- Interest Codes: Interest Code, Years of Experience
- Work History: Job Title, Employer, Supervisor, Phone Number, Date Started, Date Ended, Pay, Street 1, Street 2, City, State, Postal Code, Reason for Leaving, Duties, and checkboxes for Full Time, Part Time, Temporary, and Permission to Contact
*Note* You can click and drag information from the resume preview into the respective field within the 'Edit Results' window.
Enter the information you would like added along with the required fields that had missing information (First Name, Last Name, and/or State) and select 'Save' to update your changes:
*Note* When adding information within each section (Details, Contact Information, Education, Interest Codes, and Work History), these sections will need to be saved individually before being able to move on:
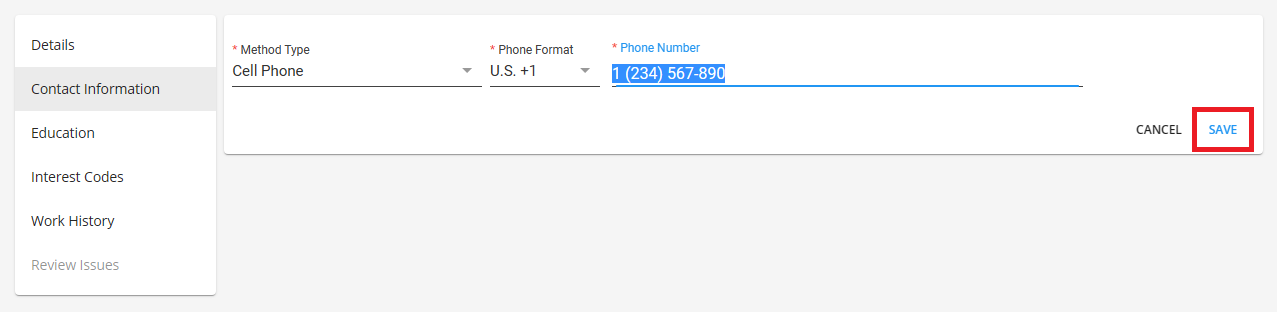
In the event you do not save your changes within one section before moving to another section, those unsaved changes will be removed.
Once the updates to the resume have been saved, select the 'X' at the top right of the window to return to the Upload Resumes window. You will see that as long as all issues have been resolved, the resume will have a 'Ready' status with a green checkmark, signifying that an employee is able to be created from the resume:

*Note* You can mark the resume as 'Proofed' by selecting the 'Mark as Proofed' checkbox at the top right of the 'Edit Result' window:

Marking a resume as 'Proofed' is only a visual indicator and does not signify whether or not an employee is able to be created from that resume.
This process can be completed for all other resumes that have issues to be resolved.
Creating Employees from Uploaded Resumes
Once the status of the resume(s) show 'Ready' with the green checkmark, an employee is able to be created. This can be done via two methods.
*Note* Employees can be created from resumes with the status of 'Proofed' as long as all issues have been resolved. This includes the required fields of First Name, Last Name, and State.
Creating Employees Individually
Select one of the resumes with the 'Ready' or 'Proofed' (with all issues resolved) status via the checkbox on the left, select the icon on the right of the resume, and select 'Create Employee':
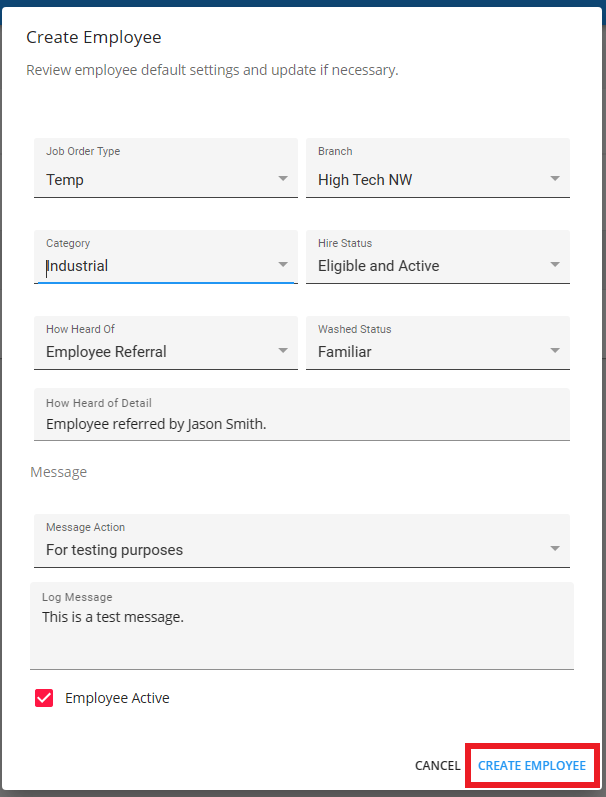
Within the 'Create Employee' window, you will have the following options to review and update as necessary:
- Job Order Type
- Branch
- Category
- Hire Status
- Washed Status
- How Heard Of
- How Heard Of Detail
Additionally, you can add a message to post to the employee file upon creation by using the Message Action and Log Message fields.
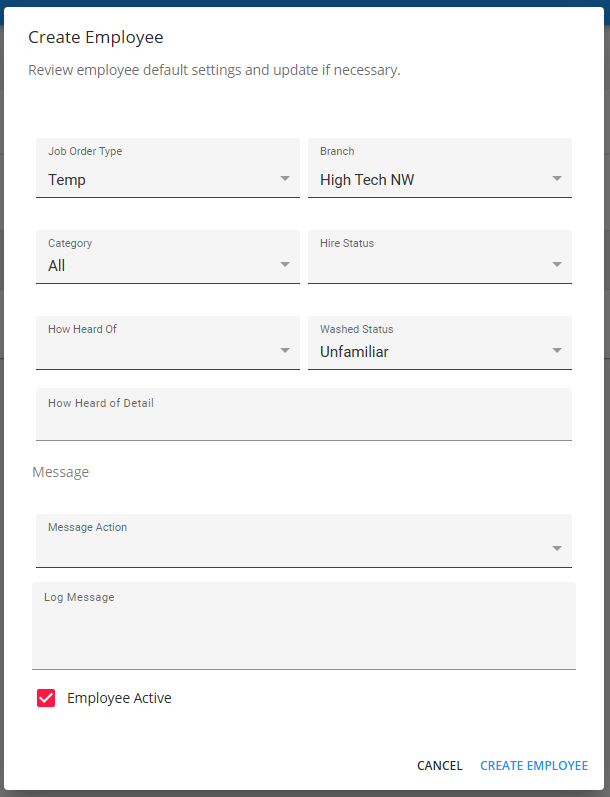
Add/update the information, check the box for whether the employee should be active upon creation, and select 'Create Employee' at the bottom right of the window for the employee file to be created:
Once the employee has been created successfully from the resume, that employees resume will be removed from the 'Resume Upload' window.
This process can be completed for all other resumes that are to have employees created from them individually.
Creating Employees In Bulk
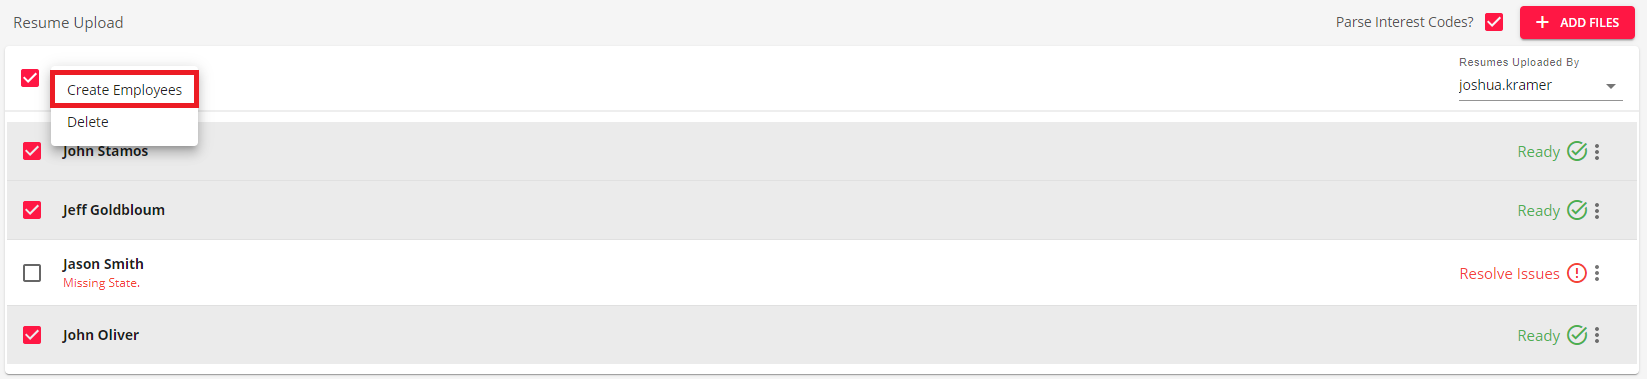
Select multiple resumes with the 'Ready' or 'Proofed' (with all issues resolved) status via the checkbox on the left, select the  icon, and select 'Create Employees':
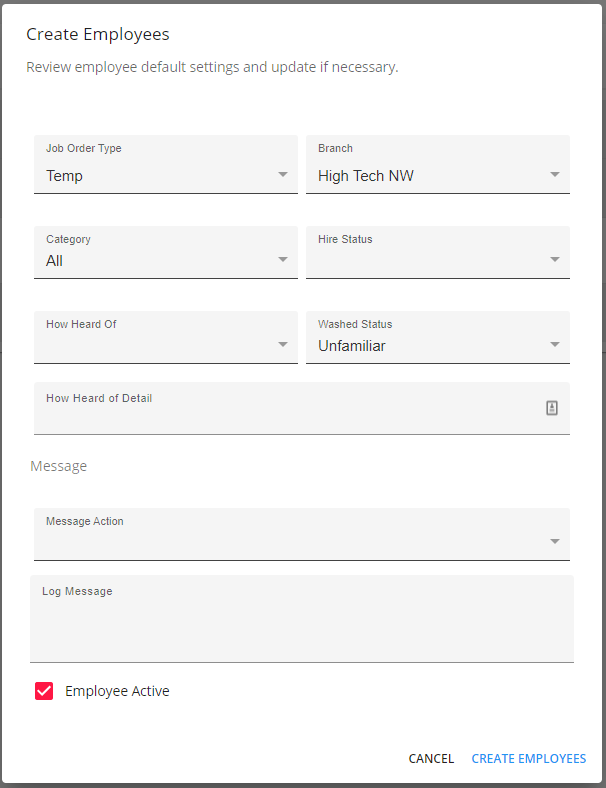
Within the 'Create Employees' window, you will have the following options to review and update as necessary:
- Job Order Type
- Branch
- Category
- Hire Status
- Washed Status
- How Heard Of
- How Heard Of Detail
Additionally, you can add a message to post to the employee files upon creation by using the Message Action and Log Message fields.
Add/update the information, check the box for whether the employees should be active upon creation, and select 'Create Employees' at the bottom right of the window for the employee files to be created:
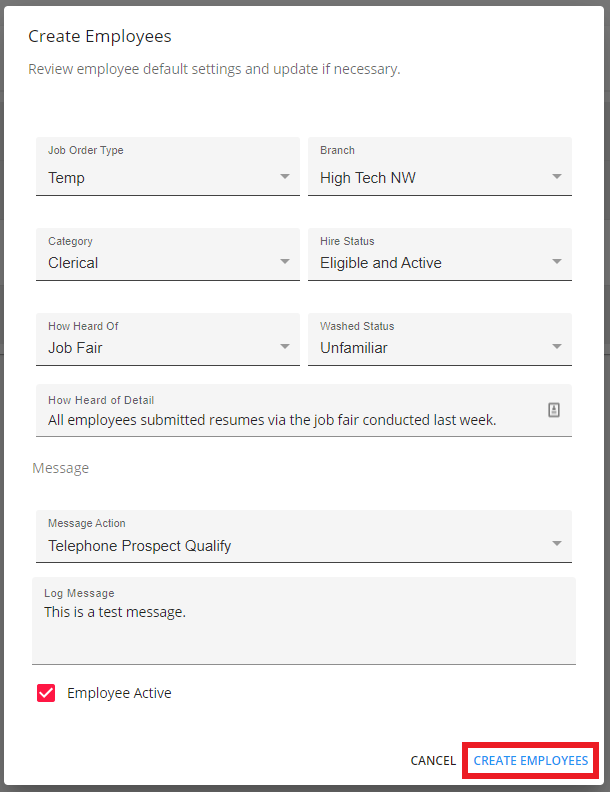
Once the employees have been created successfully from the resumes, the employee resumes will be removed from the 'Resume Upload' window.
Merging Employees from Uploaded Resumes
Staged Employee records that are flagged as potential duplicates from uploading resumes in Beyond are able to be merged into the respective existing Employee record.
Begin by selecting the record that has been flagged as a duplicate:
Select either the  icon or the
  icon and select "Merge Resume". This will open the "Merge Record" window:
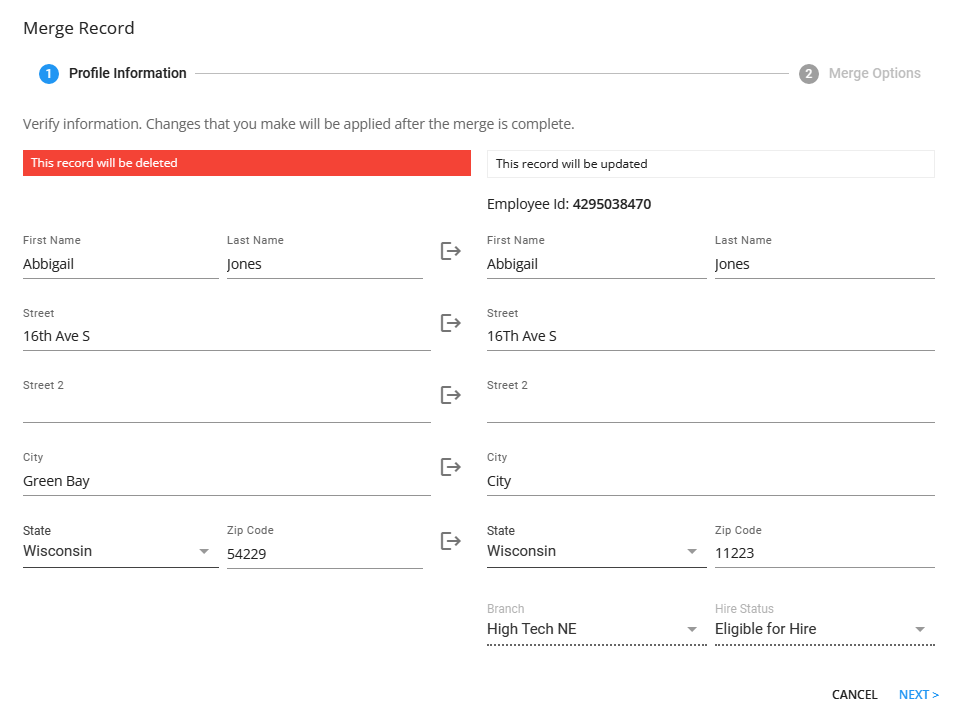
Within the "Merge Record" window, you will see the Staged Employee information on the left and the existing Employee information on the right.
Select the  icon to bring over the information to be updated from the Staged Employee to the existing Employee record:
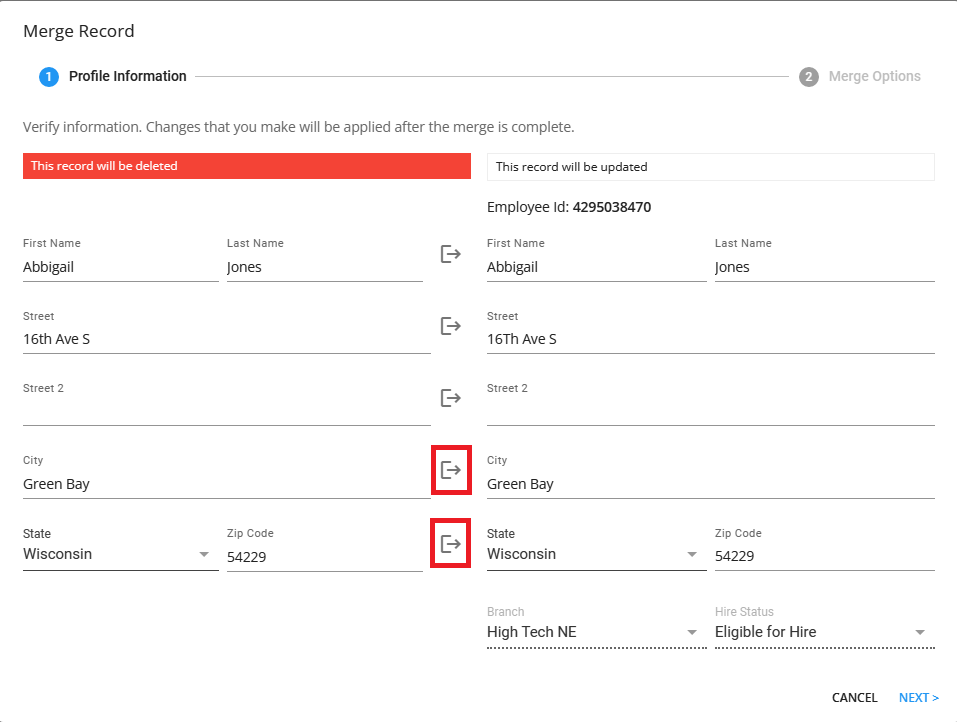
Once the information has been transferred within the "Merge Record" window, select "Next" to continue with the merging process:
*Note* The existing Employee record will be updated with the information chosen to be brought over from the Staged Employee record. The Staged Employee record will then be deleted once the merge has been completed.
On the final step of the merge, you will have the option to include Education, Work History, Interest Codes, and Contact Methods from the uploaded resume to be added to the existing Employee record:
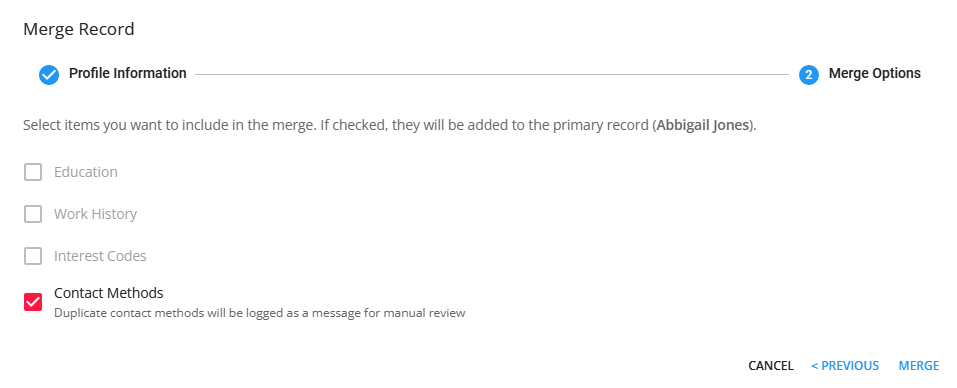
*Note* Boxes within this window will only be able to be selected/deselected if relative information exists within the uploaded resume.
Once all of the information has been verified, select "Merge" to complete the merging of the Staged Employee information to the existing Employee record.
Deleting Staged Resumes
Staged resumes are able to be deleted at any time via two methods.
*Note* Staged resumes can be deleted regardless of status.
Deleting Staged Resumes Individually
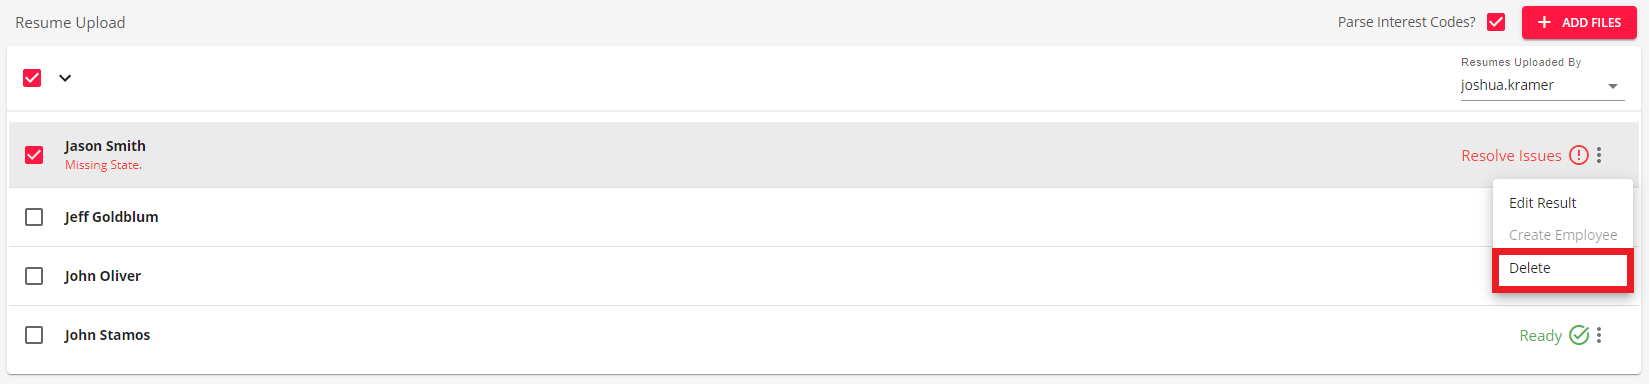
Select one of the resumes via the checkbox on the left, select the icon on the right of the resume, and select 'Delete':
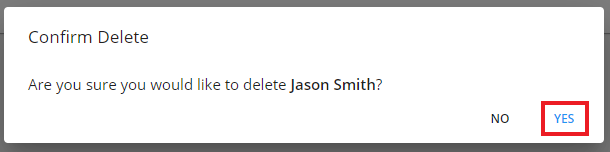
You will receive a prompt to confirm the deletion of the staged resume. Select 'Yes' to confirm or 'No' to return to the 'Resume Upload' window:
Once the resume has been deleted, the resume will no longer appear within the 'Resume Upload' window.
Deleting Staged Resumes In Bulk
Select multiple resumes via the checkbox on the left, select the icon, and select 'Delete':

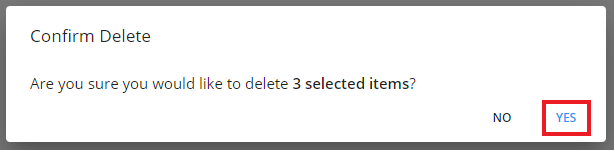
You will receive a prompt to confirm the deletion of the staged resumes. Select 'Yes' to confirm or 'No' to return to the 'Resume Upload' window:
Once the resumes have been deleted, the resumes will no longer appear within the 'Resume Upload' window.