*Note* If you are a self-hosted client, you can manage your users in the active directory your company has set up. However, if you need to add additional Bridge users for support and product download access, you can do so from here.

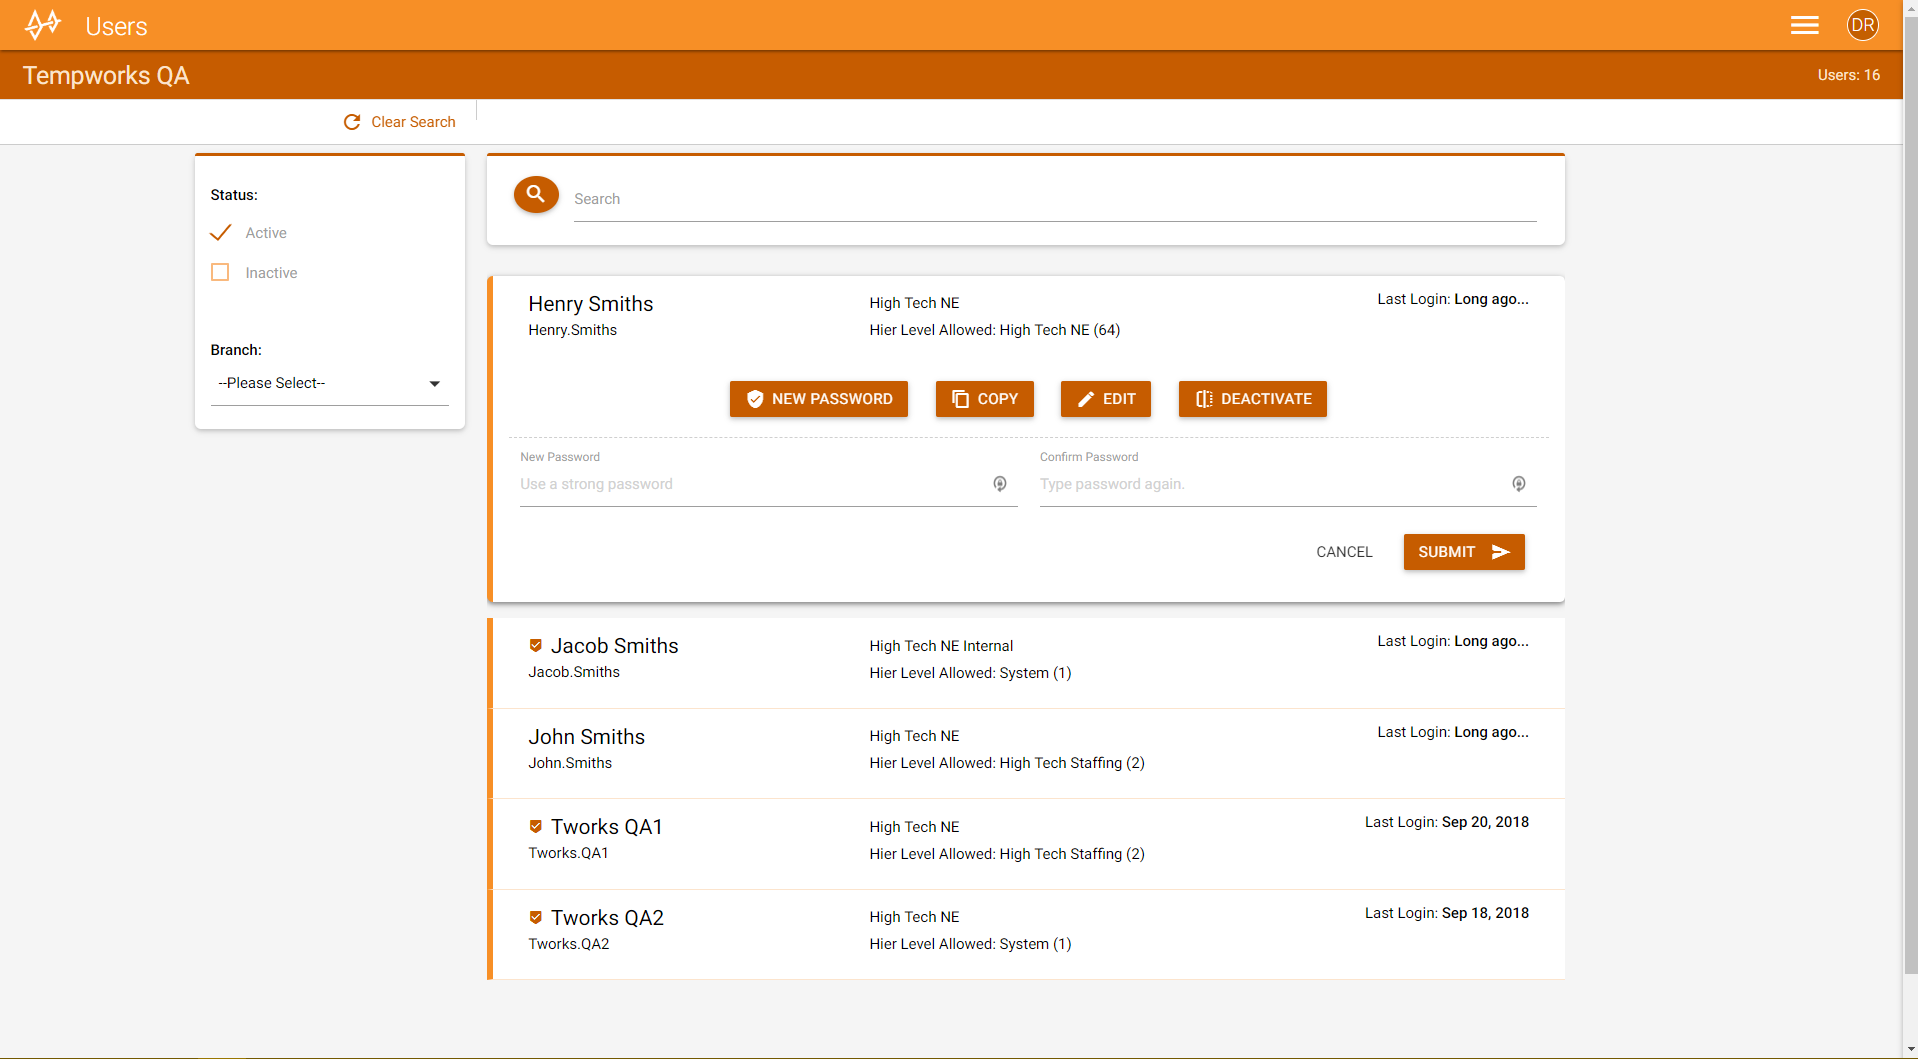
The users section of Bridge allows administrators to manage logins for their users. Navigate to Users by clicking on the  Bridge menu in the upper right. The user's page will list all current users from your company.
This article covers:
Search & Filter
All users will be displayed in a list in the center of the page. Use the search bar at the top and the filter options on the left to limit the users that are displayed:
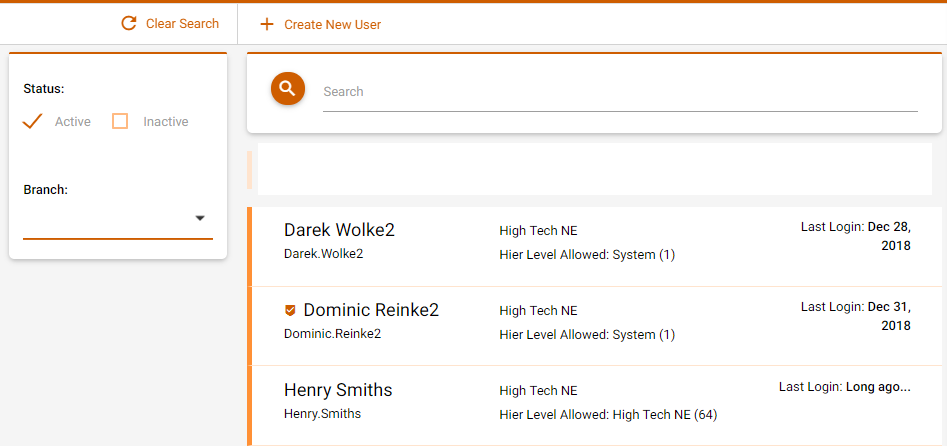
The  icon shows users that are set as administrators. Only administrators can access the users page.
Create a New User
When you need to add a new user to the system that will need unique settings, utilize the following steps. If you want the new user to have the same settings as an existing user, you can save time by using the copy user option.
- Select the
 button at the top of the user section to add a new user
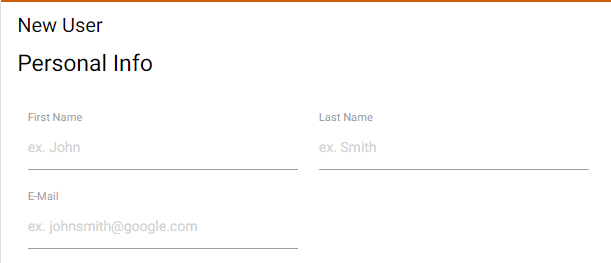
 - Enter the following information:
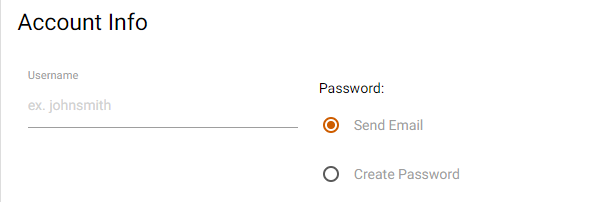
- First & Last name of user
- Email address
- Username
- Create a password or email a generated password:
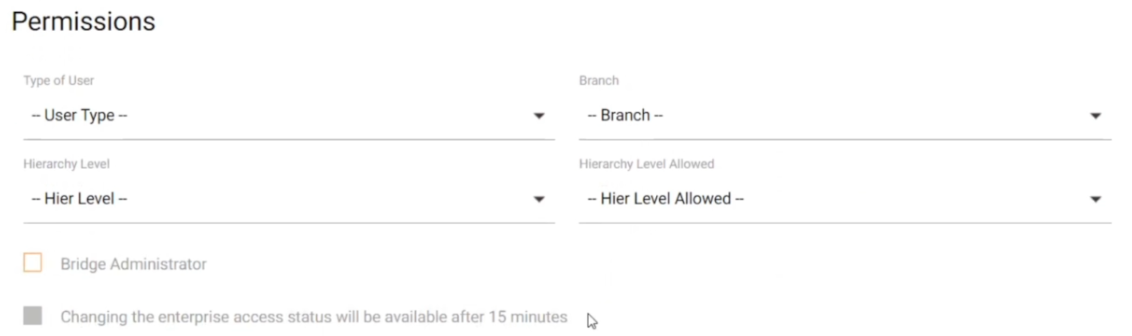
- Select permission levels:
- Type of User: This should be related to what job they will be doing (ex. payroll clerk or service rep).
- Branch: Select the main branch they will be working out of.
- Hierarchy Level: Select their starting hierarchy level (for more information see Hierarchy).
- Hierarchy Level Allowed: Select the highest hierarchy level they will be allowed to get to (ex. admins may need access to system but a recruiter may only be restricted to a specific branch or entity).
- Bridge Administrator: If the new user will also be an admin in Bridge, select the checkbox for Bridge Administrator.
- Select "Submit"
 button at the top of the user section to add a new user


*Note* Newly created users within Bridge will not have access to Enterprise enabled via apps.ontempworks.com by default.
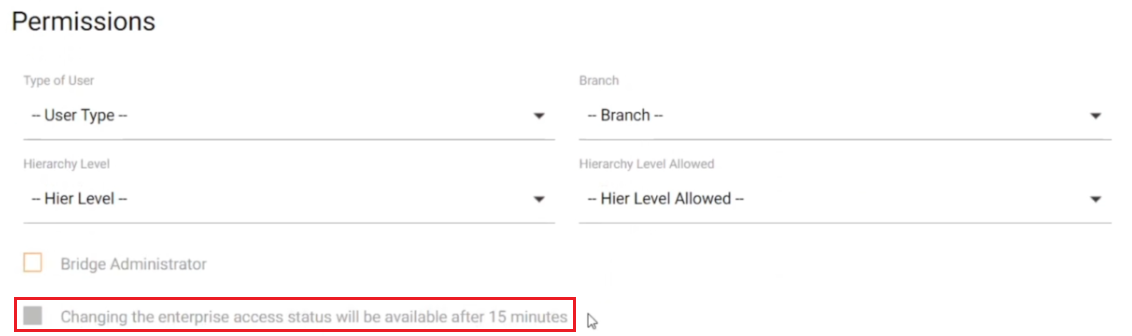
If you require your new users to have access to Enterprise, you will need to wait 15 minutes after the user has been created and then navigate to the user within Bridge, select "Edit", and select the "Enterprise Access" checkbox:

A couple other points to note surrounding Enterprise Access:
- For users utilizing Report Builder services, they will need the "Enterprise Access" box checked.
- In the event a user has the "Enterprise Access" box checked and does not log into apps.ontempworks.com within 30 days, the user will have their "Enterprise Access" box unchecked, and an Administrator will need to re-enable access.
*Note* The password must be unique and at least 8 characters in length. In the event a password is entered that is not unique or is less than 8 characters in length, an error will be received.
Manage Users
Click on any user to display options for managing that user:

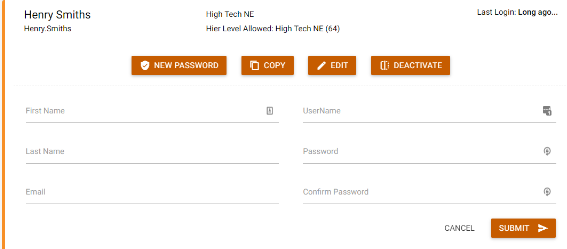
Reset a User Password
- Select the user you wish to reset a password for.
- Select "New Password" option:
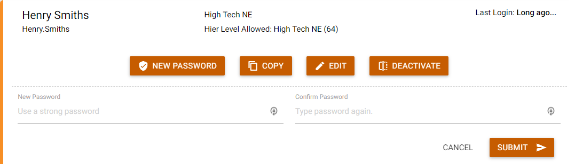
- Enter in the new, strong password.
- Re-enter the same password under the "Confirm Password" field.
- Select "Submit".

Copy a User
Utilize this feature when you want to create a new user. This will allow you to create a new user by copying the same Enterprise Security Roles from an existing user.
*Note* Copying a user only copies the same Security Roles that are used within Enterprise, and does not copy Security Group Permissions for use in Beyond, WebCenter Roles, HRCenter Admin access, etc.
- Select a user that has the same credentials as the new user you want to create.
- Select "Copy".
- Enter the following information:
- First & Last Name
- Create a username
- Create a password and confirm password
- Enter an email address for the user
- Select "Submit".

Edit a User
Utilize this option to edit user information including administrator status.
- Select the user you wish to edit.
- Select "Edit".
- You can change the following information:
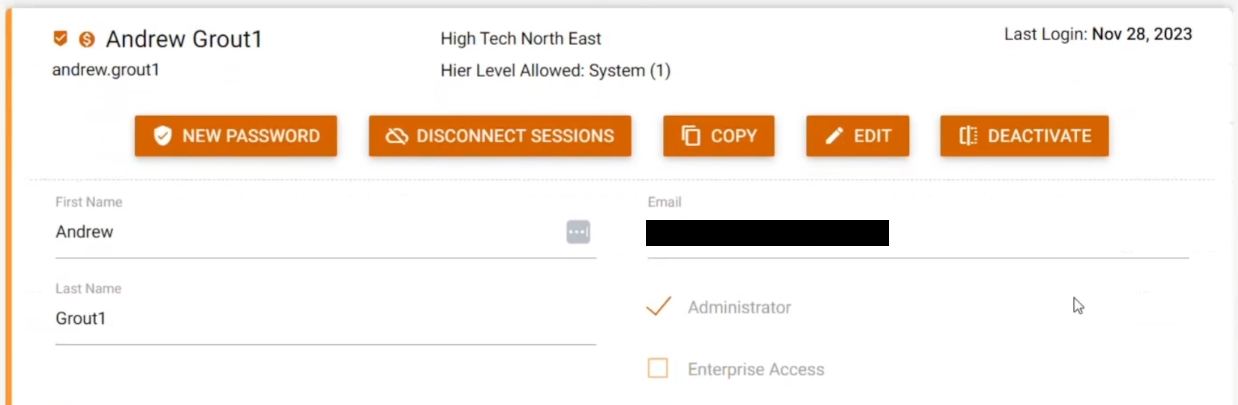
- Name
- Administrator (if checked, then they are an administrator and can manage users)
- Enterprise Access (more information on this is within the note below)
- Select "Submit" to save your changes.

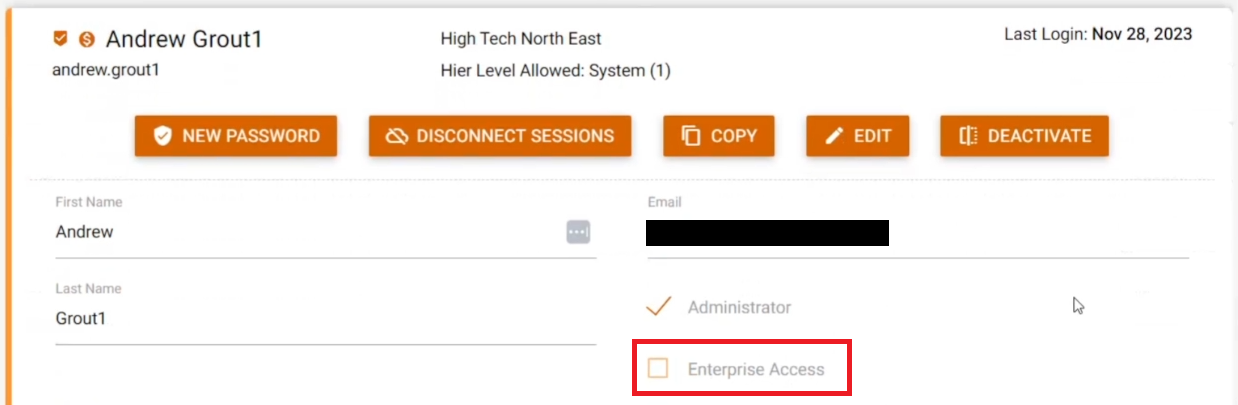
*Note* In the event your employees are only working within Beyond, you may want to remove their access to Enterprise via apps.ontempworks.com.
This access is controlled via the "Enterprise Access" checkbox when adding/editing users within Bridge:
A couple other points to note surrounding Enterprise Access:
- For users utilizing Report Builder services, they will need the "Enterprise Access" box checked.
- In the event a user has the "Enterprise Access" box checked and does not log into apps.ontempworks.com within 30 days, the user will have their "Enterprise Access" box unchecked, and an Administrator will need to re-enable access.
Deactivate a User
When a user no longer works for you, you can utilize the deactivate feature to change the user to an inactive status.
- Select the user you wish to deactivate.
- Select the "Deactivate" option.